


.jpg?width=3000)


.jpg?width=3000)


.jpg?width=3000)


How to shoot long exposure with an ND filter: step-by-step
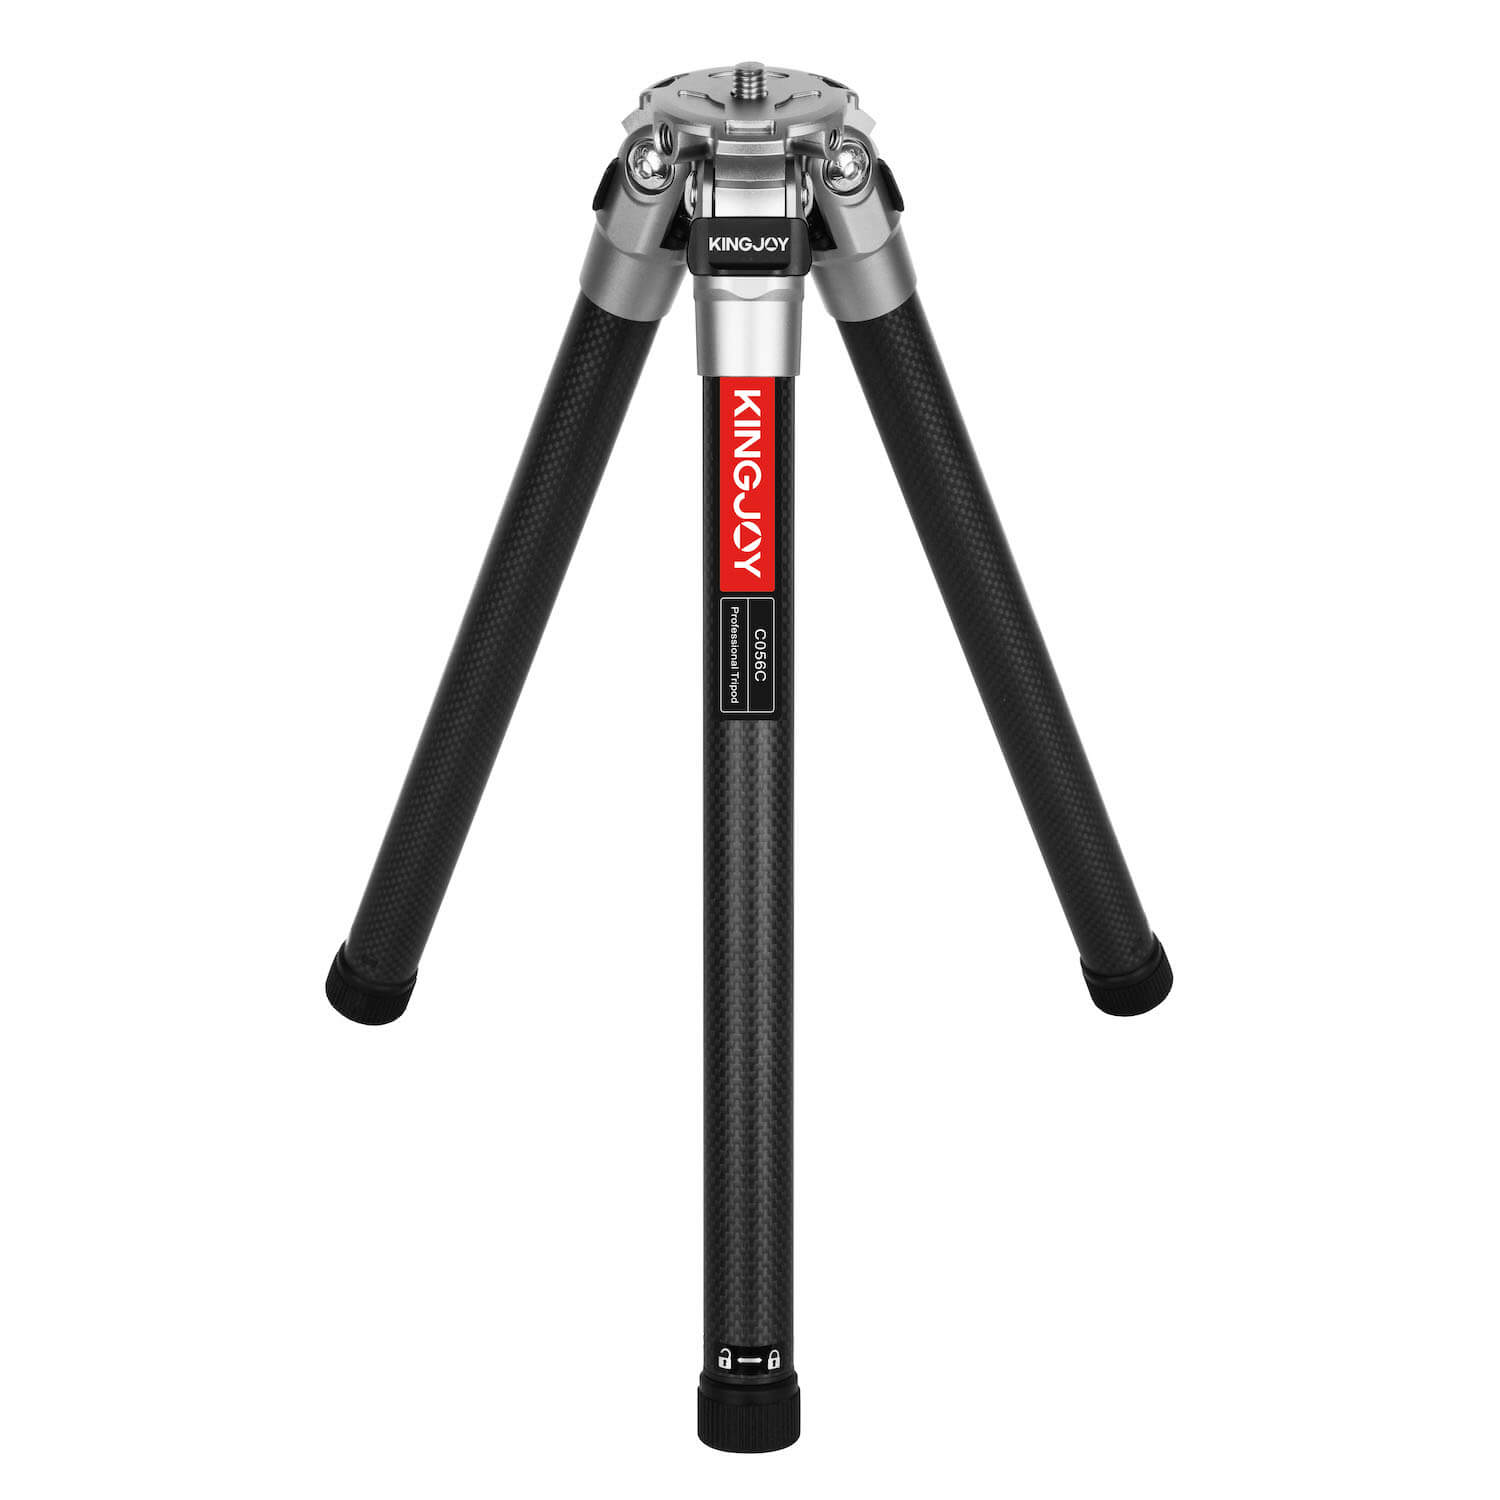
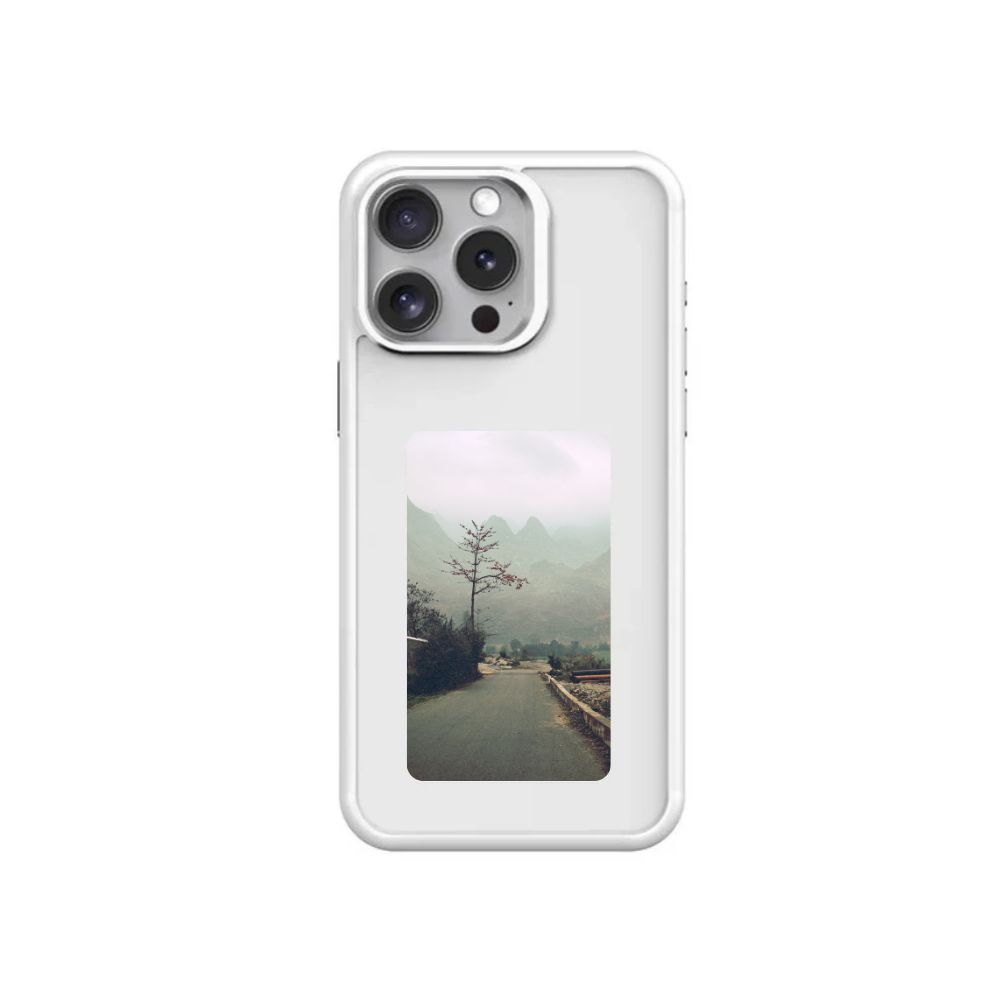
- Set up your camera on a tripod: Choose a stable location where the tripod legs do not move and mount your camera on a tripod. This will minimise camera shake during long exposure.
- Compose your shot: Find a scene with dynamic elements such as flowing water, moving clouds or traffic trails. Long exposure will have an effect only when there are moving elements that can be blurred. Compose your shot.
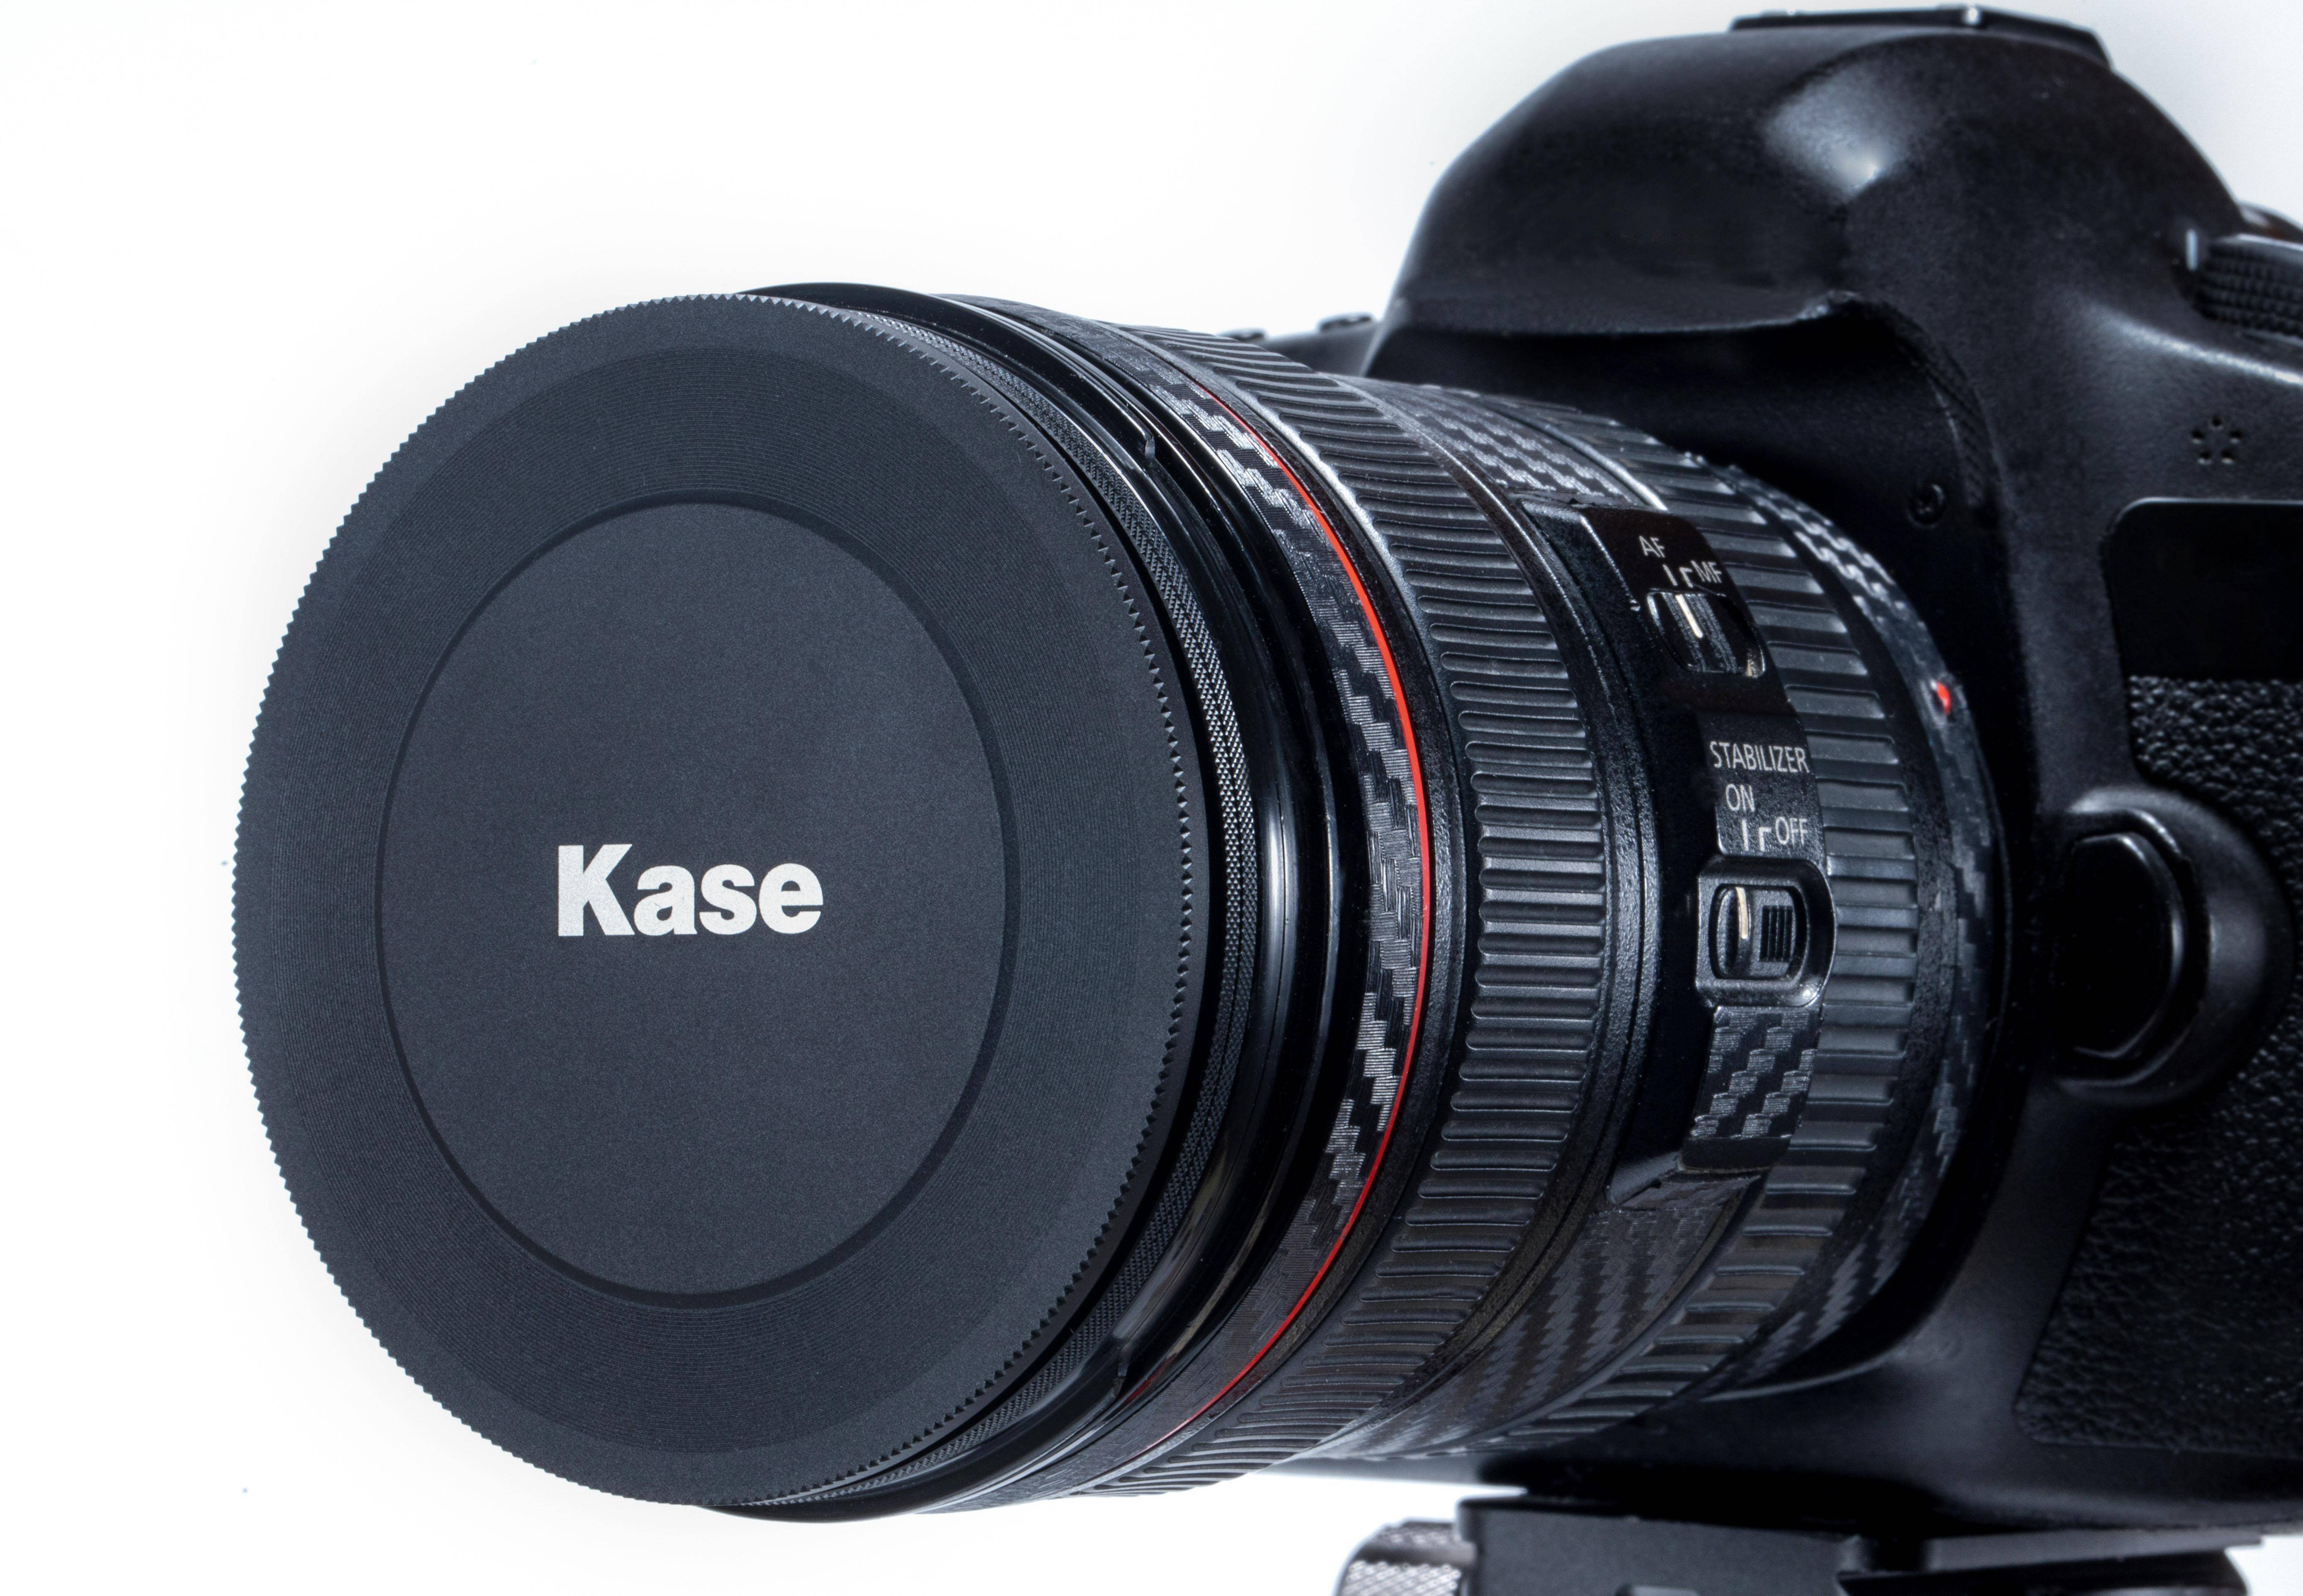
- Disable automatic stabilisation: If your camera has automatic stabilisation features, disable them when using a tripod, since they can interfere with long exposure.
- Set the focus: You need to do it before attaching the ND filter, because once attached your camera won’t be able to focus properly. You can use autofocus or manual focus based on your preference and the complexity of the scene, but make sure it’s fixed before attaching the filter.
- Take a test shot: Capture a test shot to determine the base exposure settings without the ND filter.
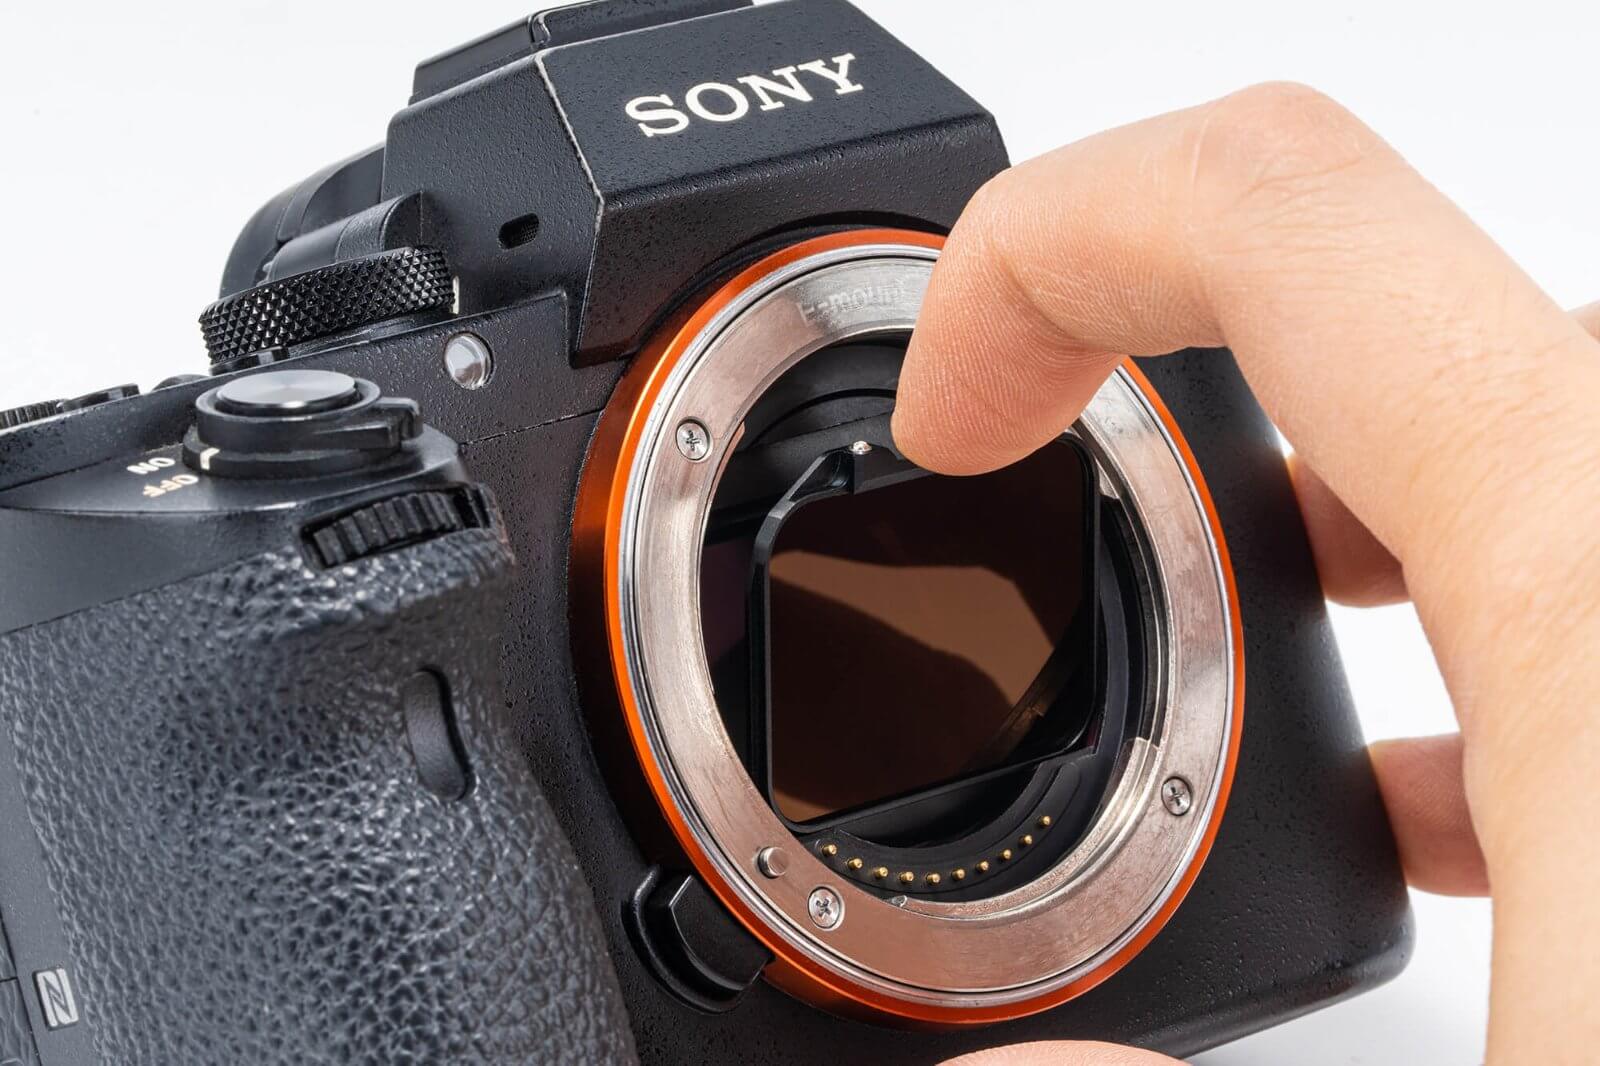
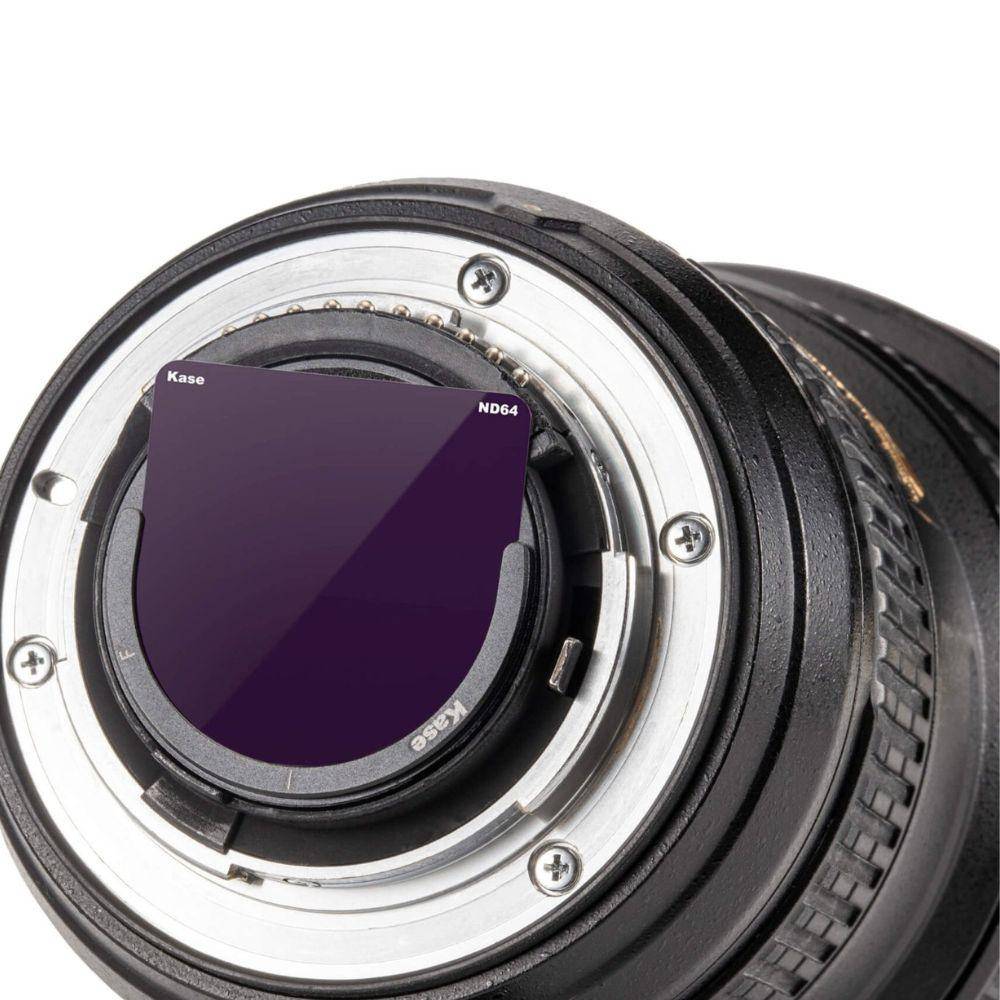
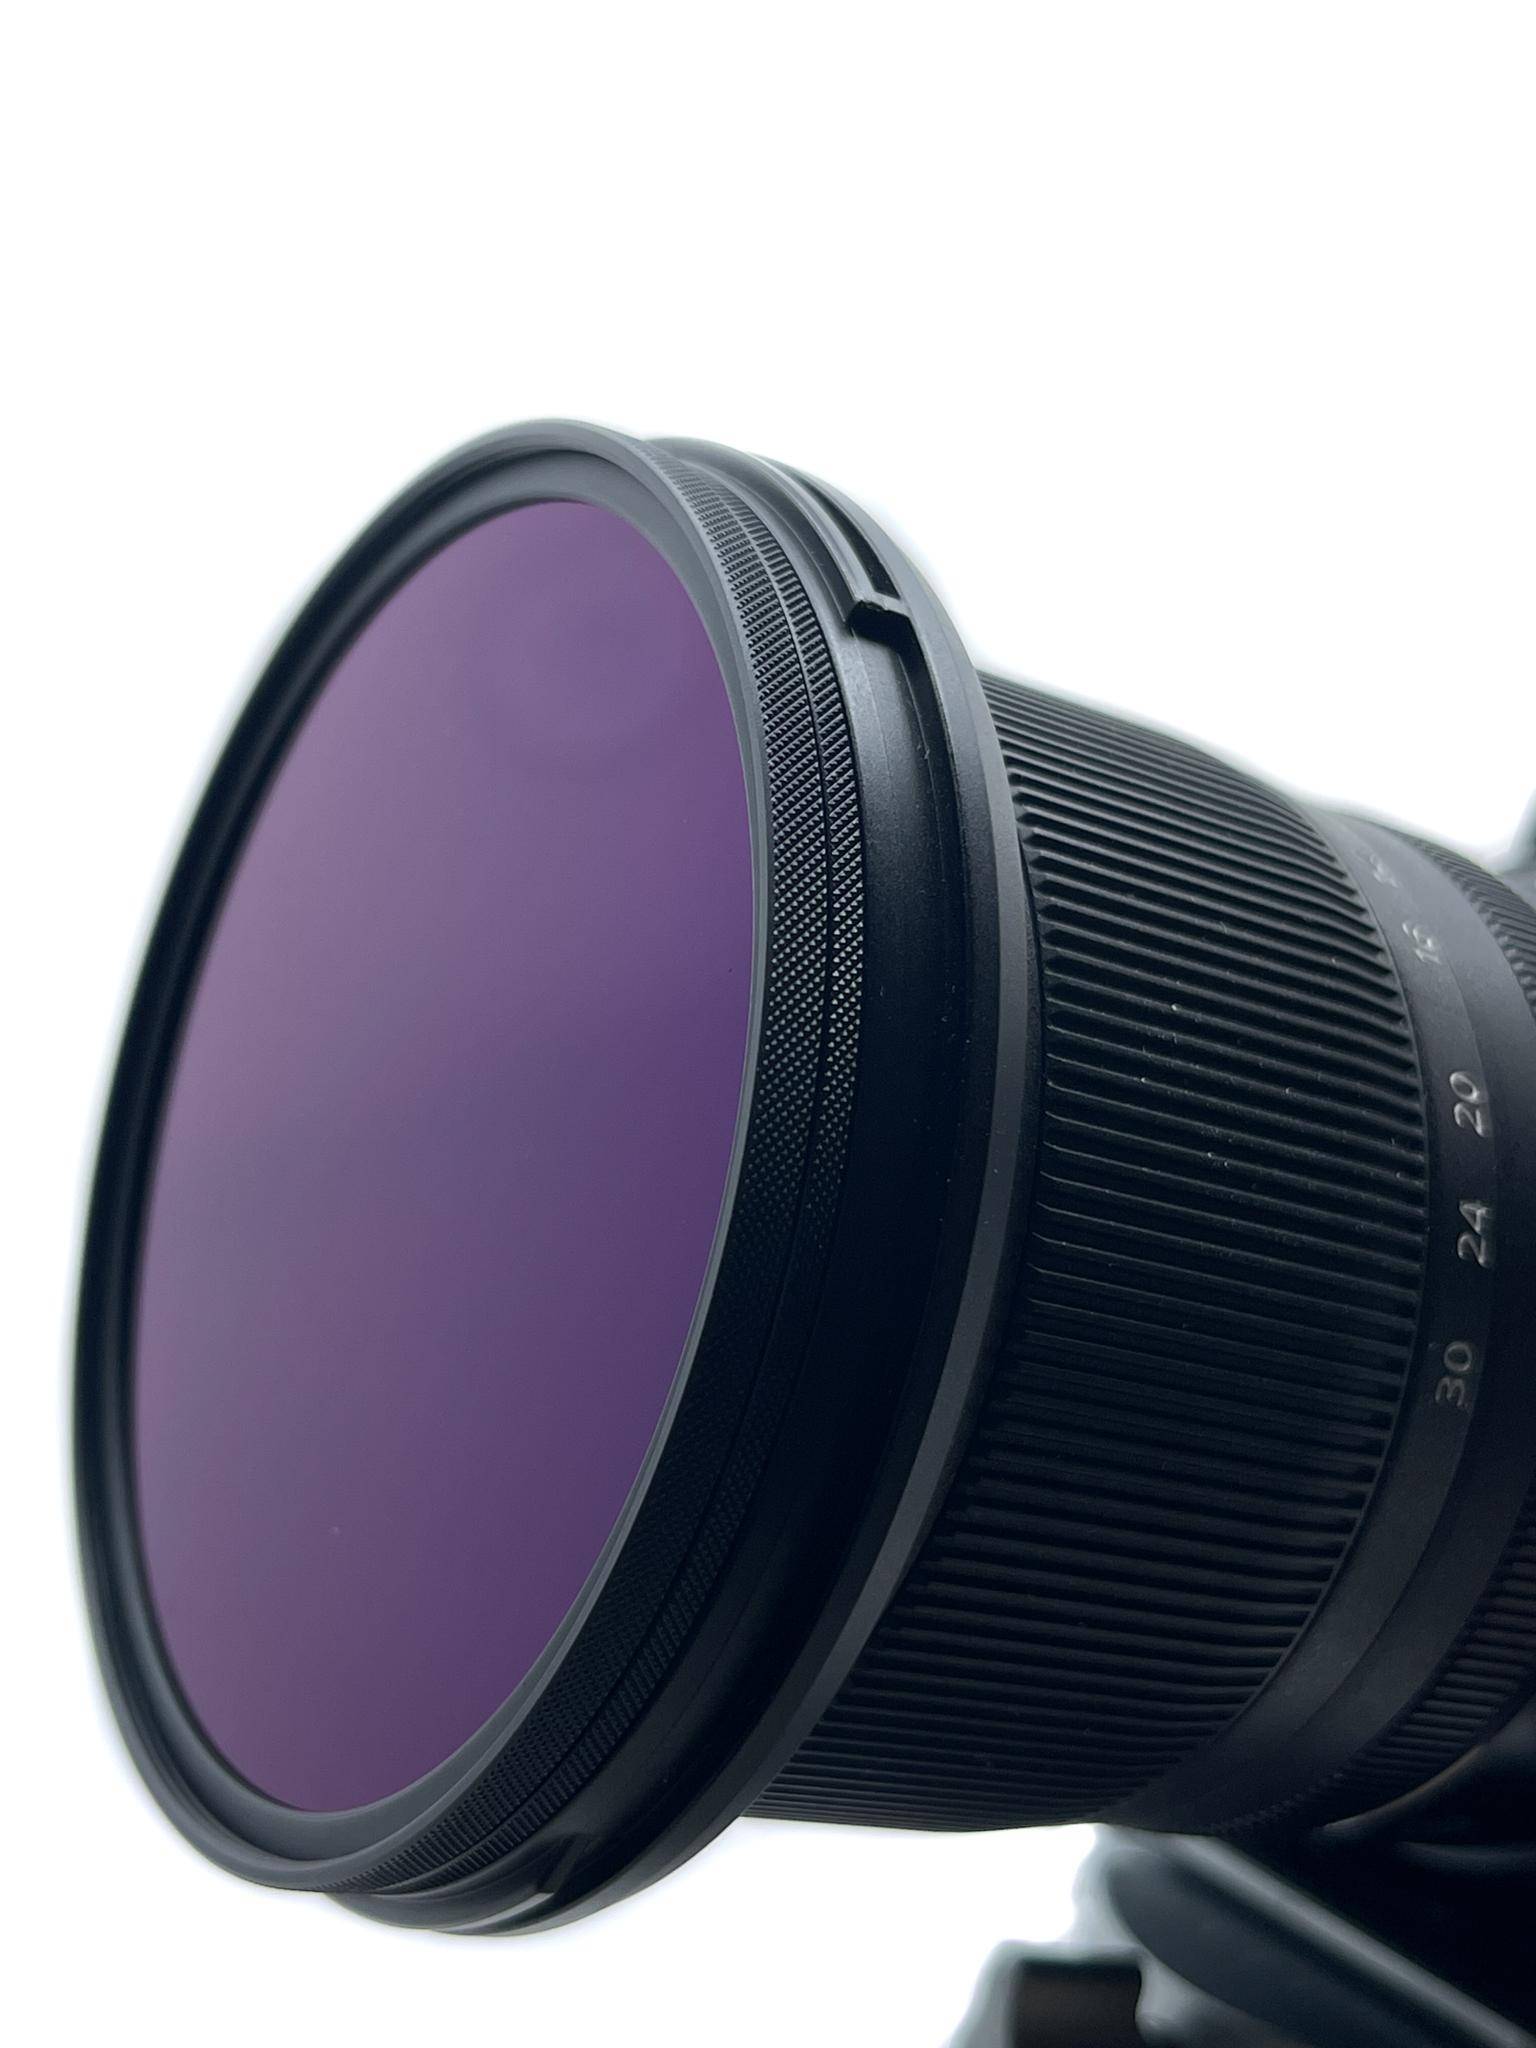
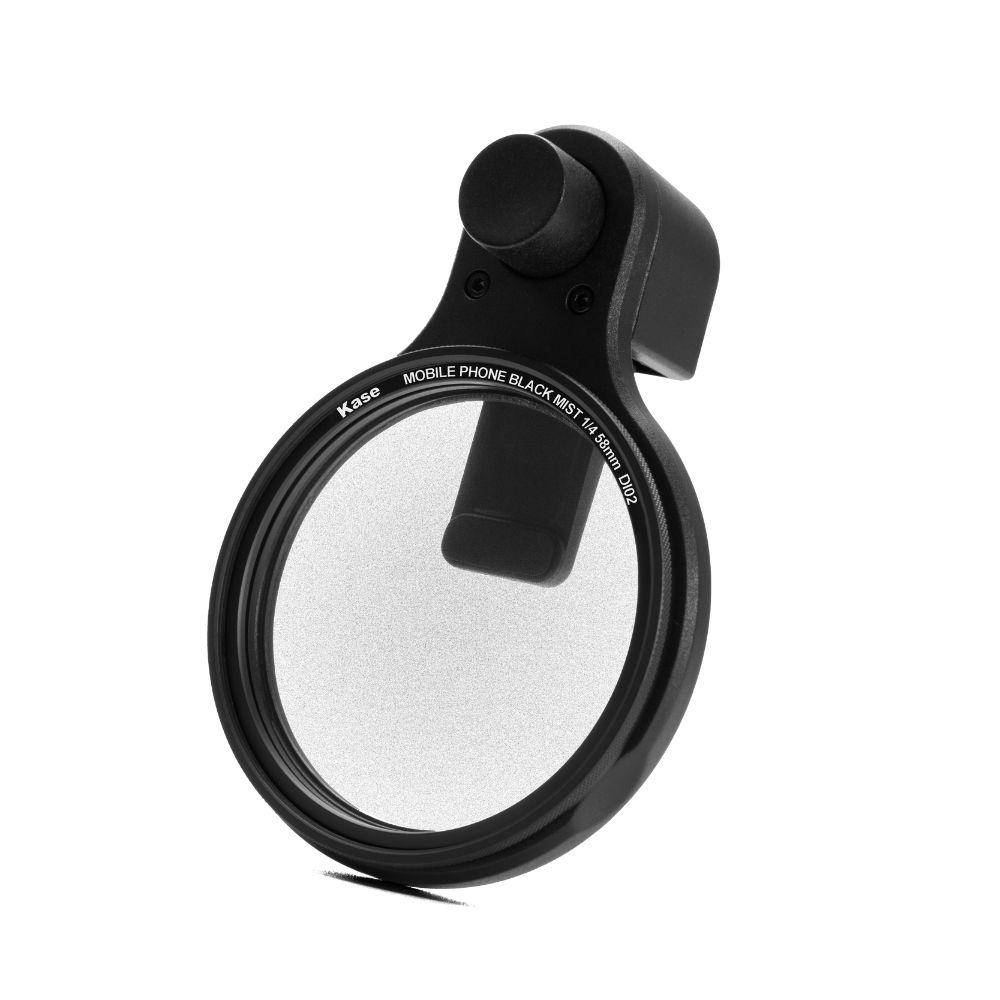
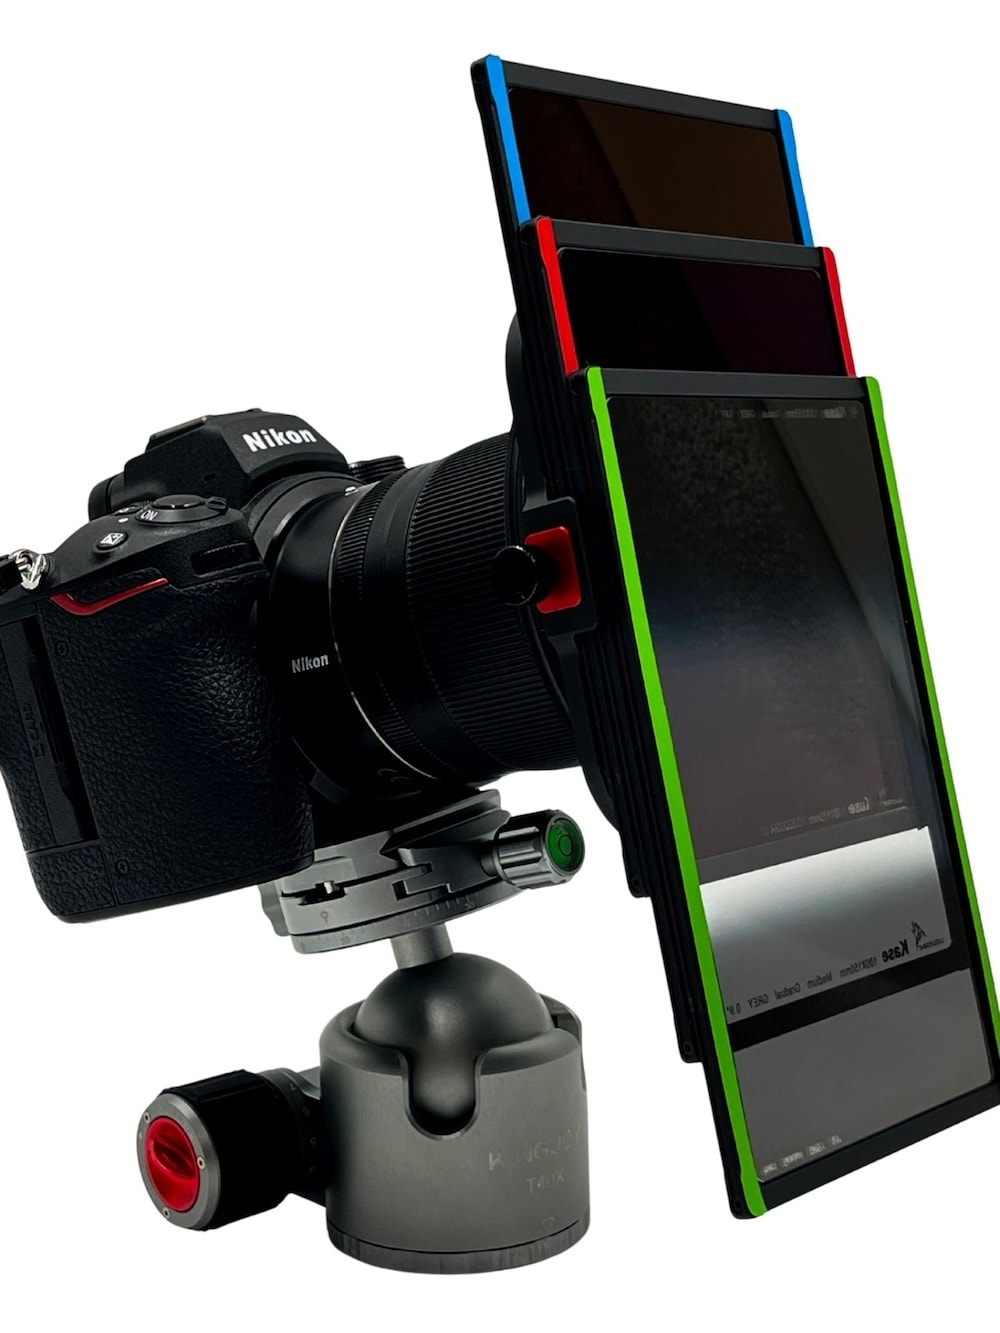
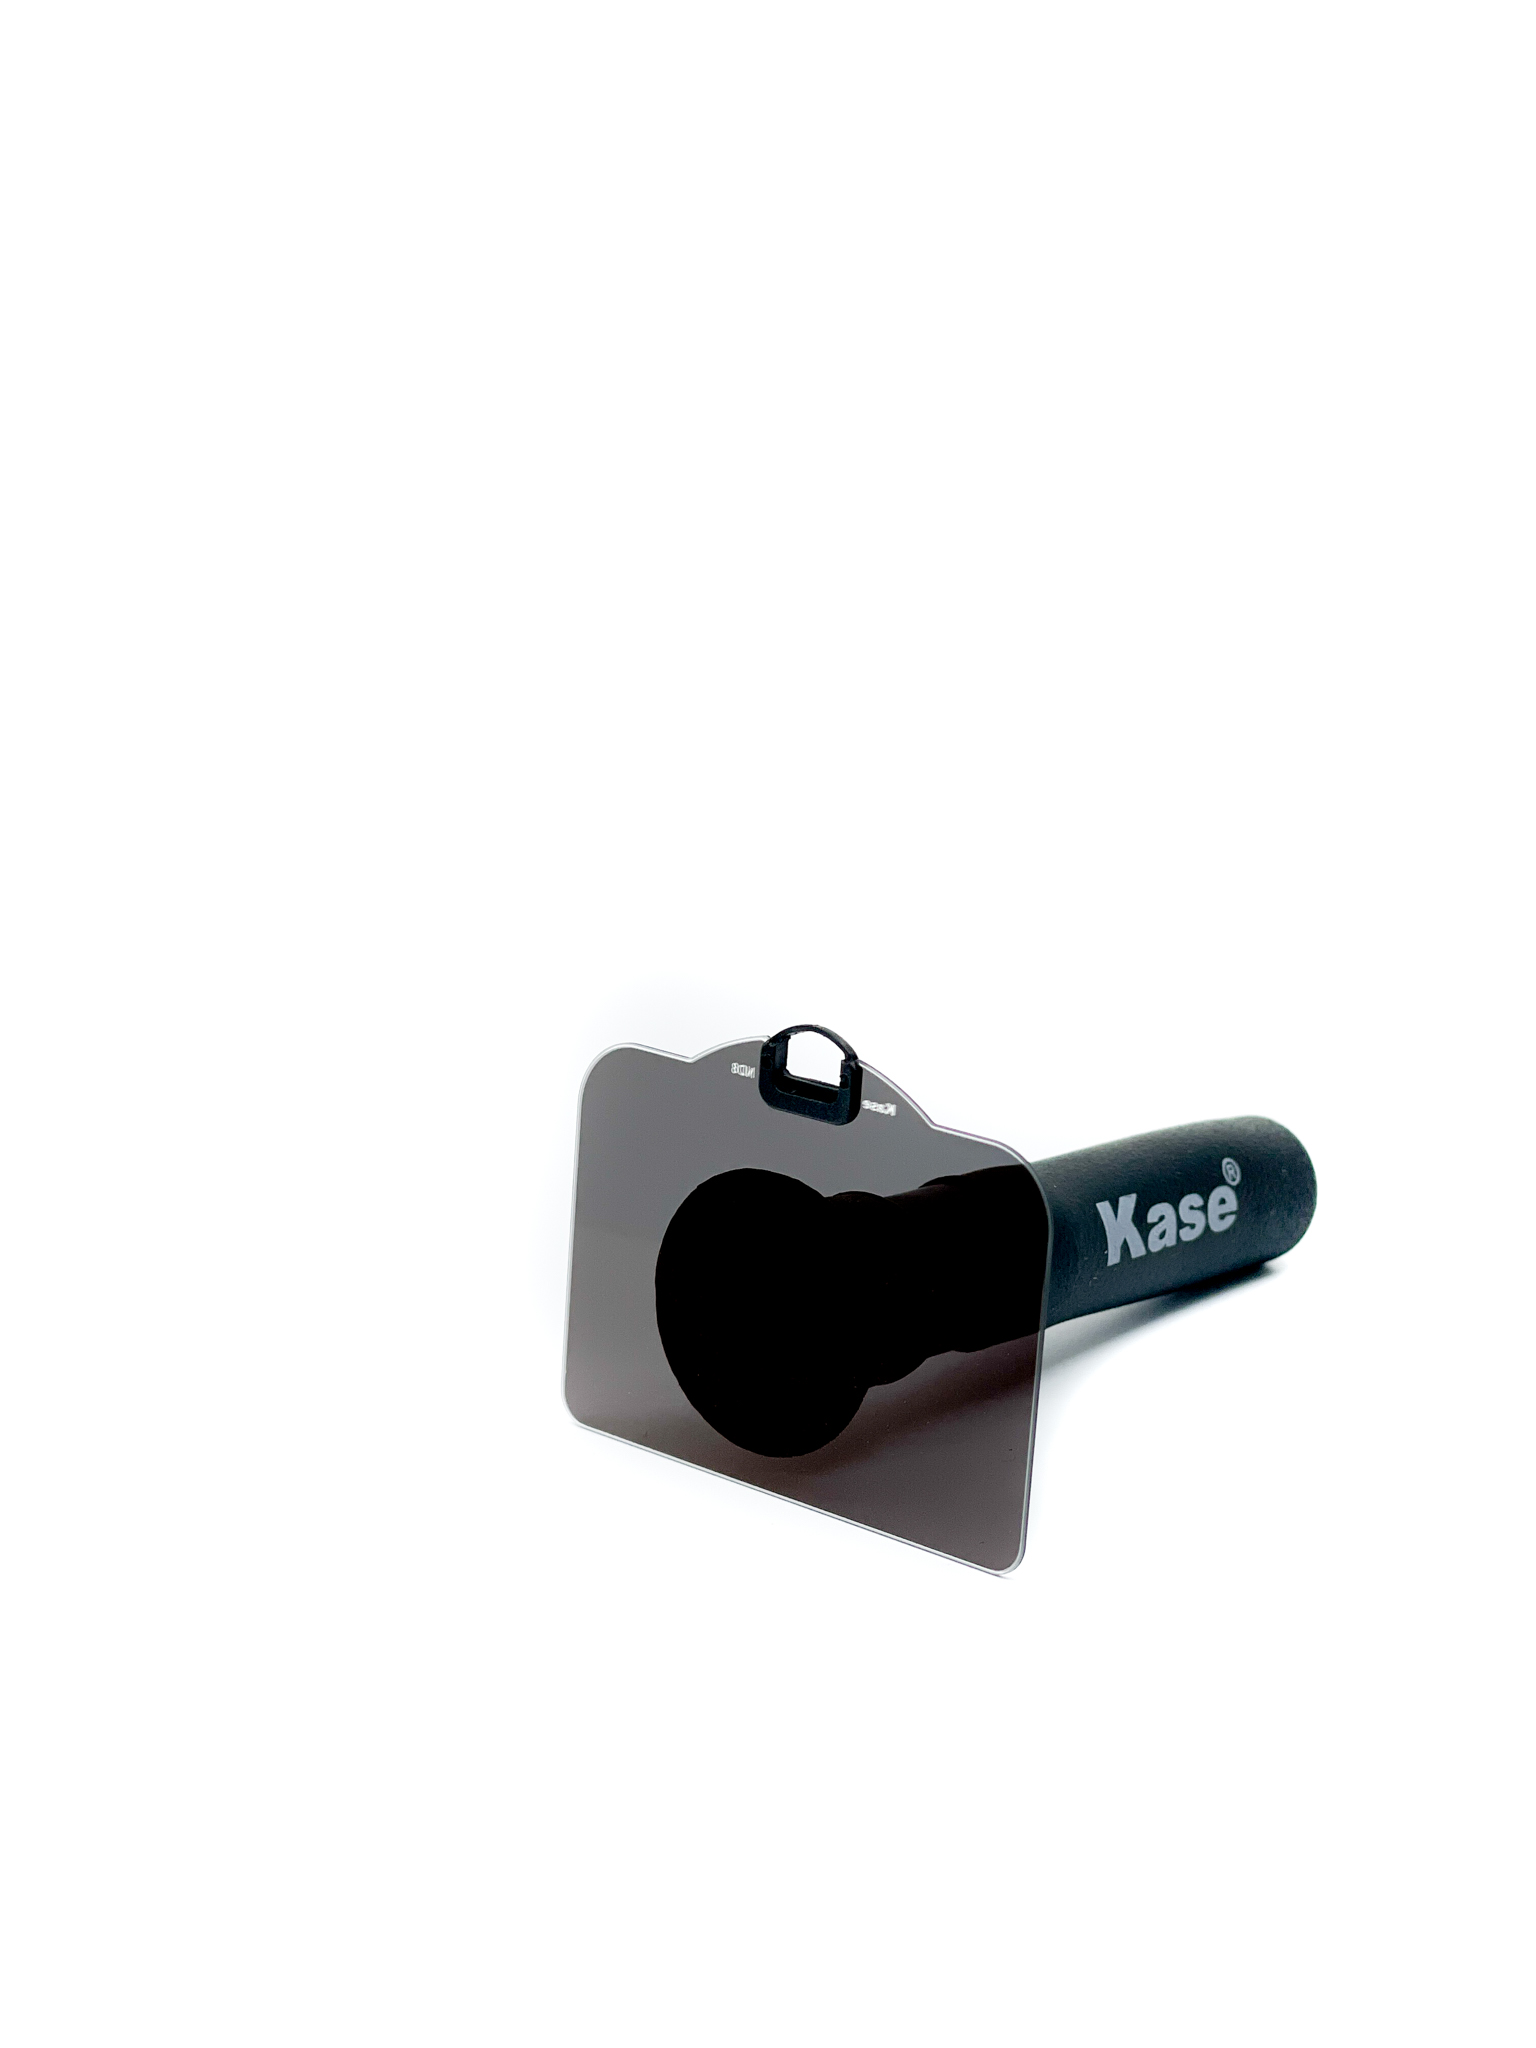
- Attach the ND filter: Carefully attach the ND filter to your lens. Check that the filter is securely mounted to prevent light leaks or movement during the exposure.
- Adjust camera settings:
- Switch your camera to manual mode for full control over exposure settings;
- Set a low ISO (e.g., ISO 100-200) to minimise noise in the final image;
- Choose an aperture between f8-f16. It’s better not to use a smaller aperture to avoid diffractions;
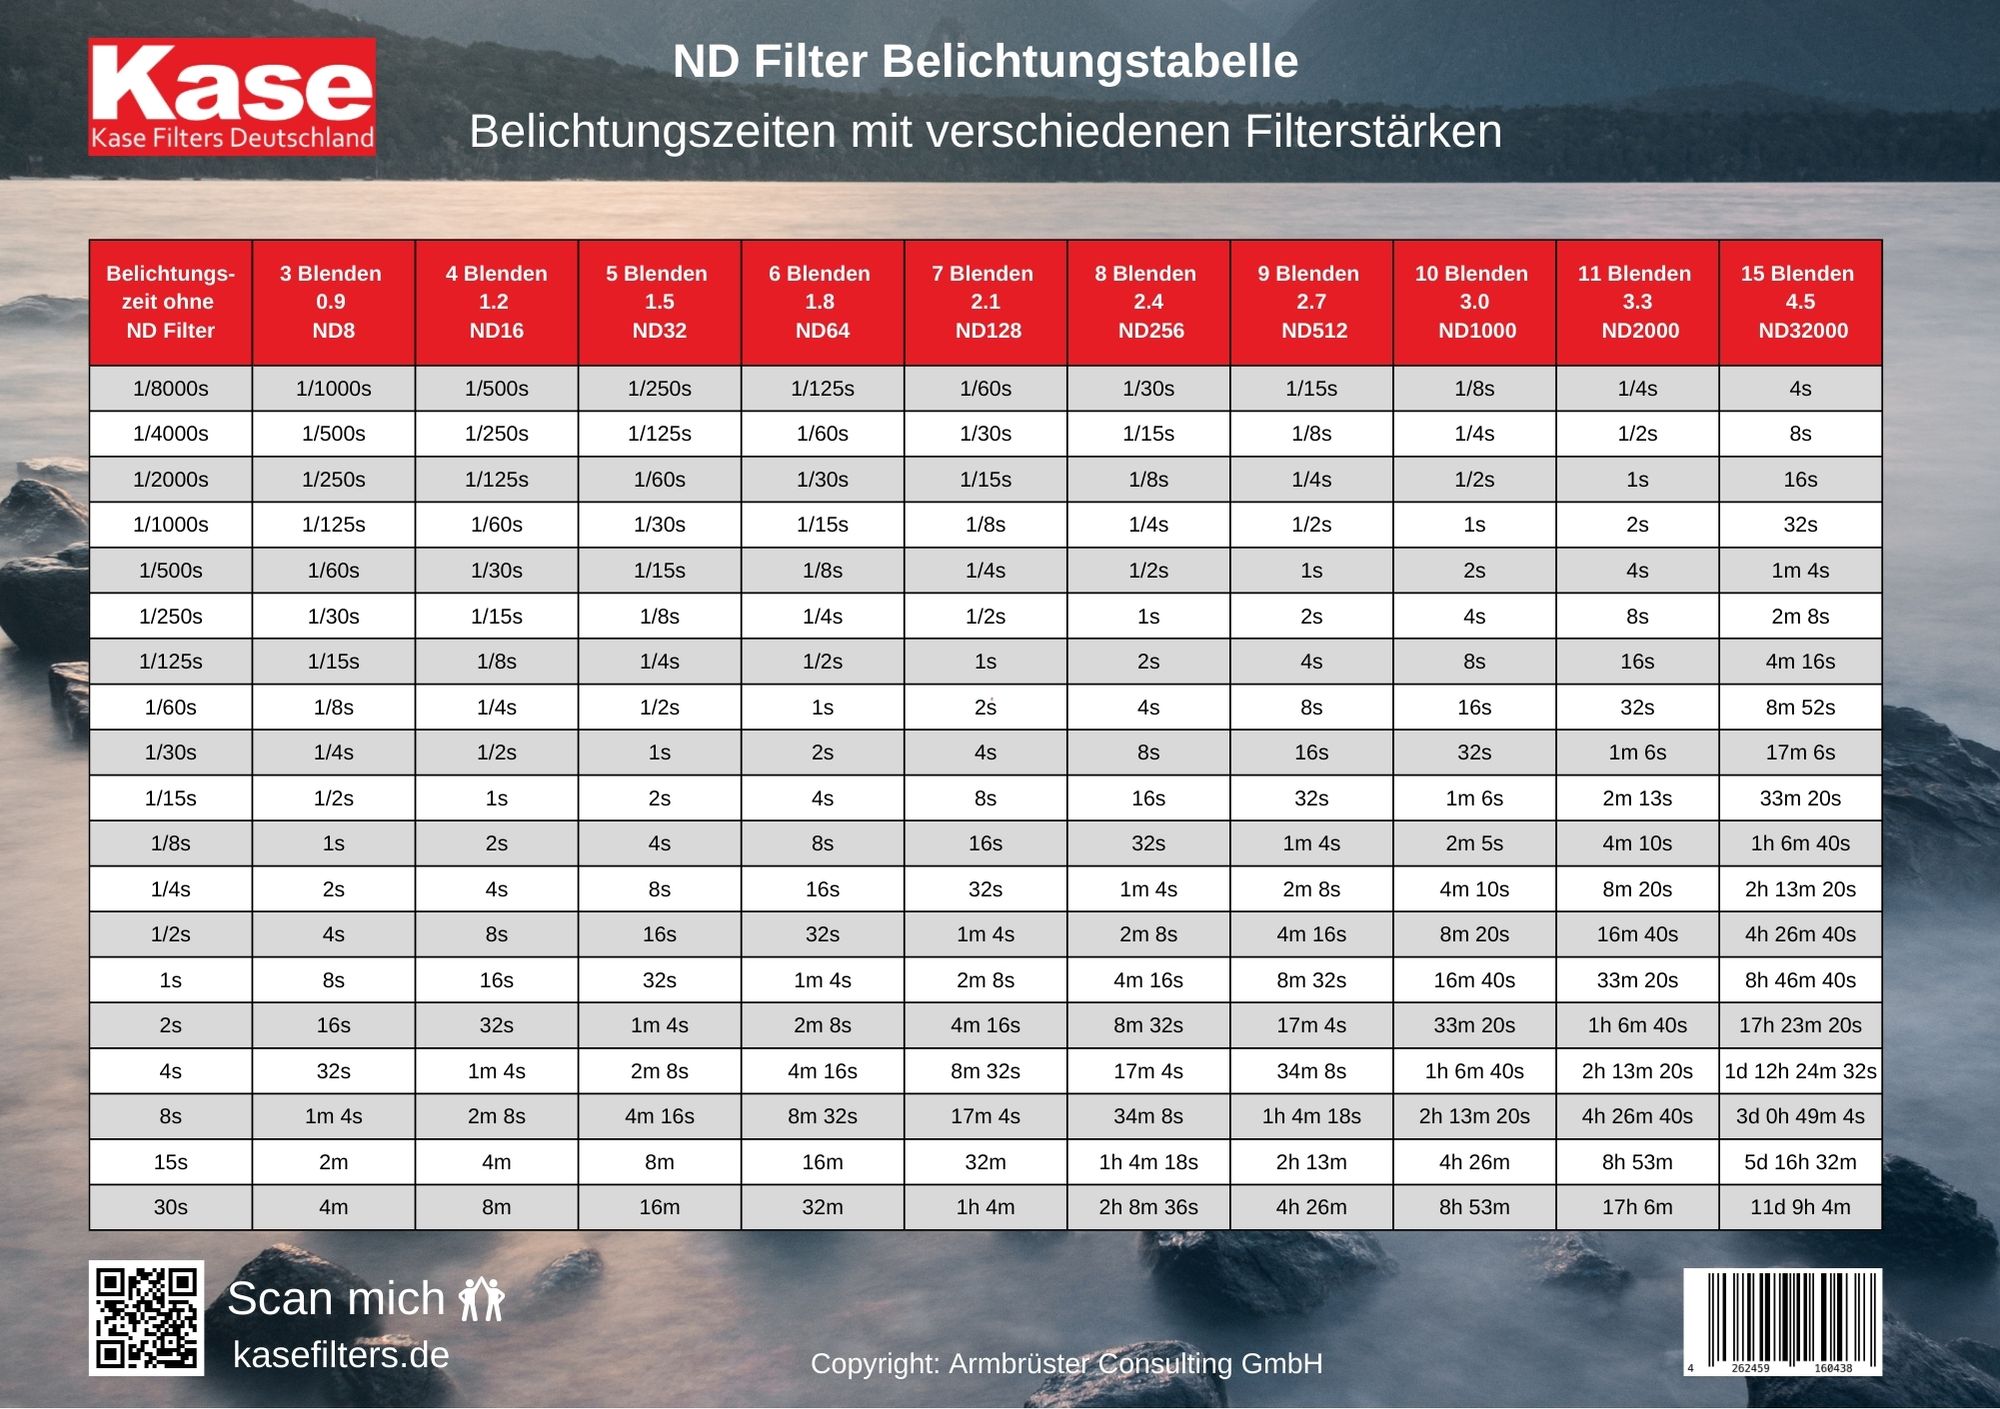
- Calculate the exposure time based on the strength of your ND filter. Use our ND filter exposure chart or this formula:
Adjusted Shutter Speed=Original Shutter Speed×ND Filter Factor
Example: If your original shutter speed without ND filter is 1/60s and you're using a 6-stop ND filter (factor of 64), the adjusted shutter speed would be approximately 1 second (1/60s * 64 = 1s).
- Use remote shutter release or timer: Trigger the camera without touching it to ensure maximum sharpness.
- Capture the shot! Control the time since elements may move faster than what you expected, and you can stop the shooting at the right moment.
PRO tip: If you want to keep some objects sharp on the photo (e.g. you want to blur the sky but keep the grass sharp and it’s moving because of the wind), take two shots. The first shot should be with an ND filter and have all the motion blur needed. Then, take off the filter and take one more shot with short exposure. You can blend these two shots in post-processing to achieve the desired effect and only have the blurred objects you want.
Which ND filter to use for long-exposure photography?
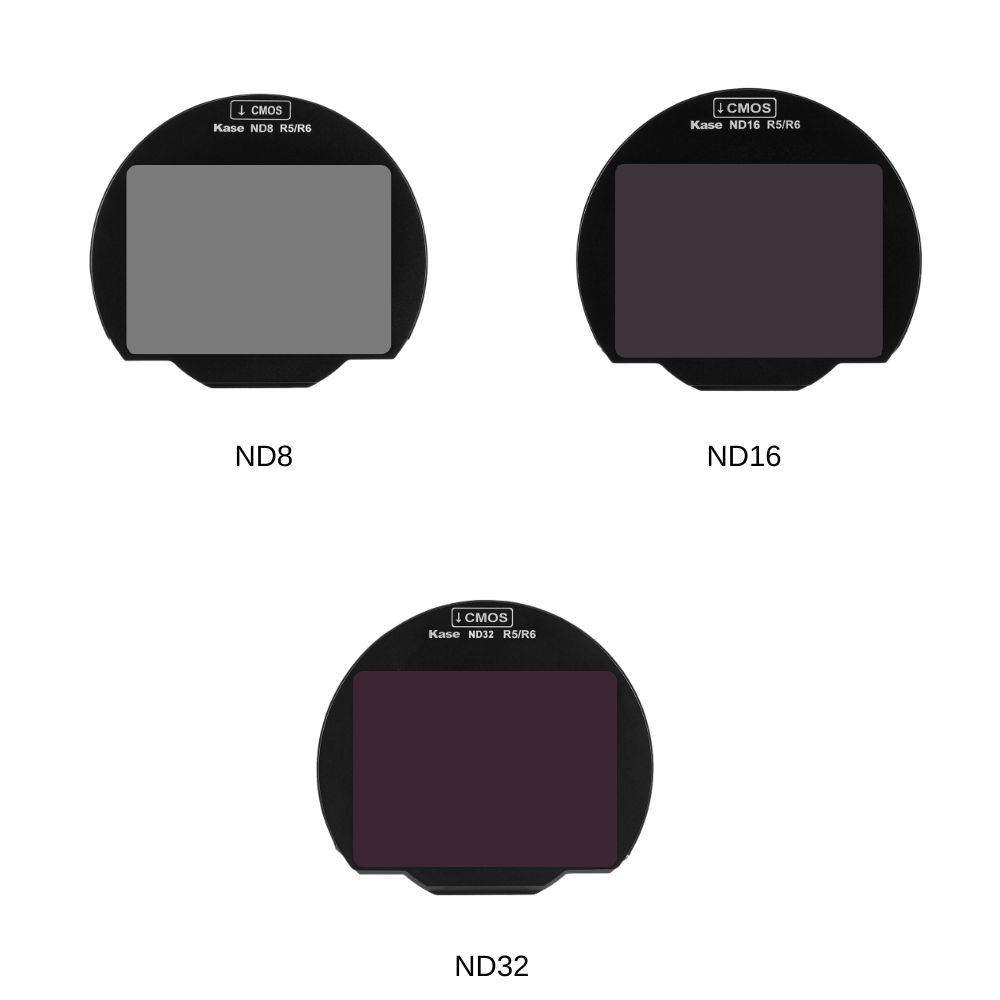
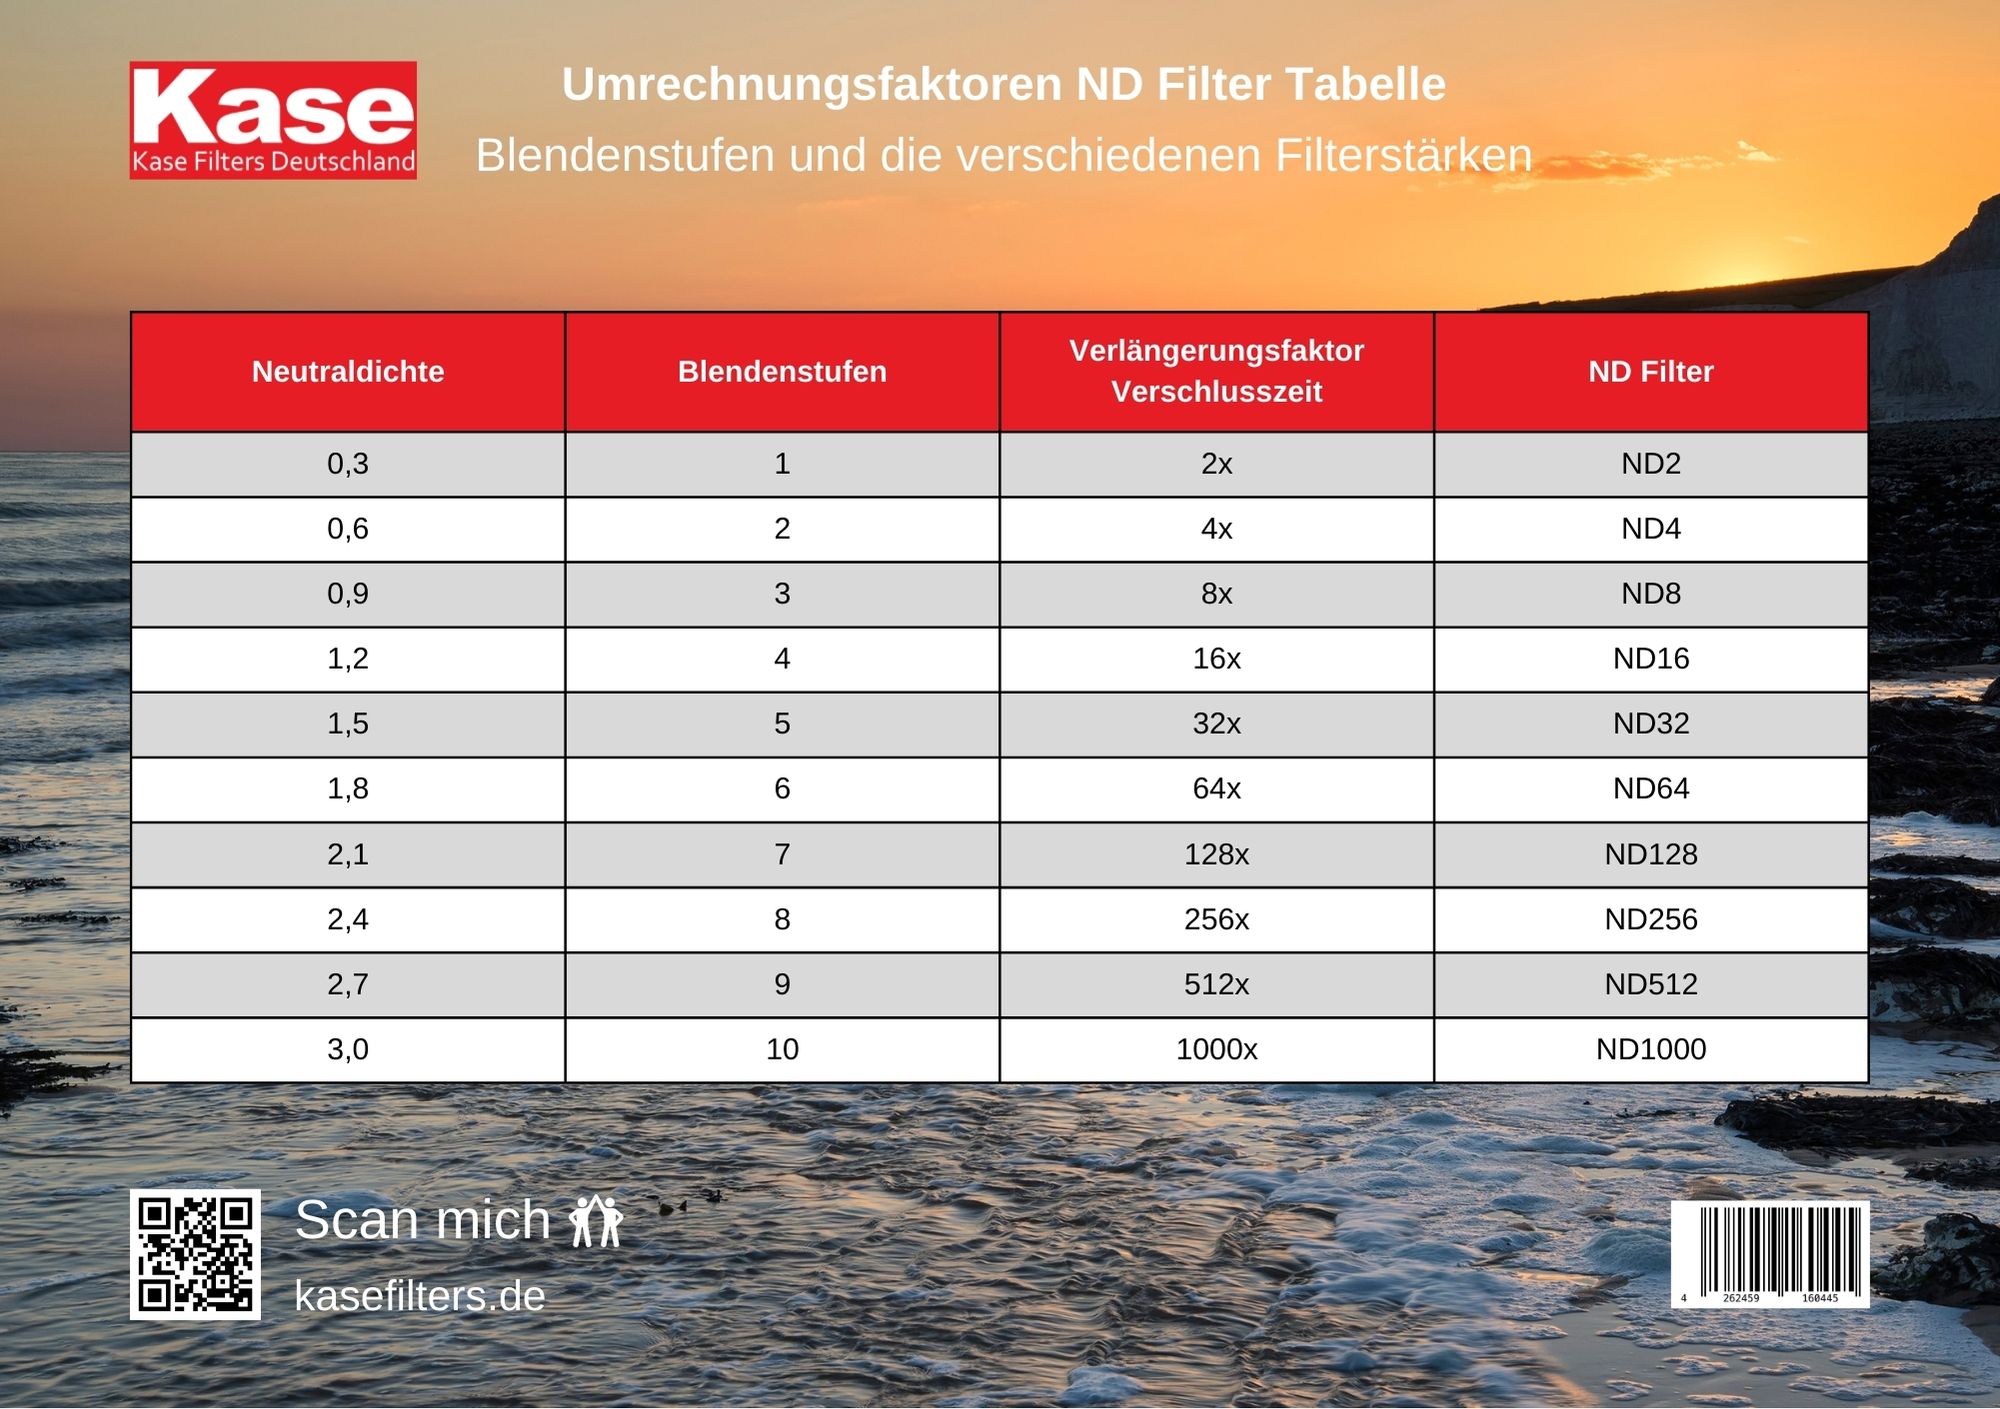
ND filters come in various strengths, measured in stops, which determine the amount of light they block. Which stop to use depends on the lighting conditions and desired effect, therefore there is no one best ND filter for all scenarios. But we prepared a list of the most used ND filters for long exposure:
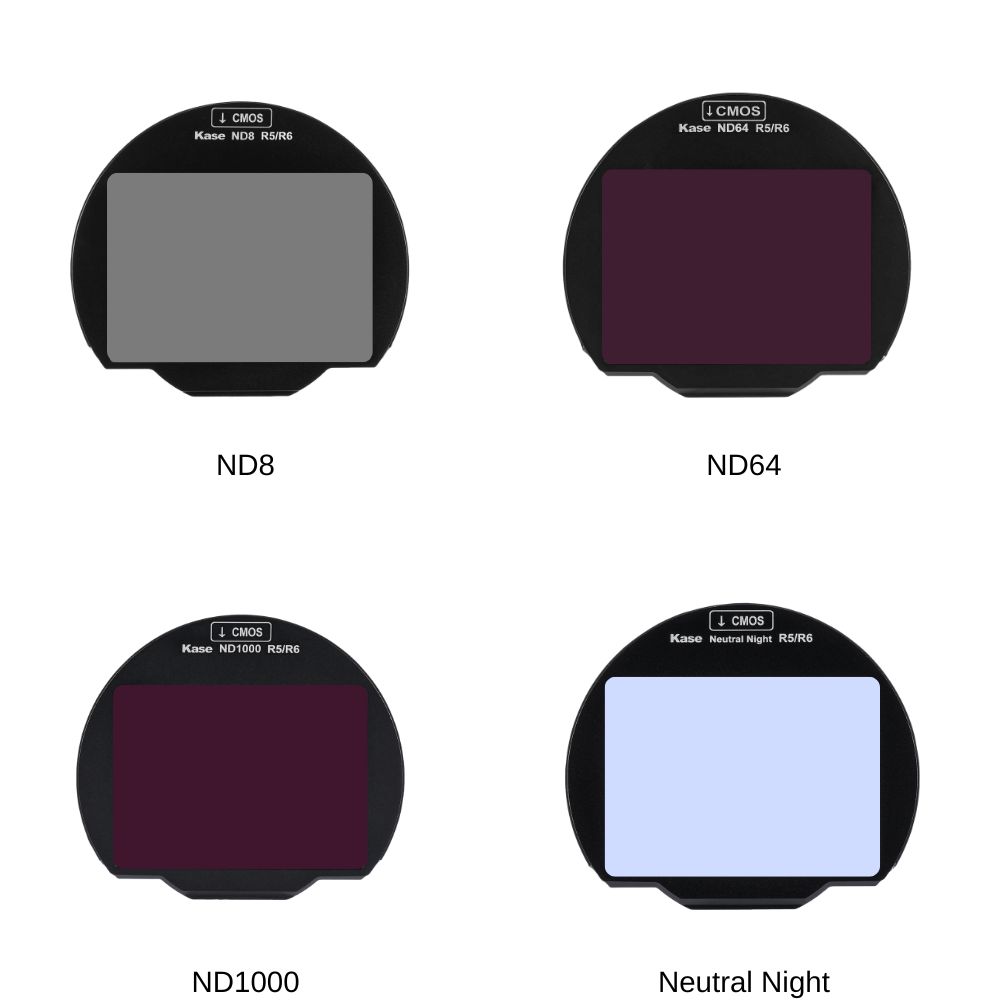
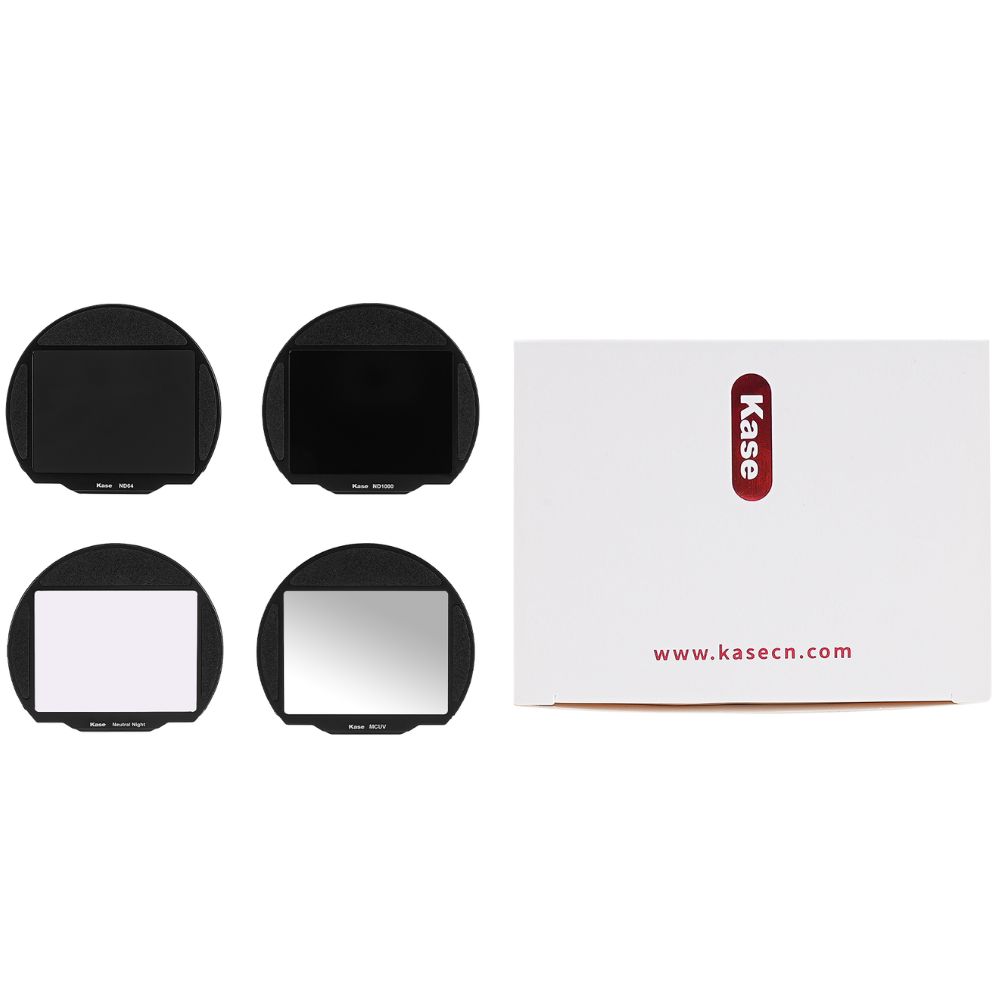
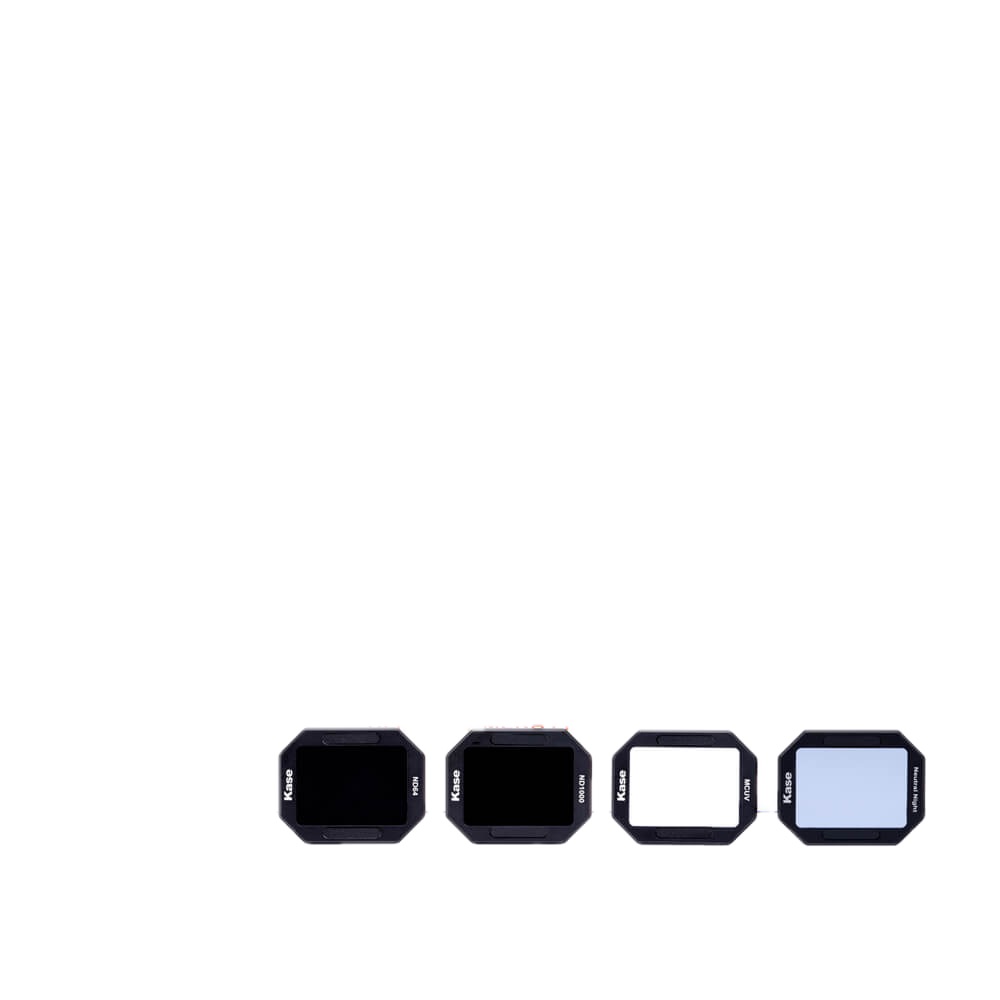
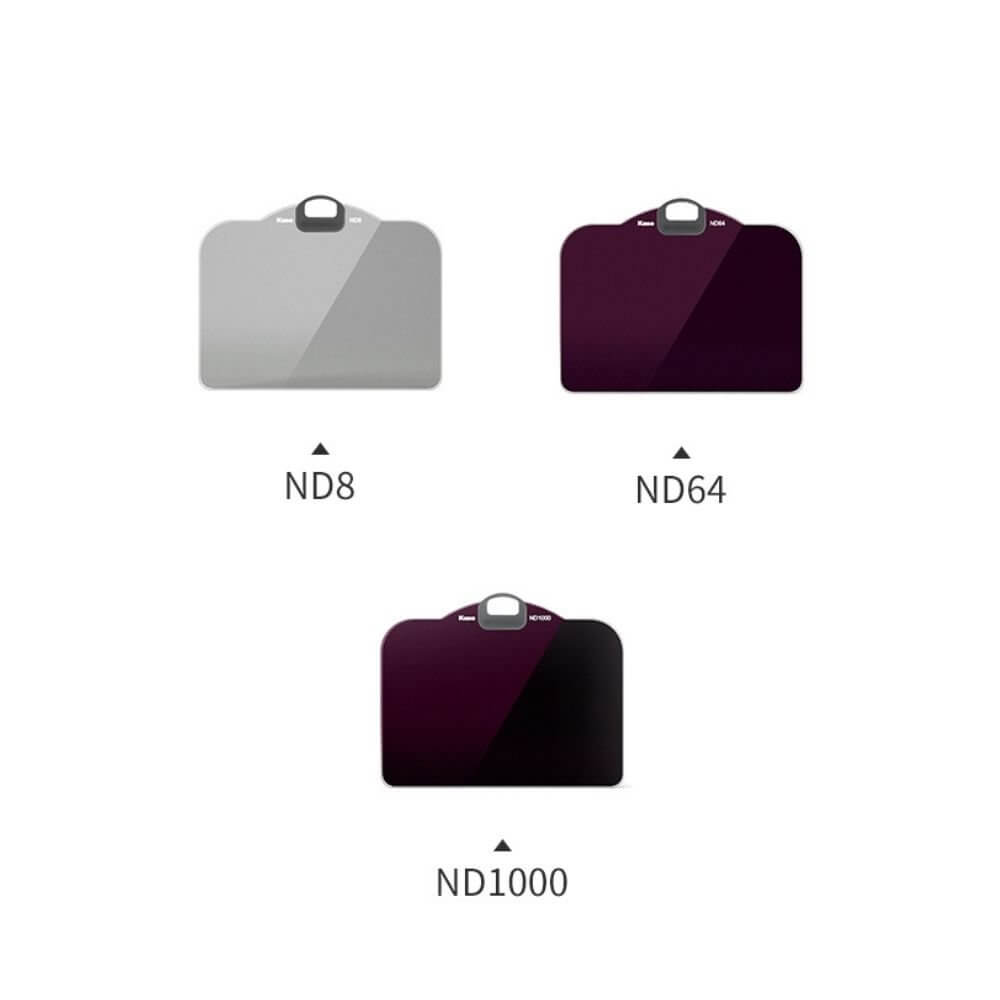
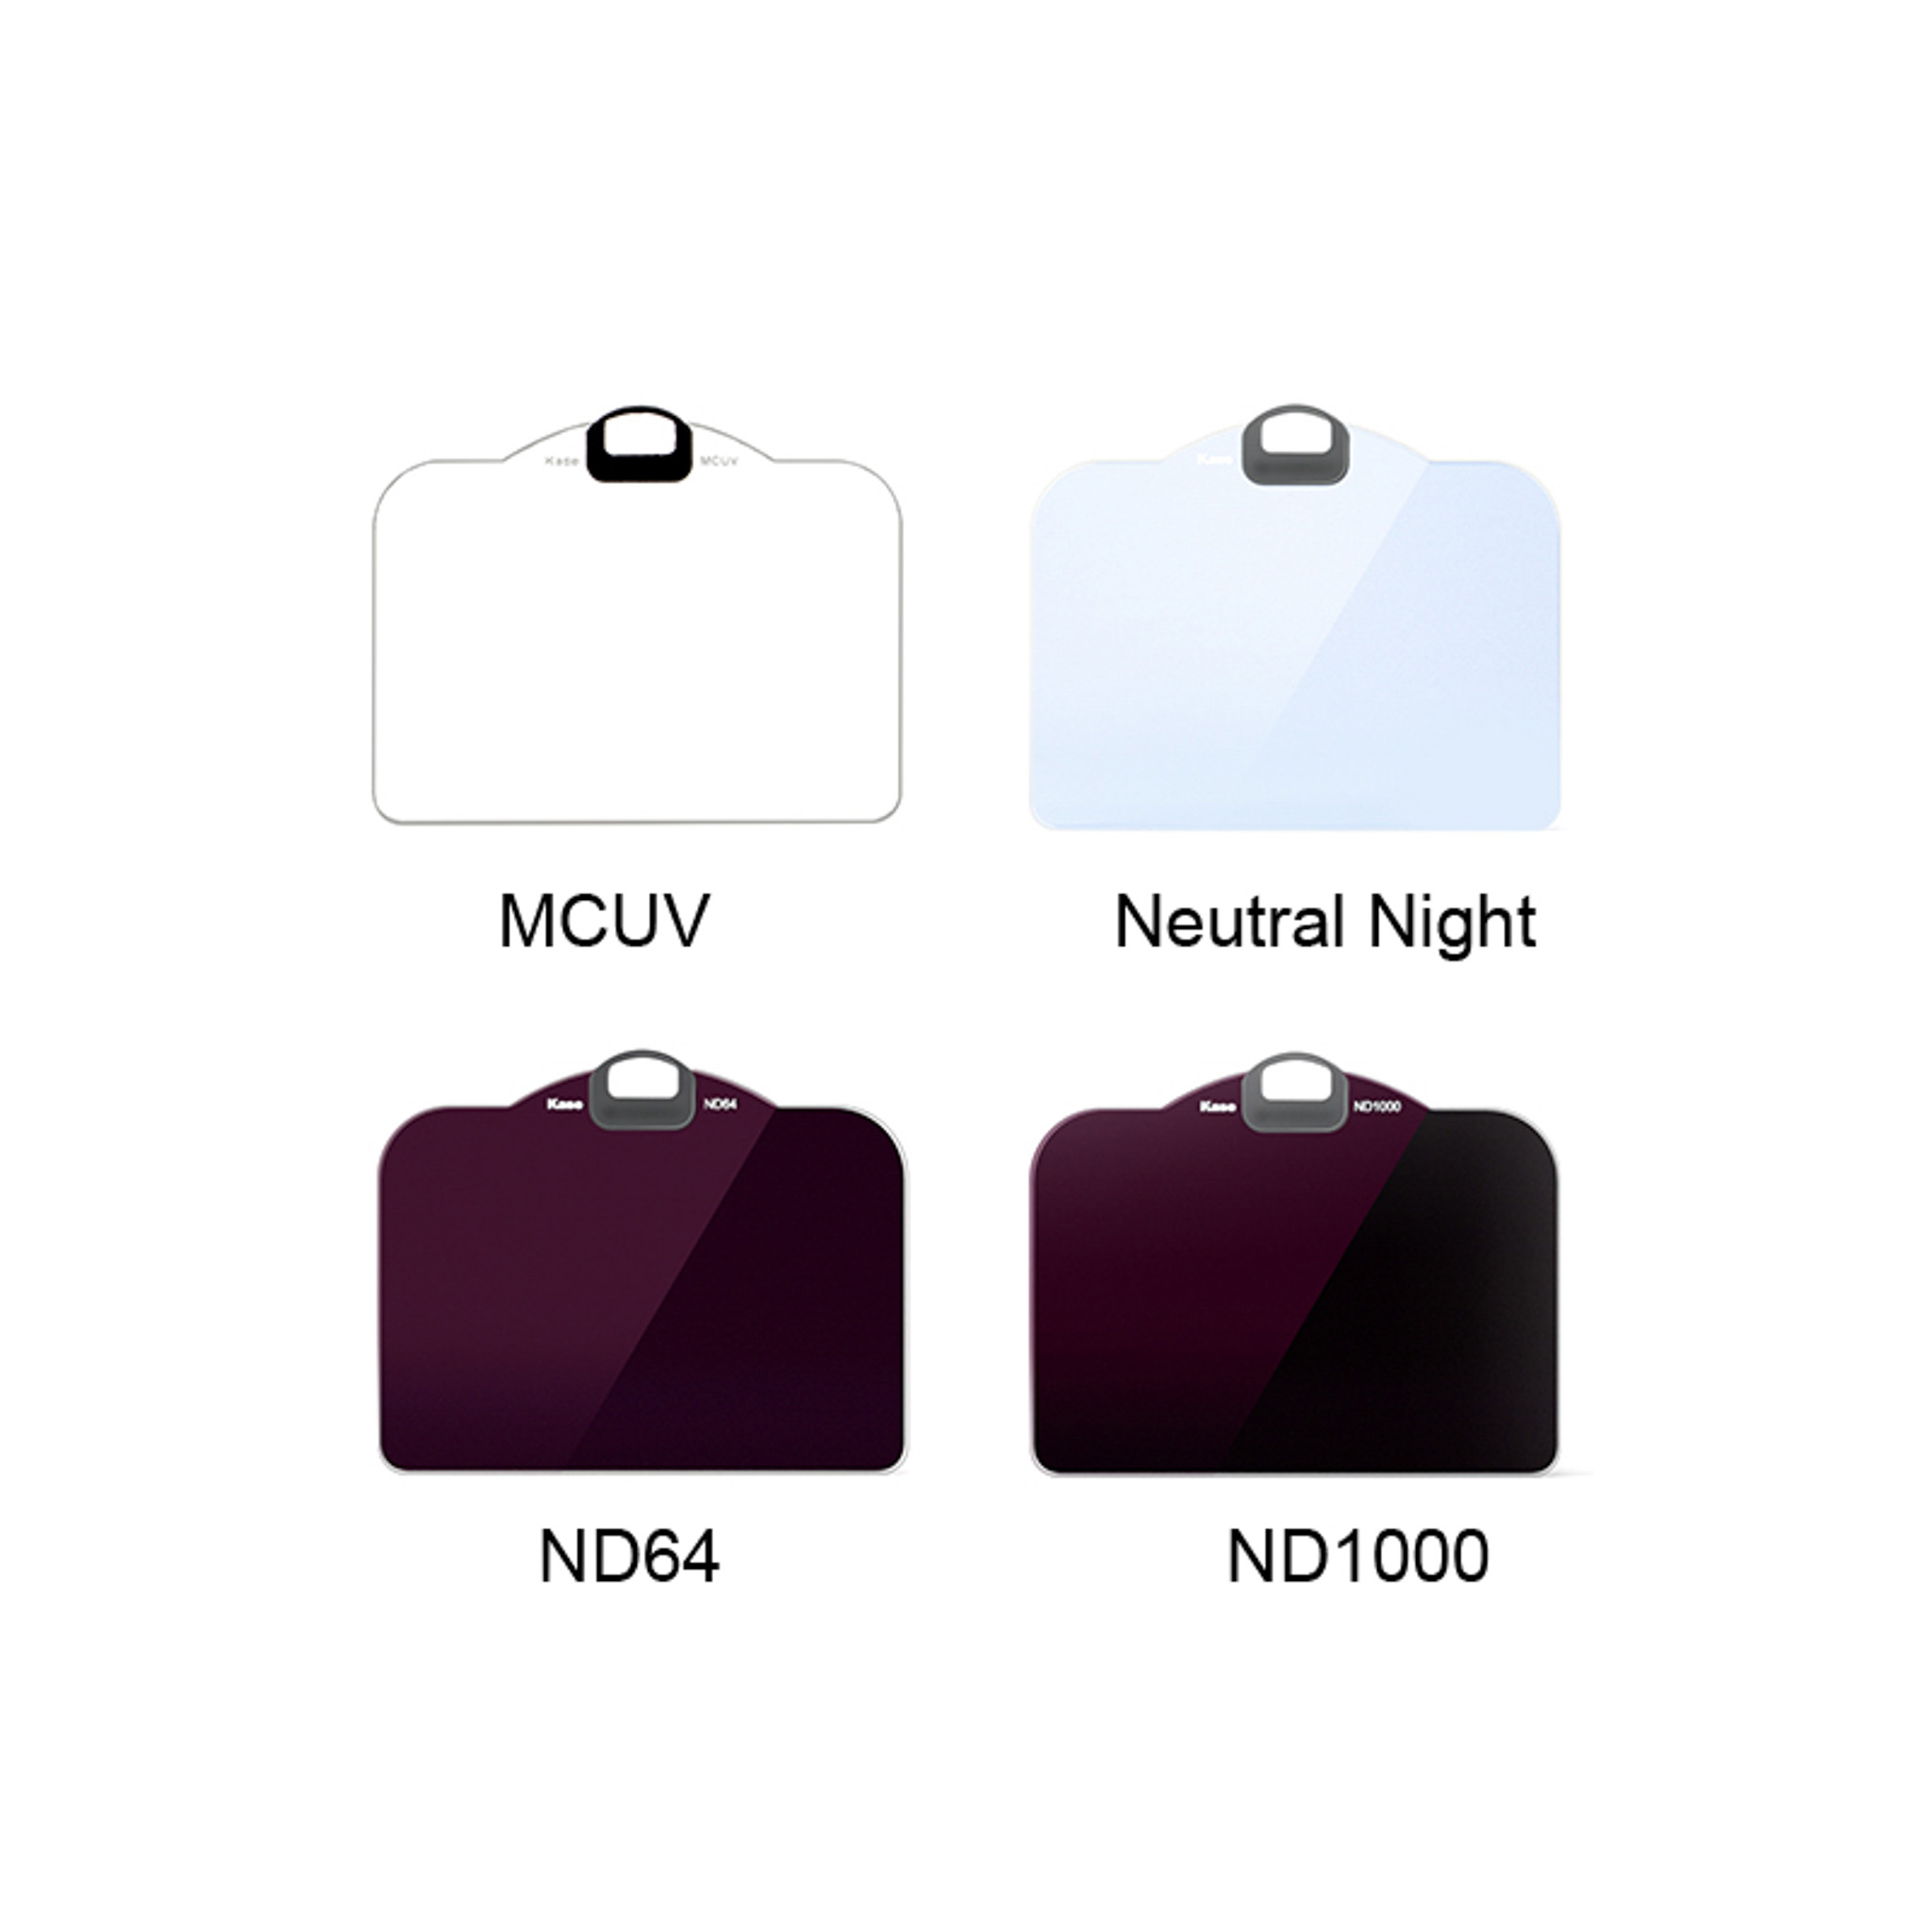
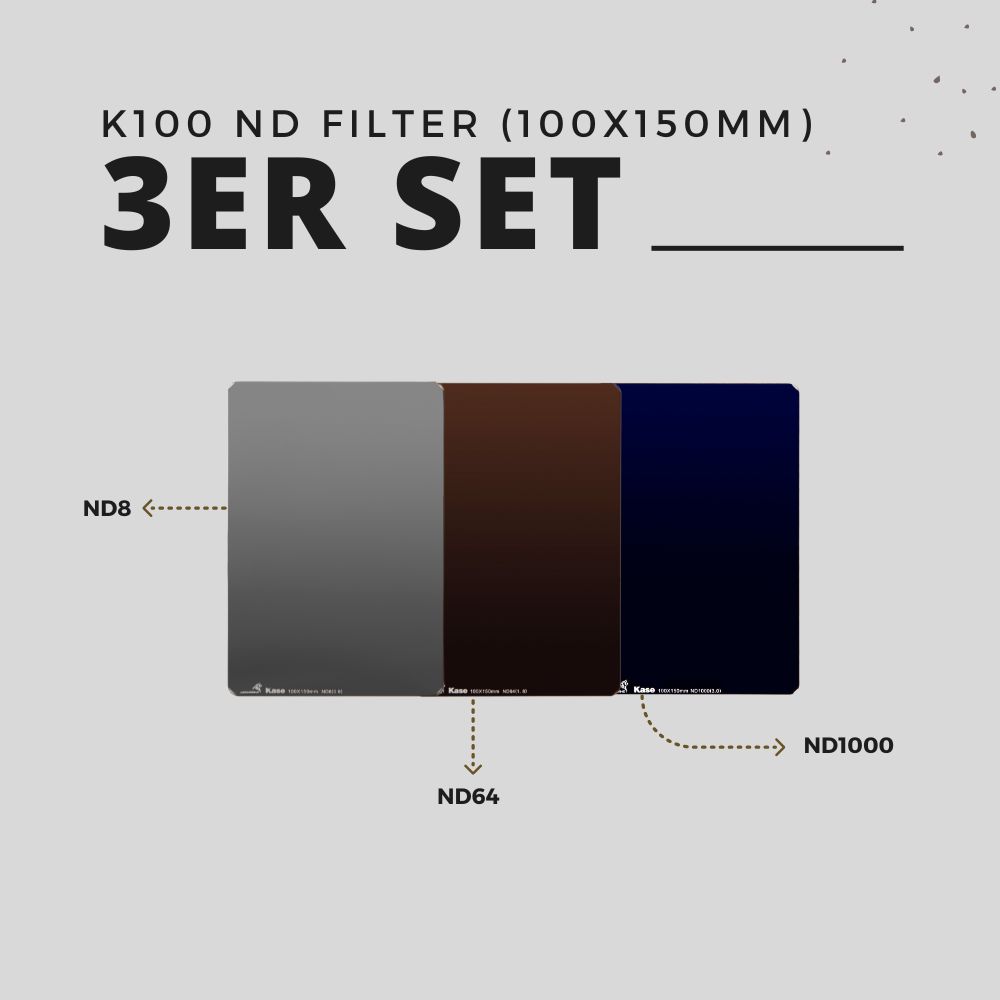
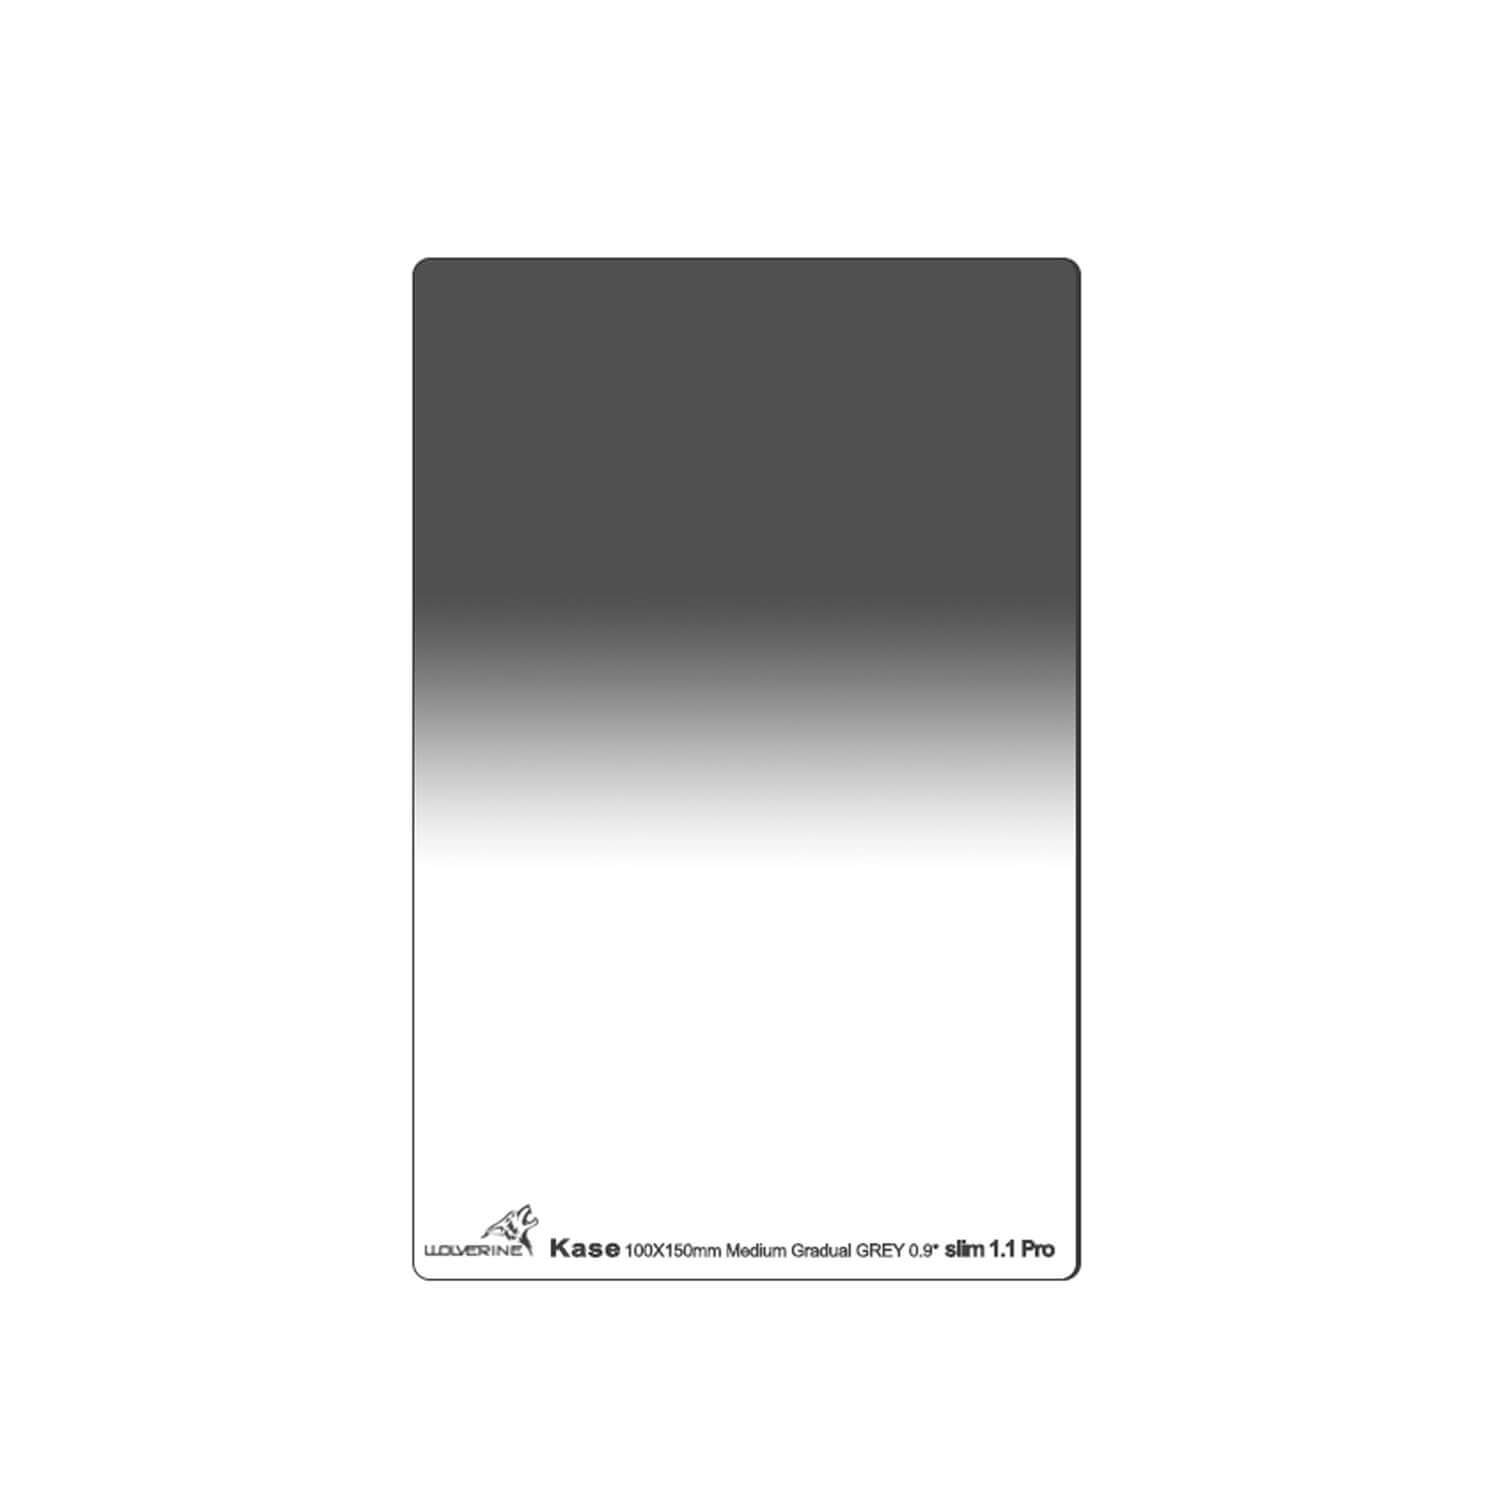
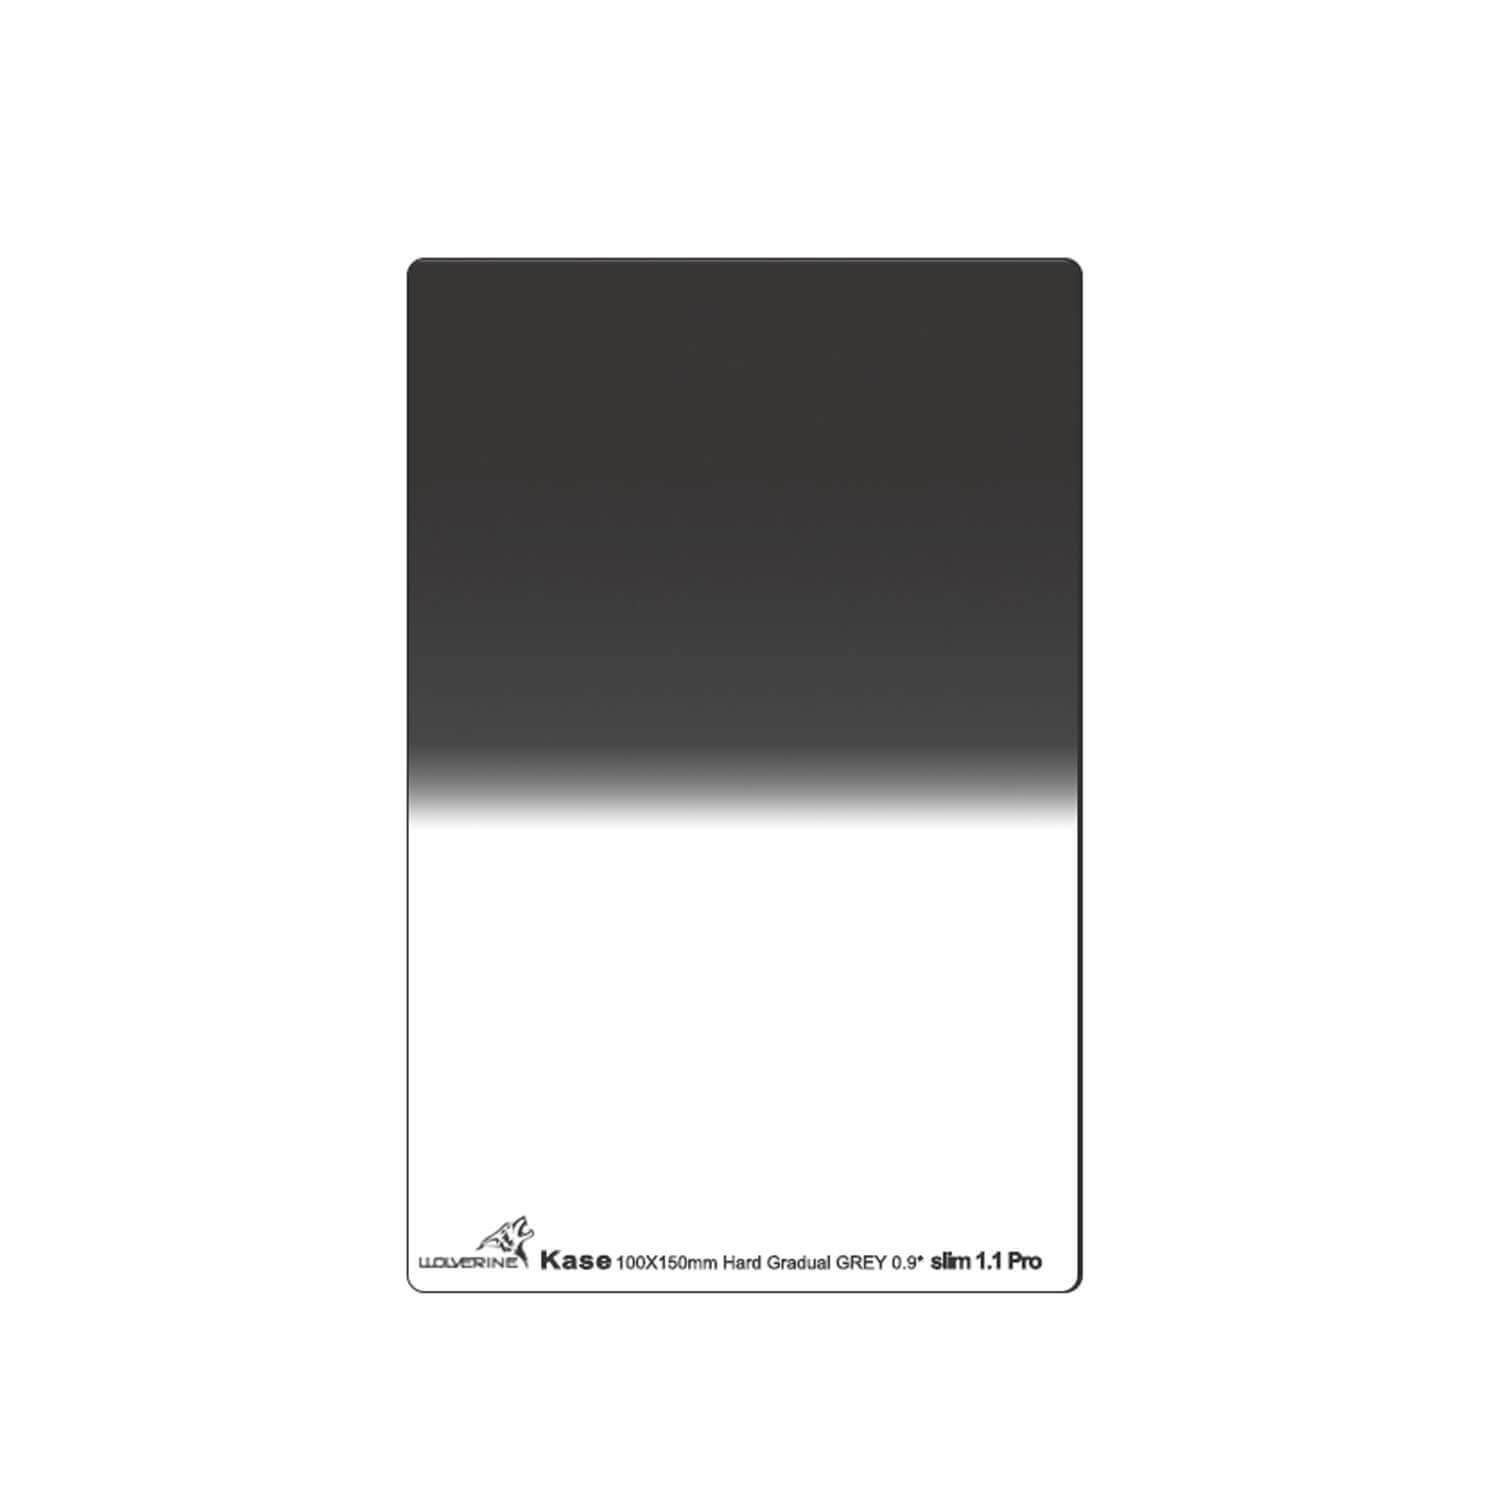
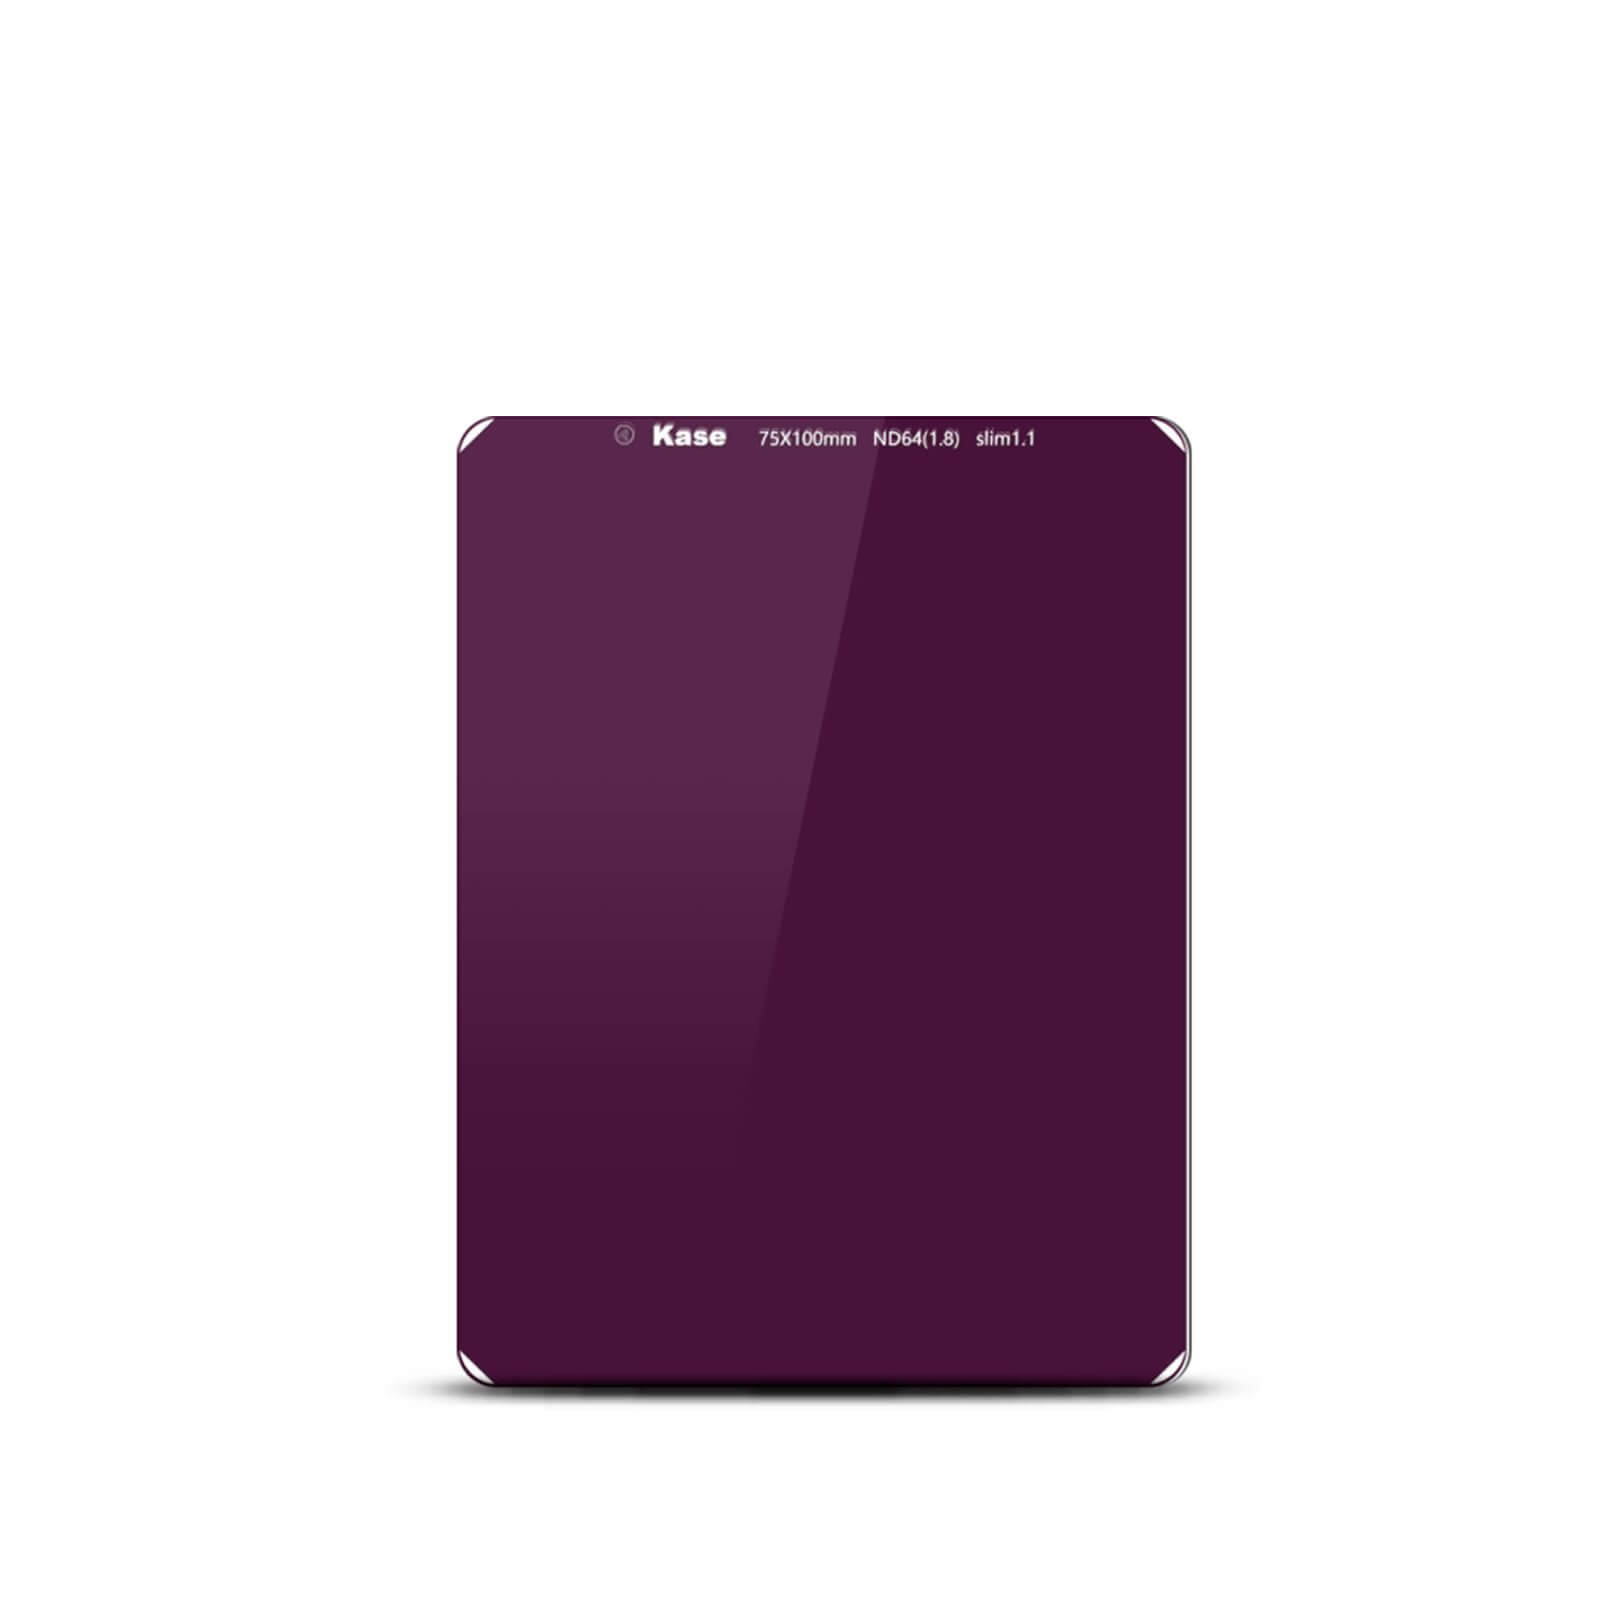
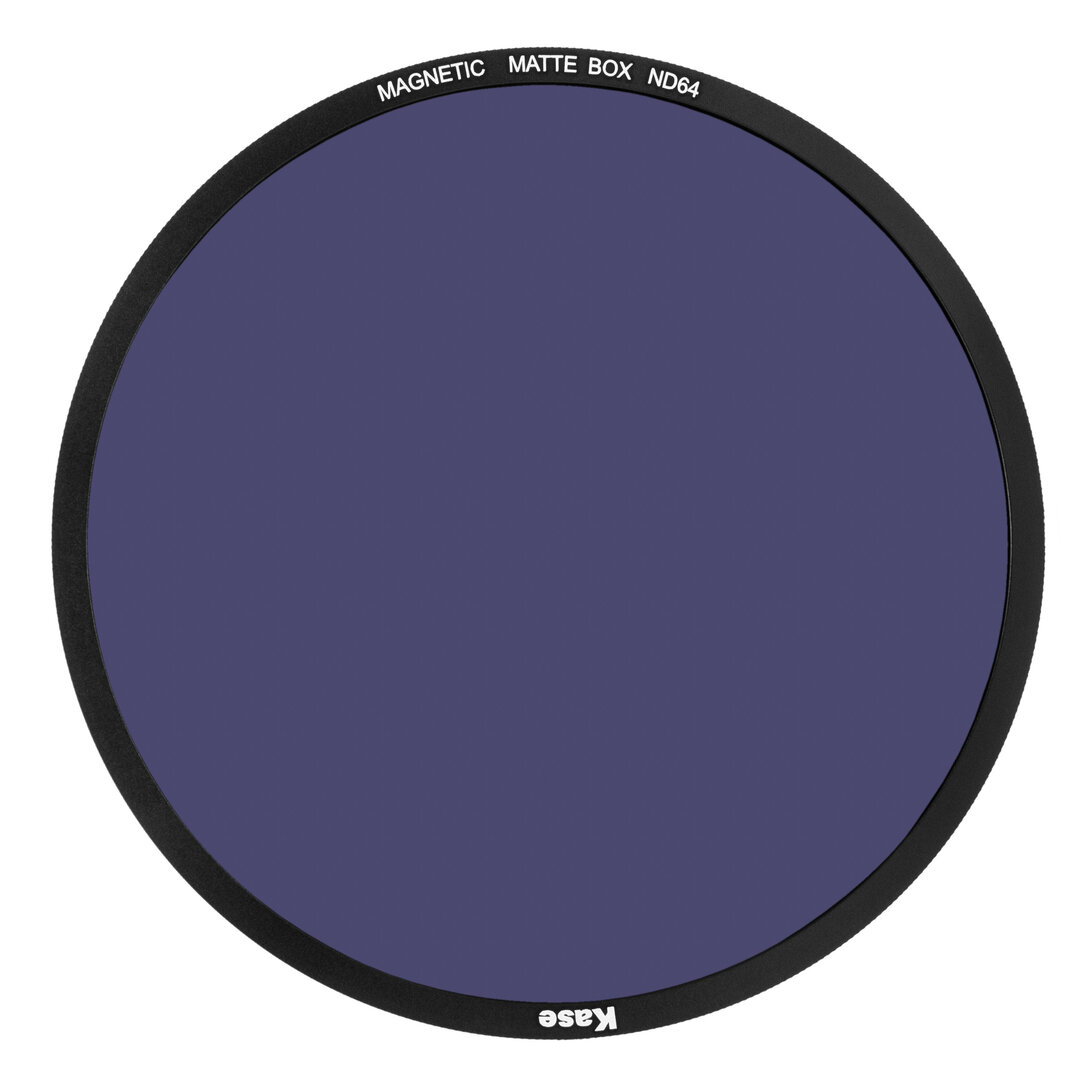
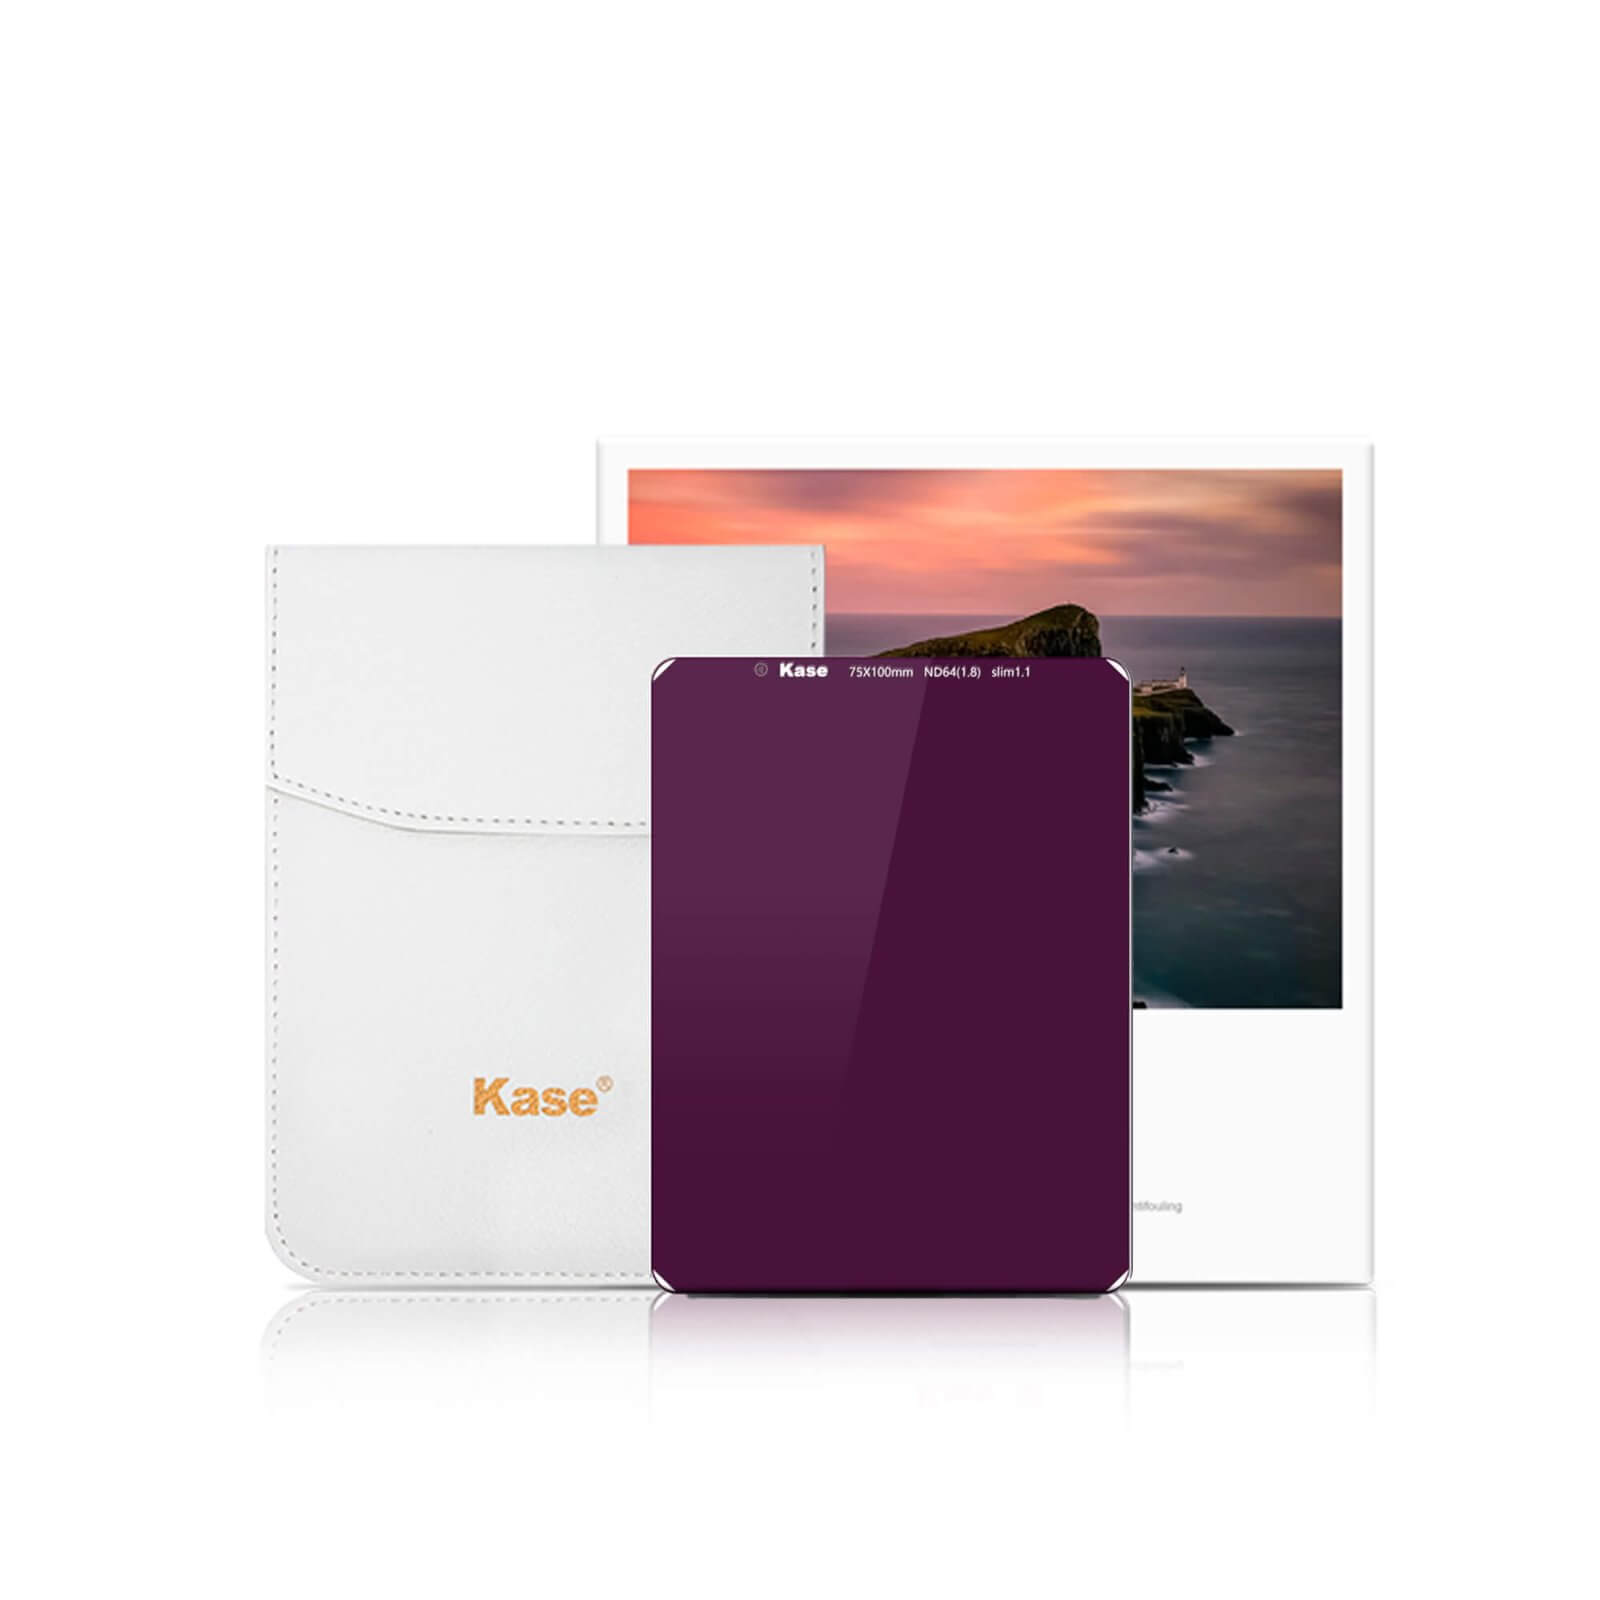
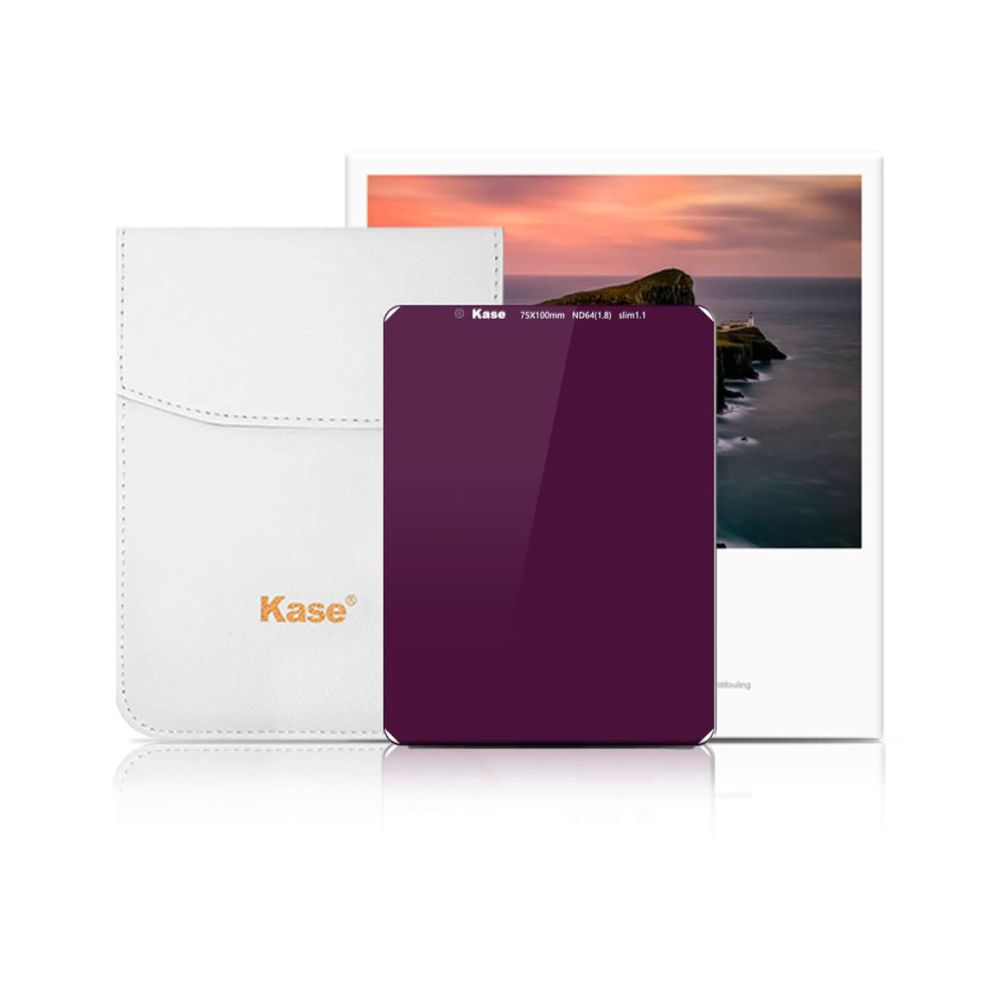
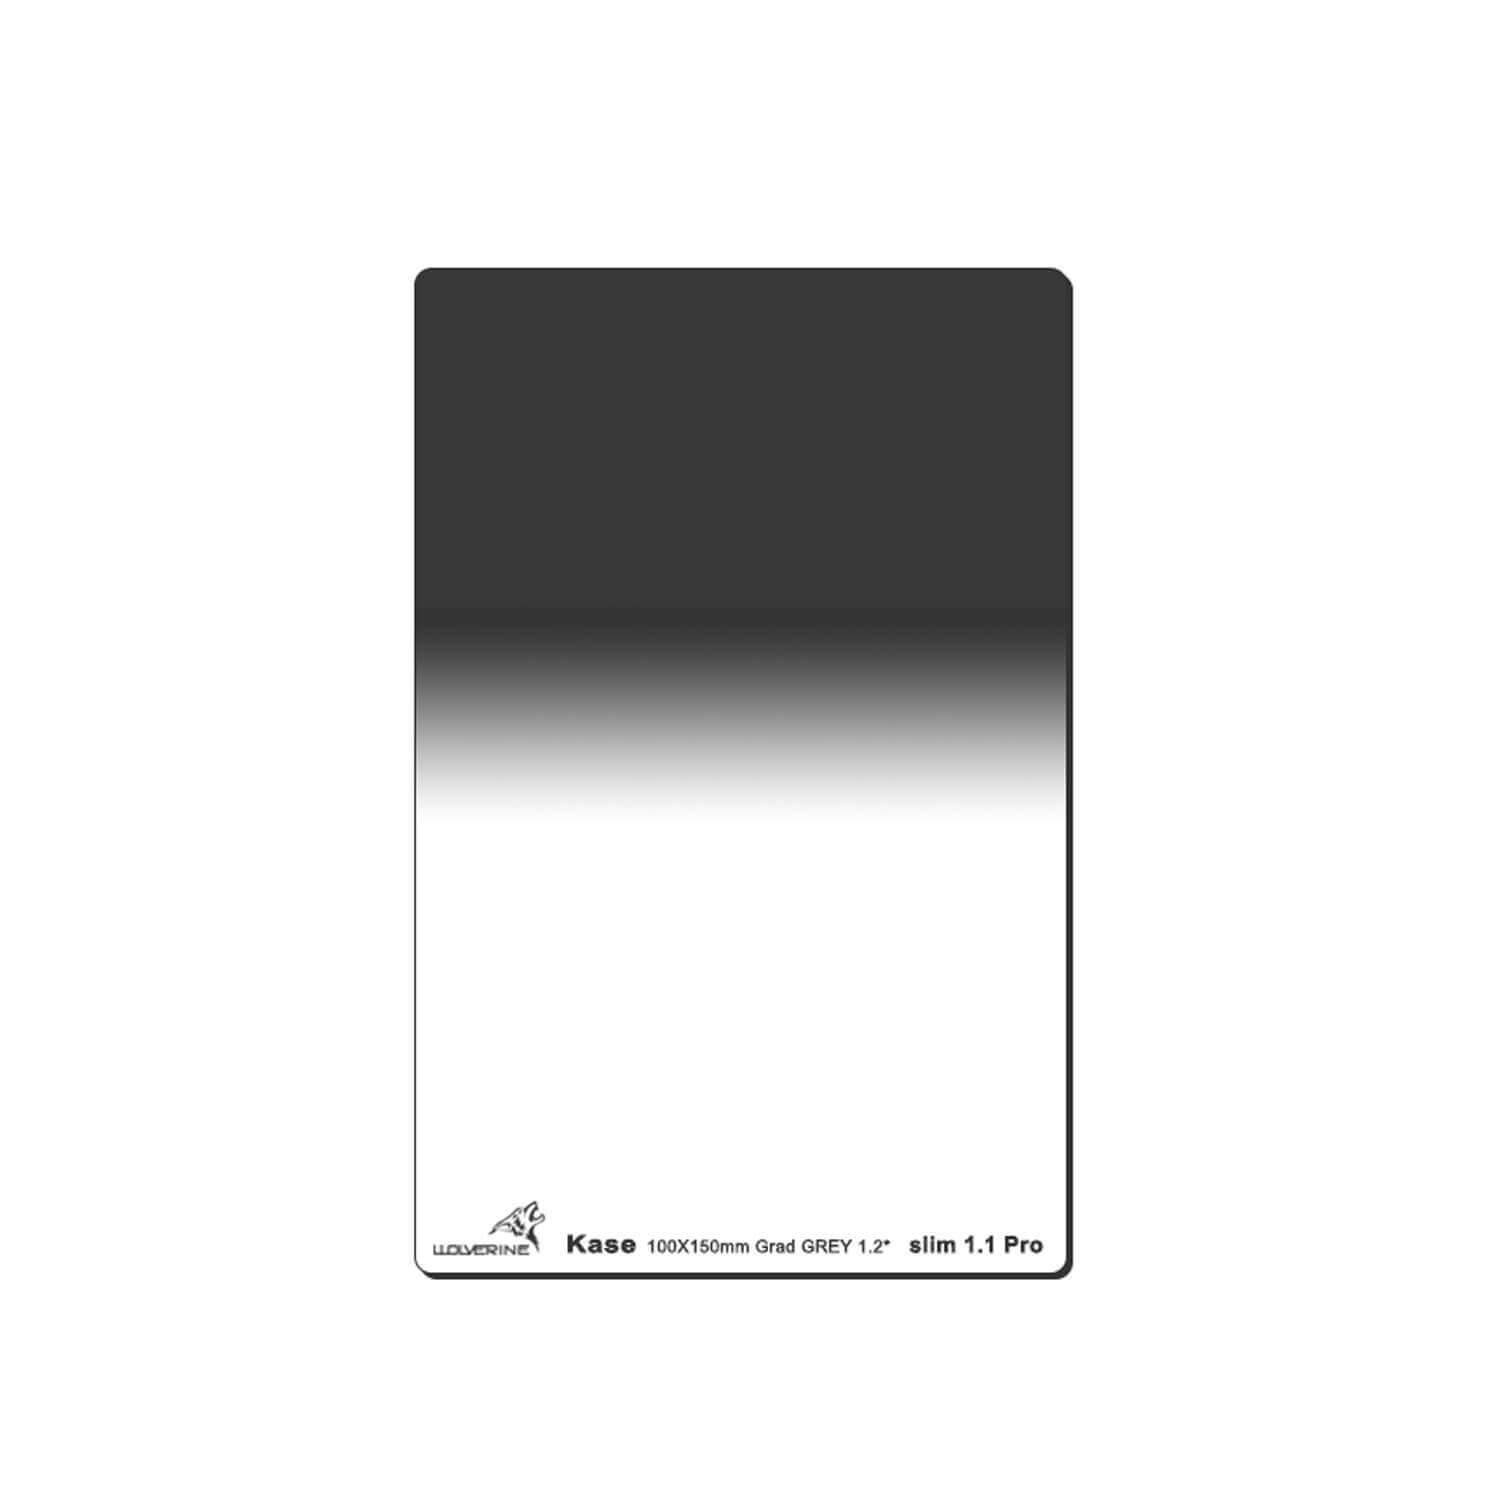
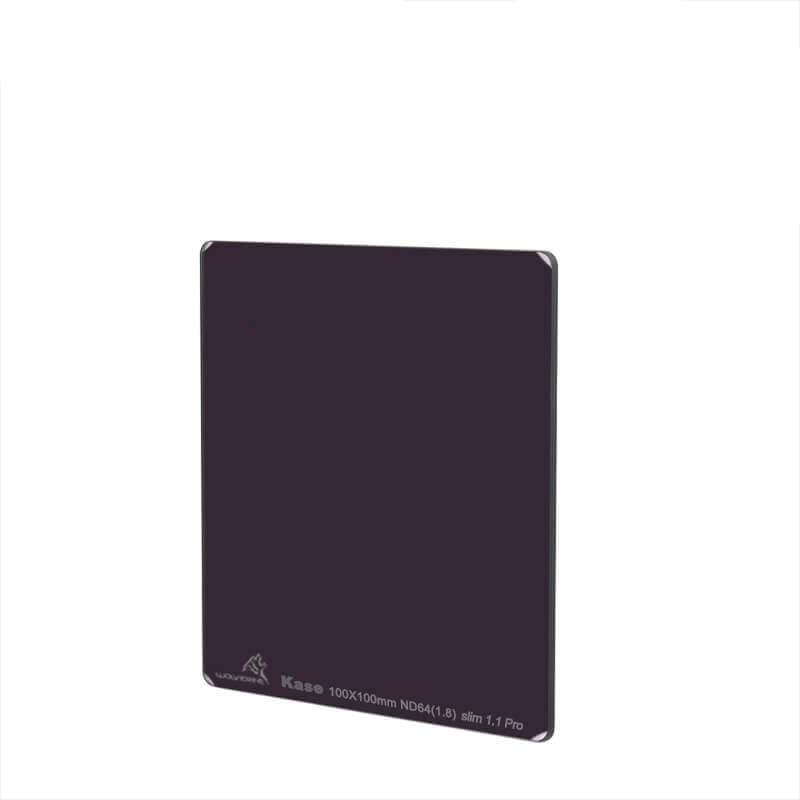
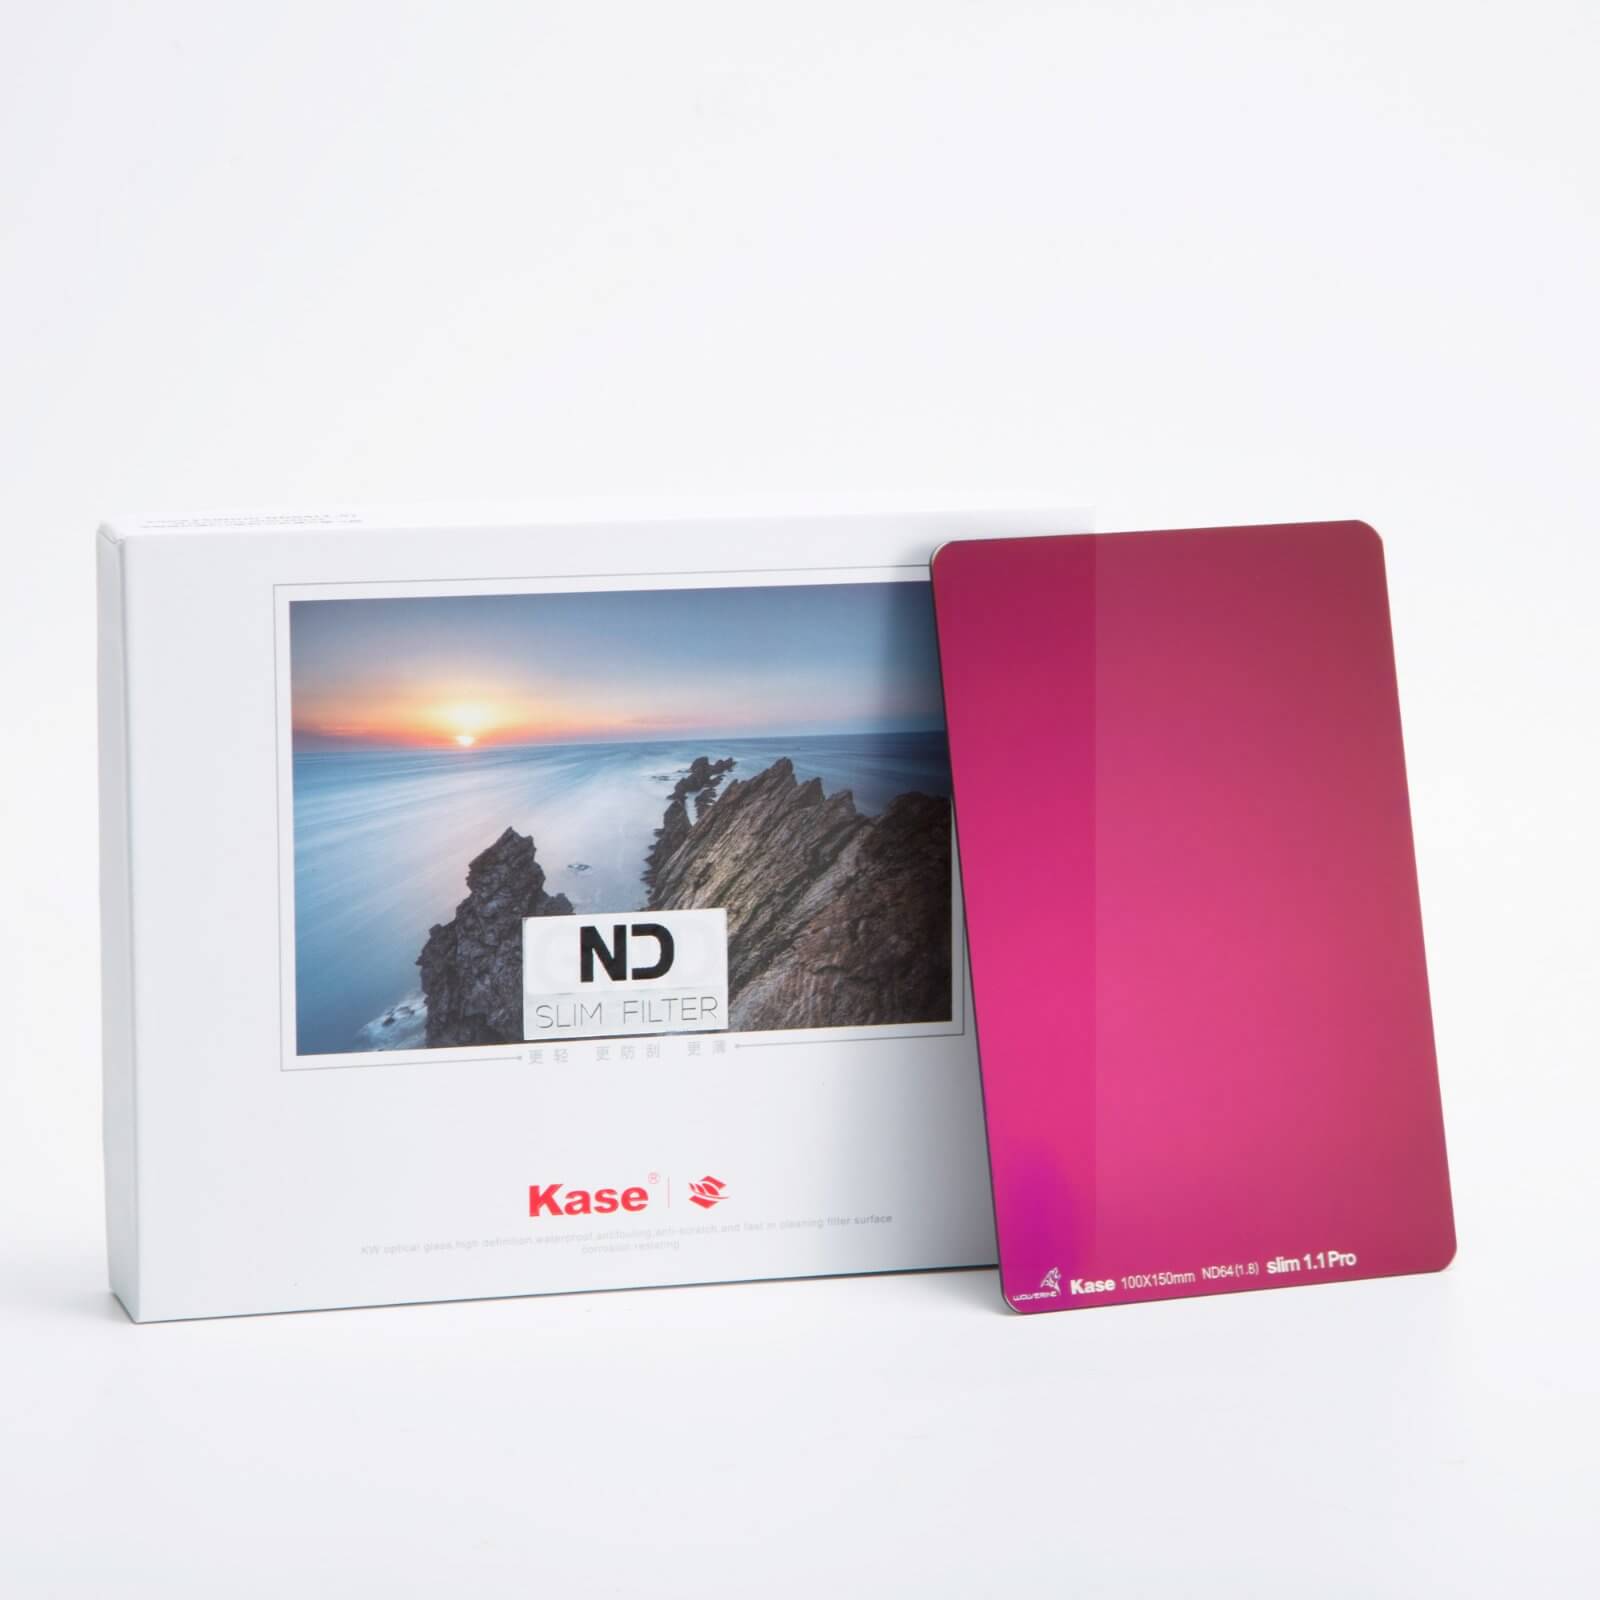
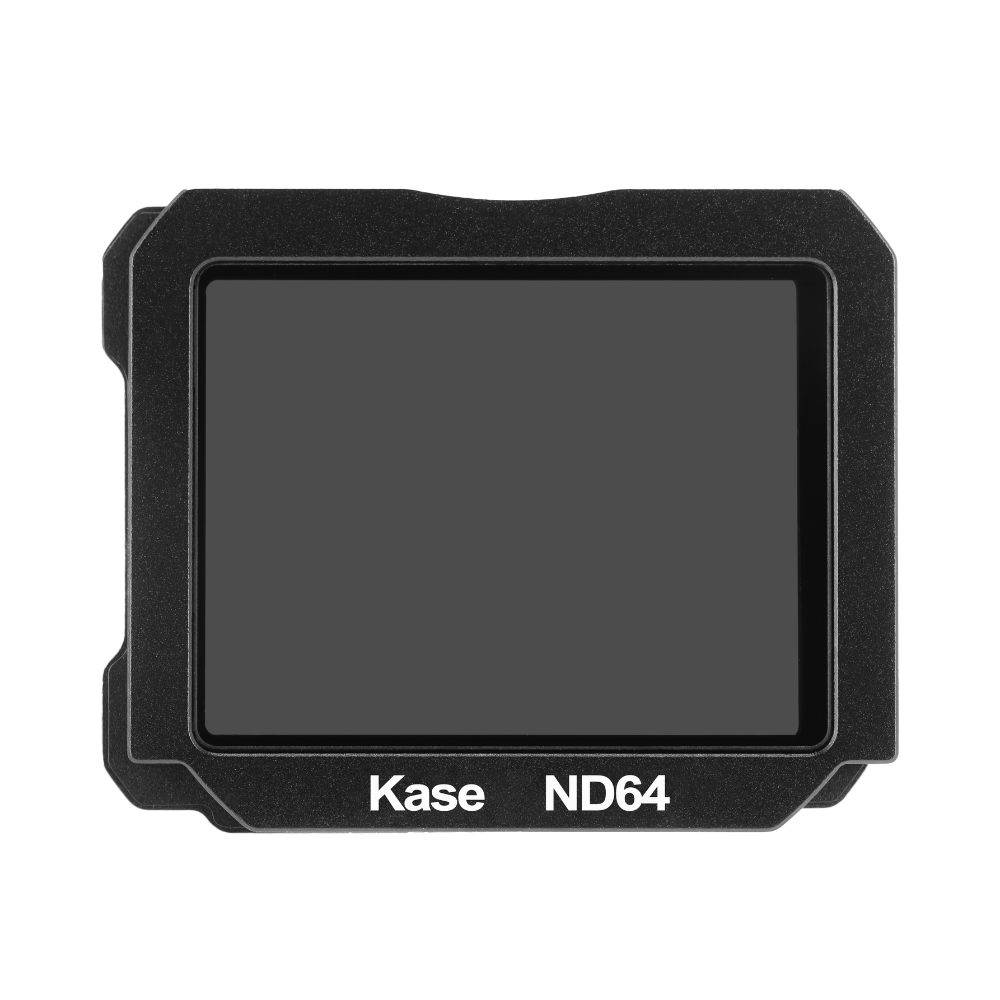
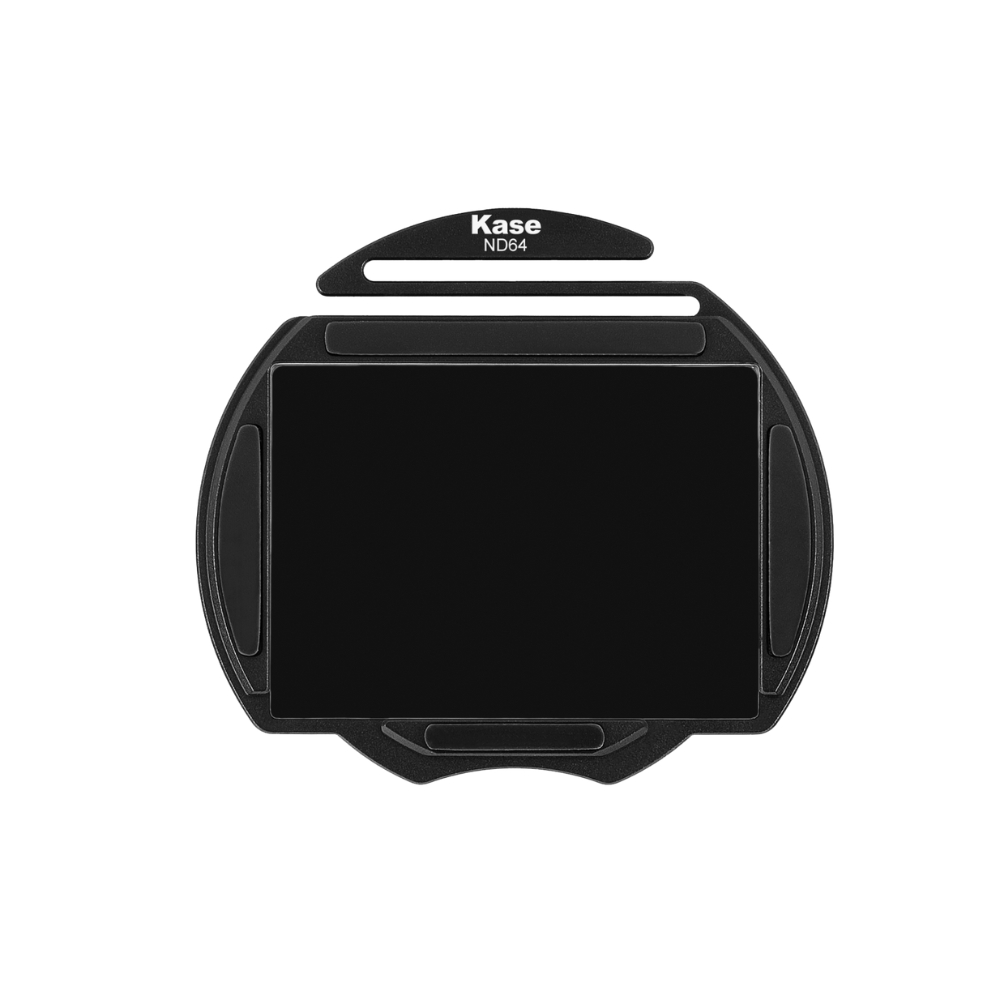
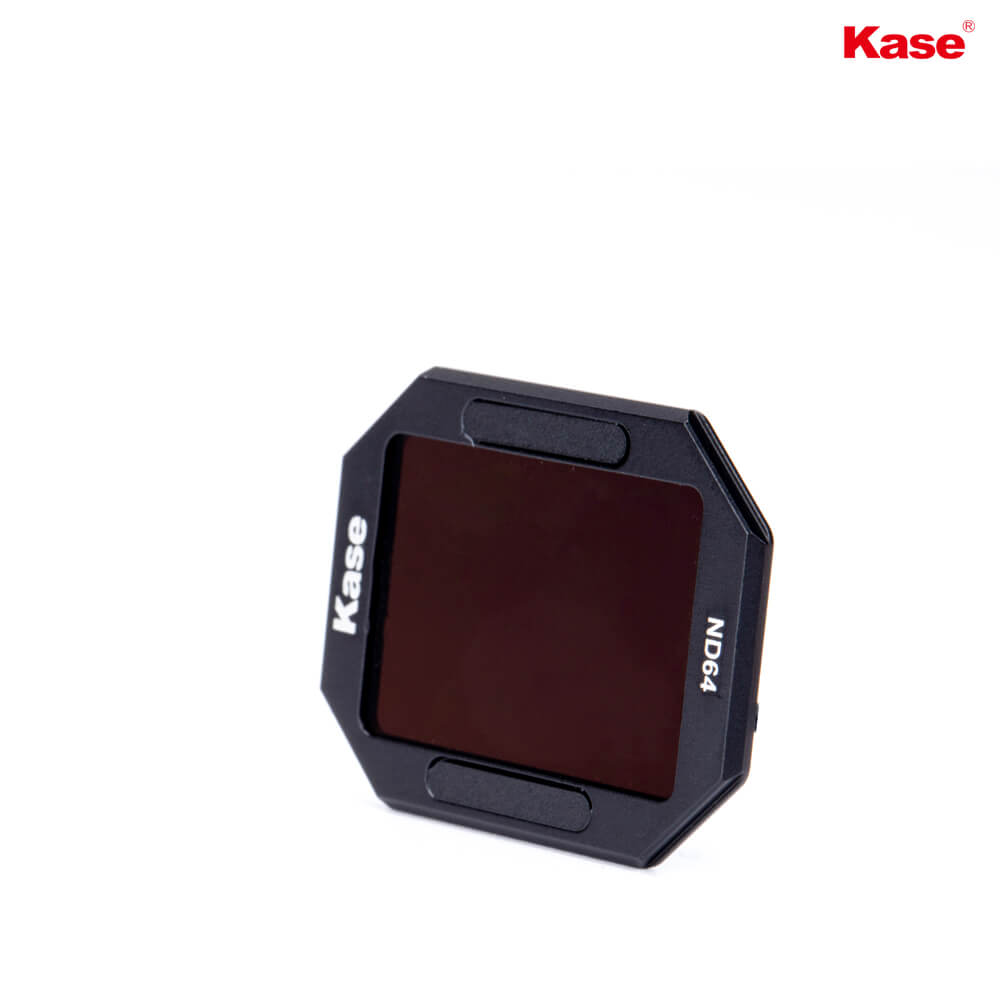
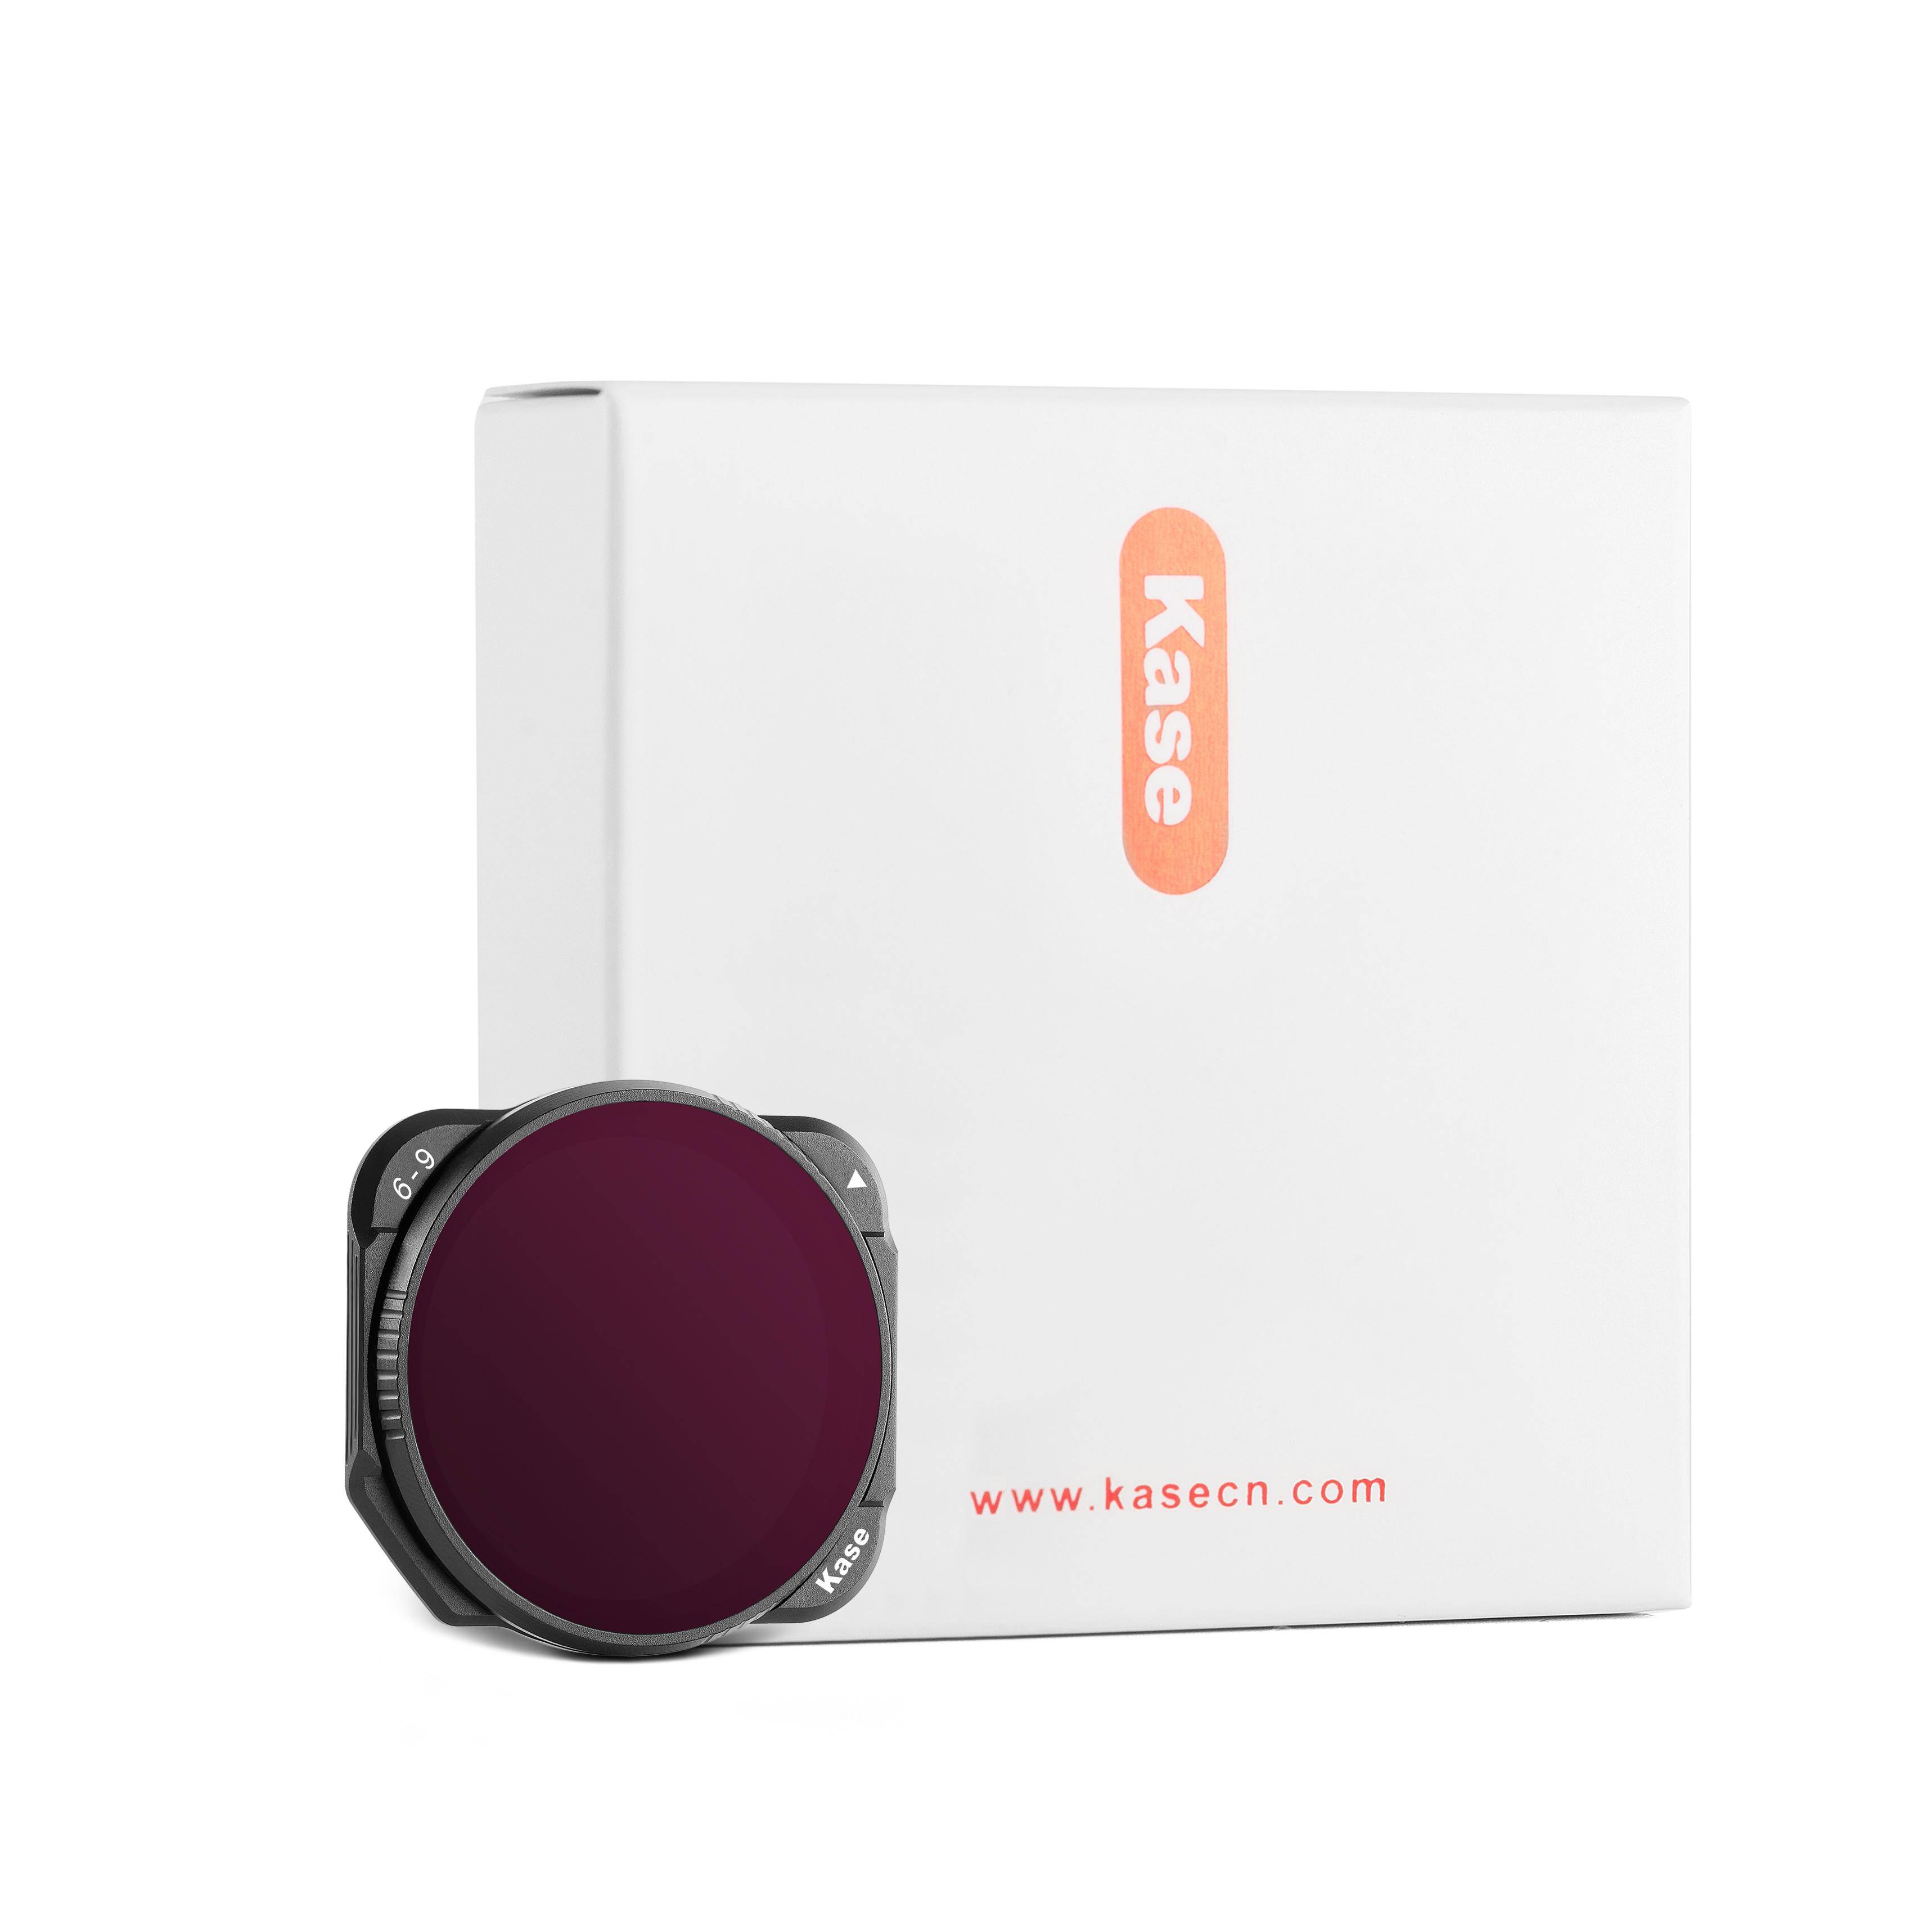
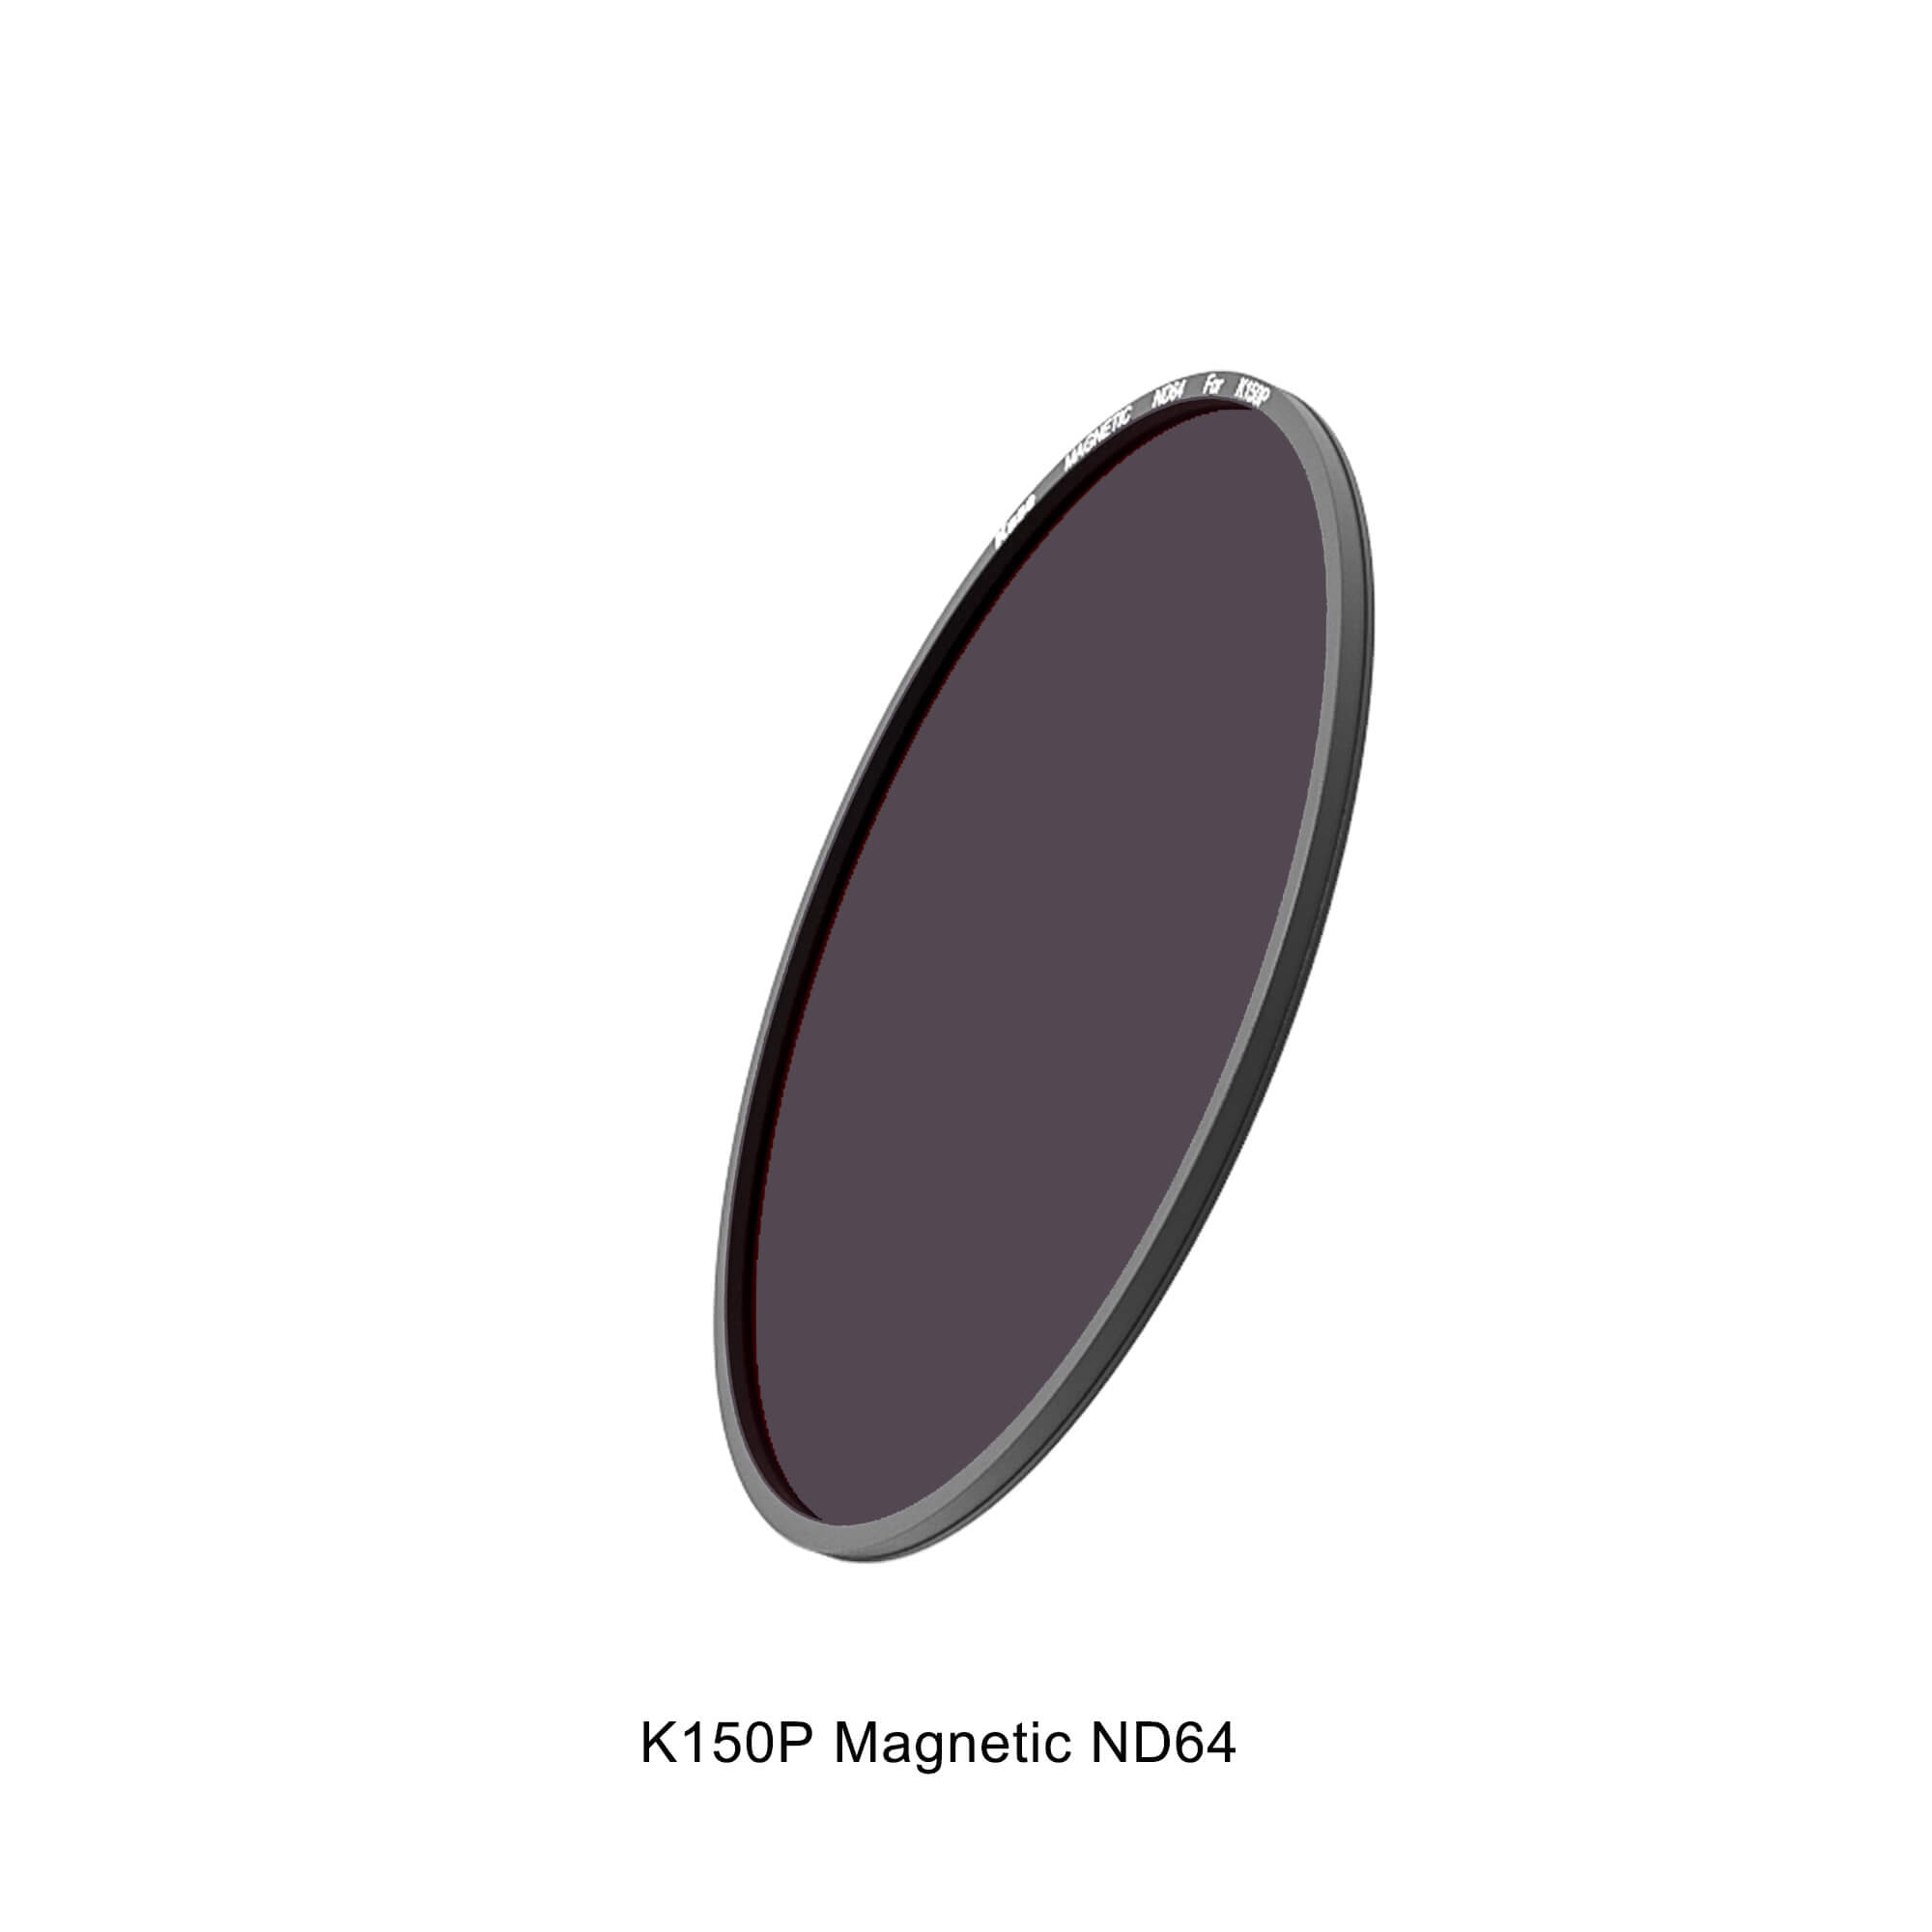
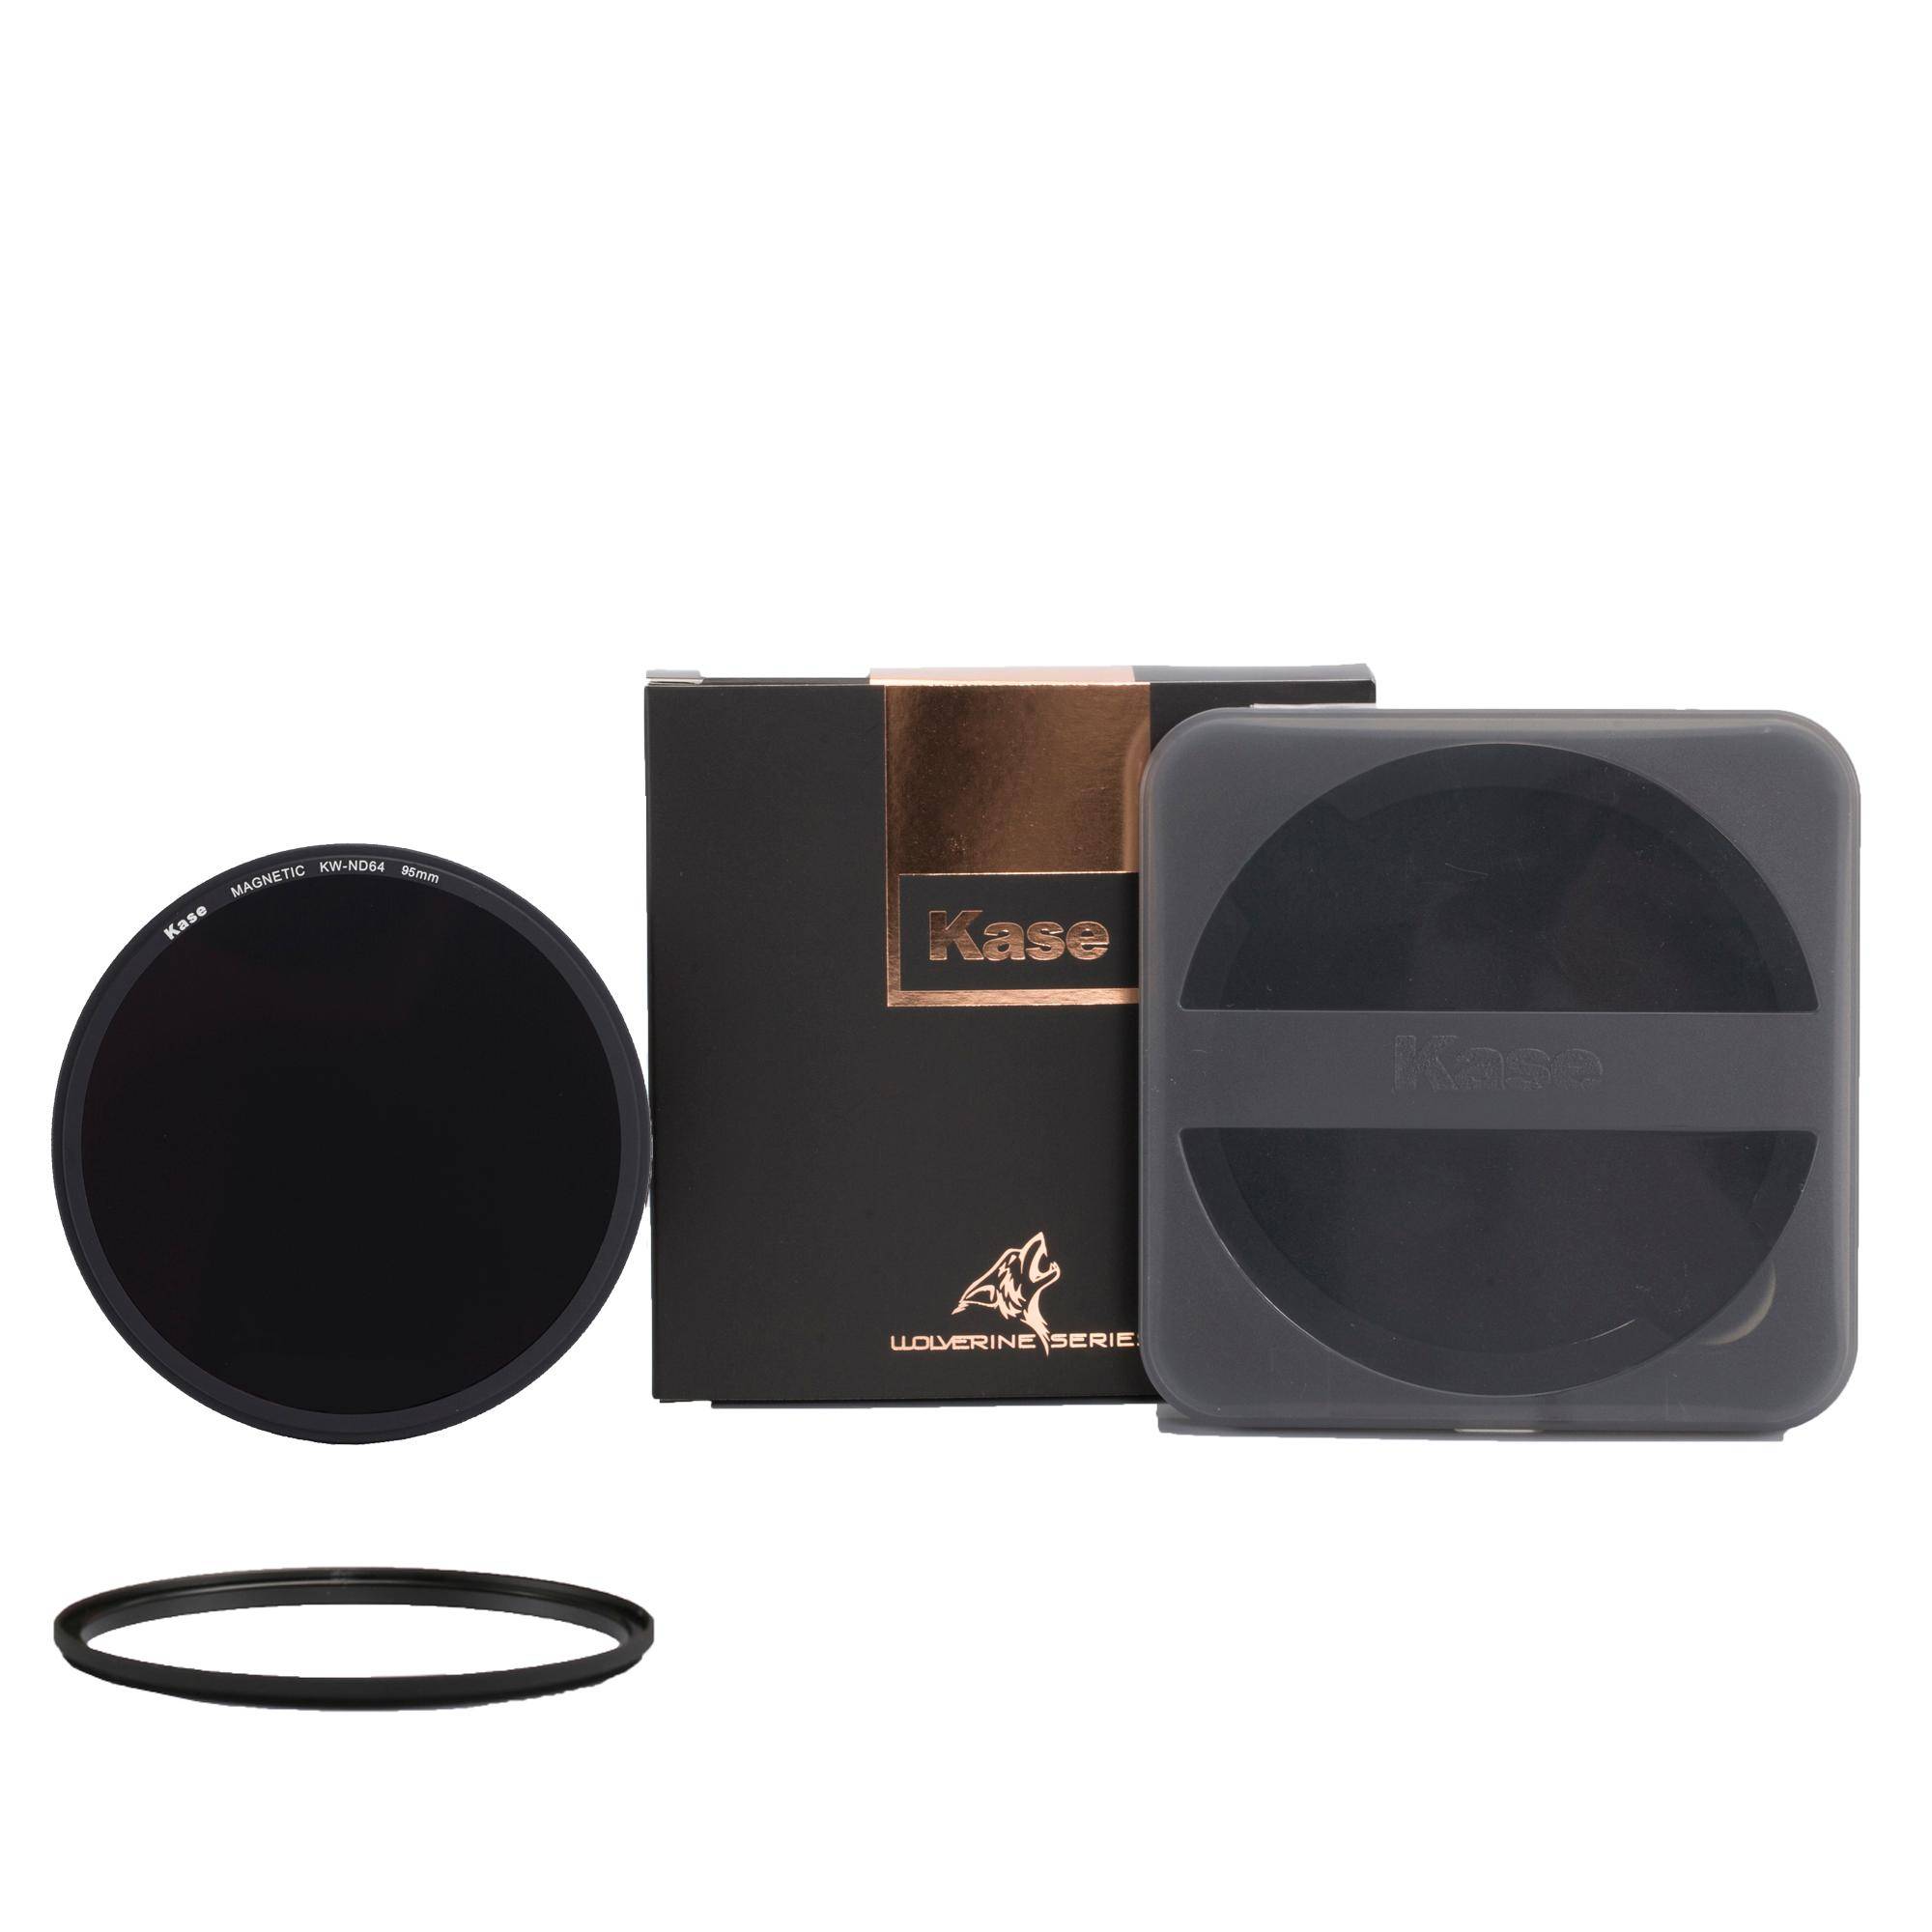
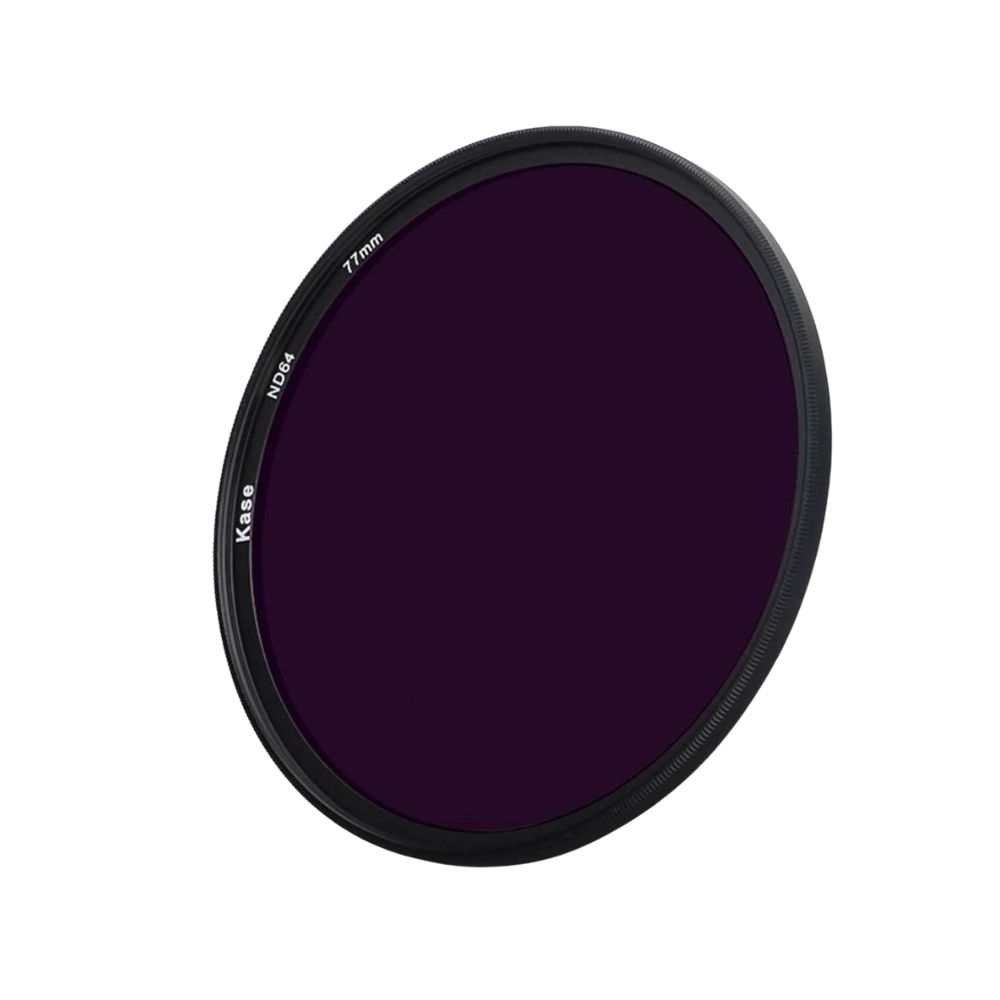
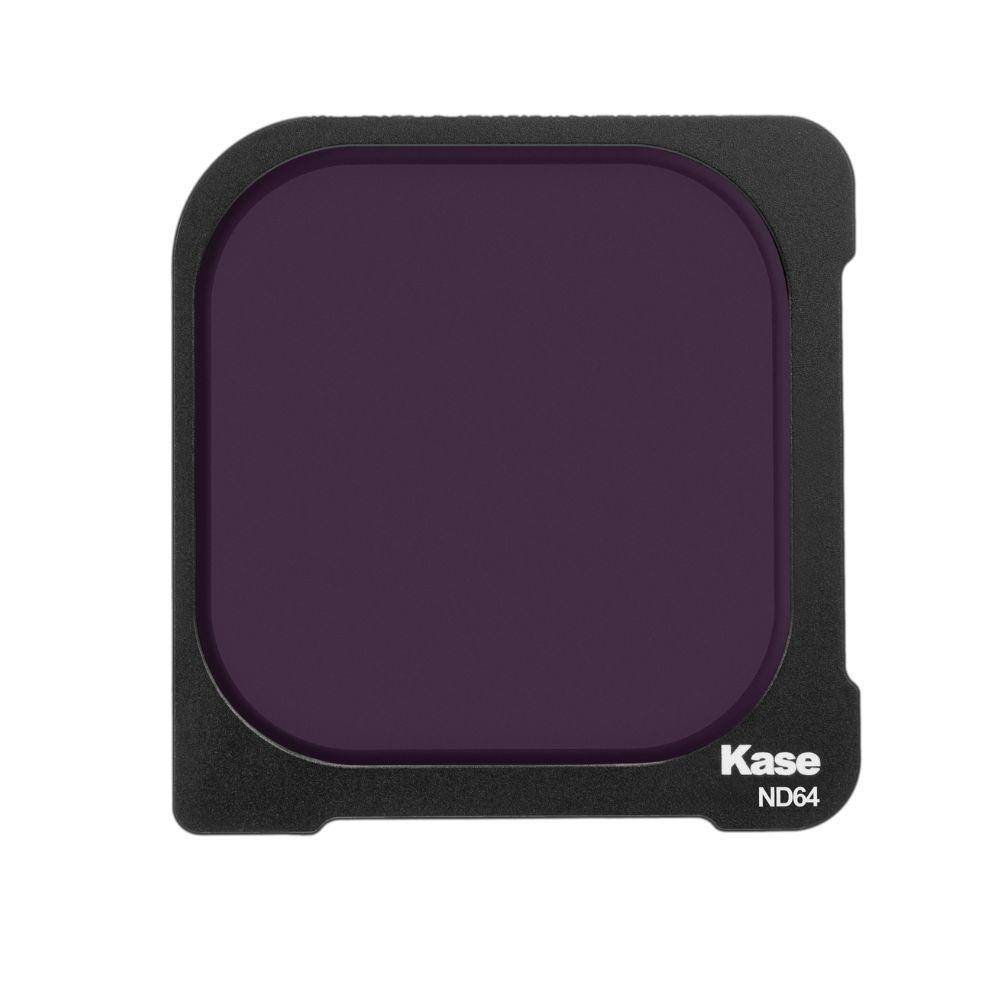
6-stop ND filter (ND64)
A 6-stop ND filter is ideal for when you need to reduce light entering the lens during daylight. This filter is versatile and can be used in various lighting conditions to achieve motion blur in water or clouds.
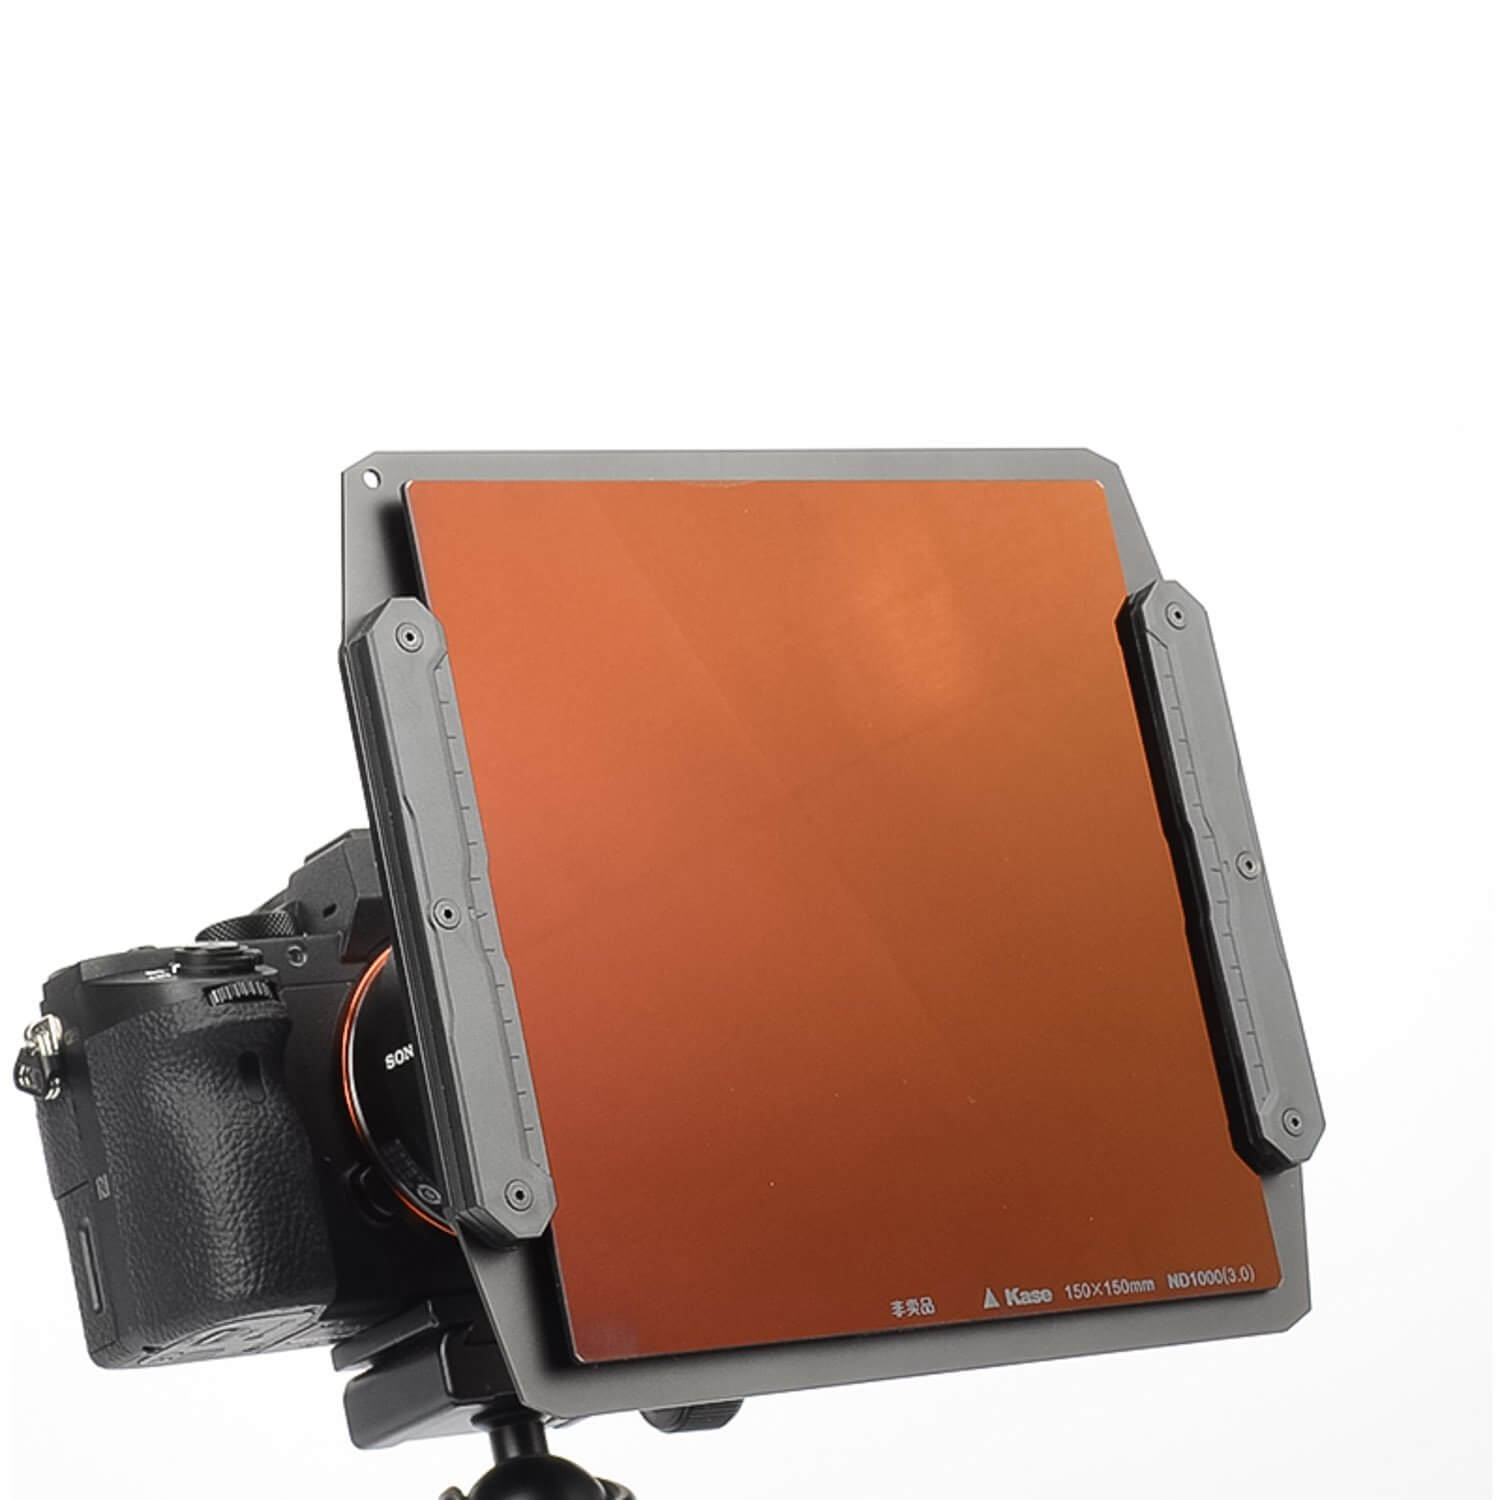
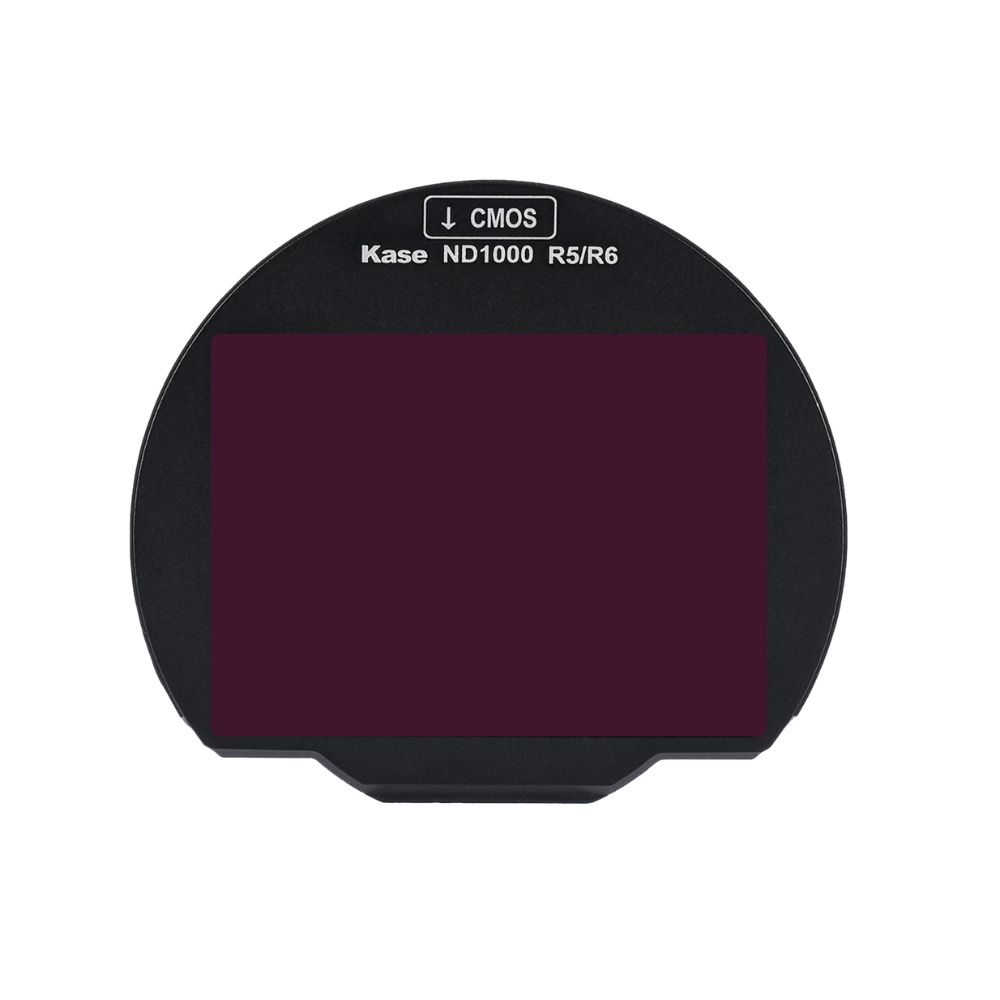
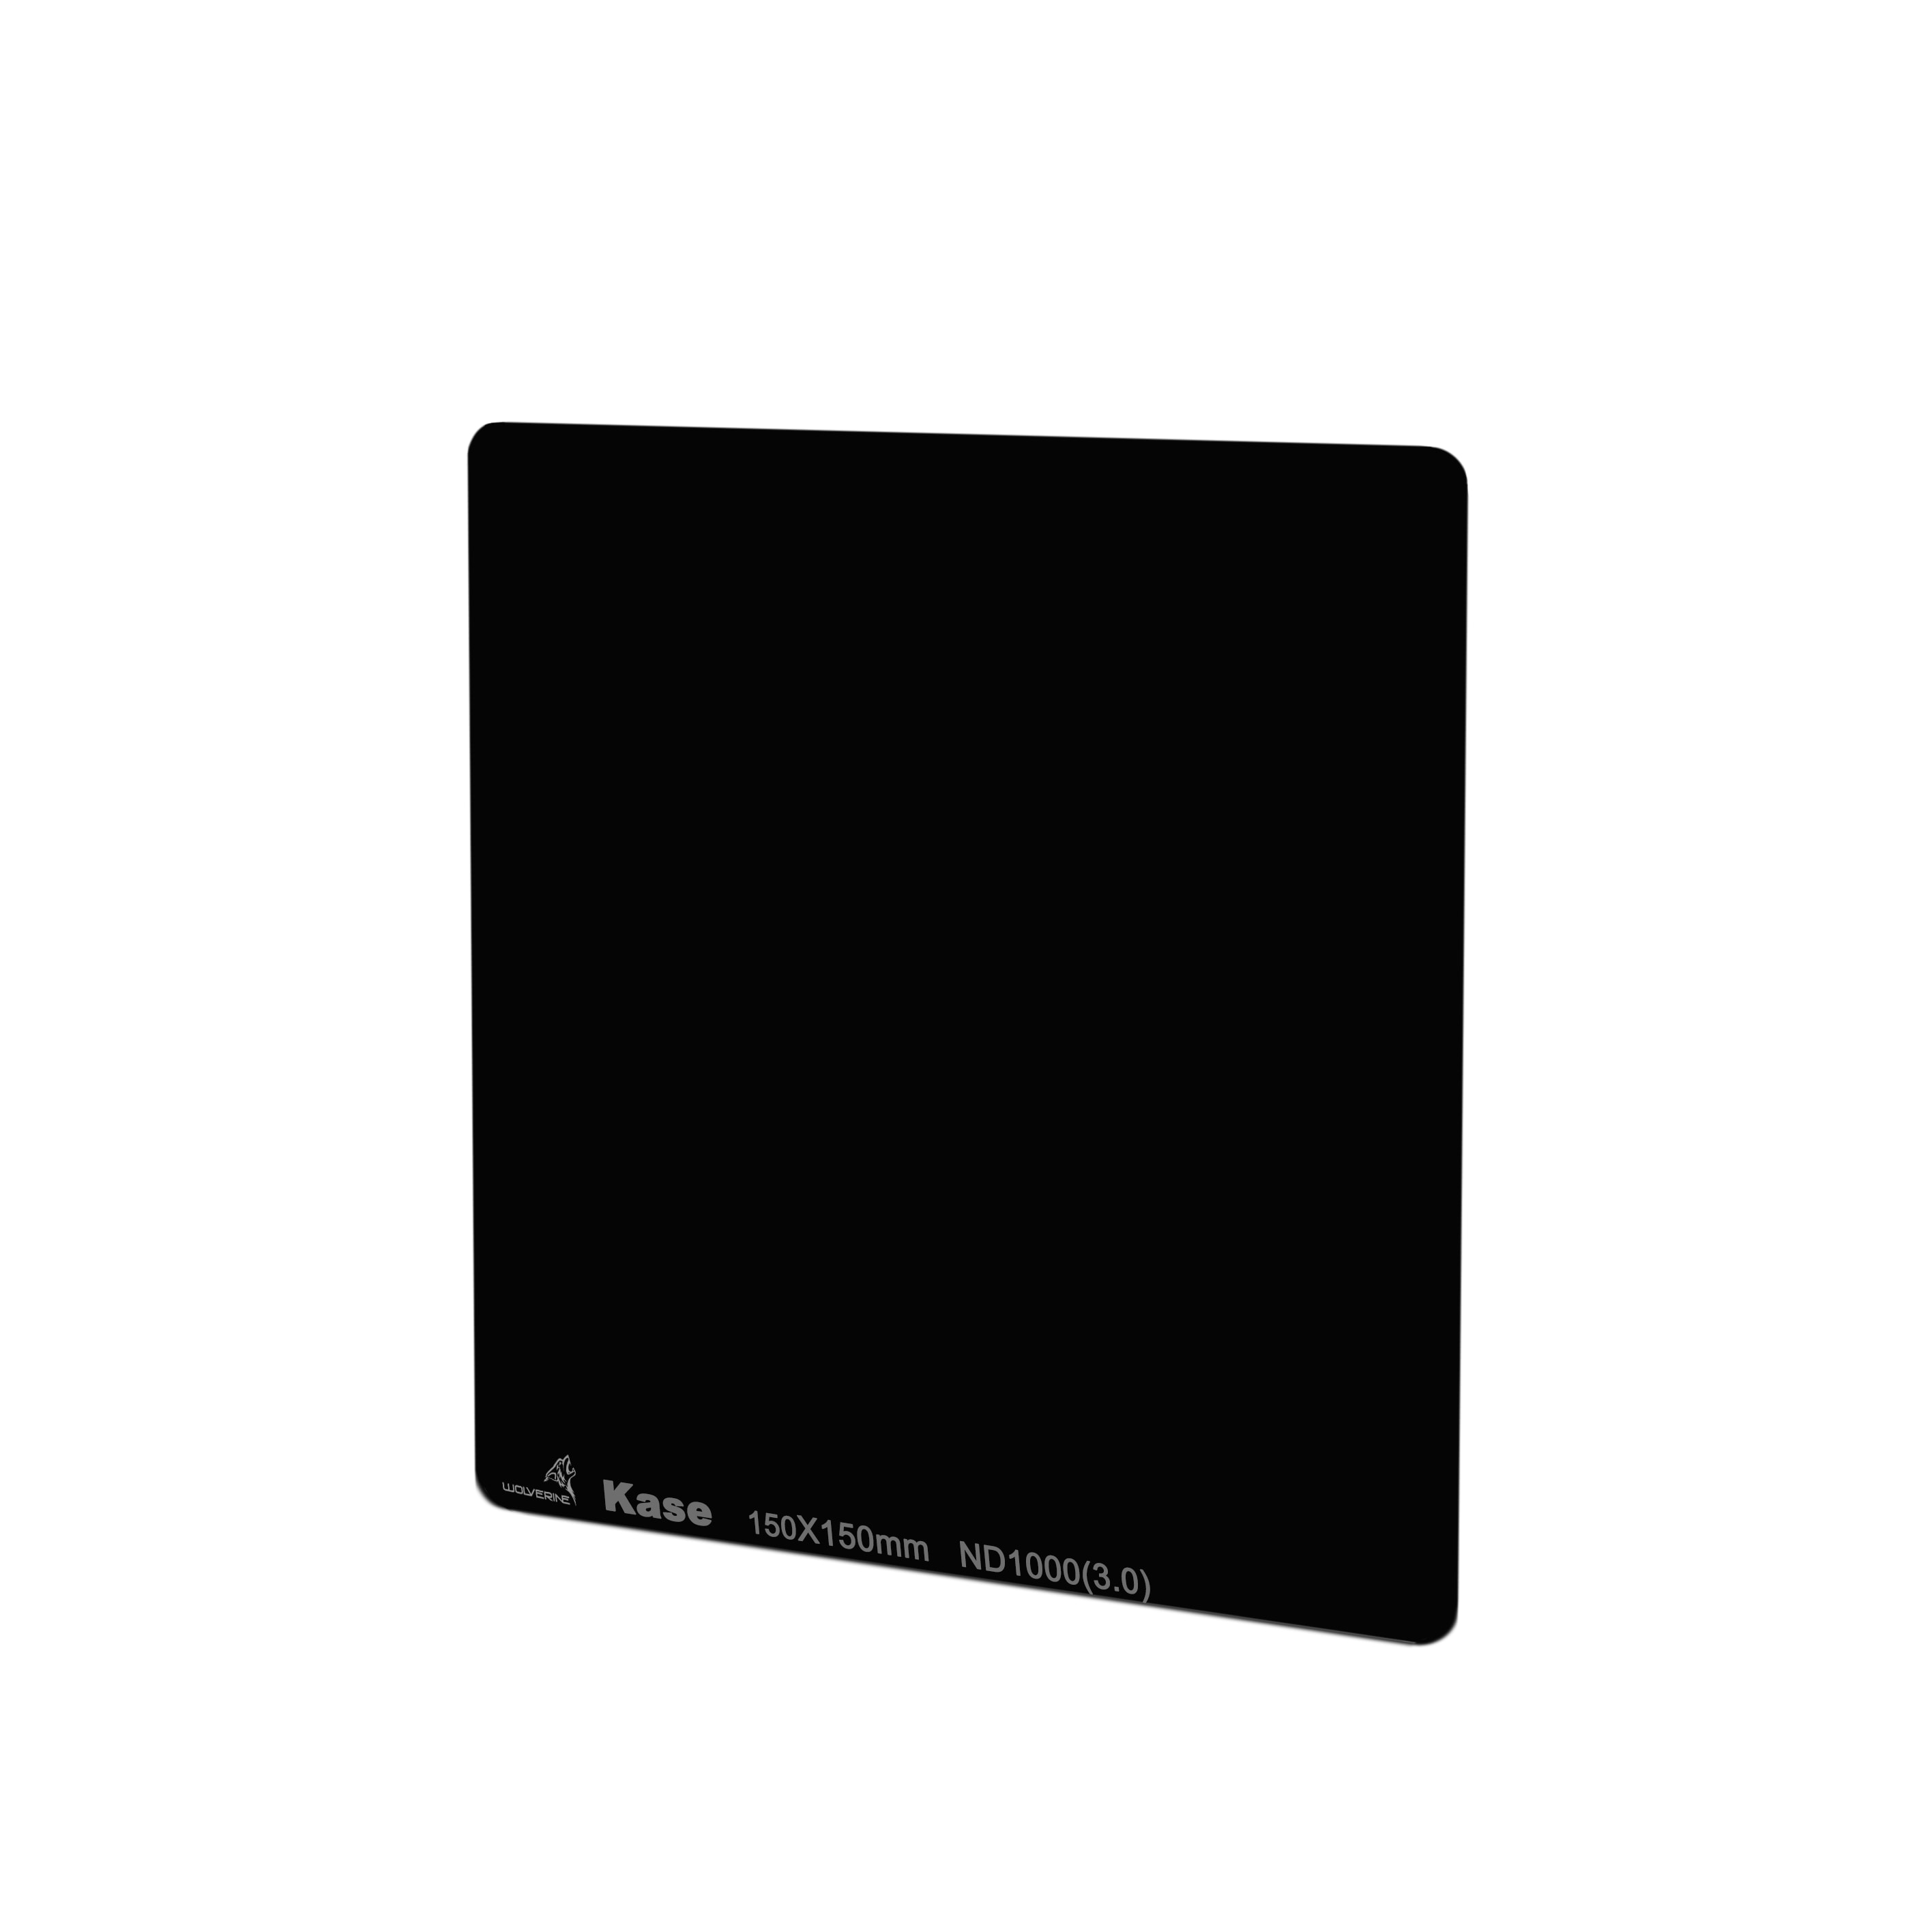
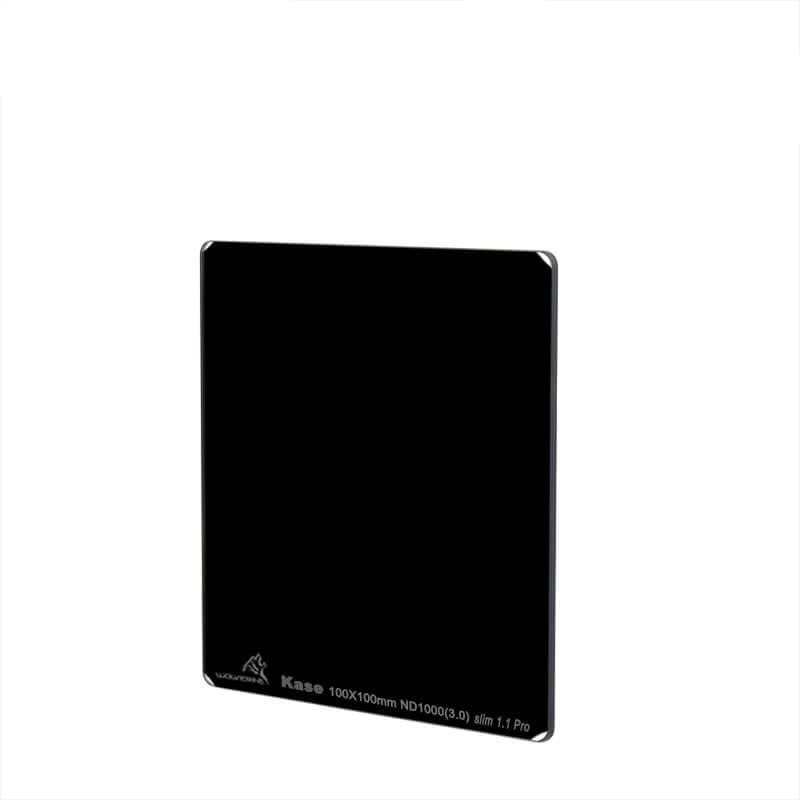
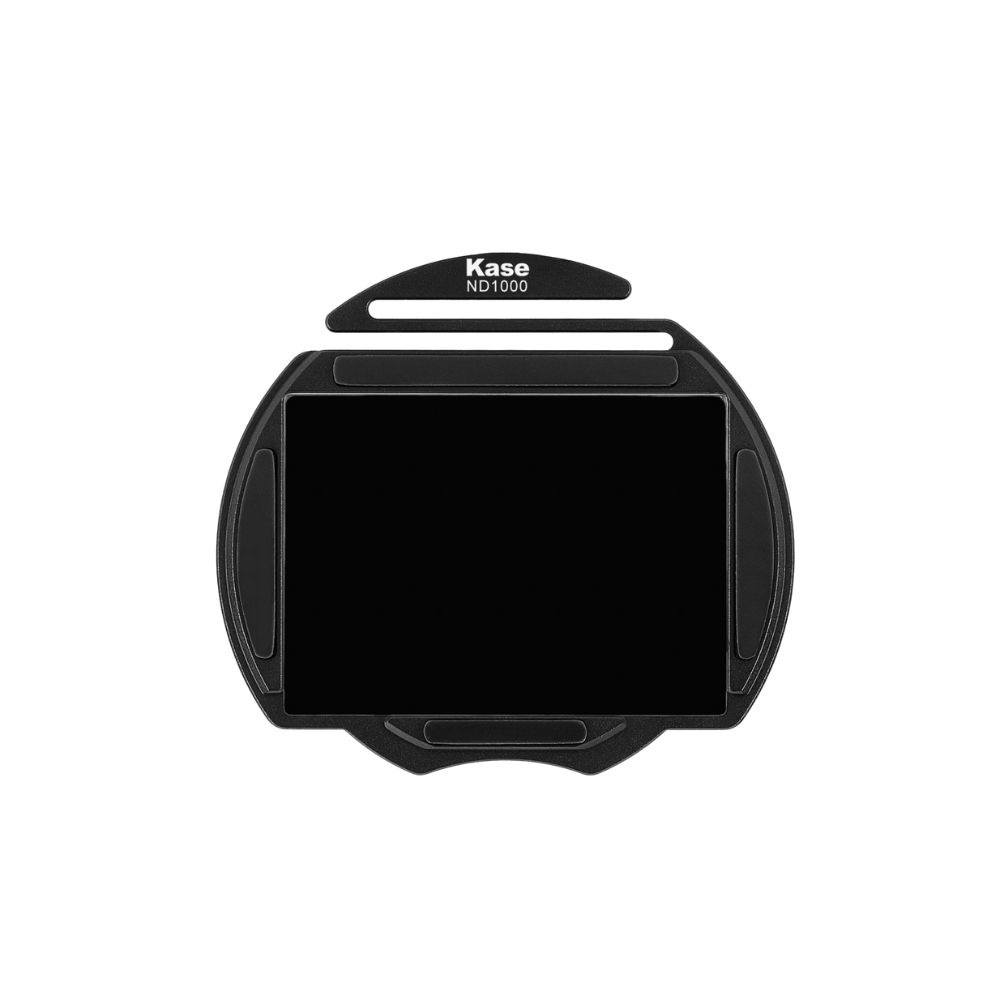
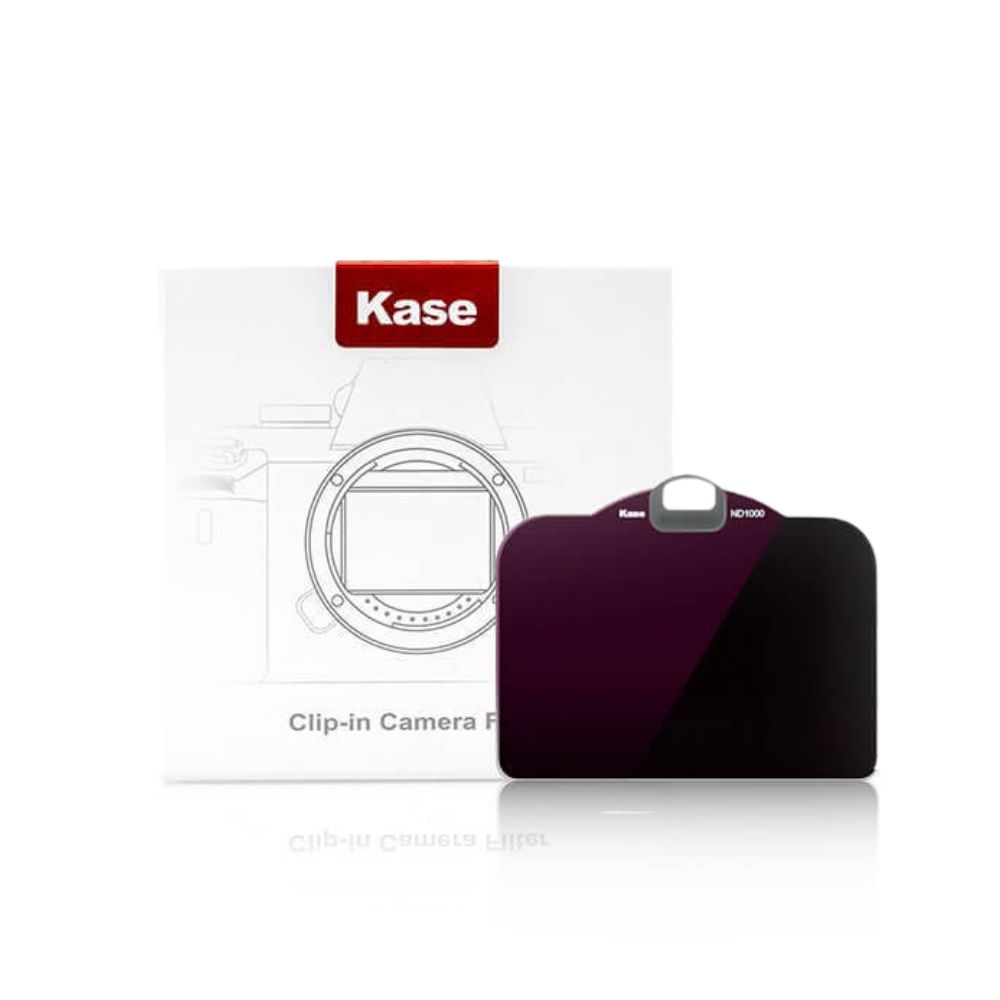
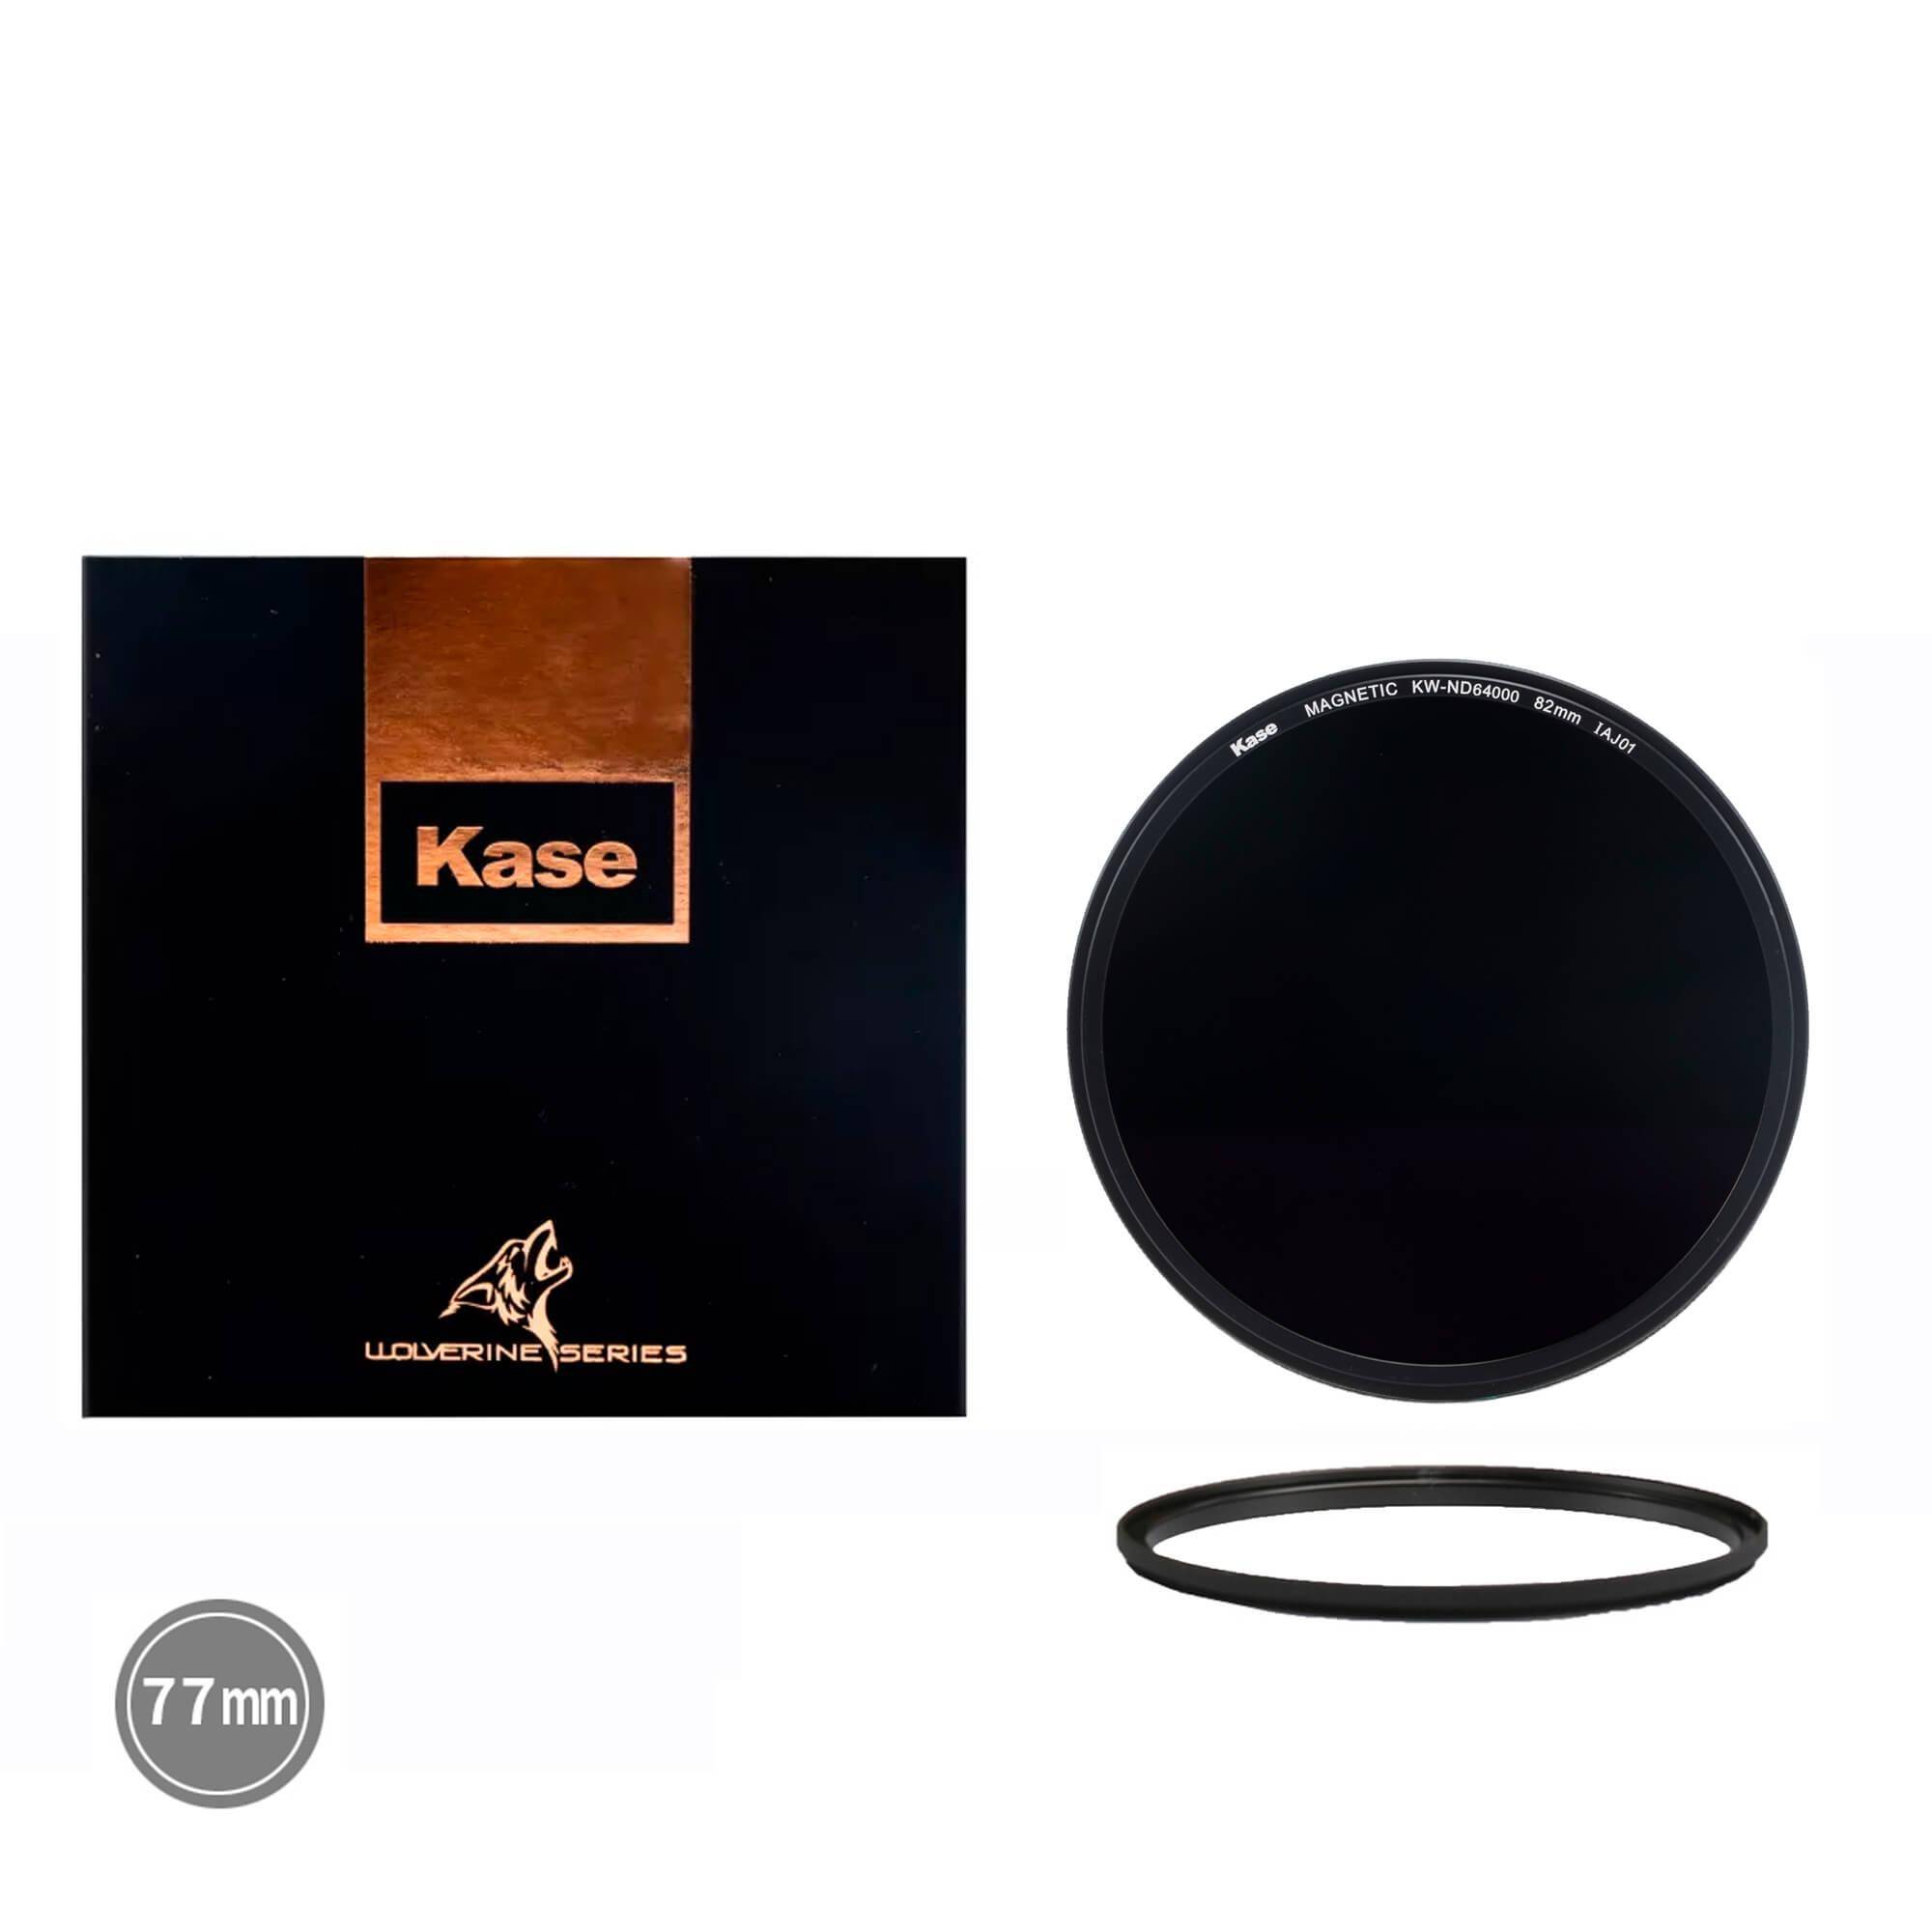
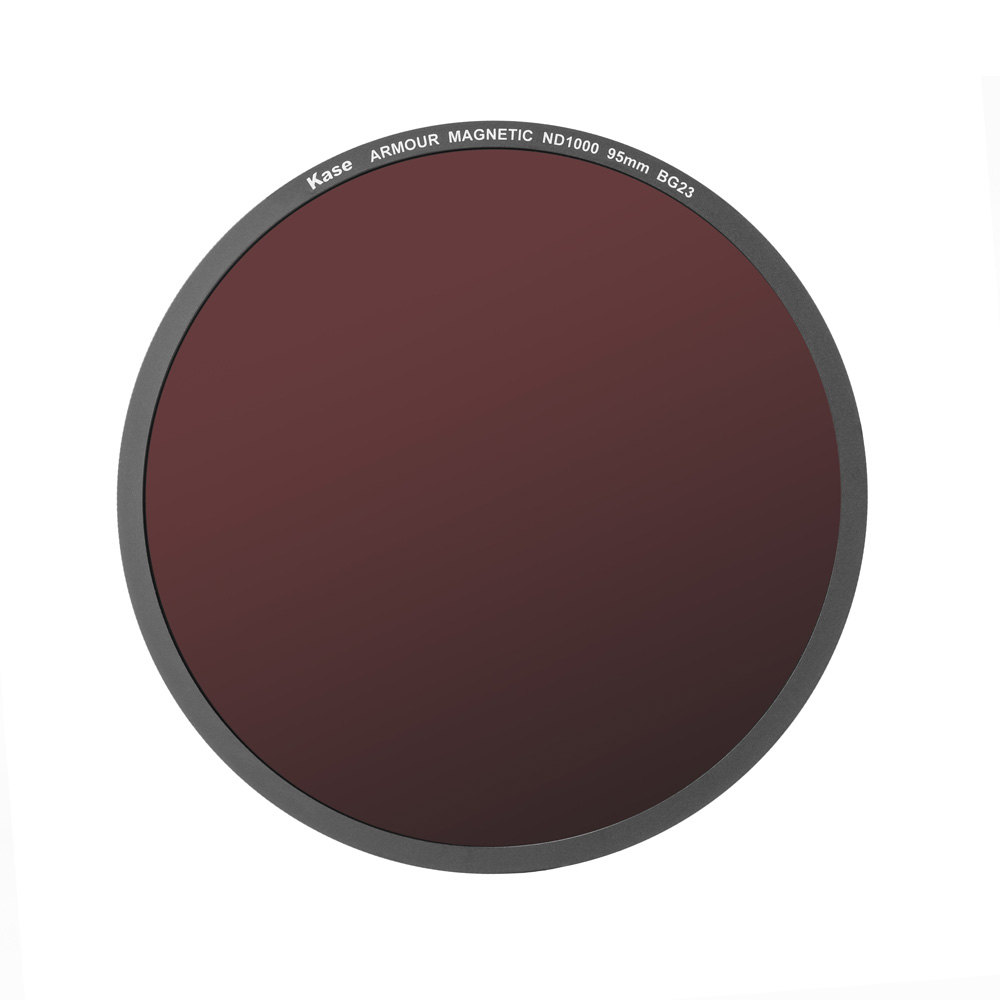
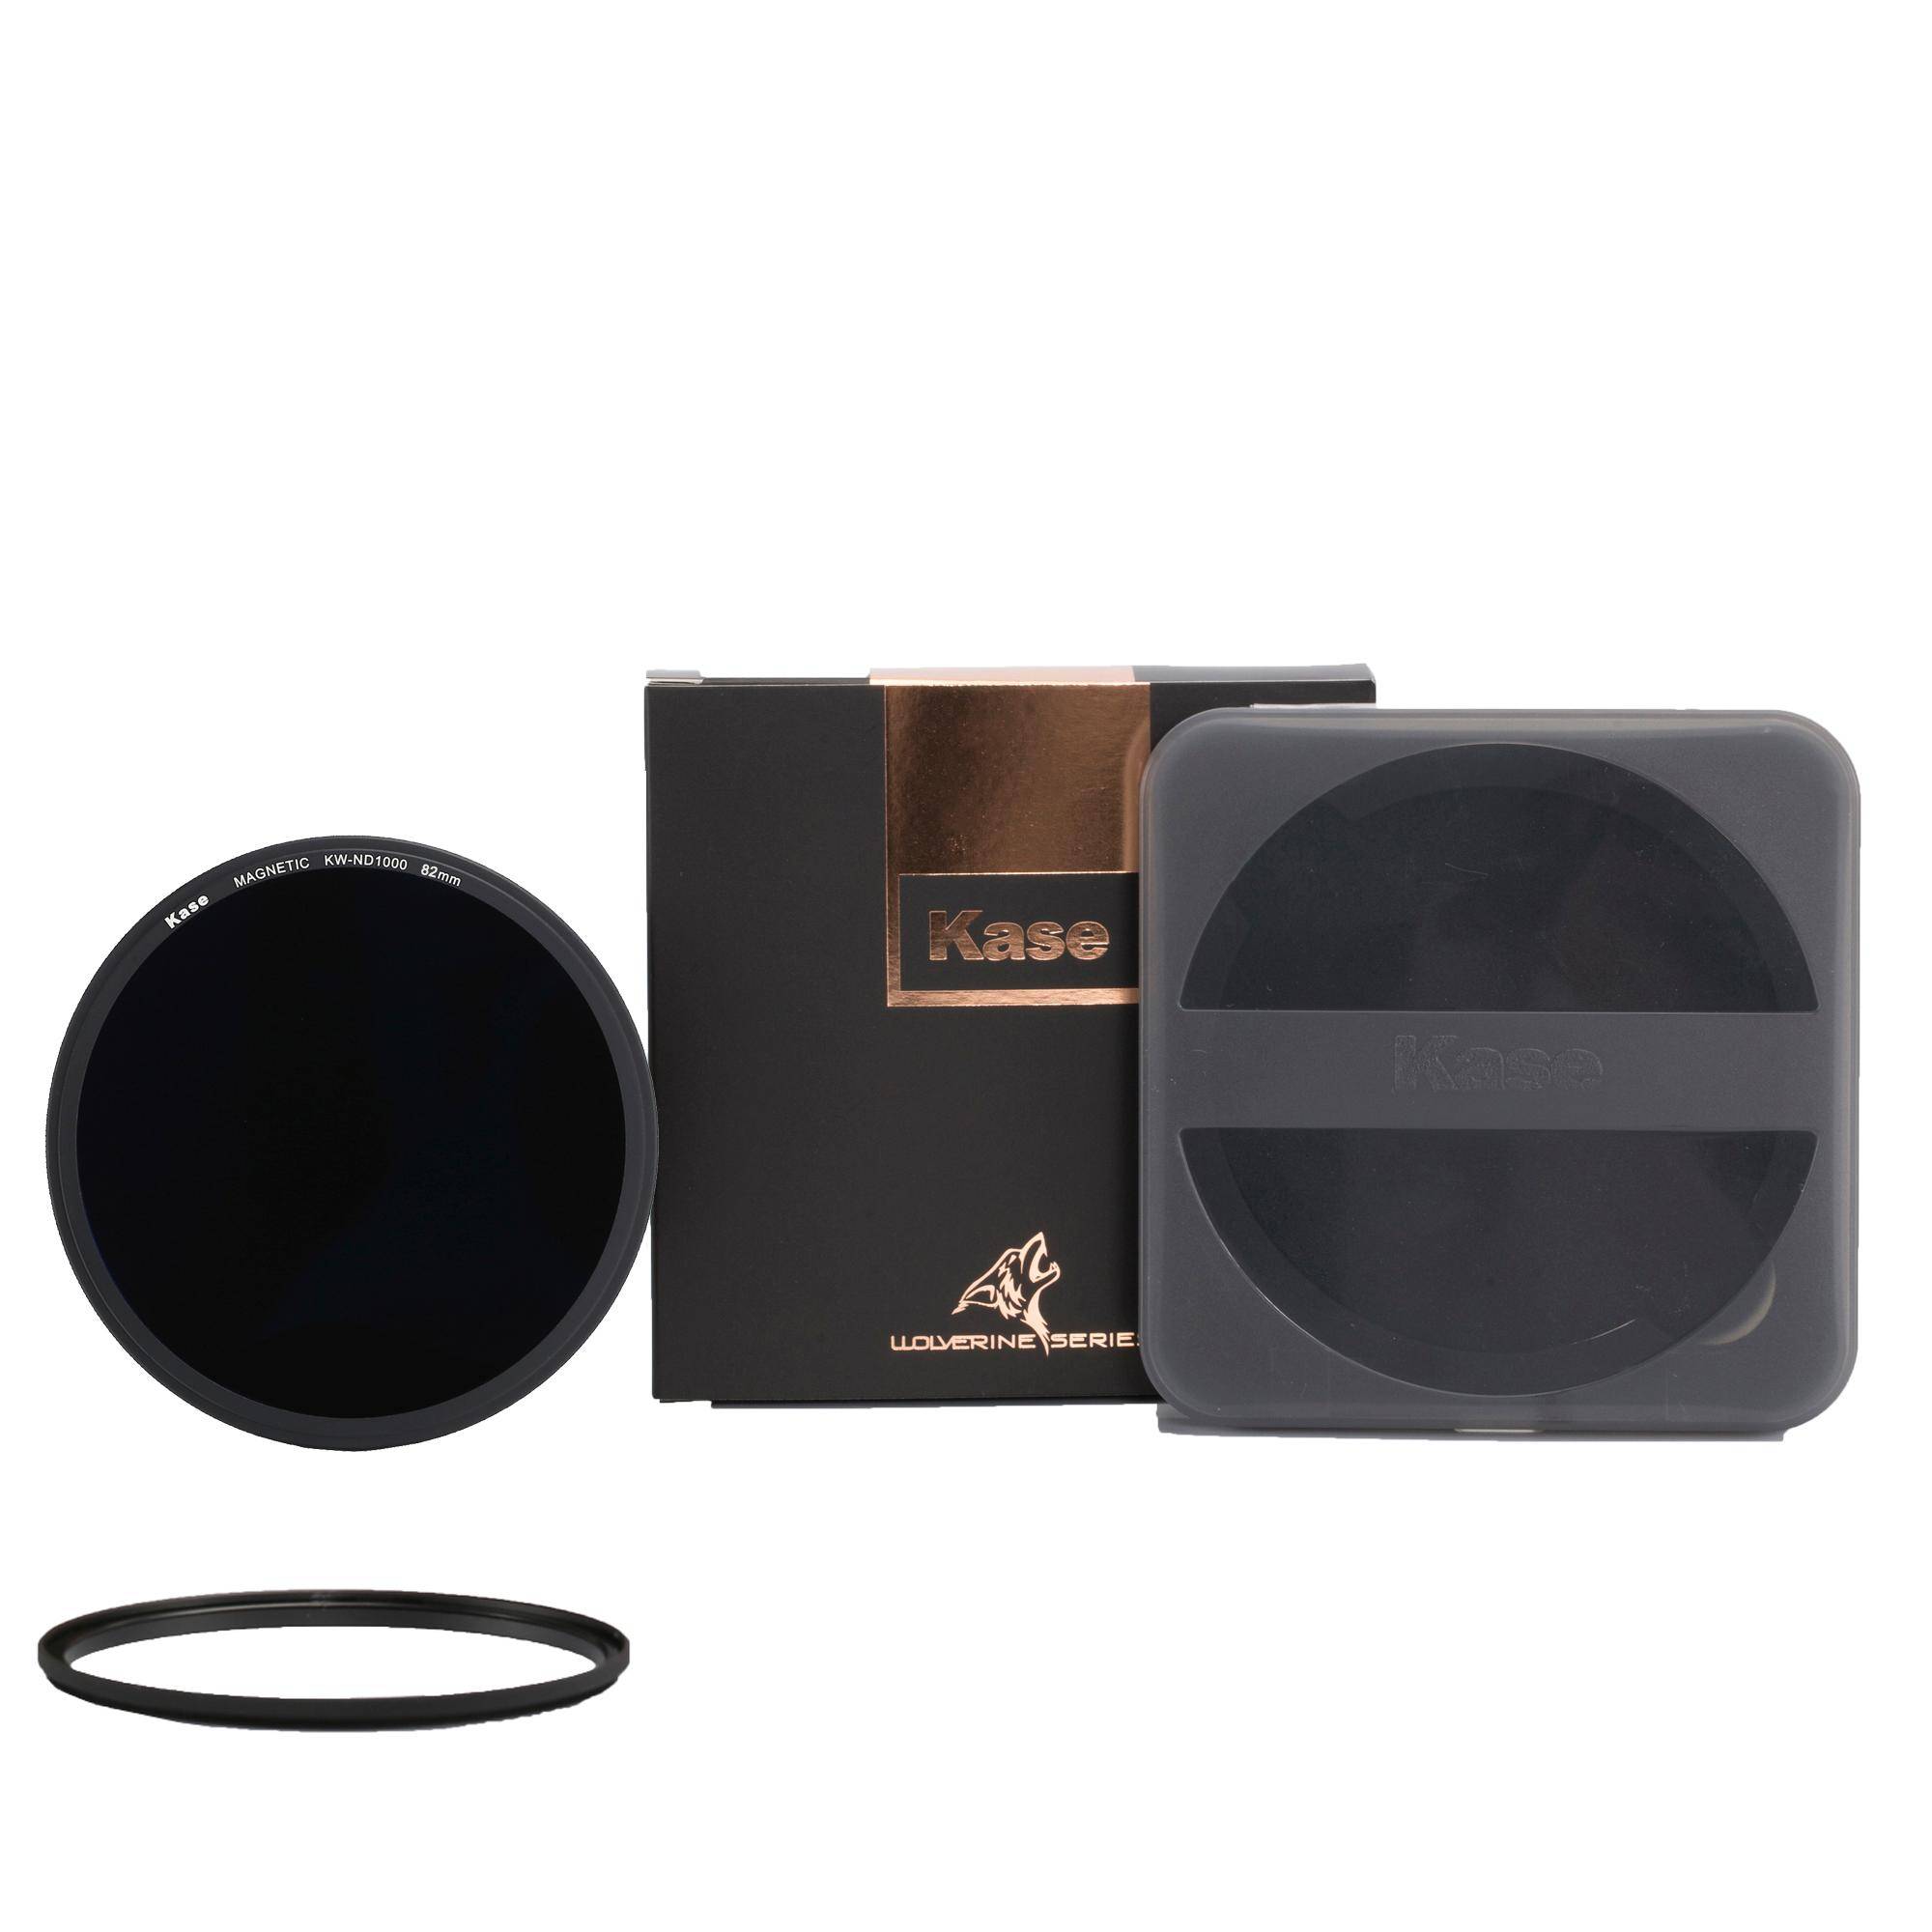
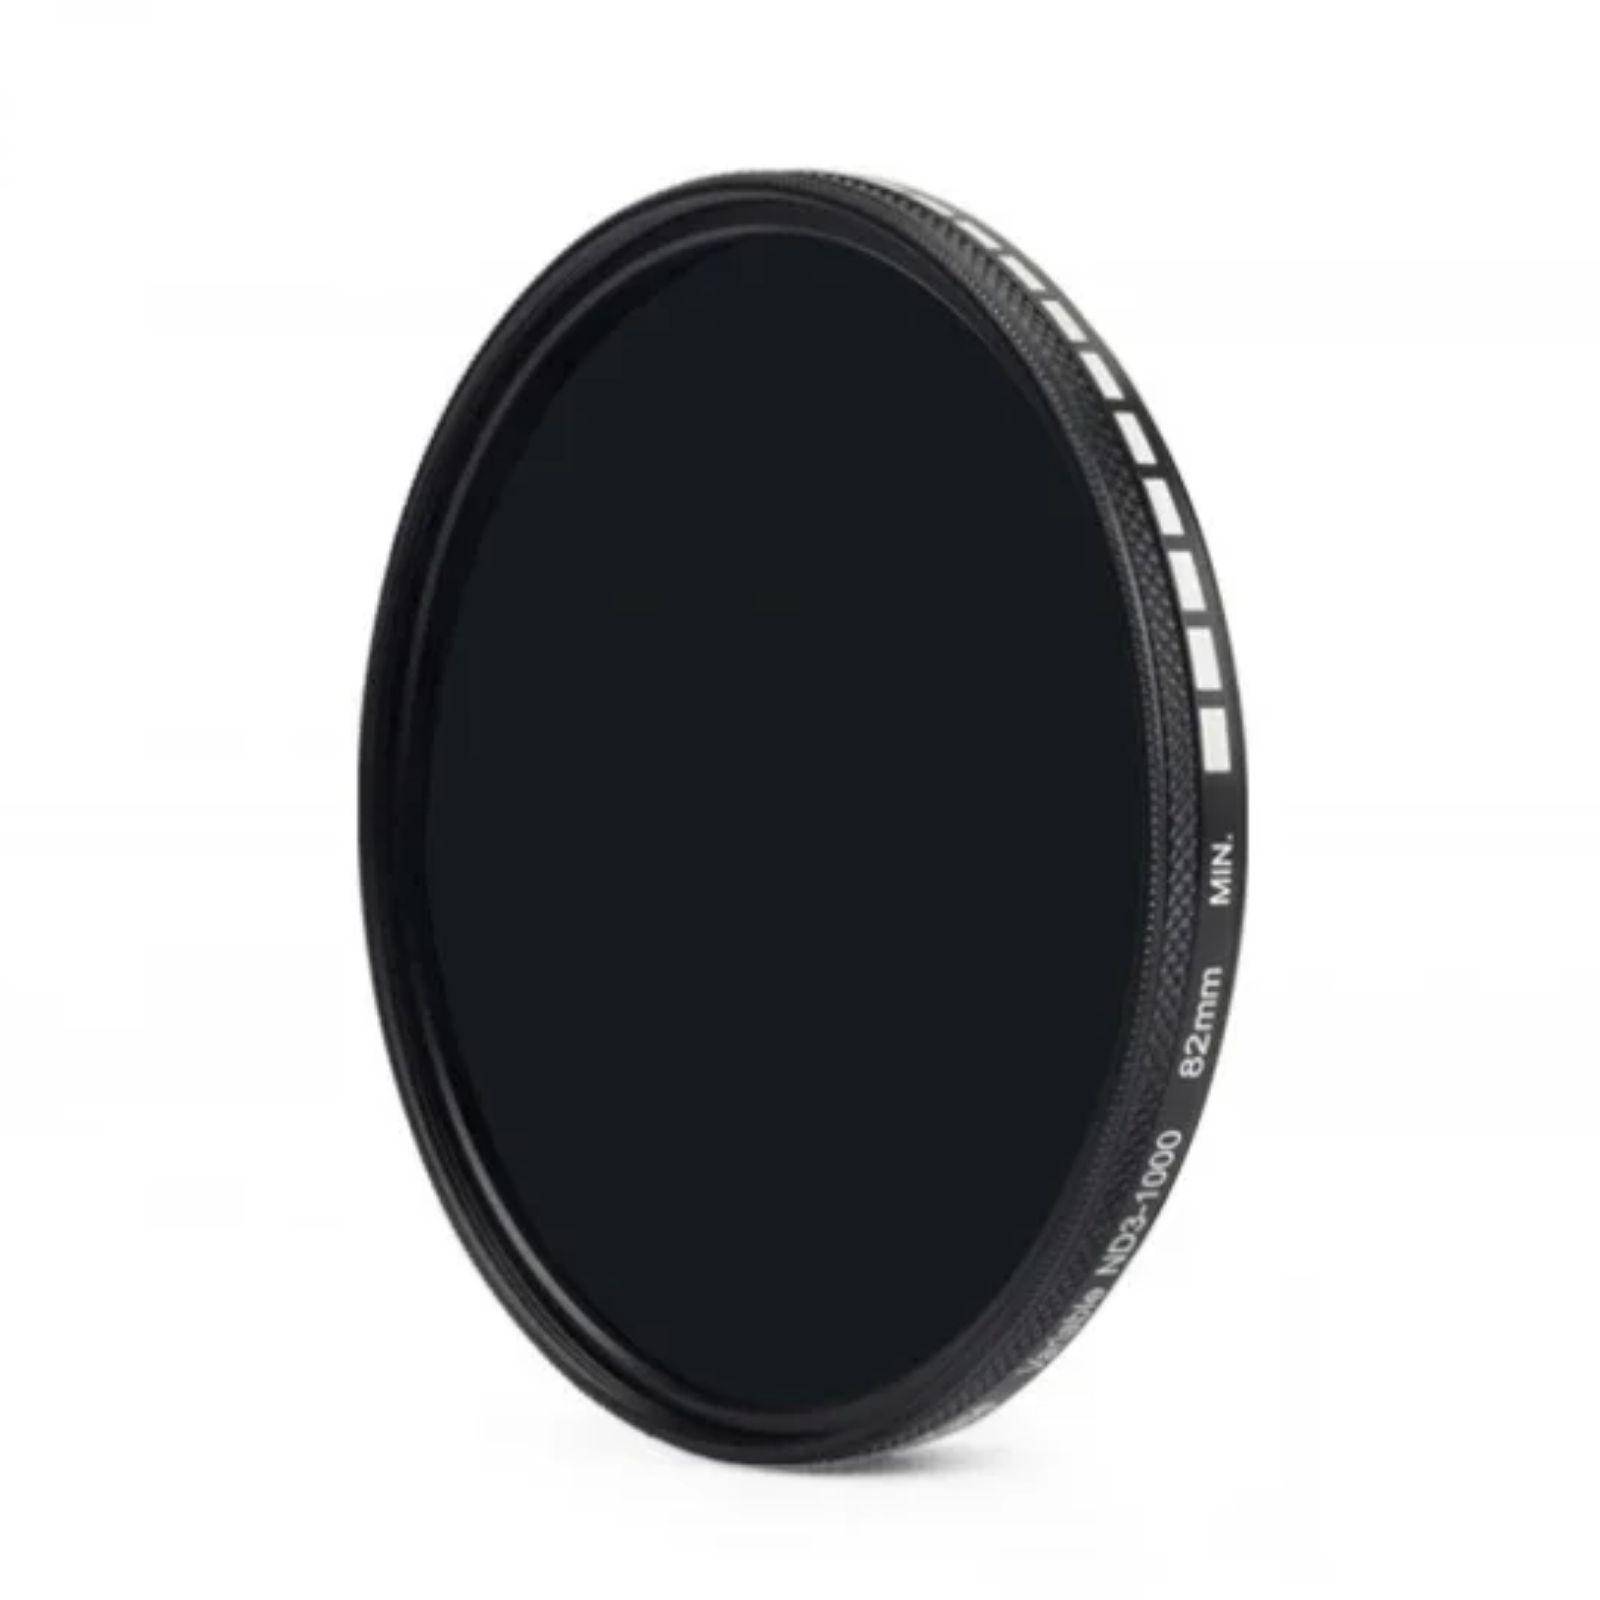
10-stop ND filter (ND1000)
The 10-stop ND filter is a powerful tool for long-exposure photography in bright daylight. It allows for ultra-long exposure, creating dramatic effects such as smoothing out turbulent water or painting beautiful streaks in moving clouds.
Explore our 10-stop ND filters
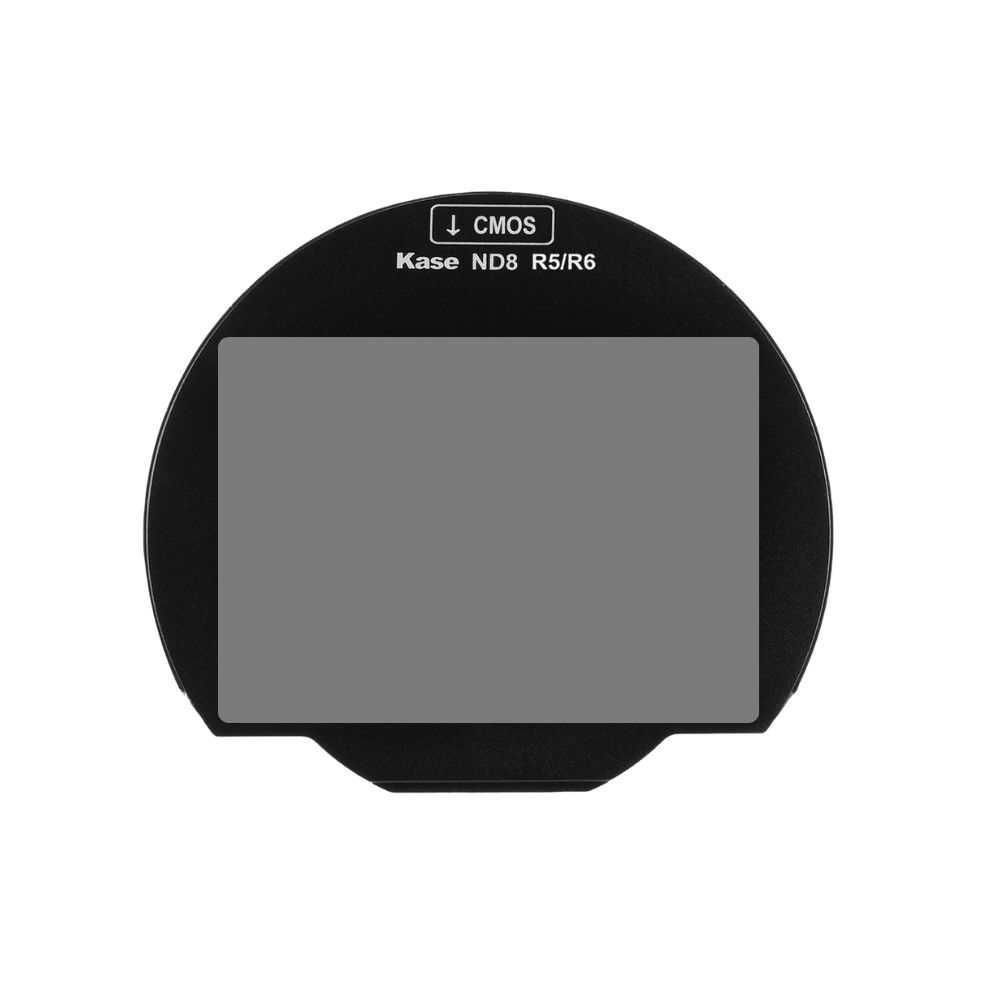
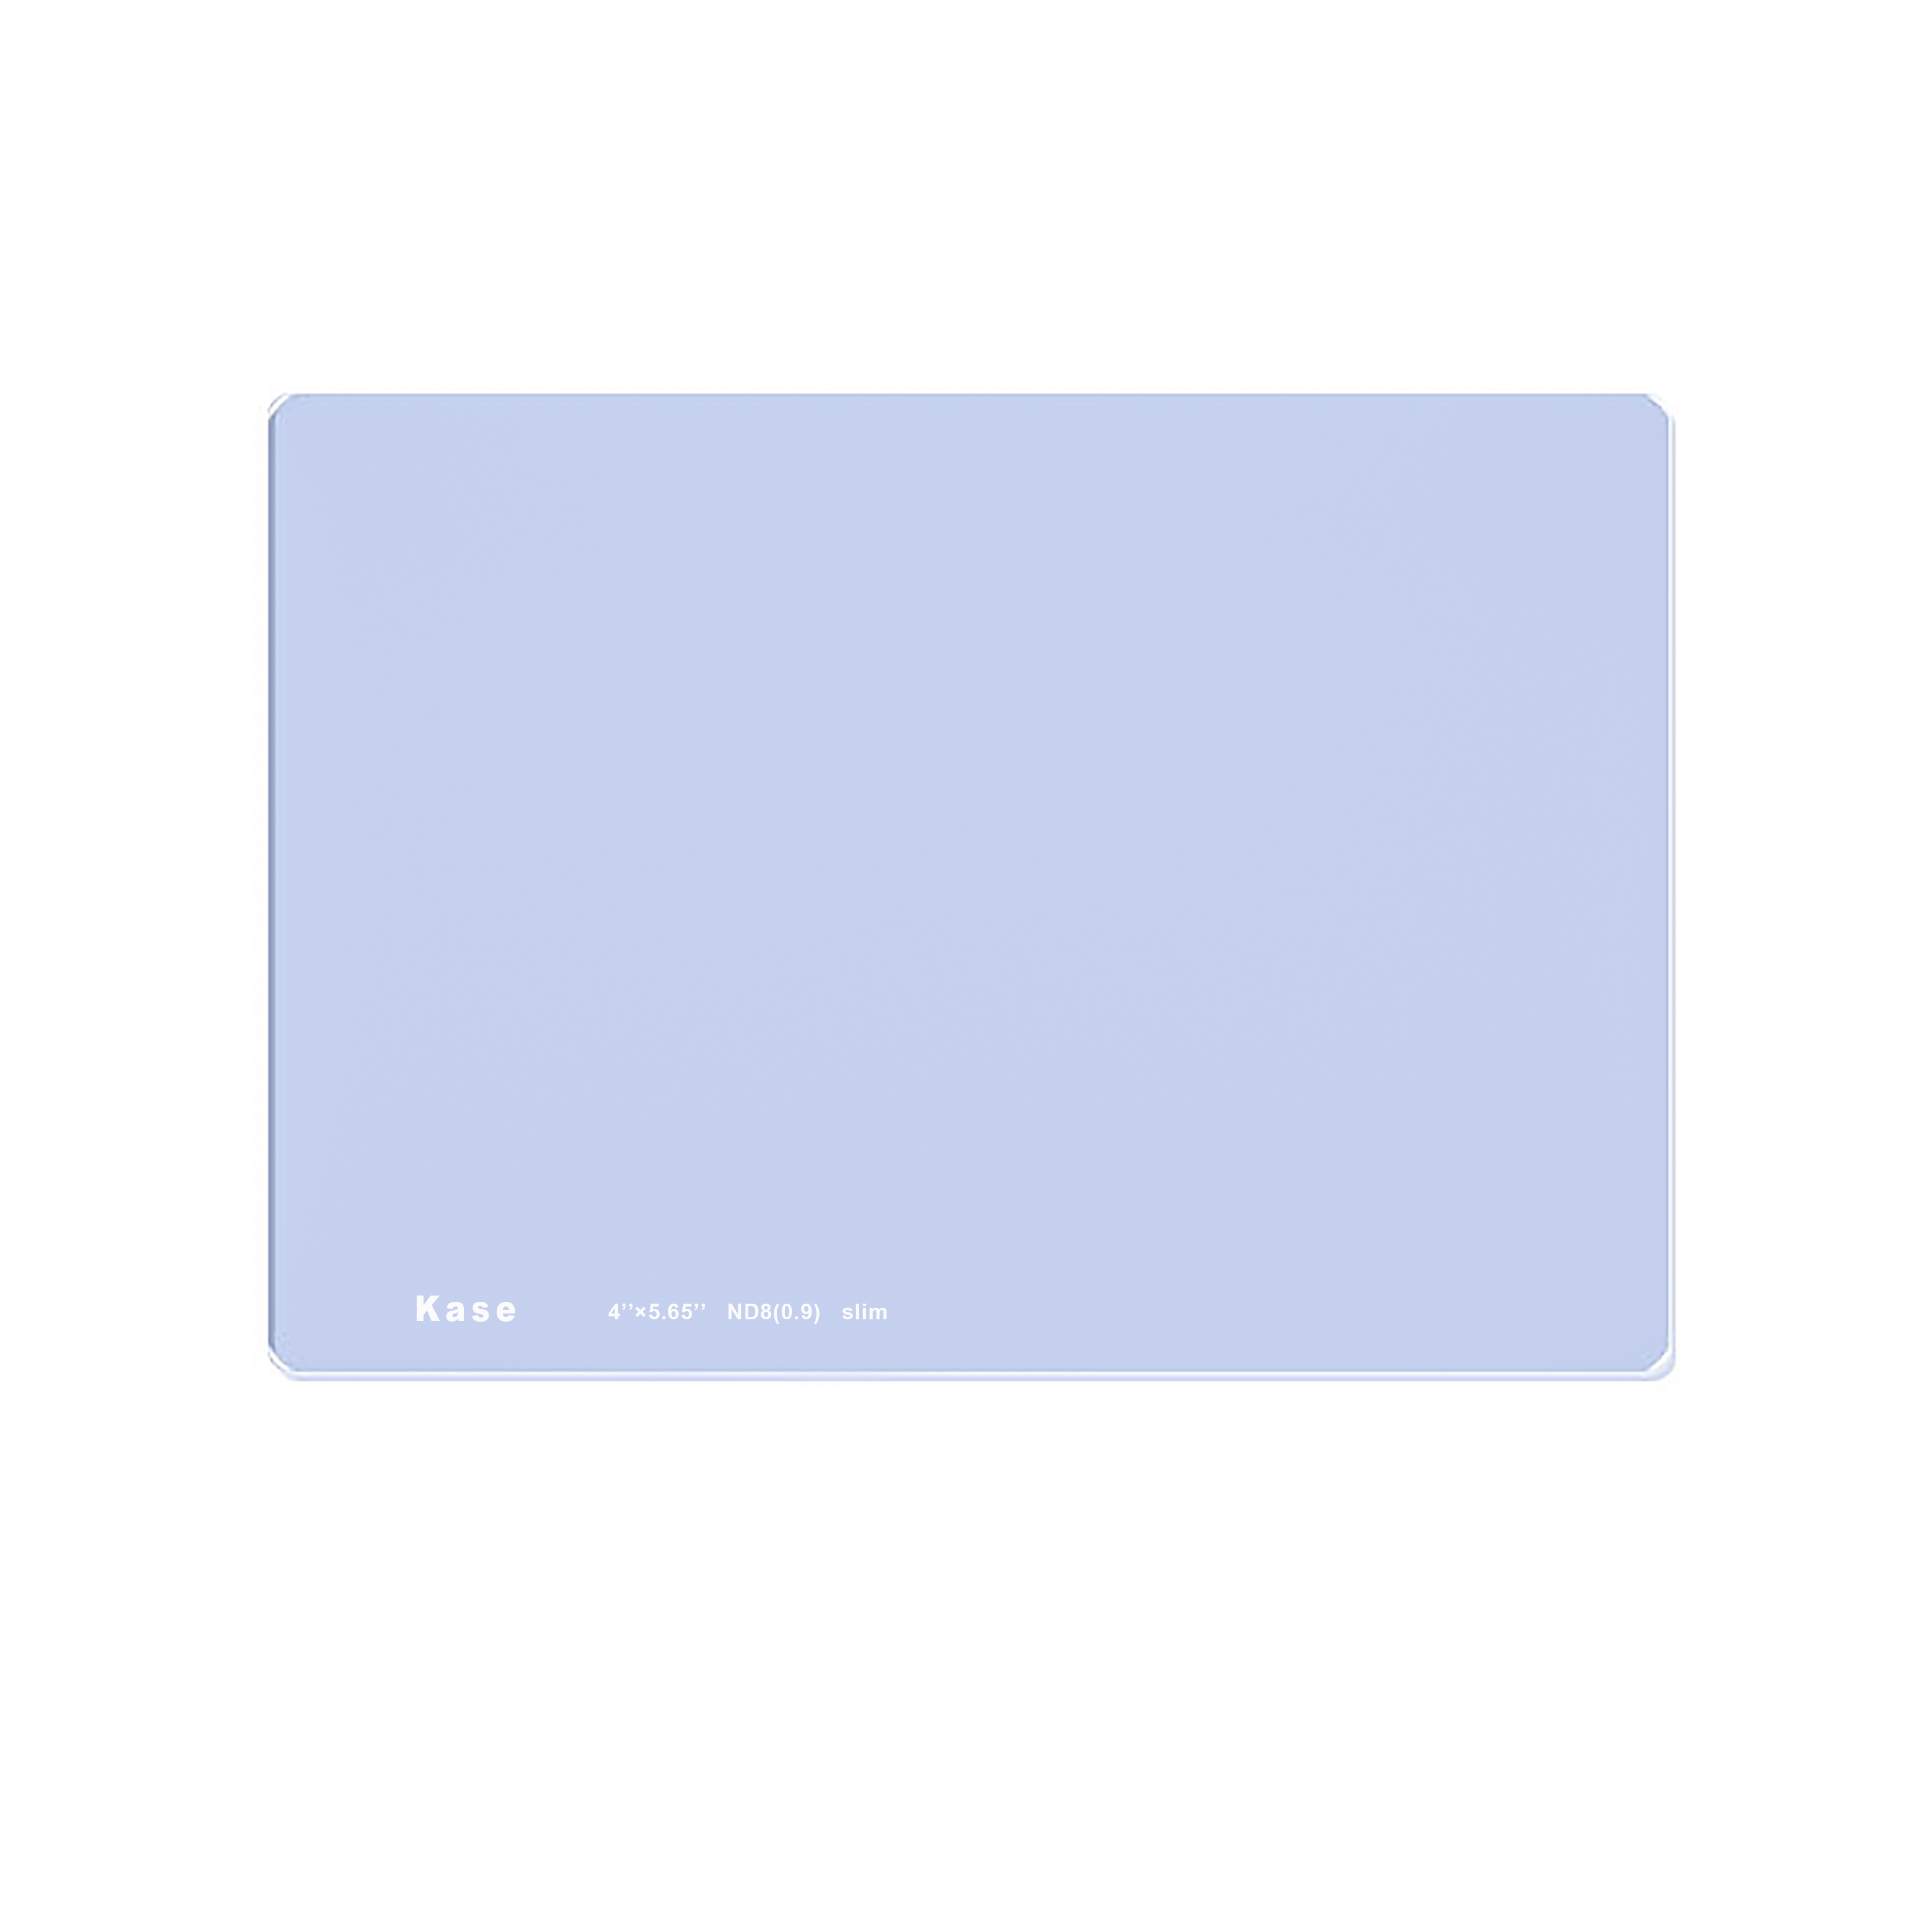
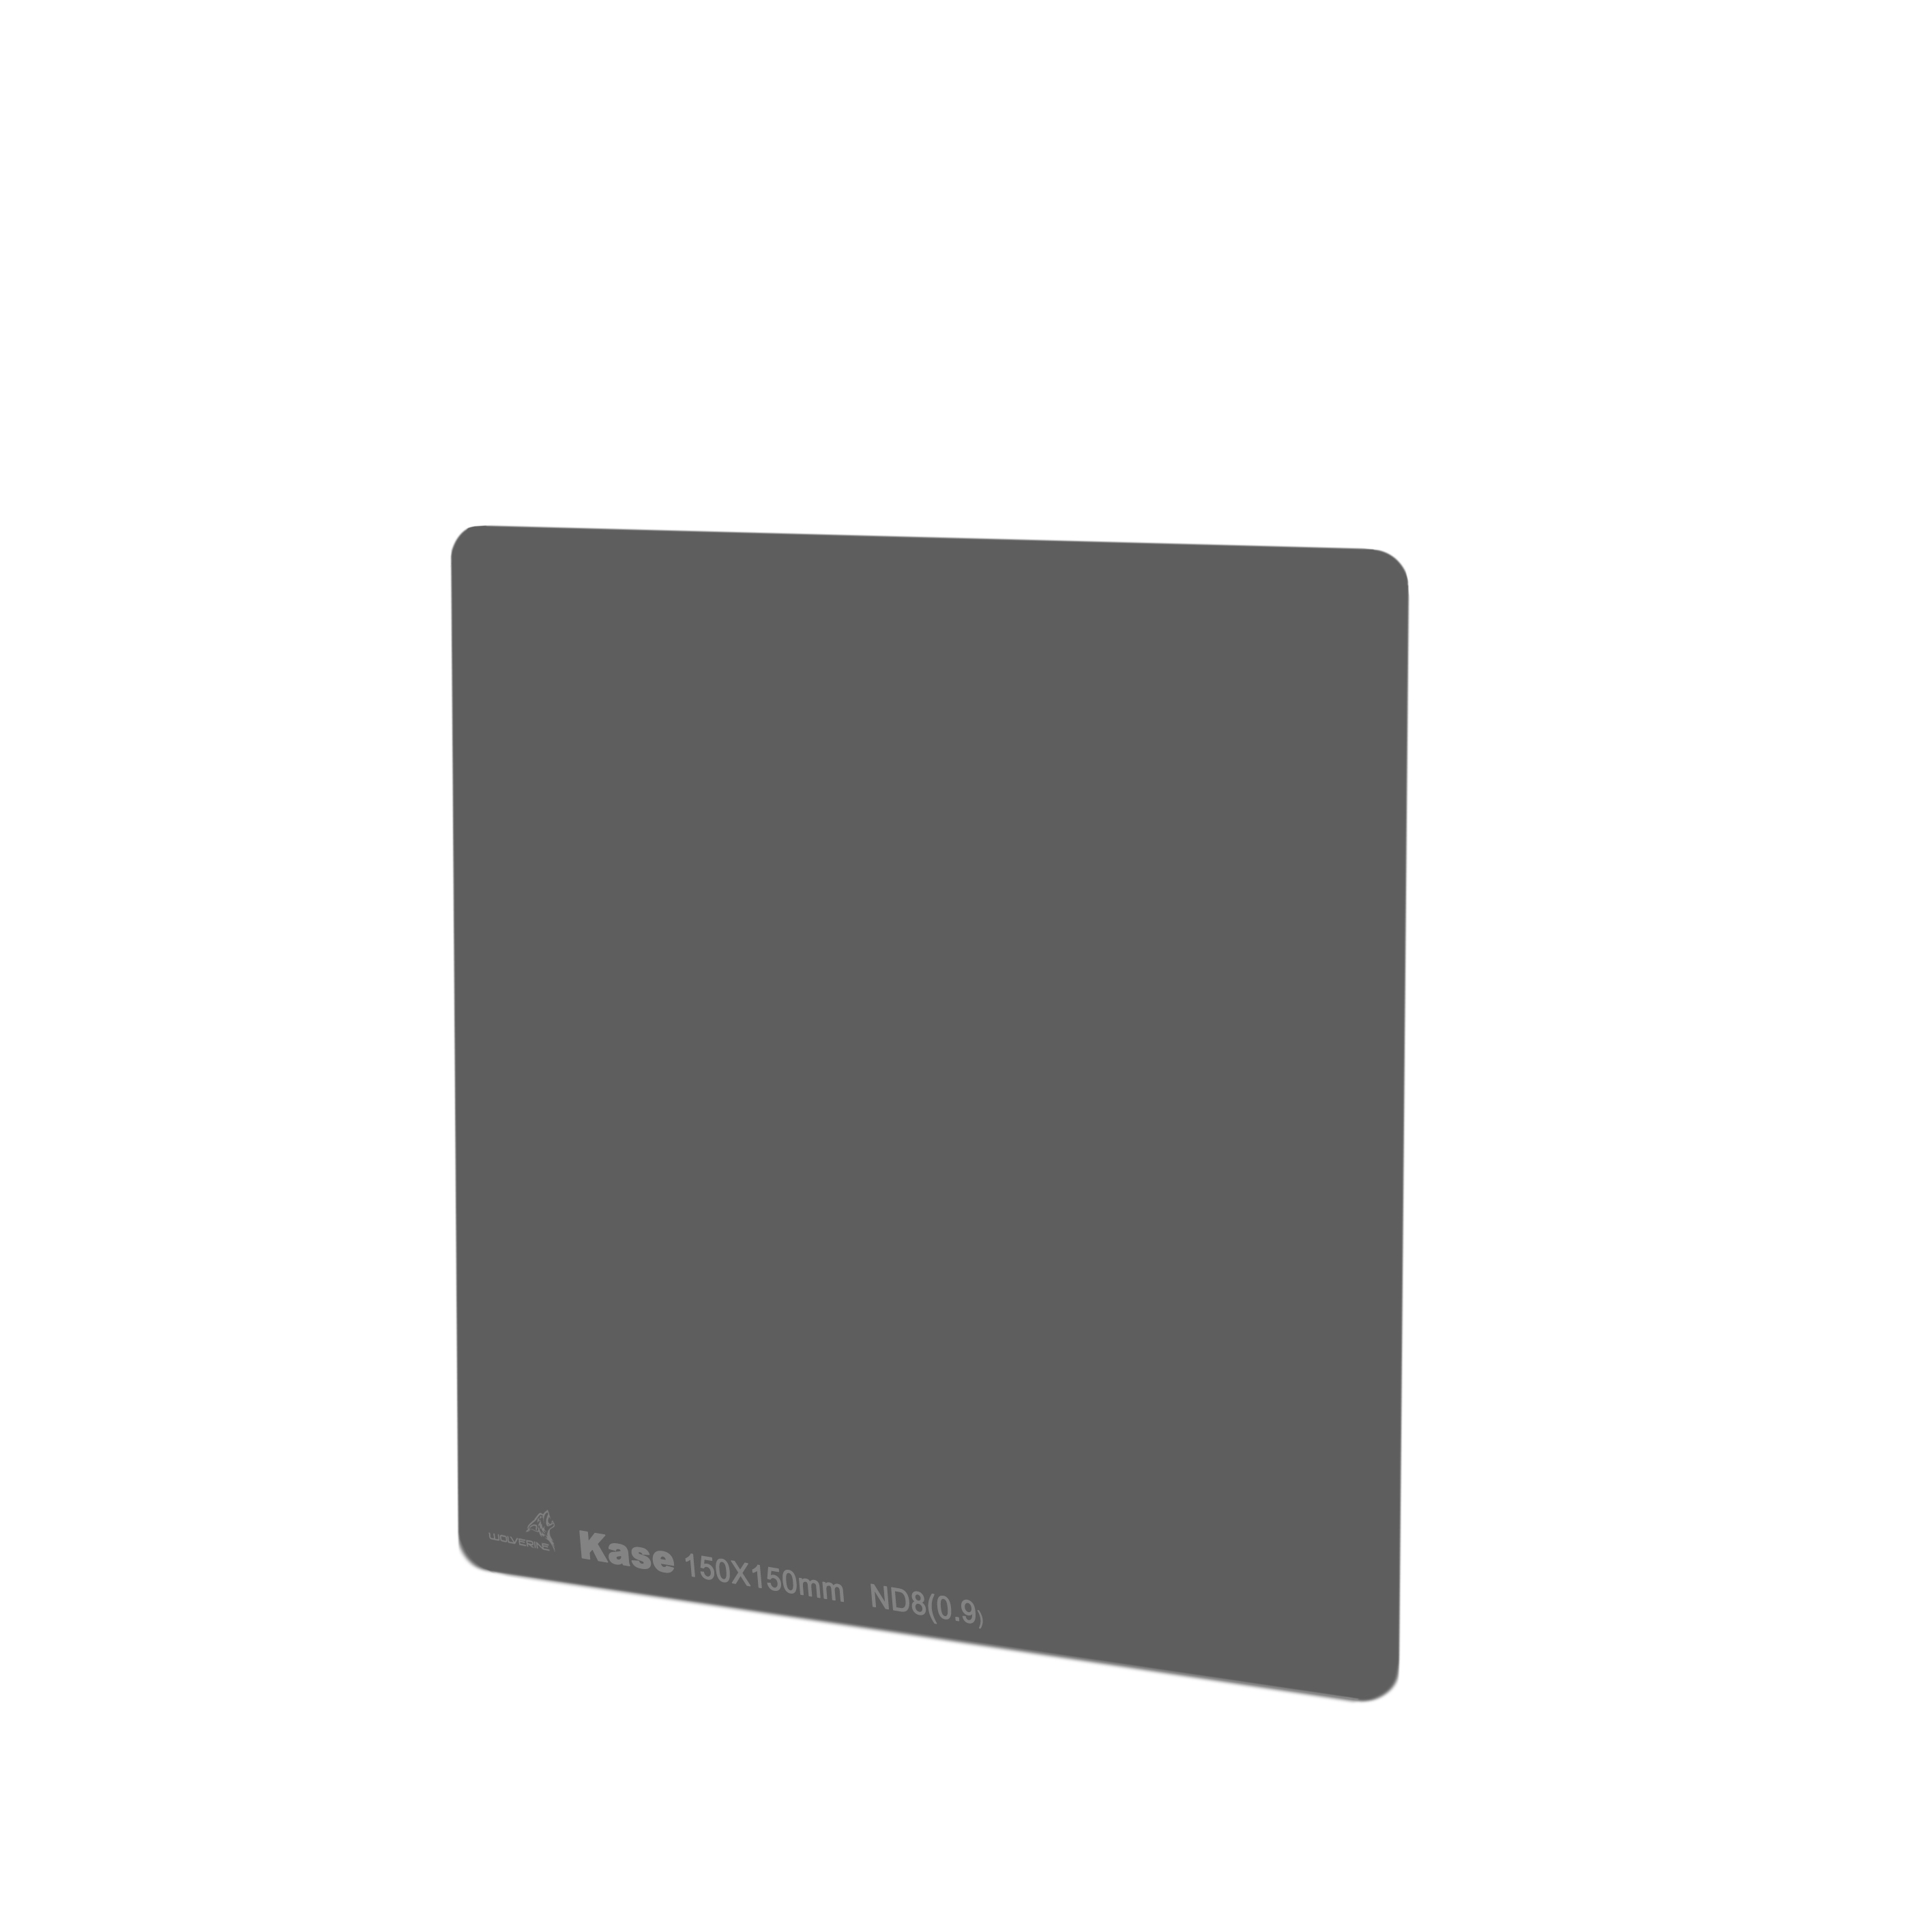
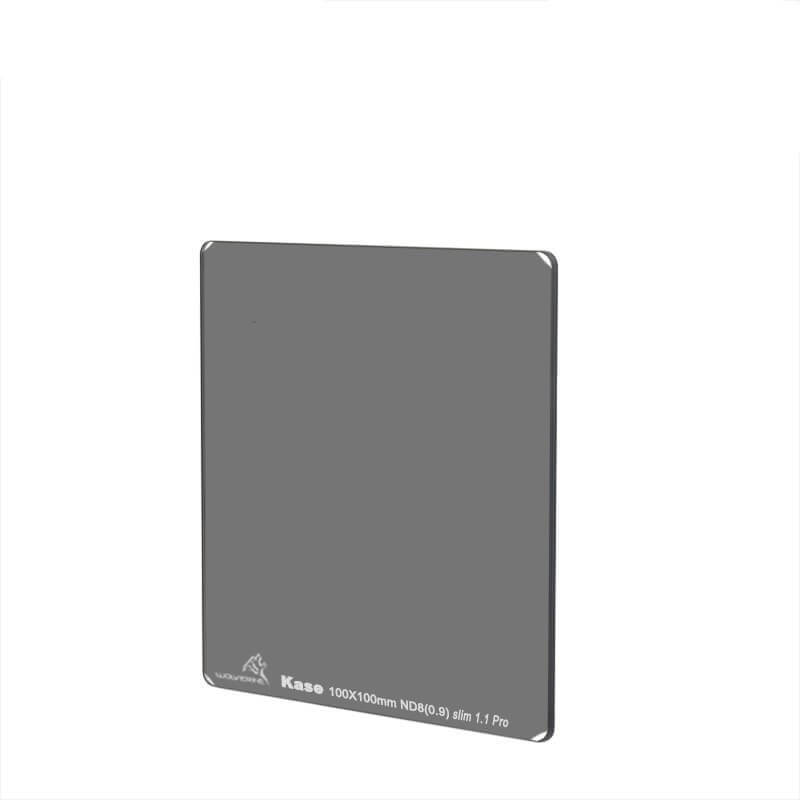
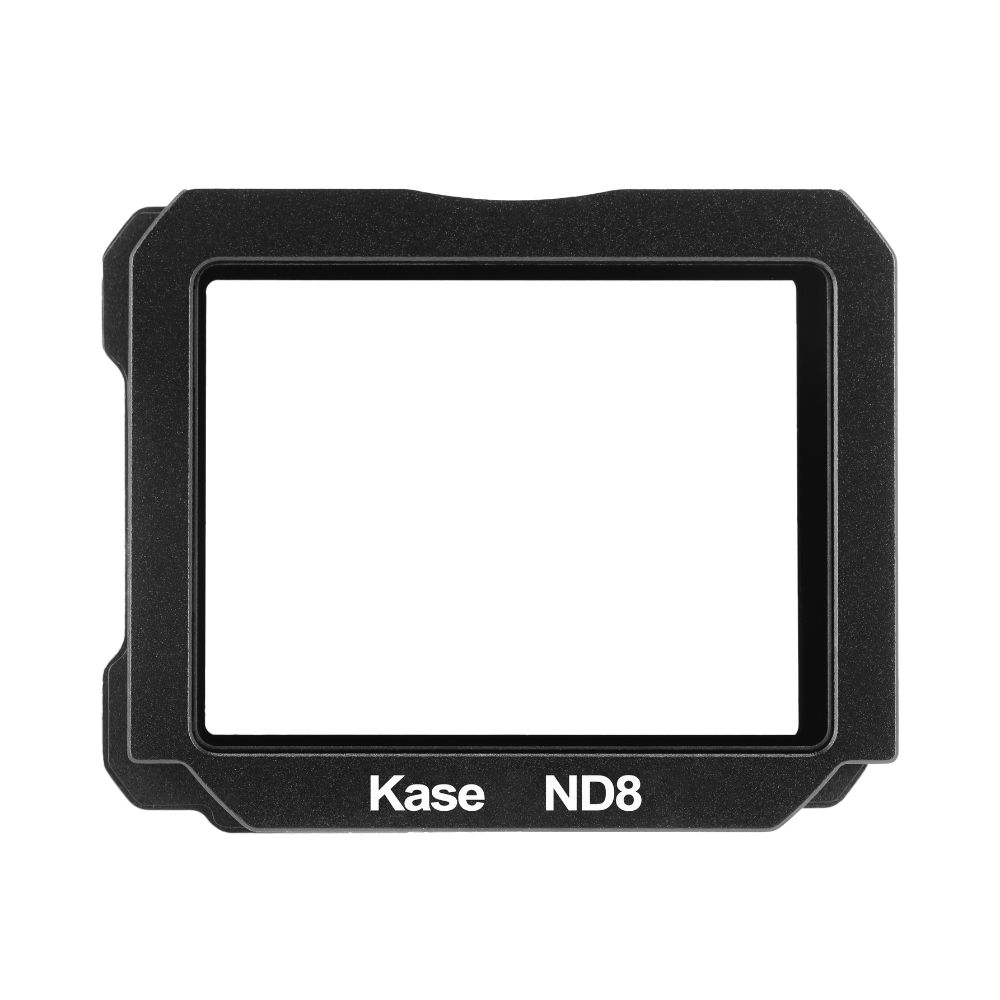
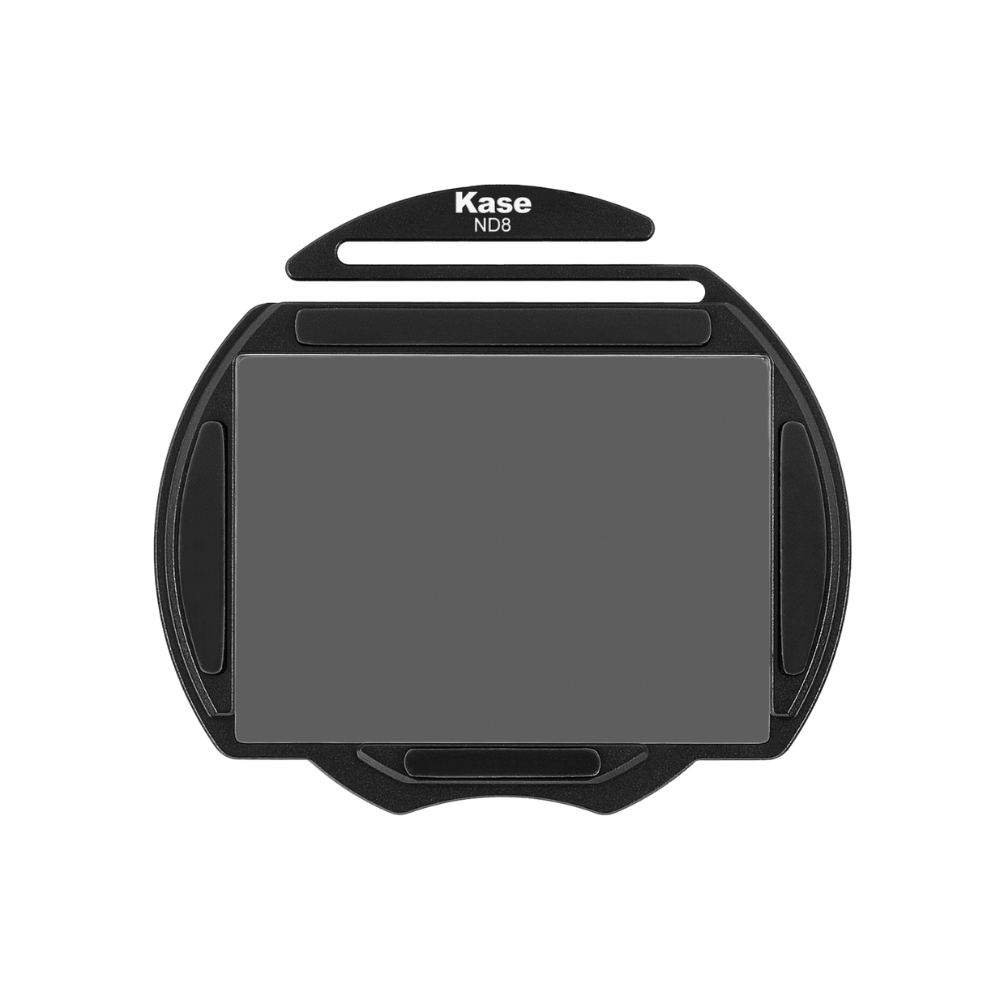
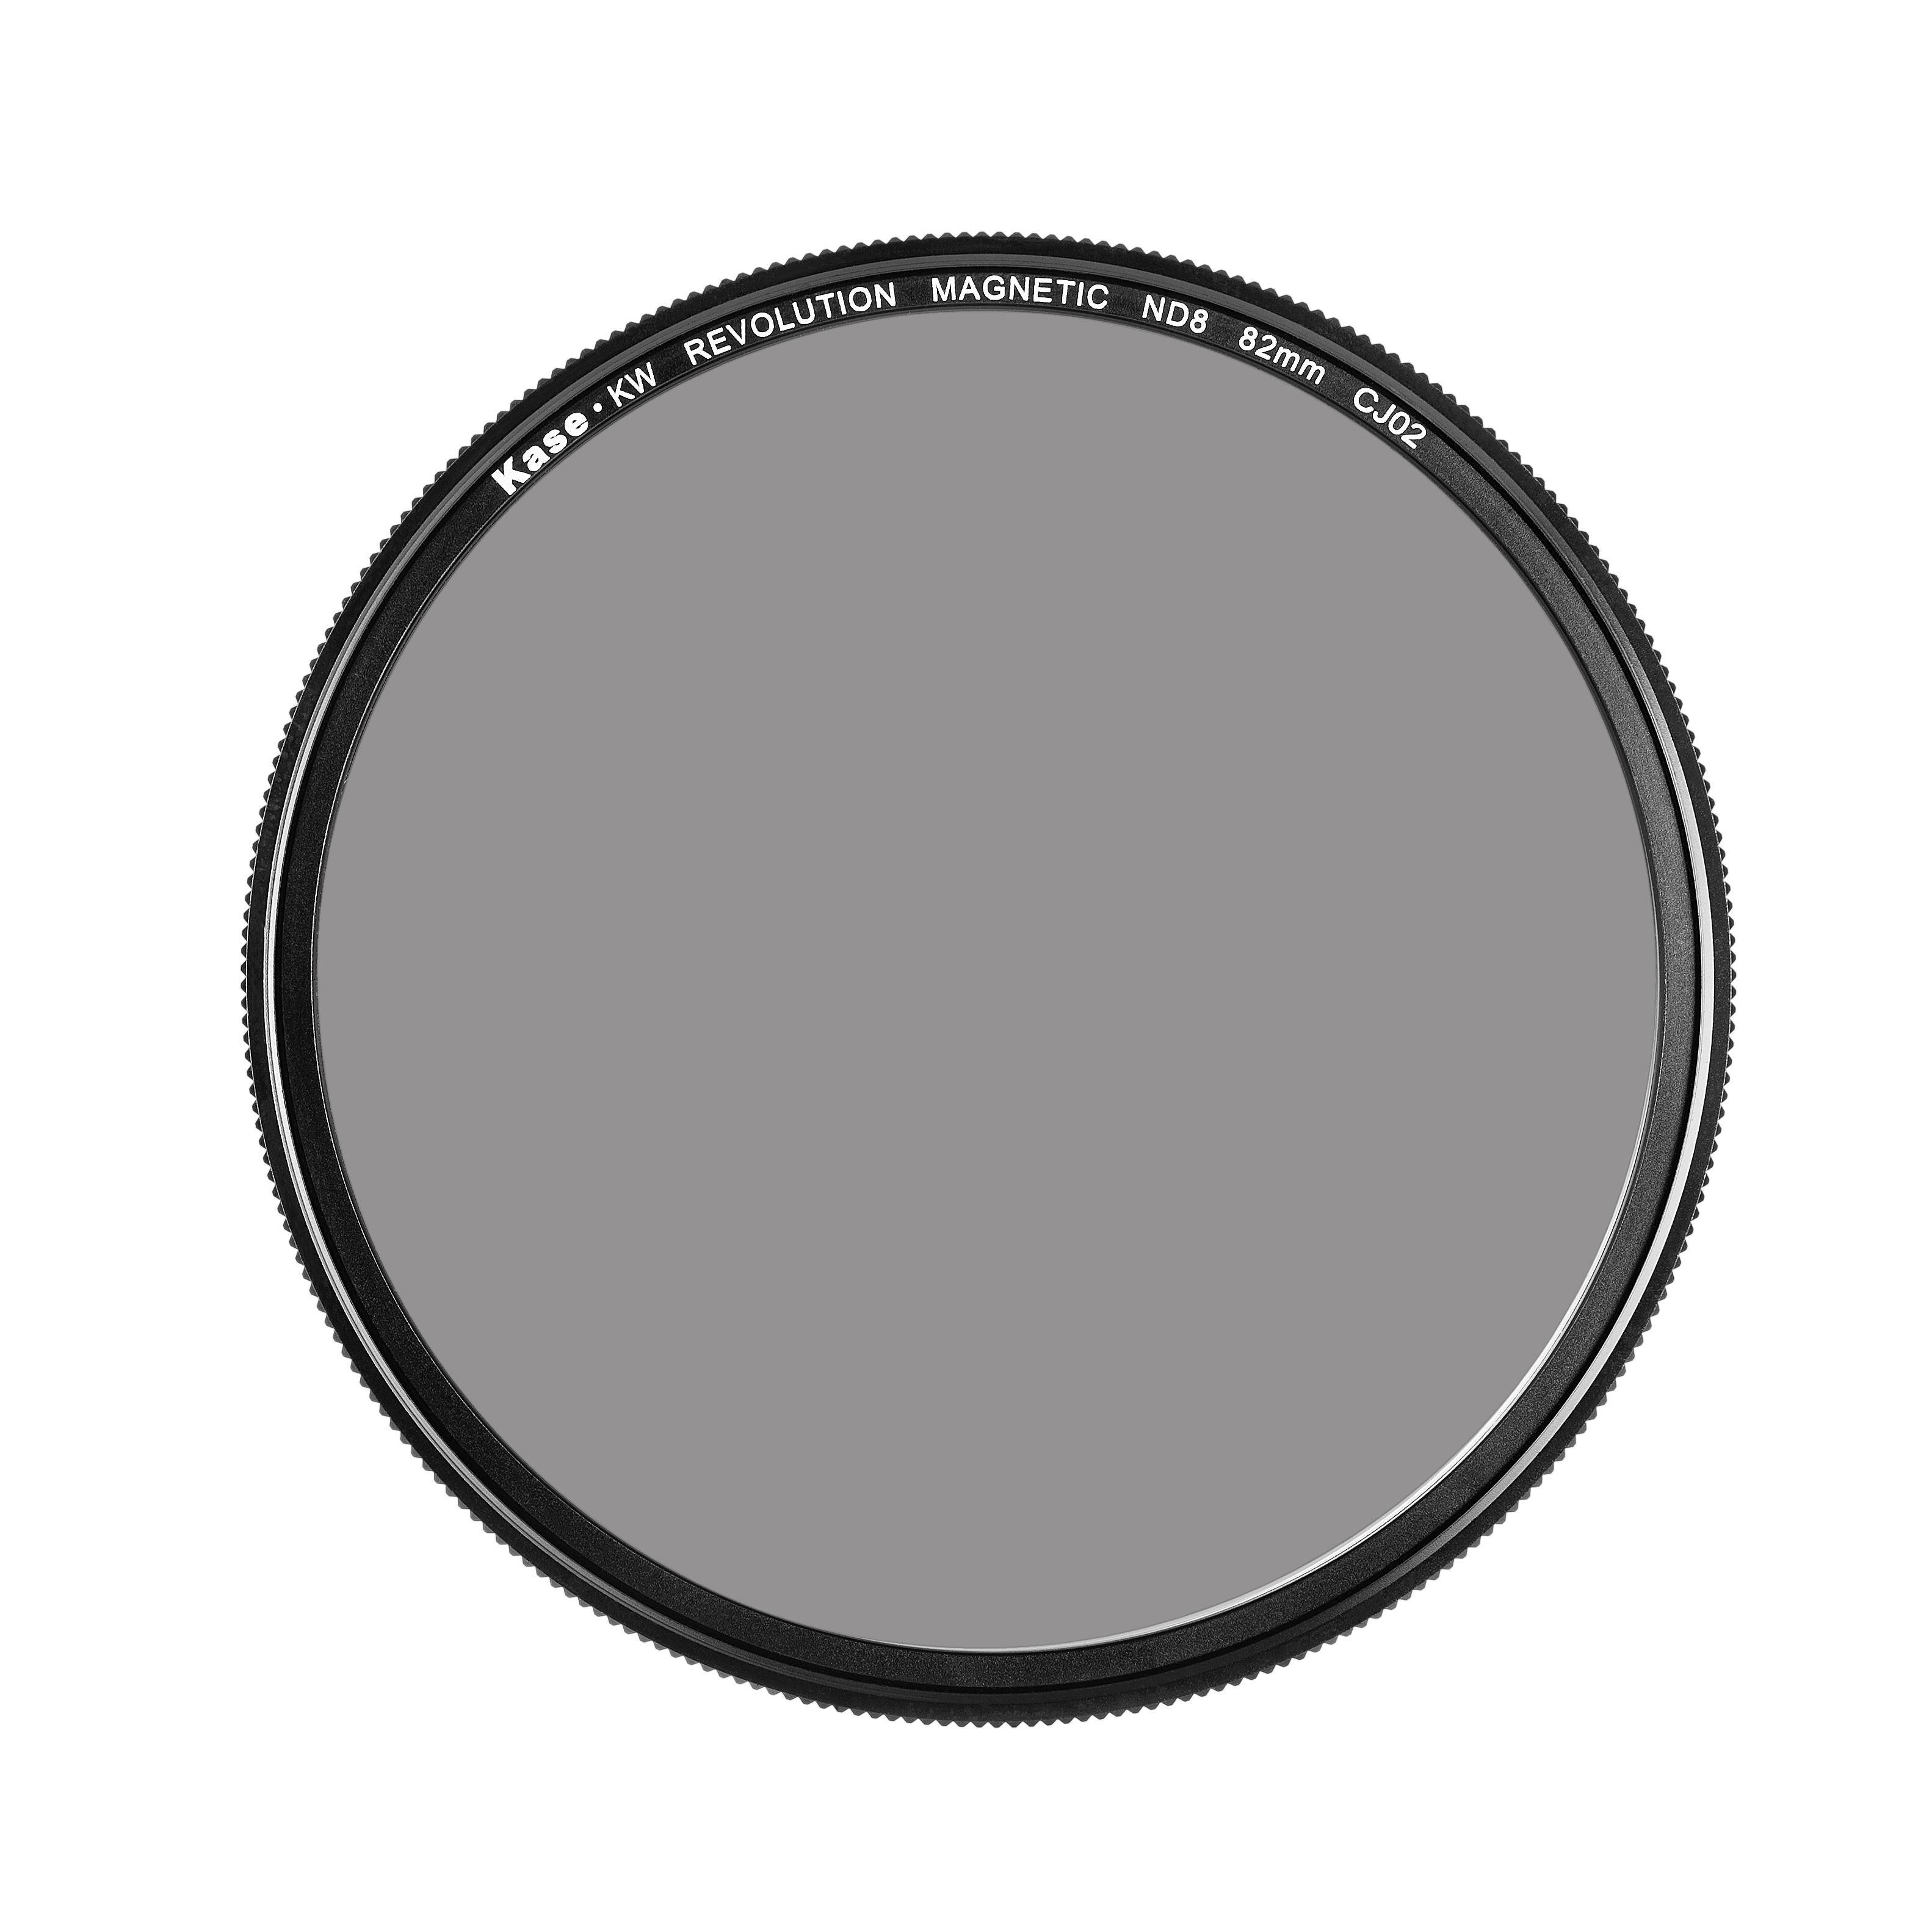
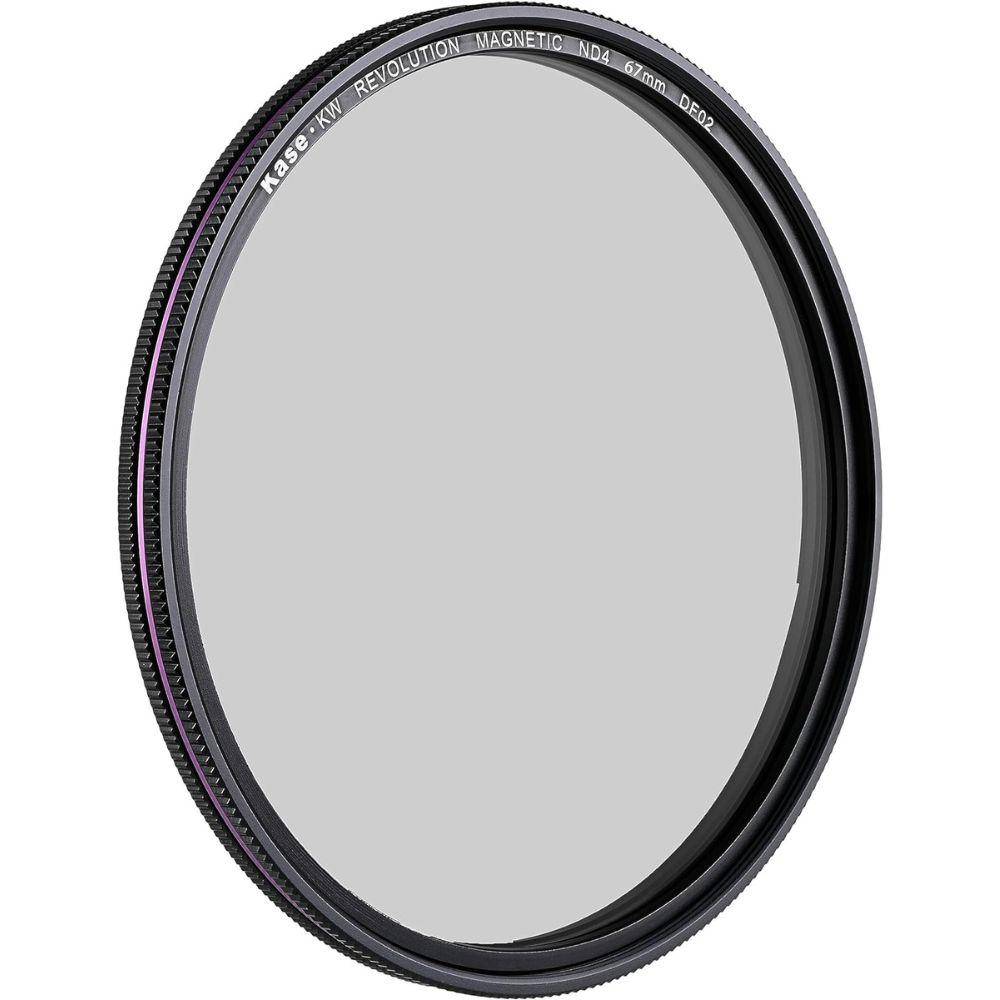
3-stop ND Filter (ND8)
A 3-stop ND filter can be used in moderately bright conditions or when you want to slightly extend your exposure time. This filter is suitable for capturing subtle motion blur in waterfalls or rivers during daylight. It will still retain some texture and details.
Creative effects you can achieve with ND filters
ND filters open up a world of creative possibilities in long-exposure photography. Here are some of the effects you can create using ND filters:
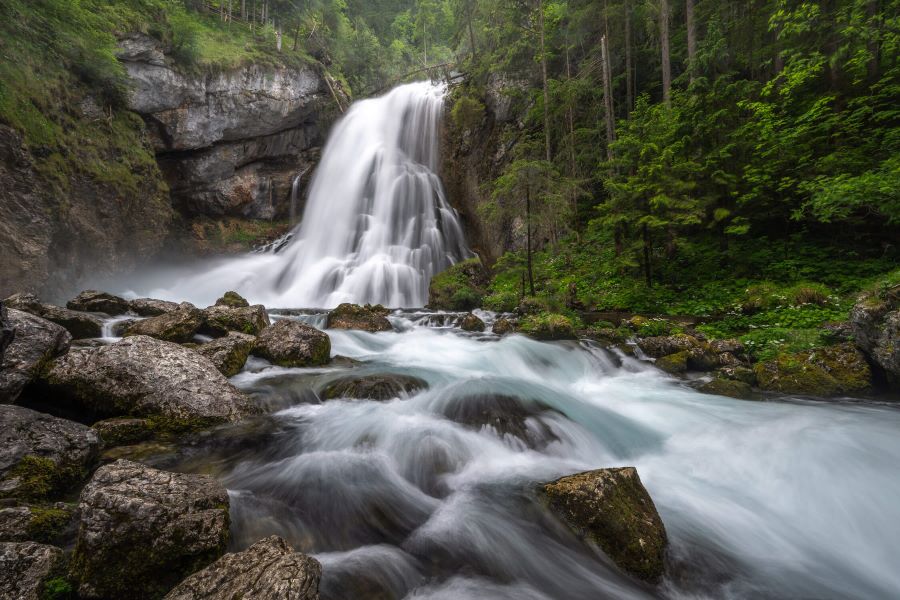
Silky water
Blur the motion of water, transforming crashing waves into silky-smooth textures or turning flowing rivers into serene ribbons of light. Experiment with different filter strengths to control the level of motion blur and achieve desired effects.
Dramatic sky
With a long exposure, moving clouds streak across the sky, adding drama and depth to landscape photographs. A 6-stop or 10-stop ND filter can capture cloud movement and create captivating visual dynamics.

Eliminating moving objects
In crowded urban scenes or tourist spots, use a long exposure with an ND filter to remove moving people or vehicles from the scene.
Tips for long-exposure photography with ND filters
Here are some tips from professional photographers that will help you to achieve even better results in long-exposure photography.
- Use manual focus: Set focus manually before attaching the ND filter to ensure sharpness in your long-exposure images, especially in low-light conditions.
- Check for light leaks: Light leaks can impact the image quality and sharpness of your image. Check if the filter is attached well, and cover the viewfinder with the cloth if needed.
- Watch for colour casts: Some ND filters may introduce colour shifts. Correct colour casts during post-processing by adjusting the white balance.
- Consider cloud movement: Shooting on days when clouds are low and moving dynamically can add drama to your photos.
- Avoid touching the camera: Even a small movement can influence the image quality. Use a remote shutter release or timer to capture shots without touching the camera.
- Stacking filters: In extremely bright conditions, you can stack two ND filters to achieve a greater light reduction if needed for a desired effect.
Did you like our guide? Here are some more articles about ND filters for you:
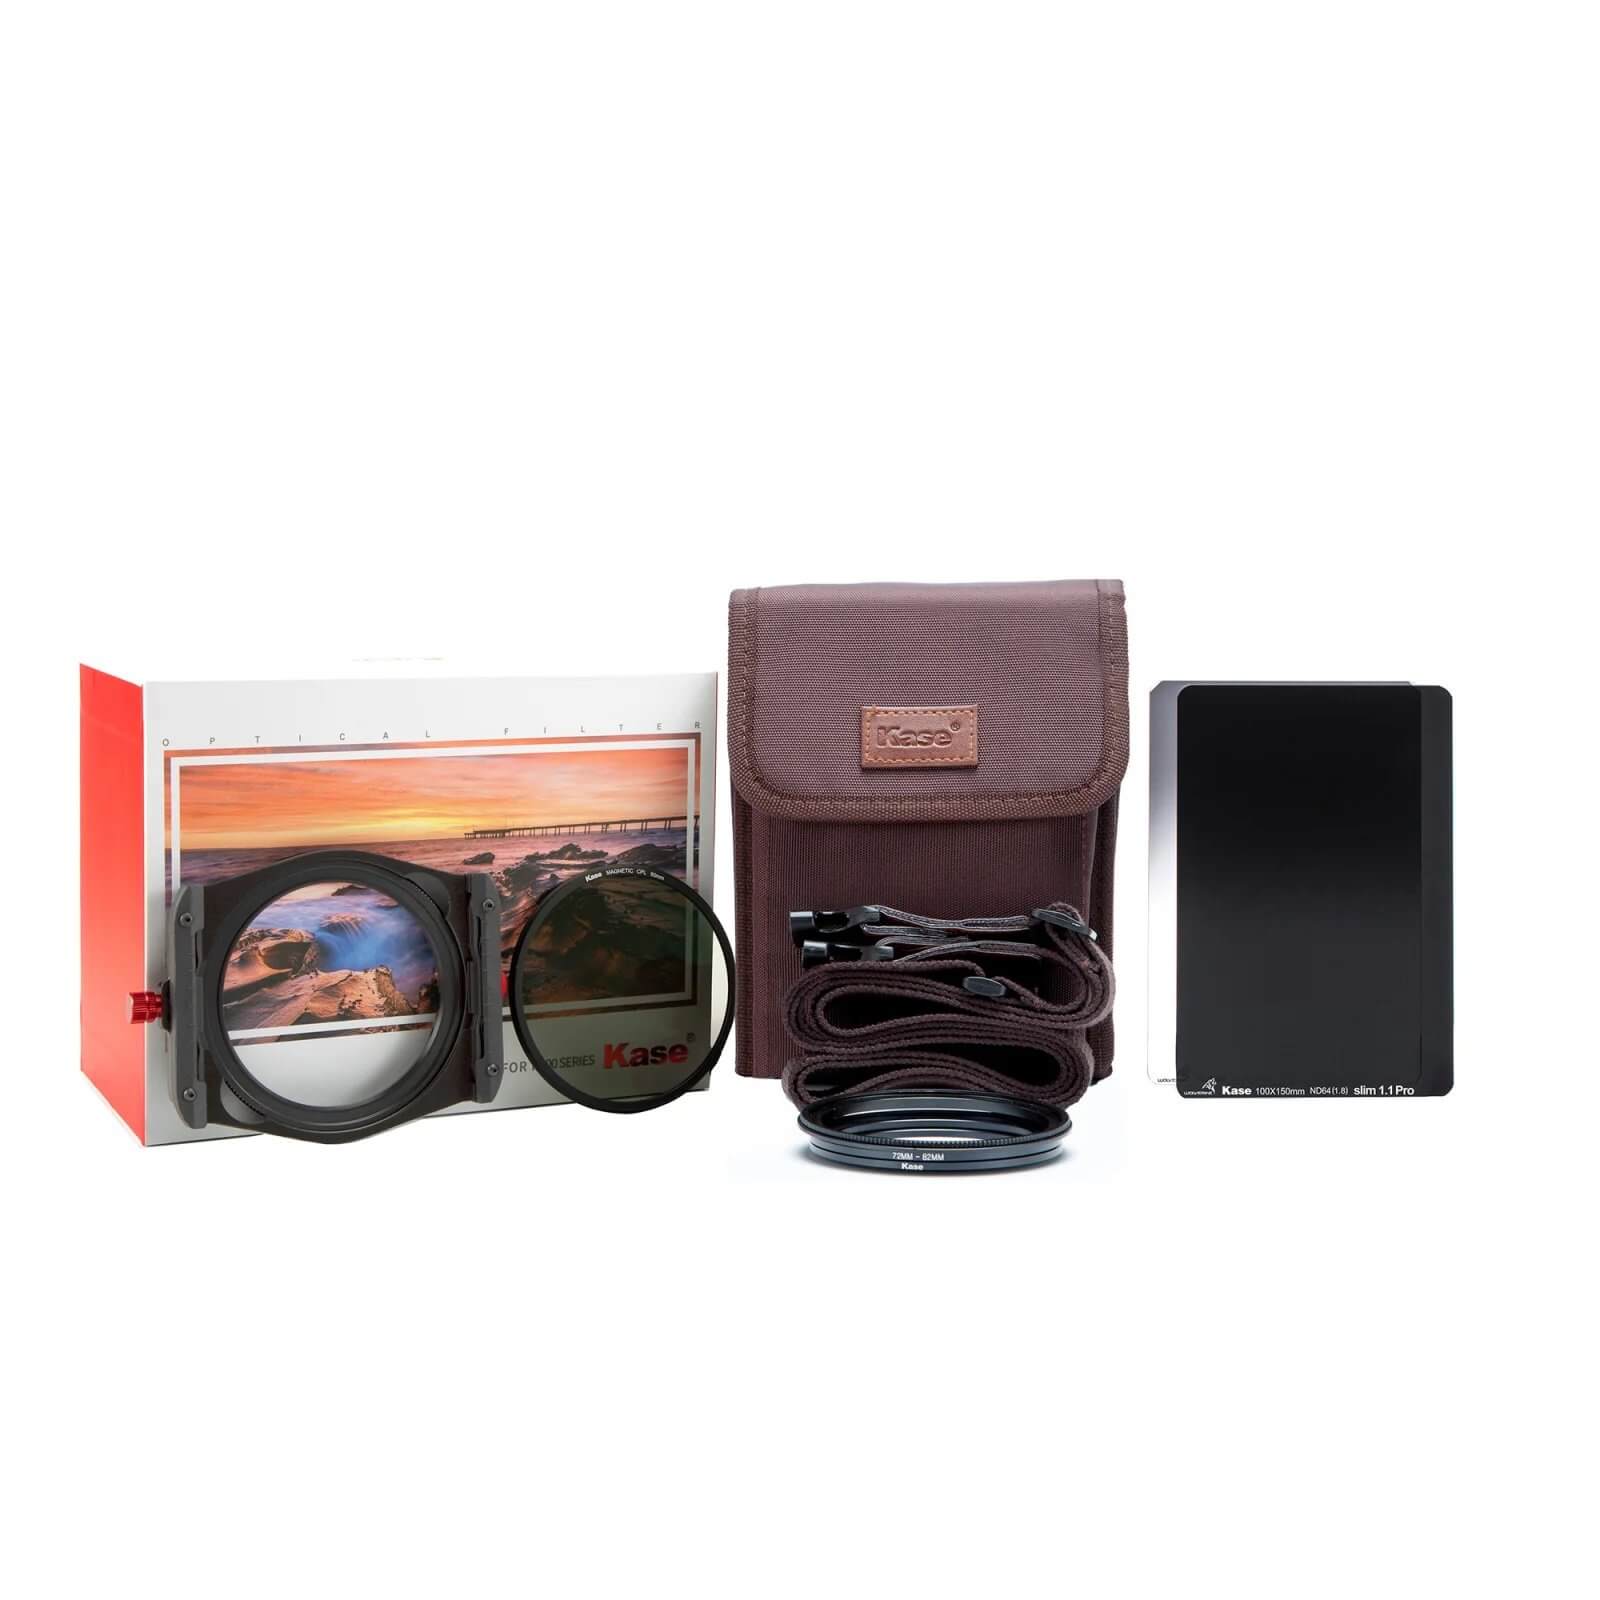
Best ND filters from Kase for long-exposure photography

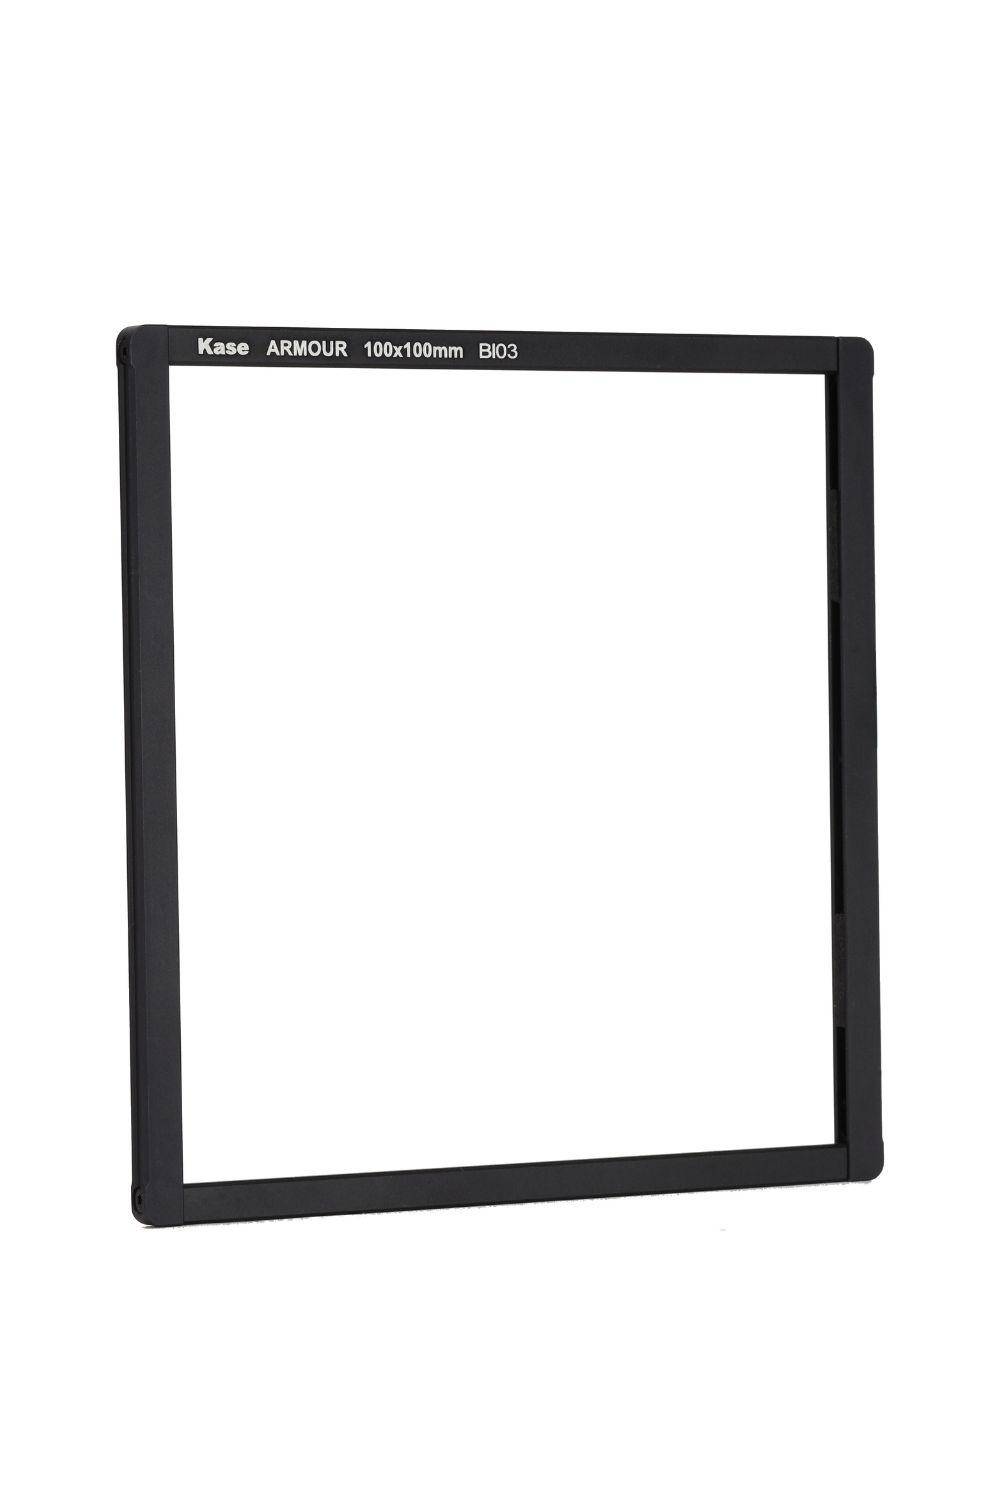
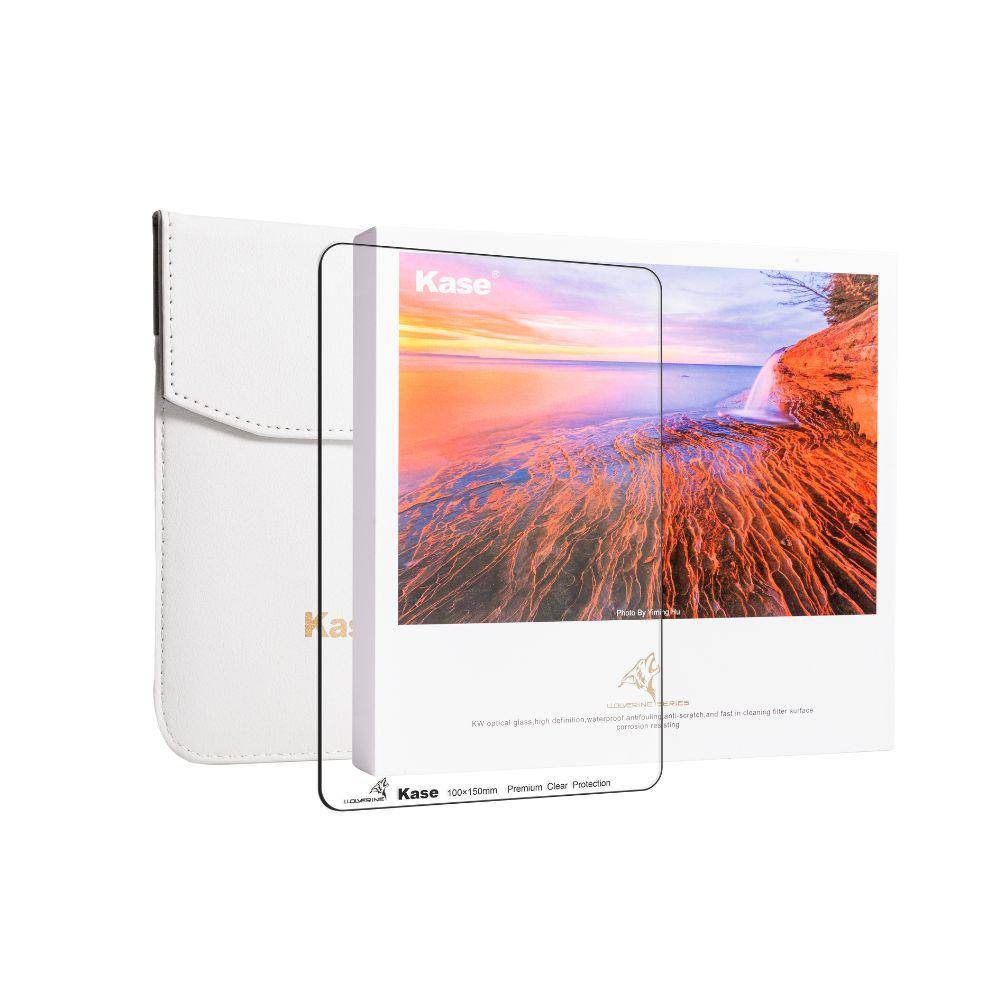
Il filtro Kase Wolverine K100 100x150mm ND 1000 ND 3.0 (10 stop/10 stop) è perfetto per controllare la quantità di luce che raggiunge il sensore della fotocamera. I tempi di esposizione più lunghi possono, ad esempio, catturare il movimento delle nuvole o far sembrare l'acqua liscia come la seta. La serie Kase Wolverine si caratterizza particolarmente per la sua eccellente neutralità dei colori. Il vetro ottico ad alta precisione utilizzato è antiurto. Il rivestimento oleorepellente e idrorepellente rende i filtri molto facili da pulire. Fornitura: 1x filtro ND1000 (10 stop) 100x150mm
In magazzino

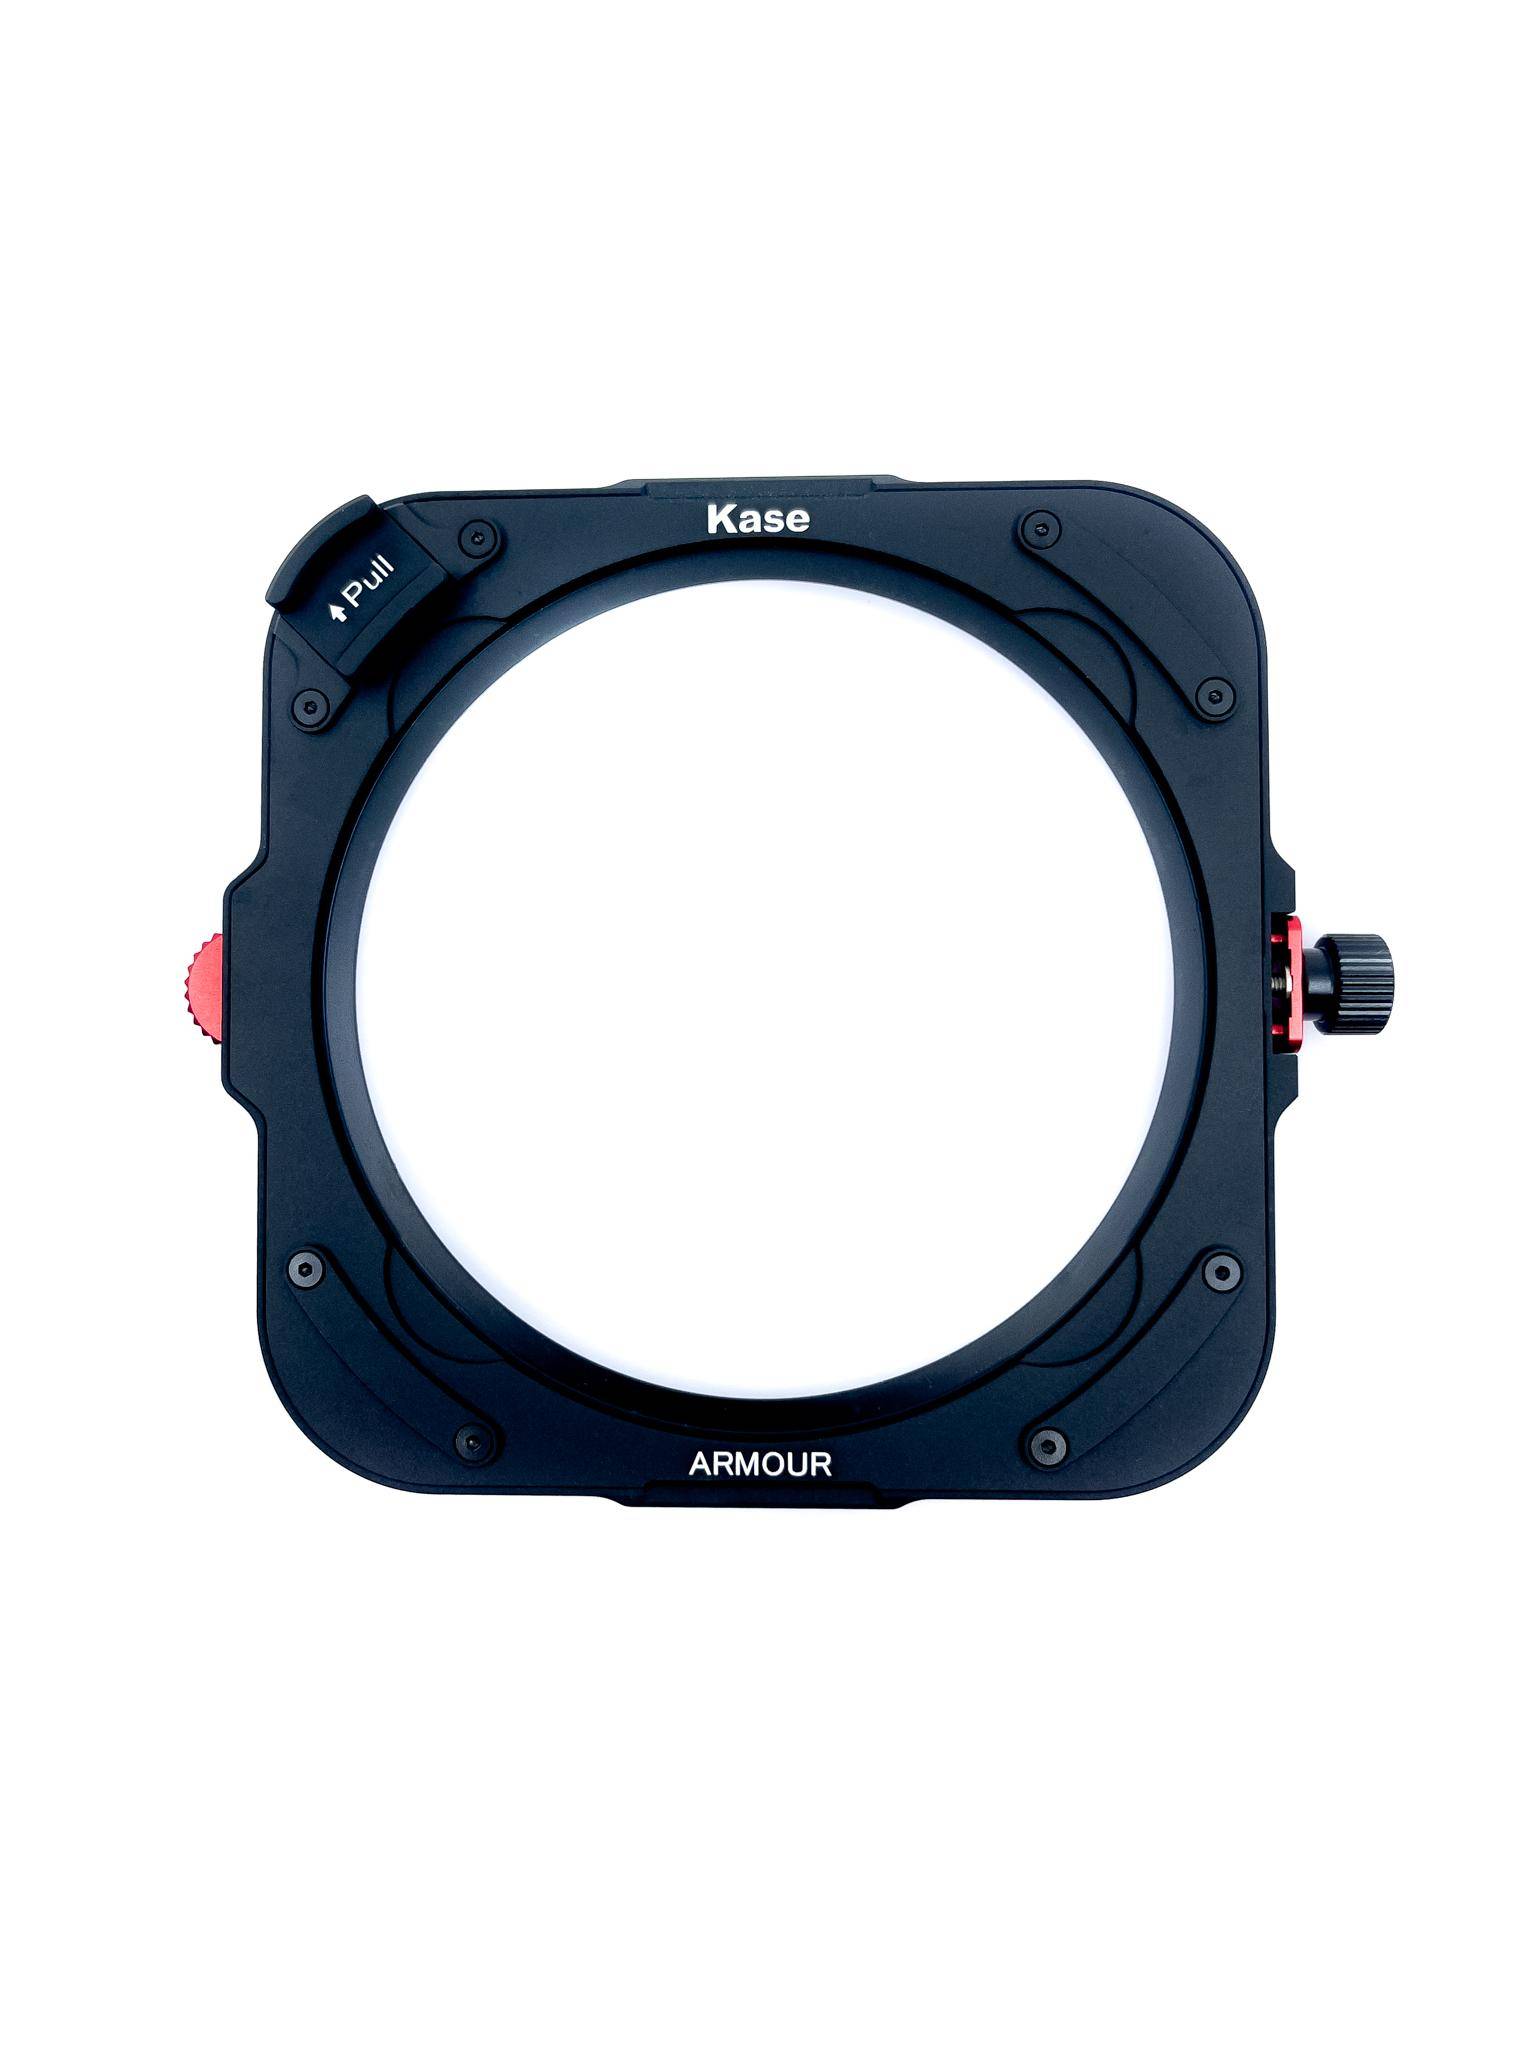
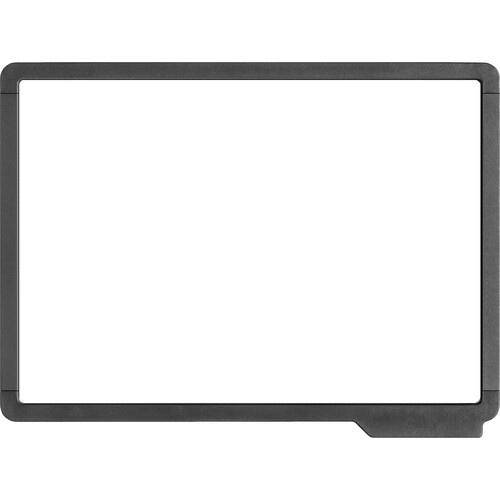
🧲 Filtro ARMOUR ND8 magnetico - 3 stop Il filtro ARMOUR ND8 riduce la luce incidente di 3 f-stop ed è quindi ideale per lunghe esposizioni finemente controllate, registrazioni video alla luce del giorno o per l'apertura mirata del diaframma in ambienti luminosi. Con un diametro di 95 mm, il filtro si inserisce perfettamente nel portafiltro ARMOUR da 100 mm e vi si fissa magneticamente. Per una maggiore flessibilità creativa, il filtro ND8 può essere facilmente combinato con altri filtri ND o con un filtro polarizzatore ARMOUR. Caratteristiche 🌗 3 f-stop di riduzione della luce - ideale per esposizioni lunghe controllate 🧲 Attacco magnetico nel sistema porta-filtri ARMOUR 📏 Diametro: 95 mm - compatibile con gli obiettivi tramite appositi anelli adattatori 🔄 Combinabile con i filtri polarizzatori ARMOUR ND64, ND1000 o CPL 💎 Vetro ottico rivestito - per risultati nitidi e neutri dal punto di vista cromatico 🛡️ Struttura robusta e resistente alle intemperie, ideale per l'uso in esterni 📸 Esempi di applicazioni 🌊 Lunghe esposizioni luminose: ad es. superfici d'acqua che scorrono con un effetto morbido 📽️ Riprese video alla luce del giorno: tempi di posa costanti senza sovraesposizione 🌞 Ritaglio con un diaframma aperto: Ridurre la quantità di luce per ritratti alla luce del sole 🏞️ Enfatizzare le strutture delle nuvole: sottili effetti di movimento nel cielo 📷 Accatastamento dei filtri: può essere combinato con ND64 o ND1000 per tempi di esposizione ancora più lunghi 📦 Contenuto della fornitura 1x filtro ARMOUR ND8 (3 stop, 95 mm) 1x custodia
In magazzino