


.jpg?width=3000)


.jpg?width=3000)


.jpg?width=3000)


How to shoot long exposure with an ND filter: step-by-step
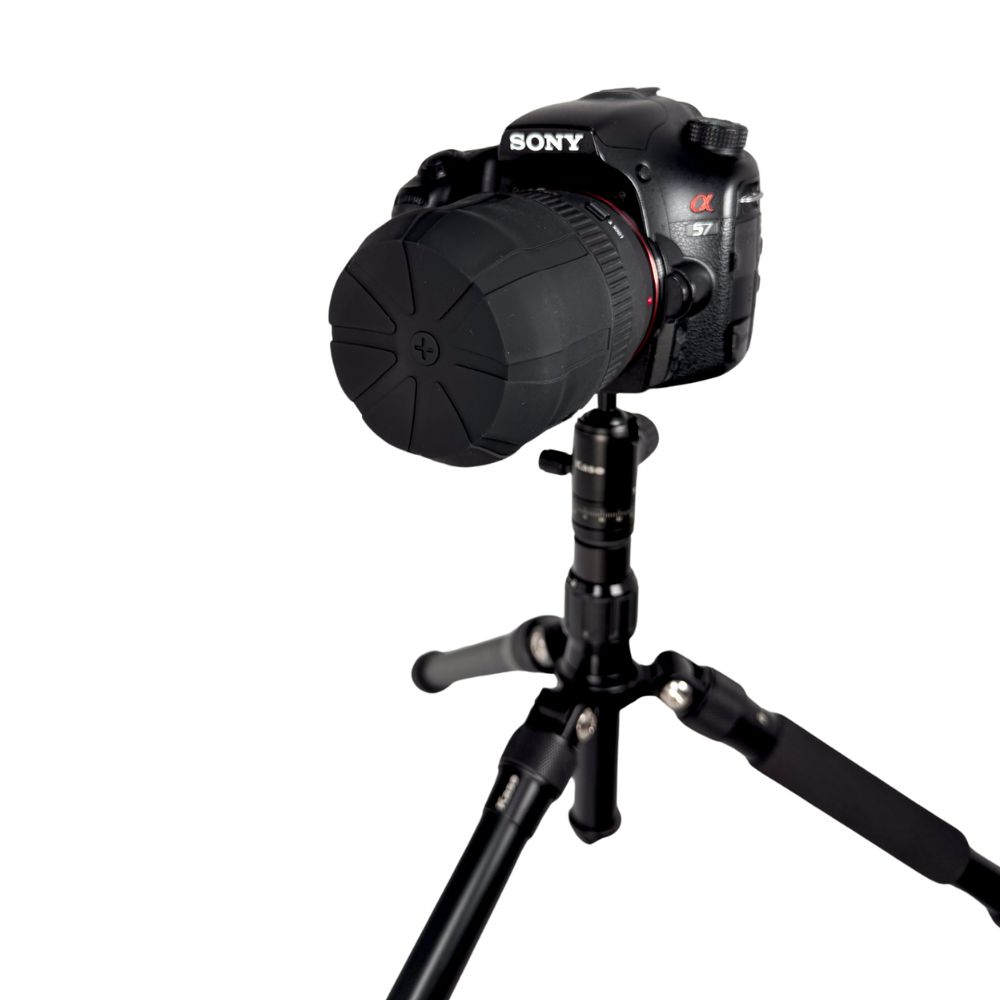
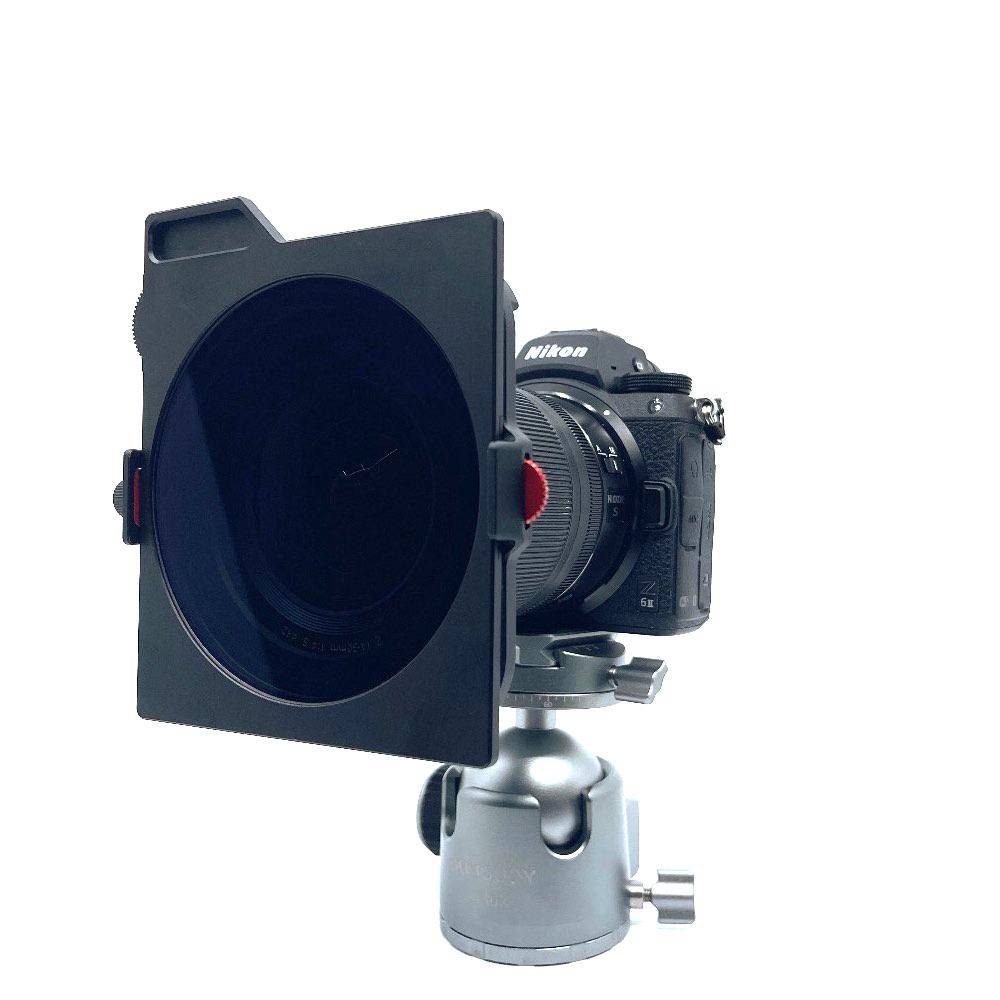
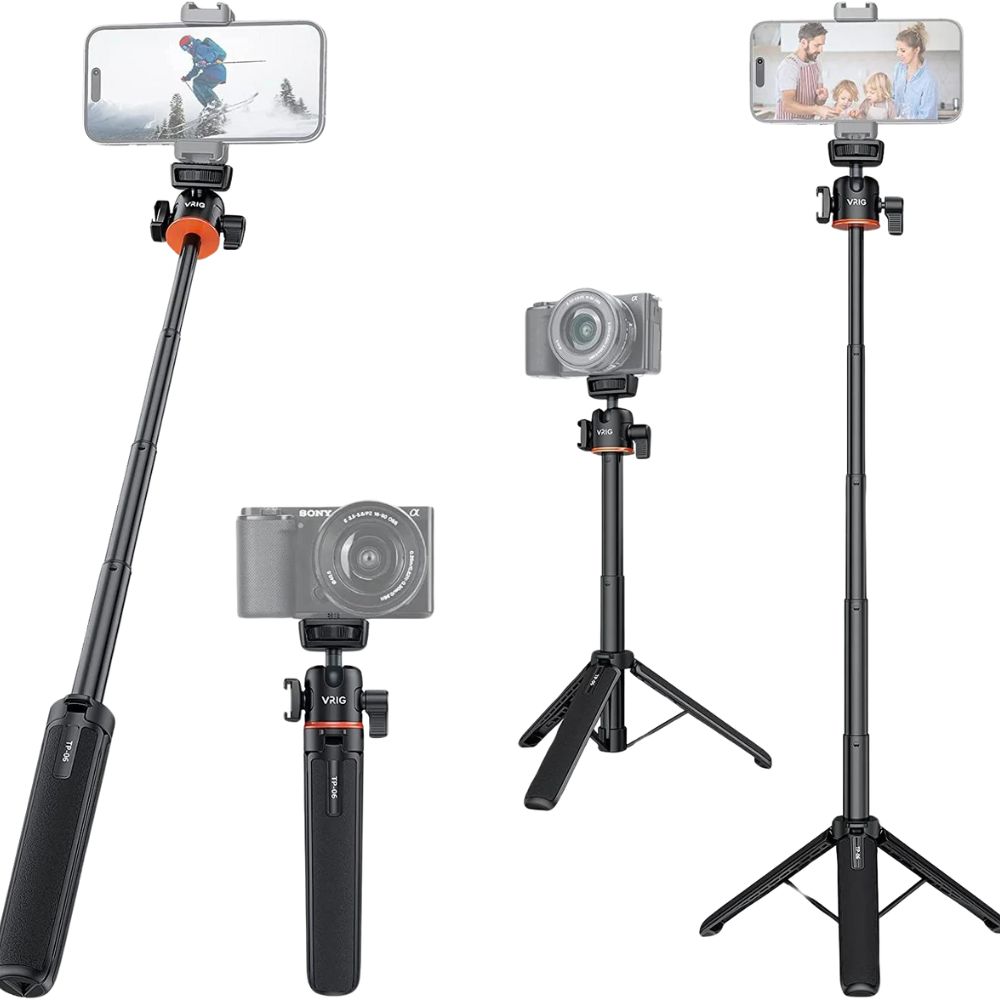
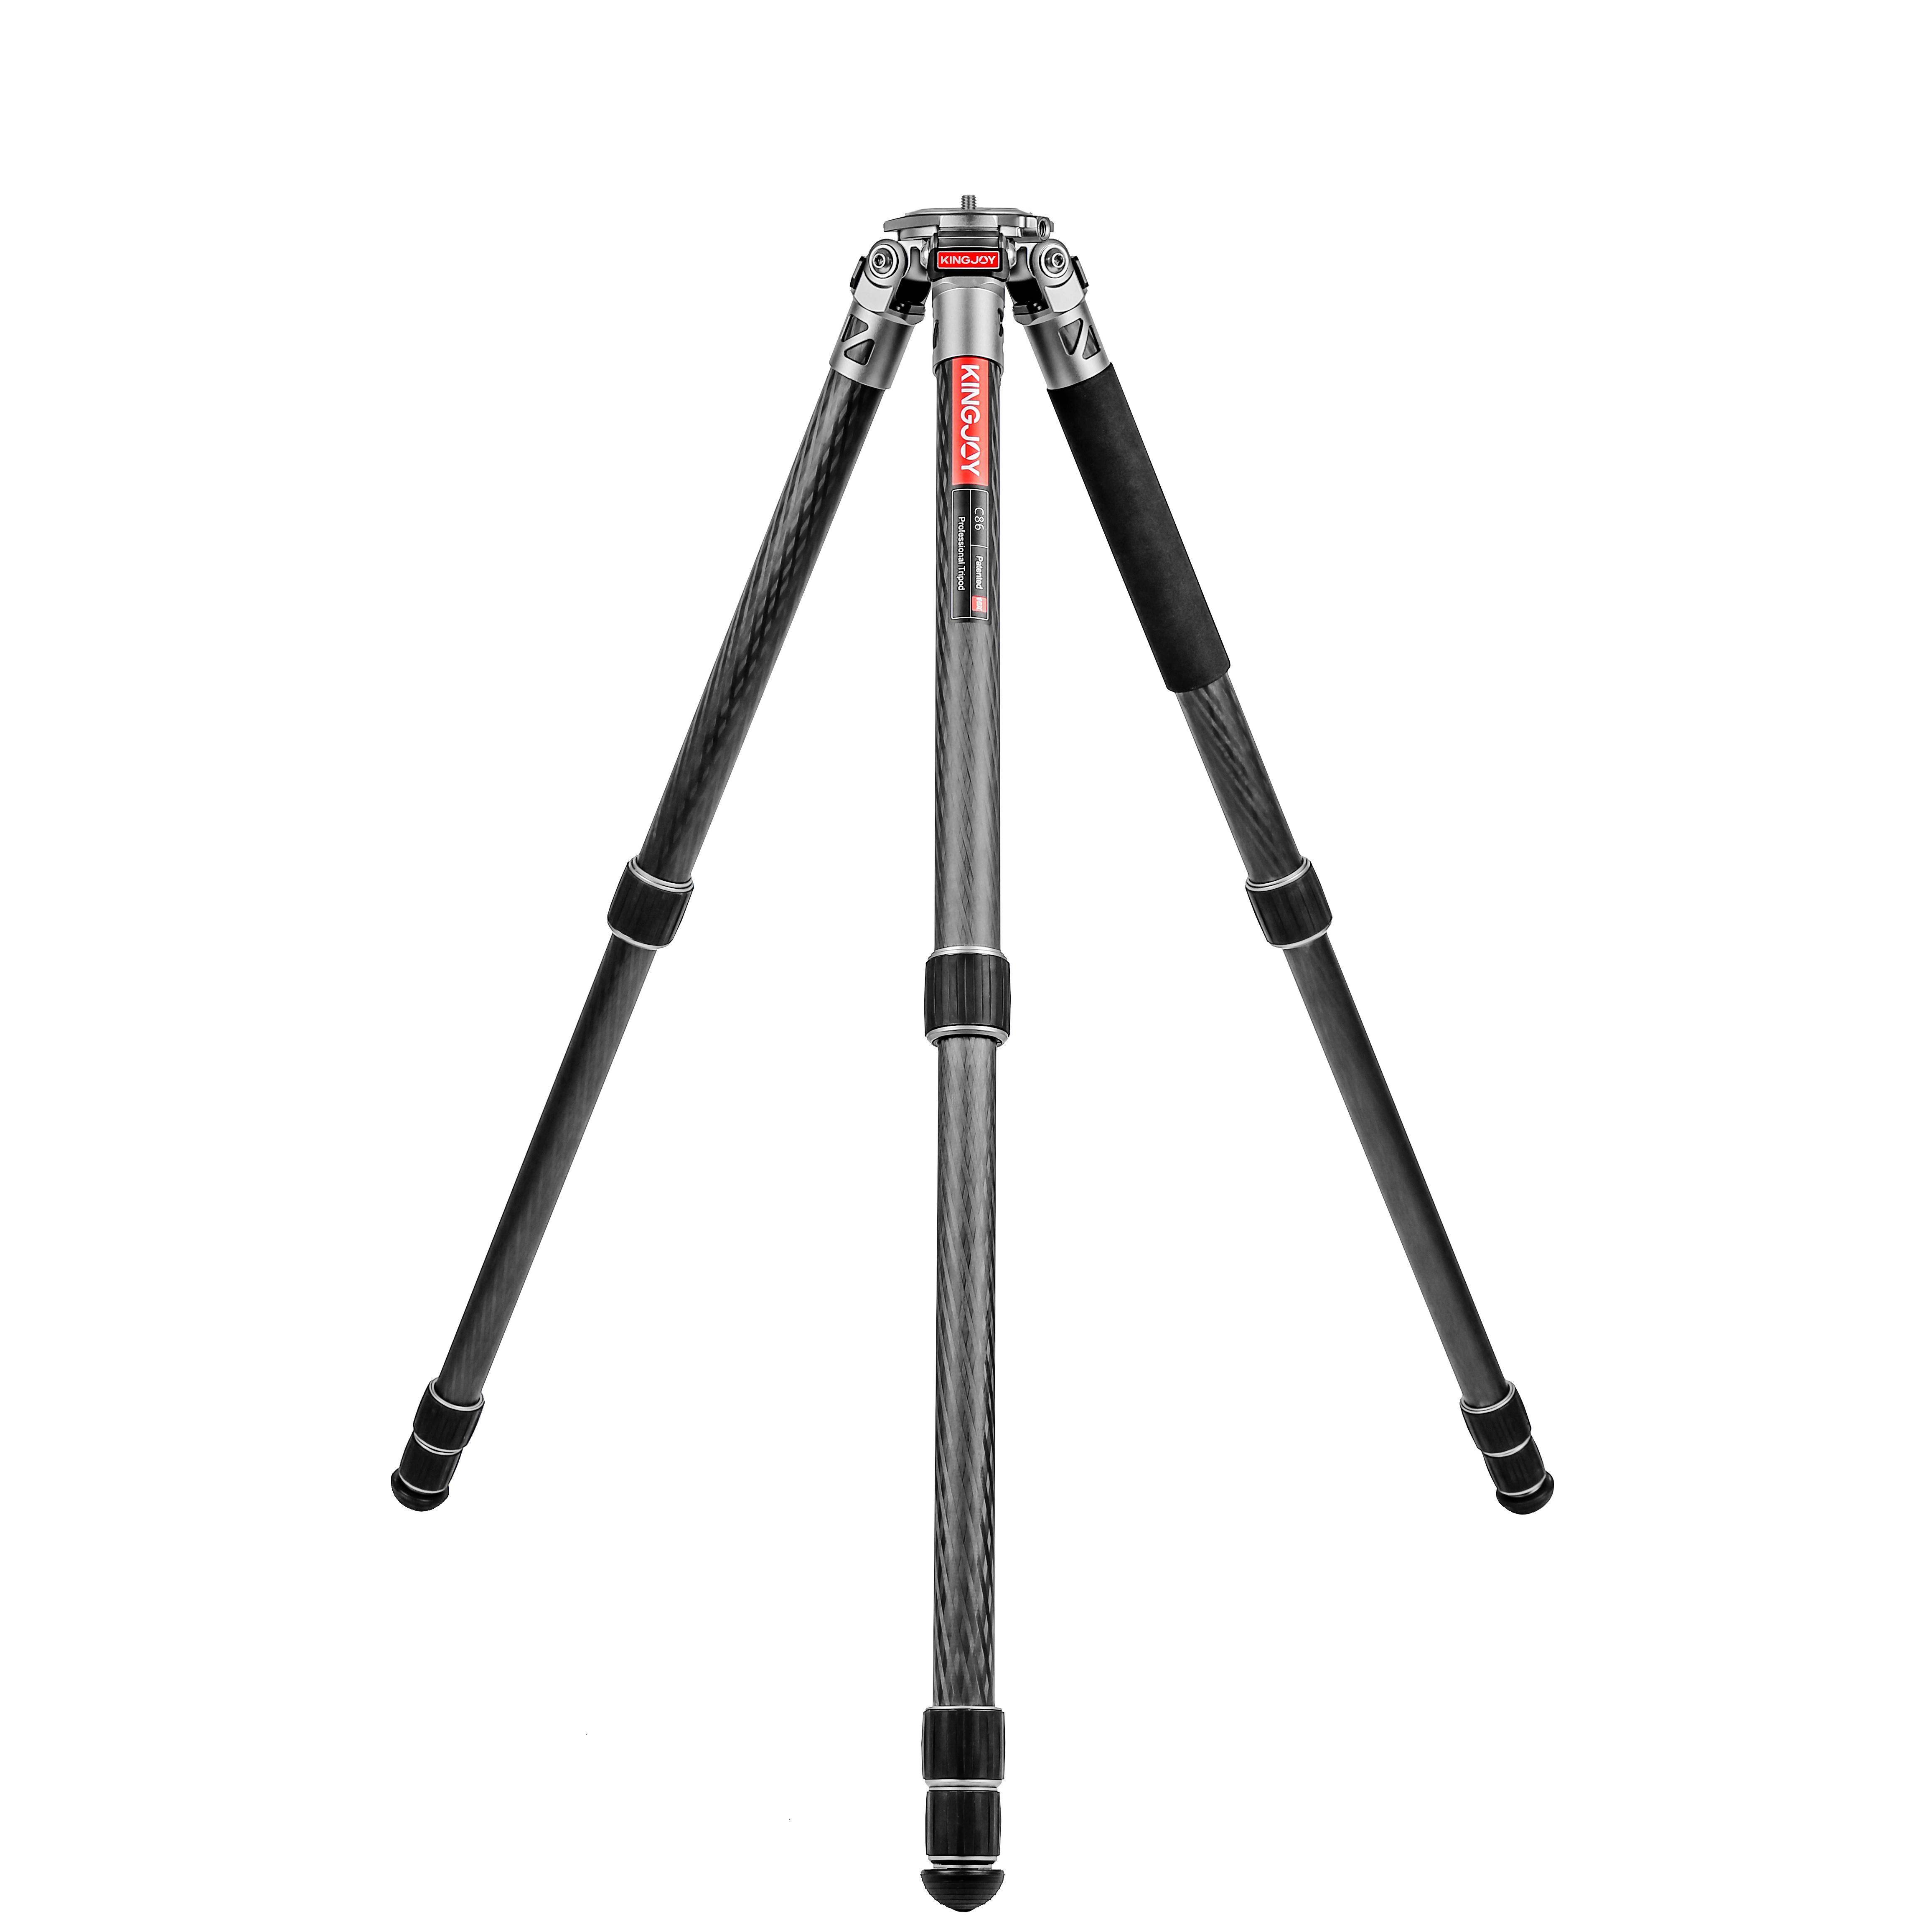
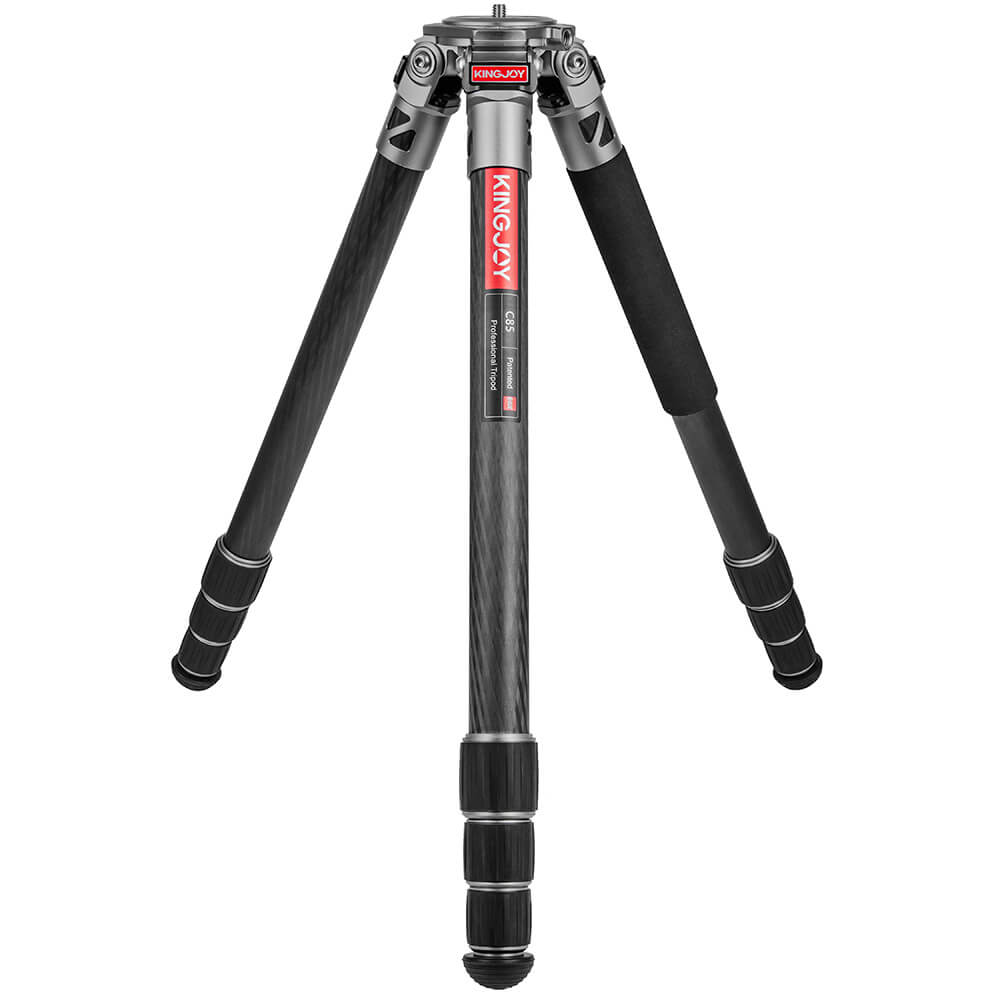
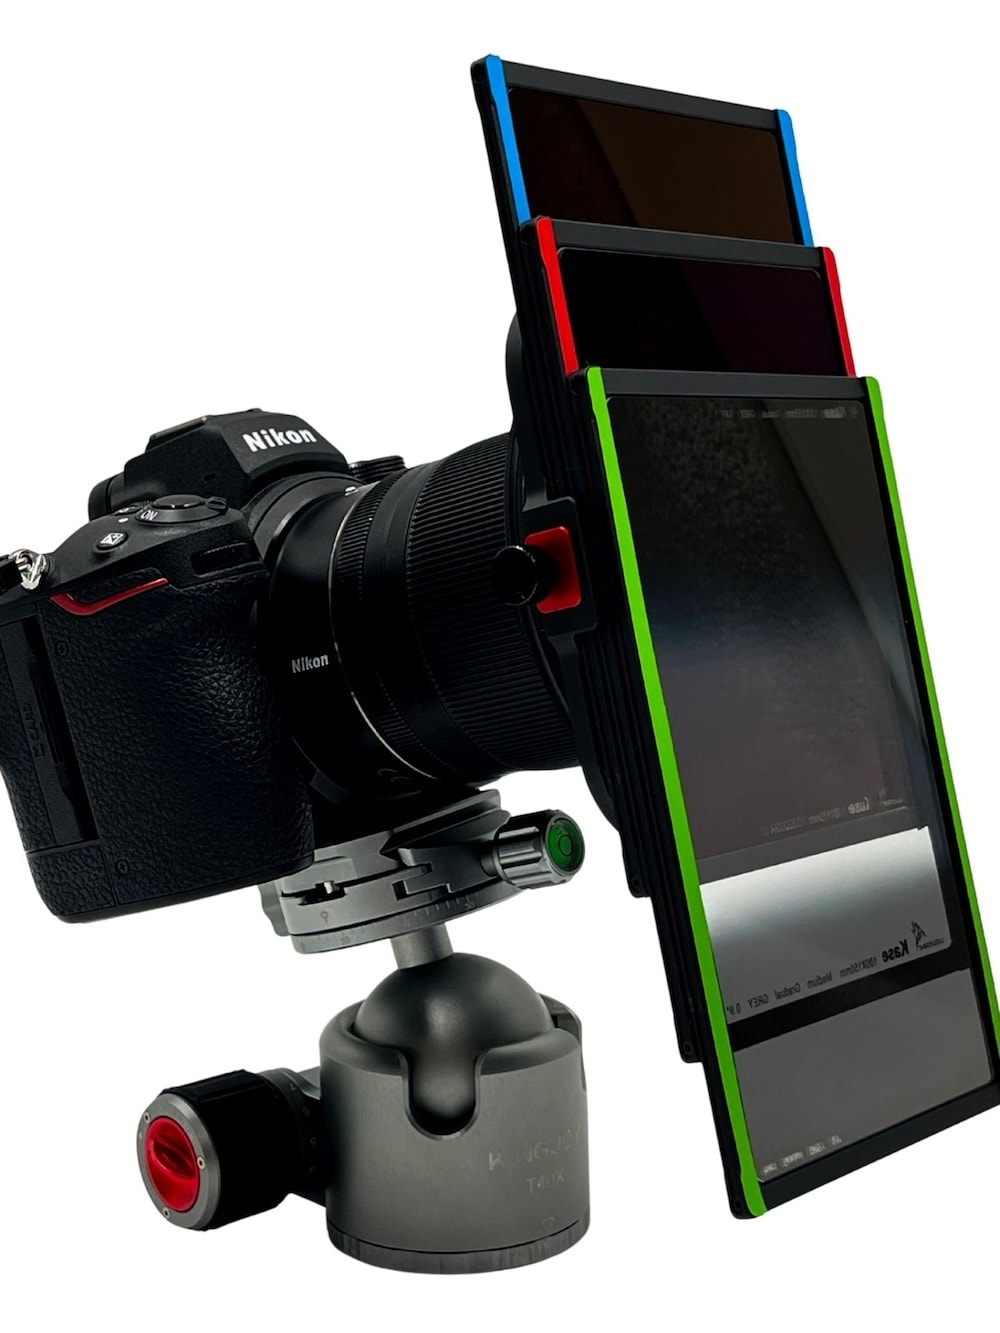
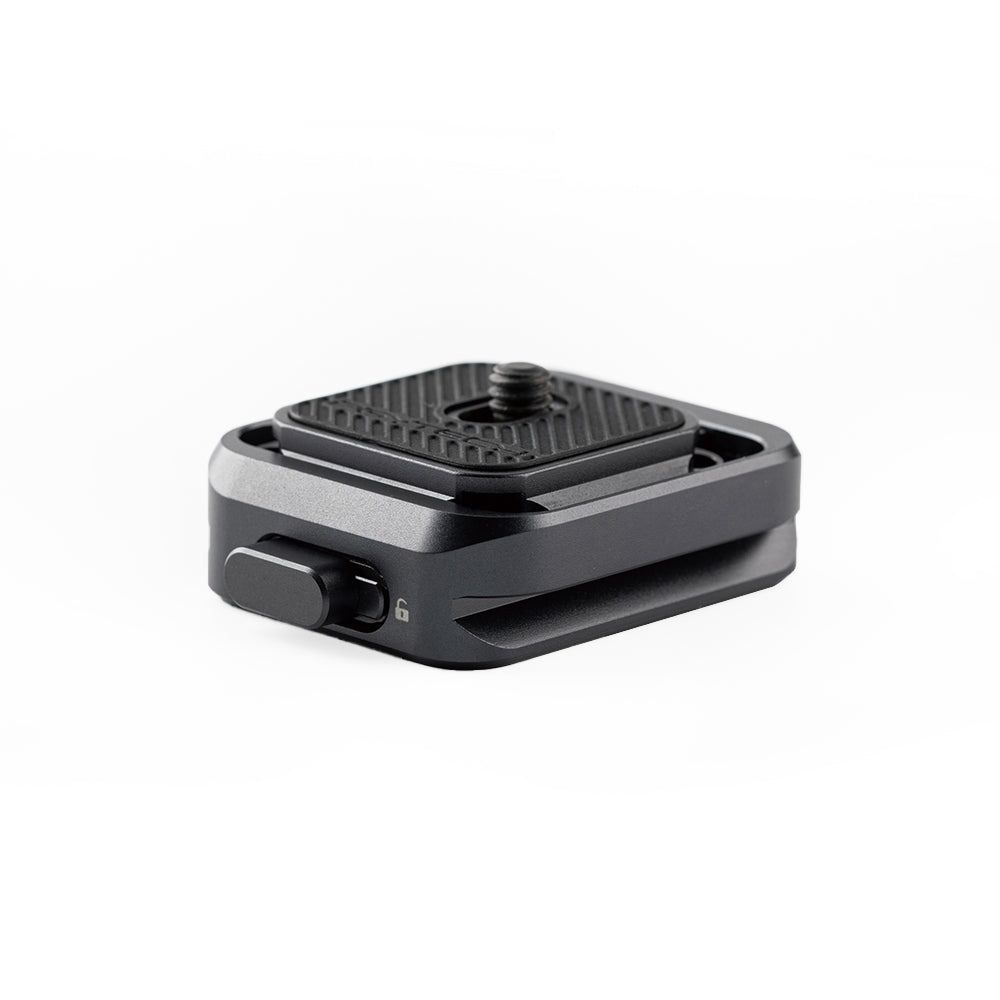
- Set up your camera on a tripod: Choose a stable location where the tripod legs do not move and mount your camera on a tripod. This will minimise camera shake during long exposure.
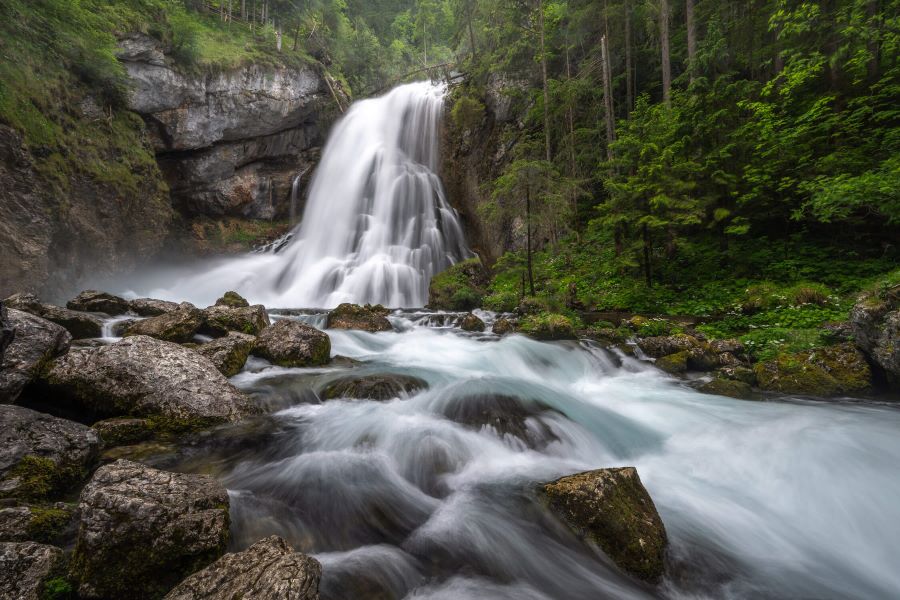
- Compose your shot: Find a scene with dynamic elements such as flowing water, moving clouds or traffic trails. Long exposure will have an effect only when there are moving elements that can be blurred. Compose your shot.
- Disable automatic stabilisation: If your camera has automatic stabilisation features, disable them when using a tripod, since they can interfere with long exposure.
- Set the focus: You need to do it before attaching the ND filter, because once attached your camera won’t be able to focus properly. You can use autofocus or manual focus based on your preference and the complexity of the scene, but make sure it’s fixed before attaching the filter.
- Take a test shot: Capture a test shot to determine the base exposure settings without the ND filter.
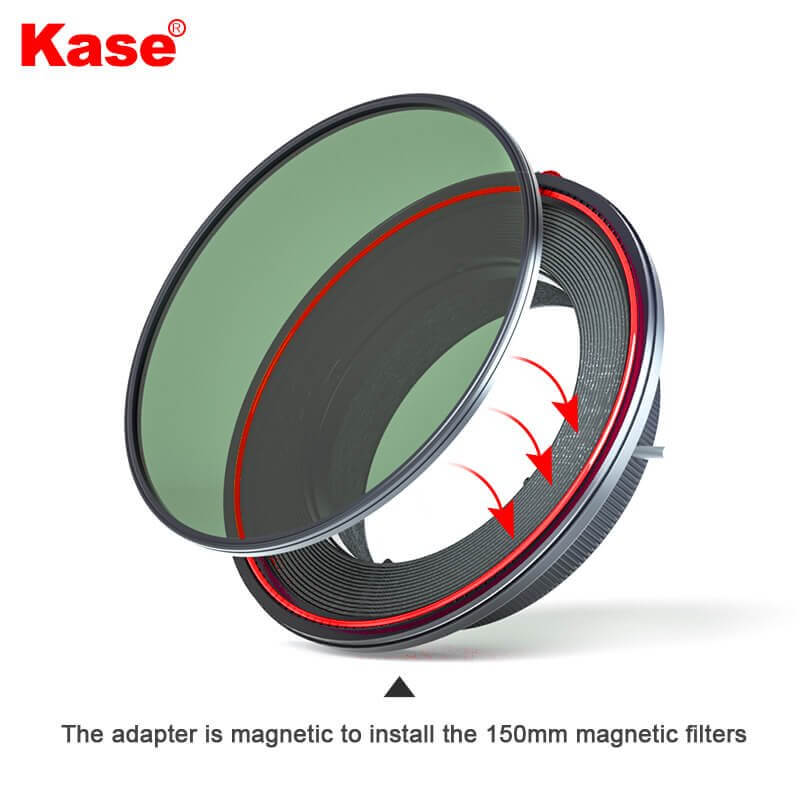
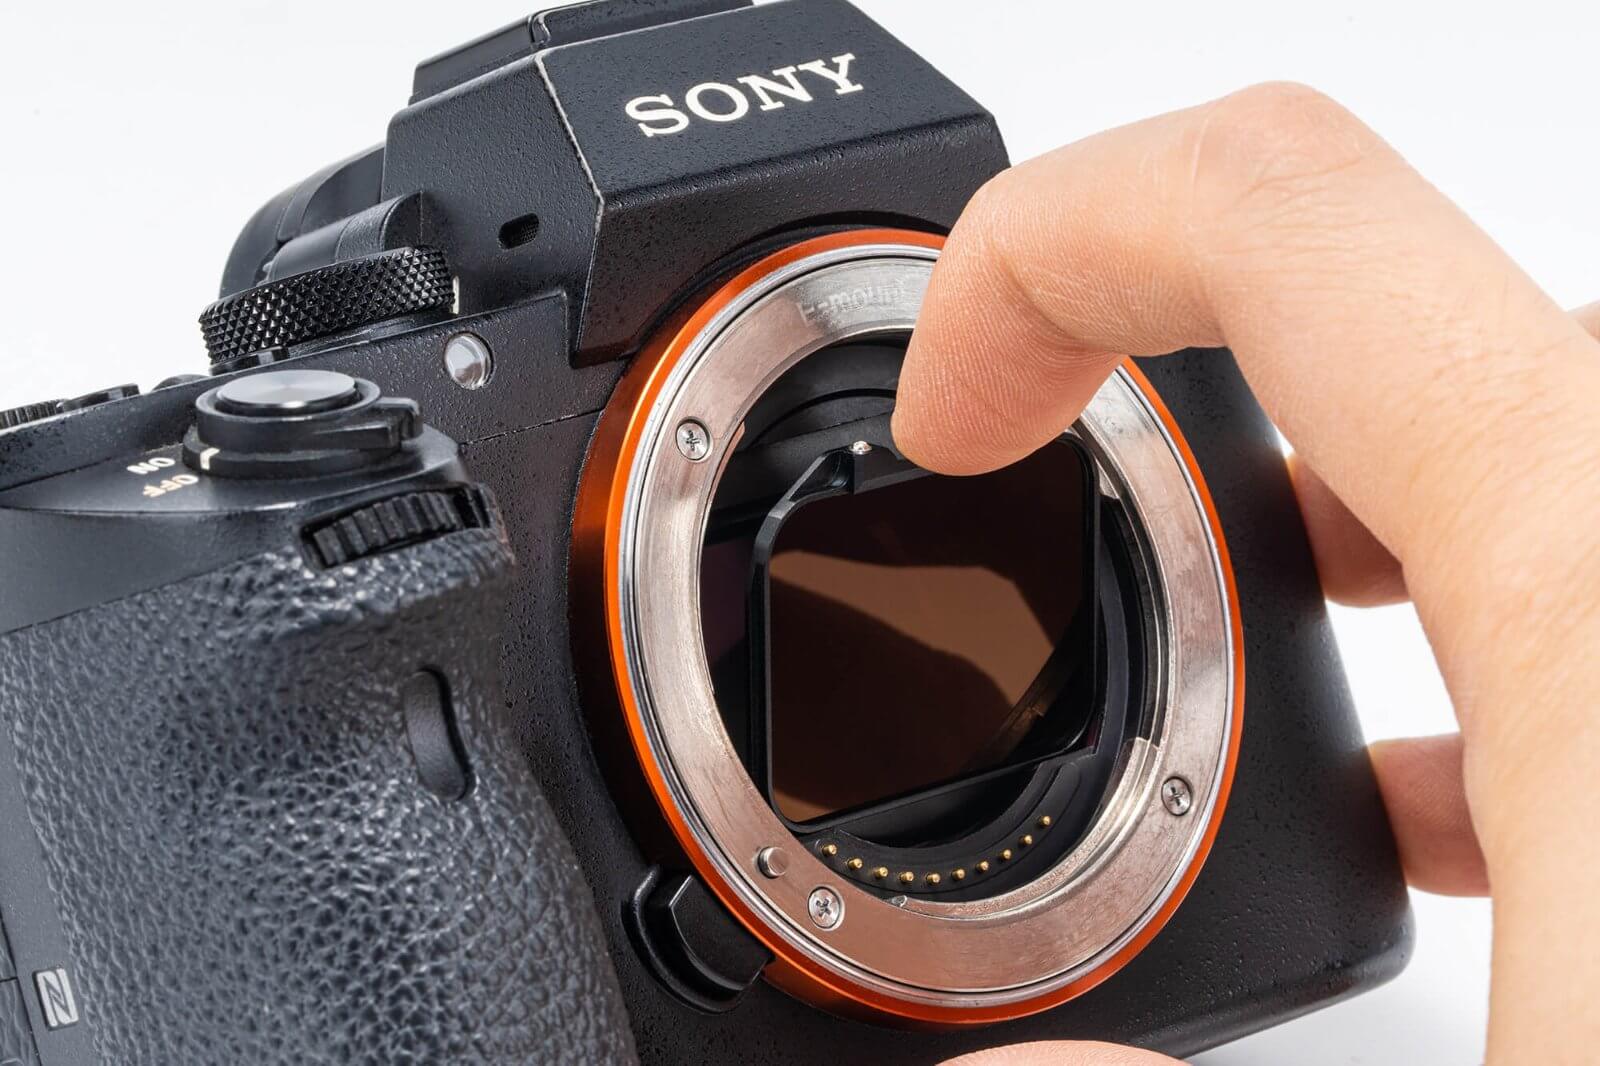
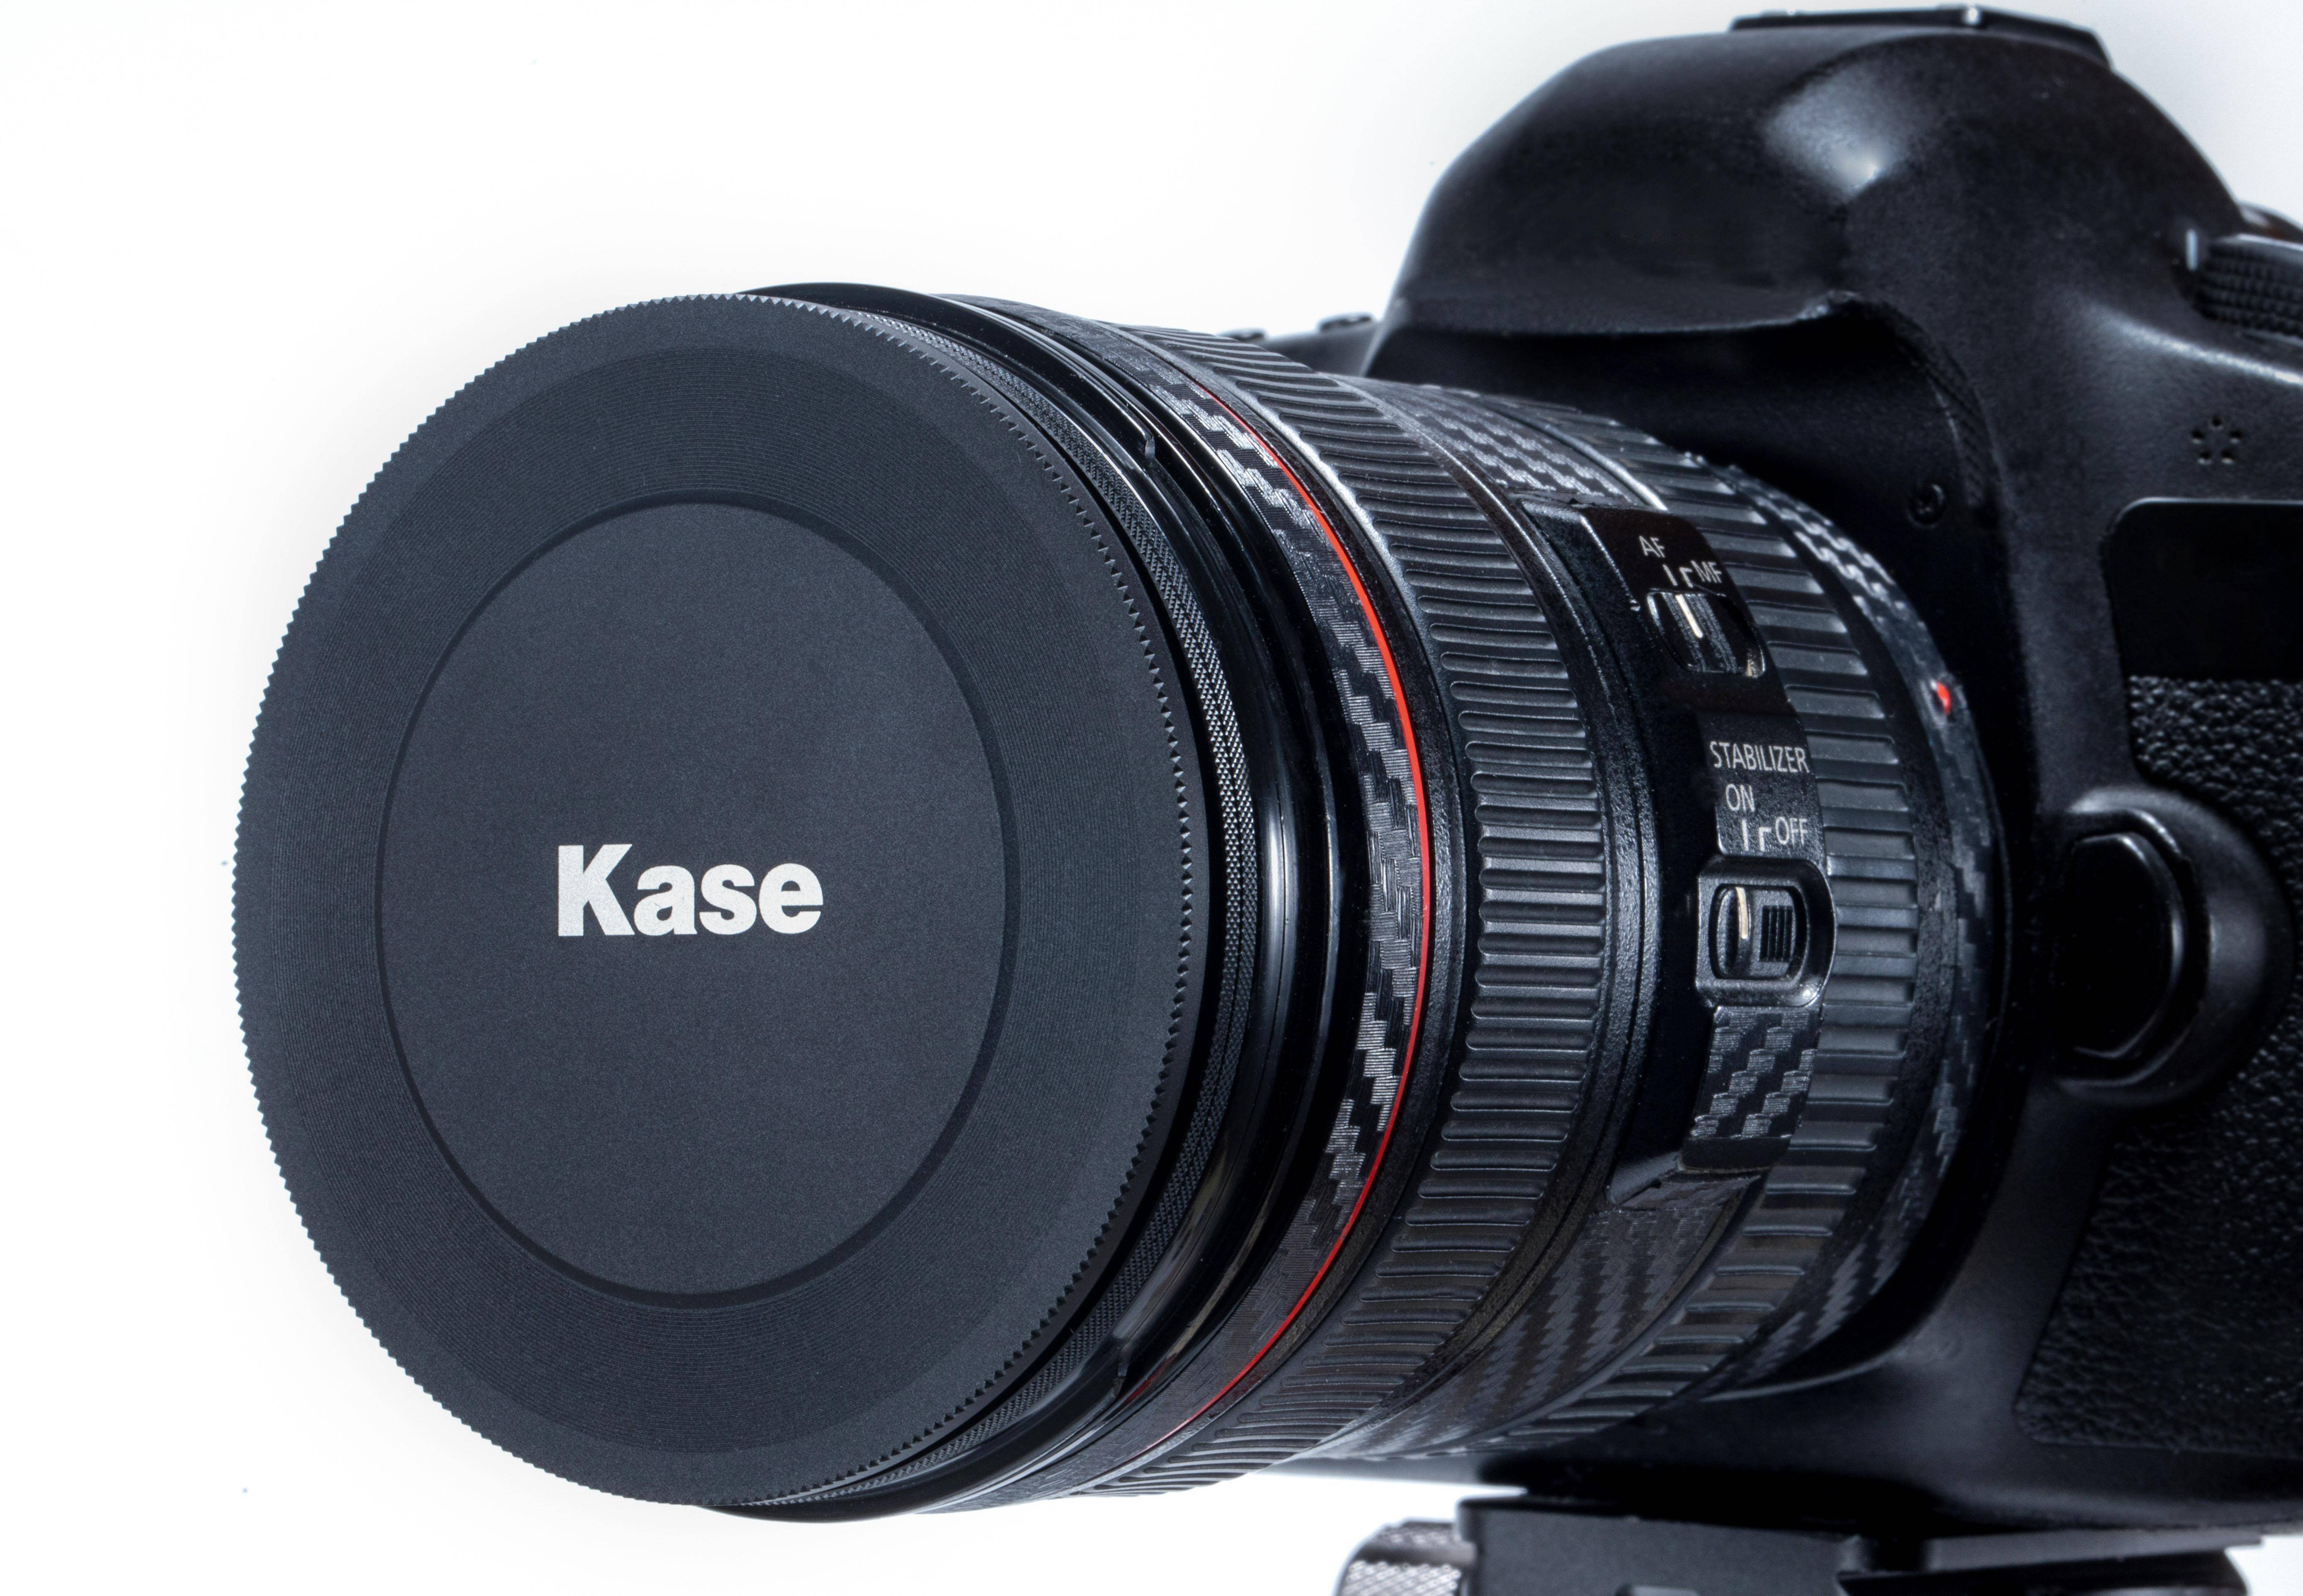
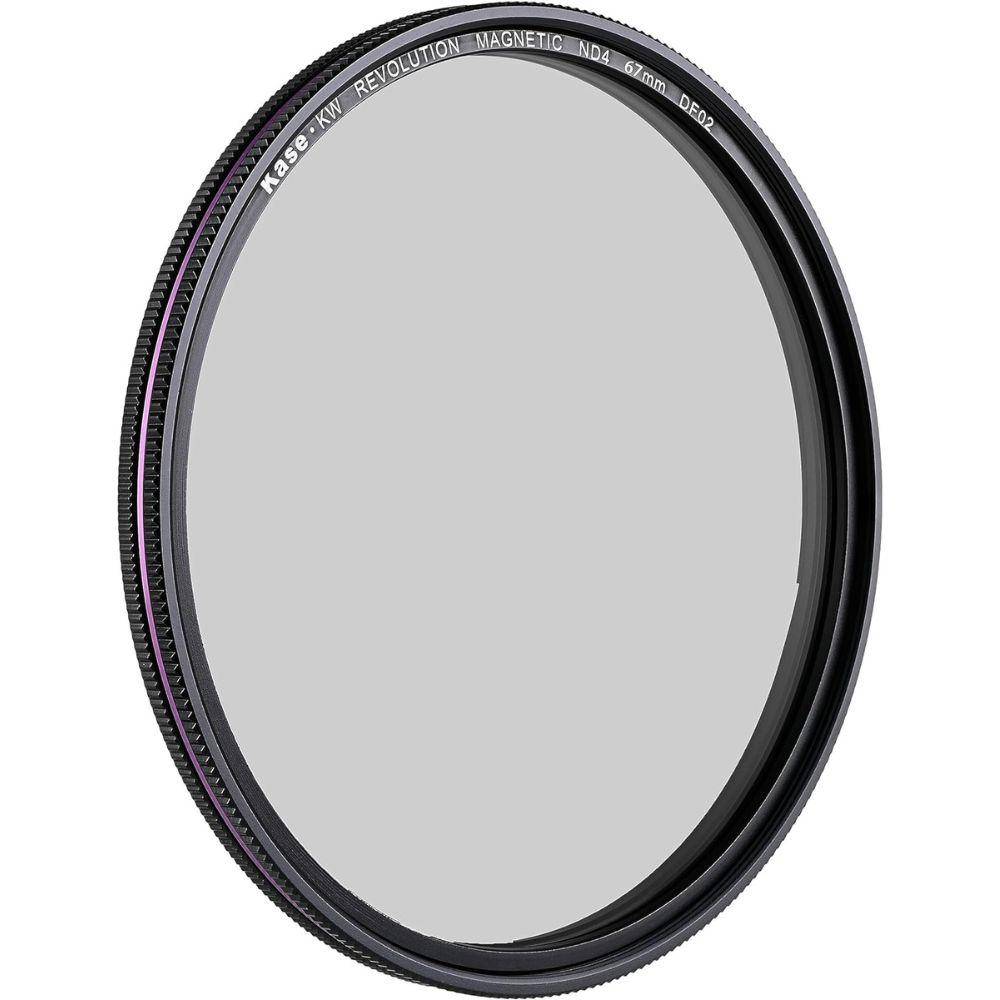
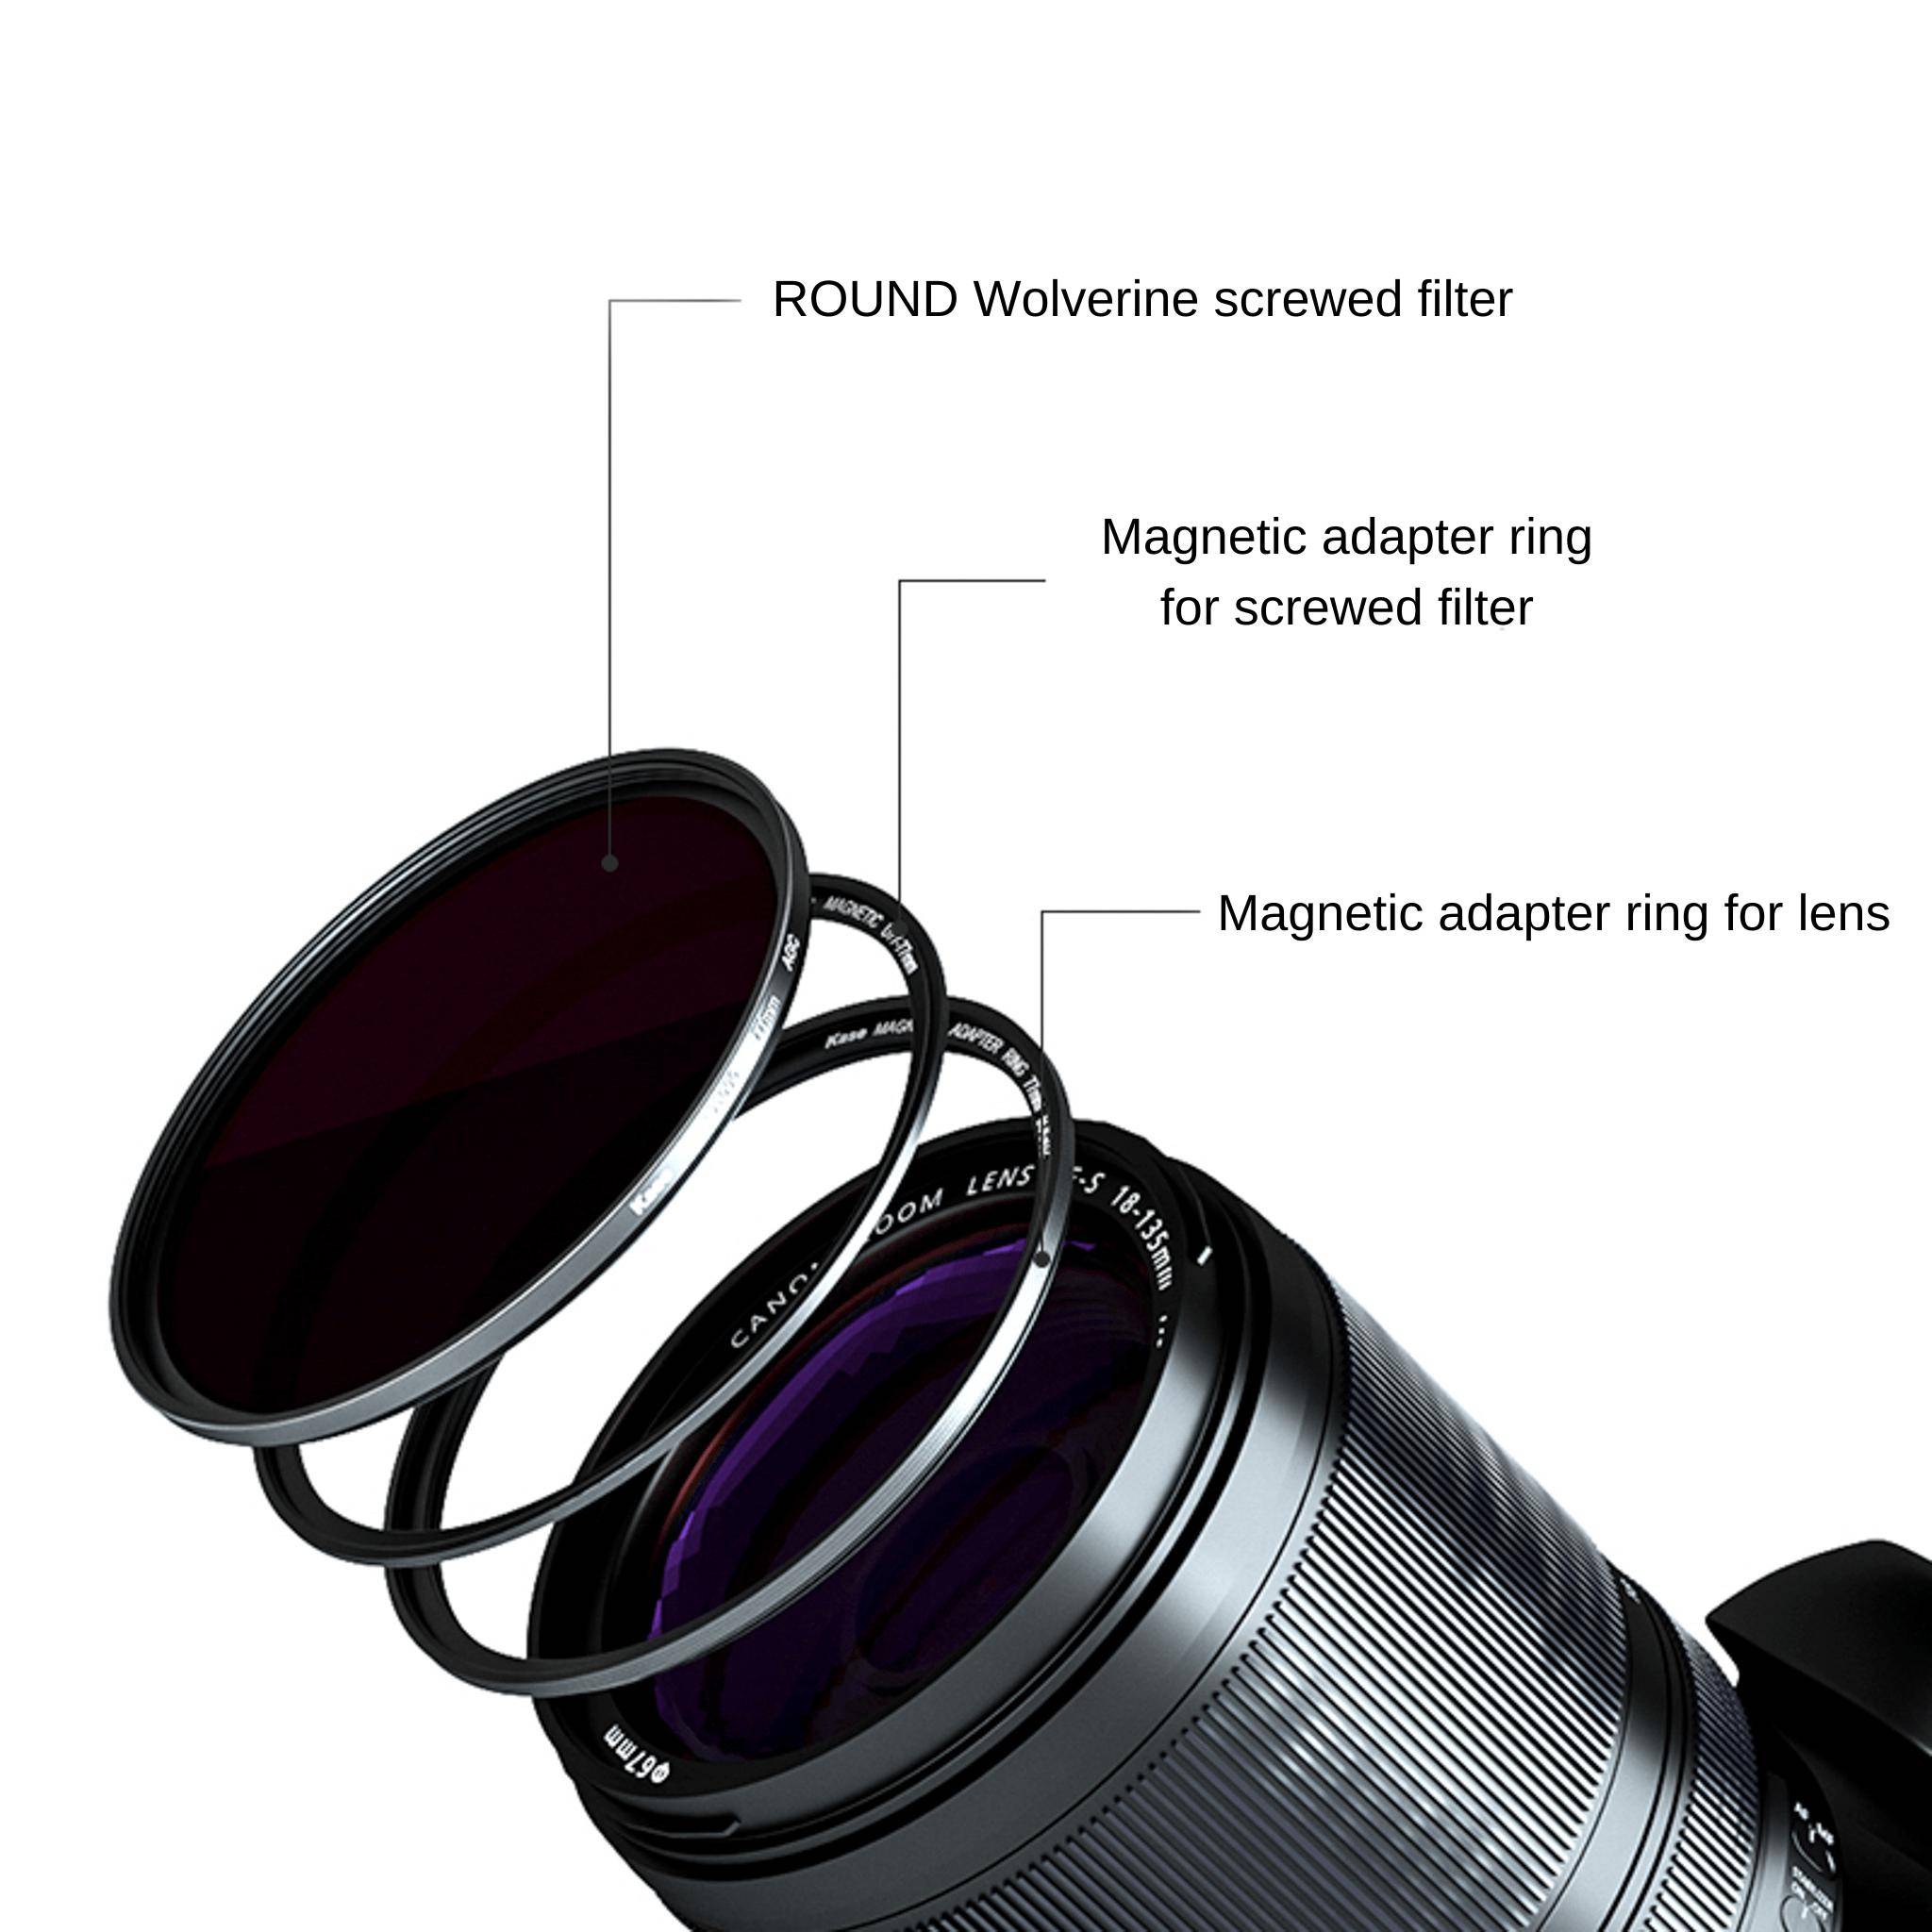
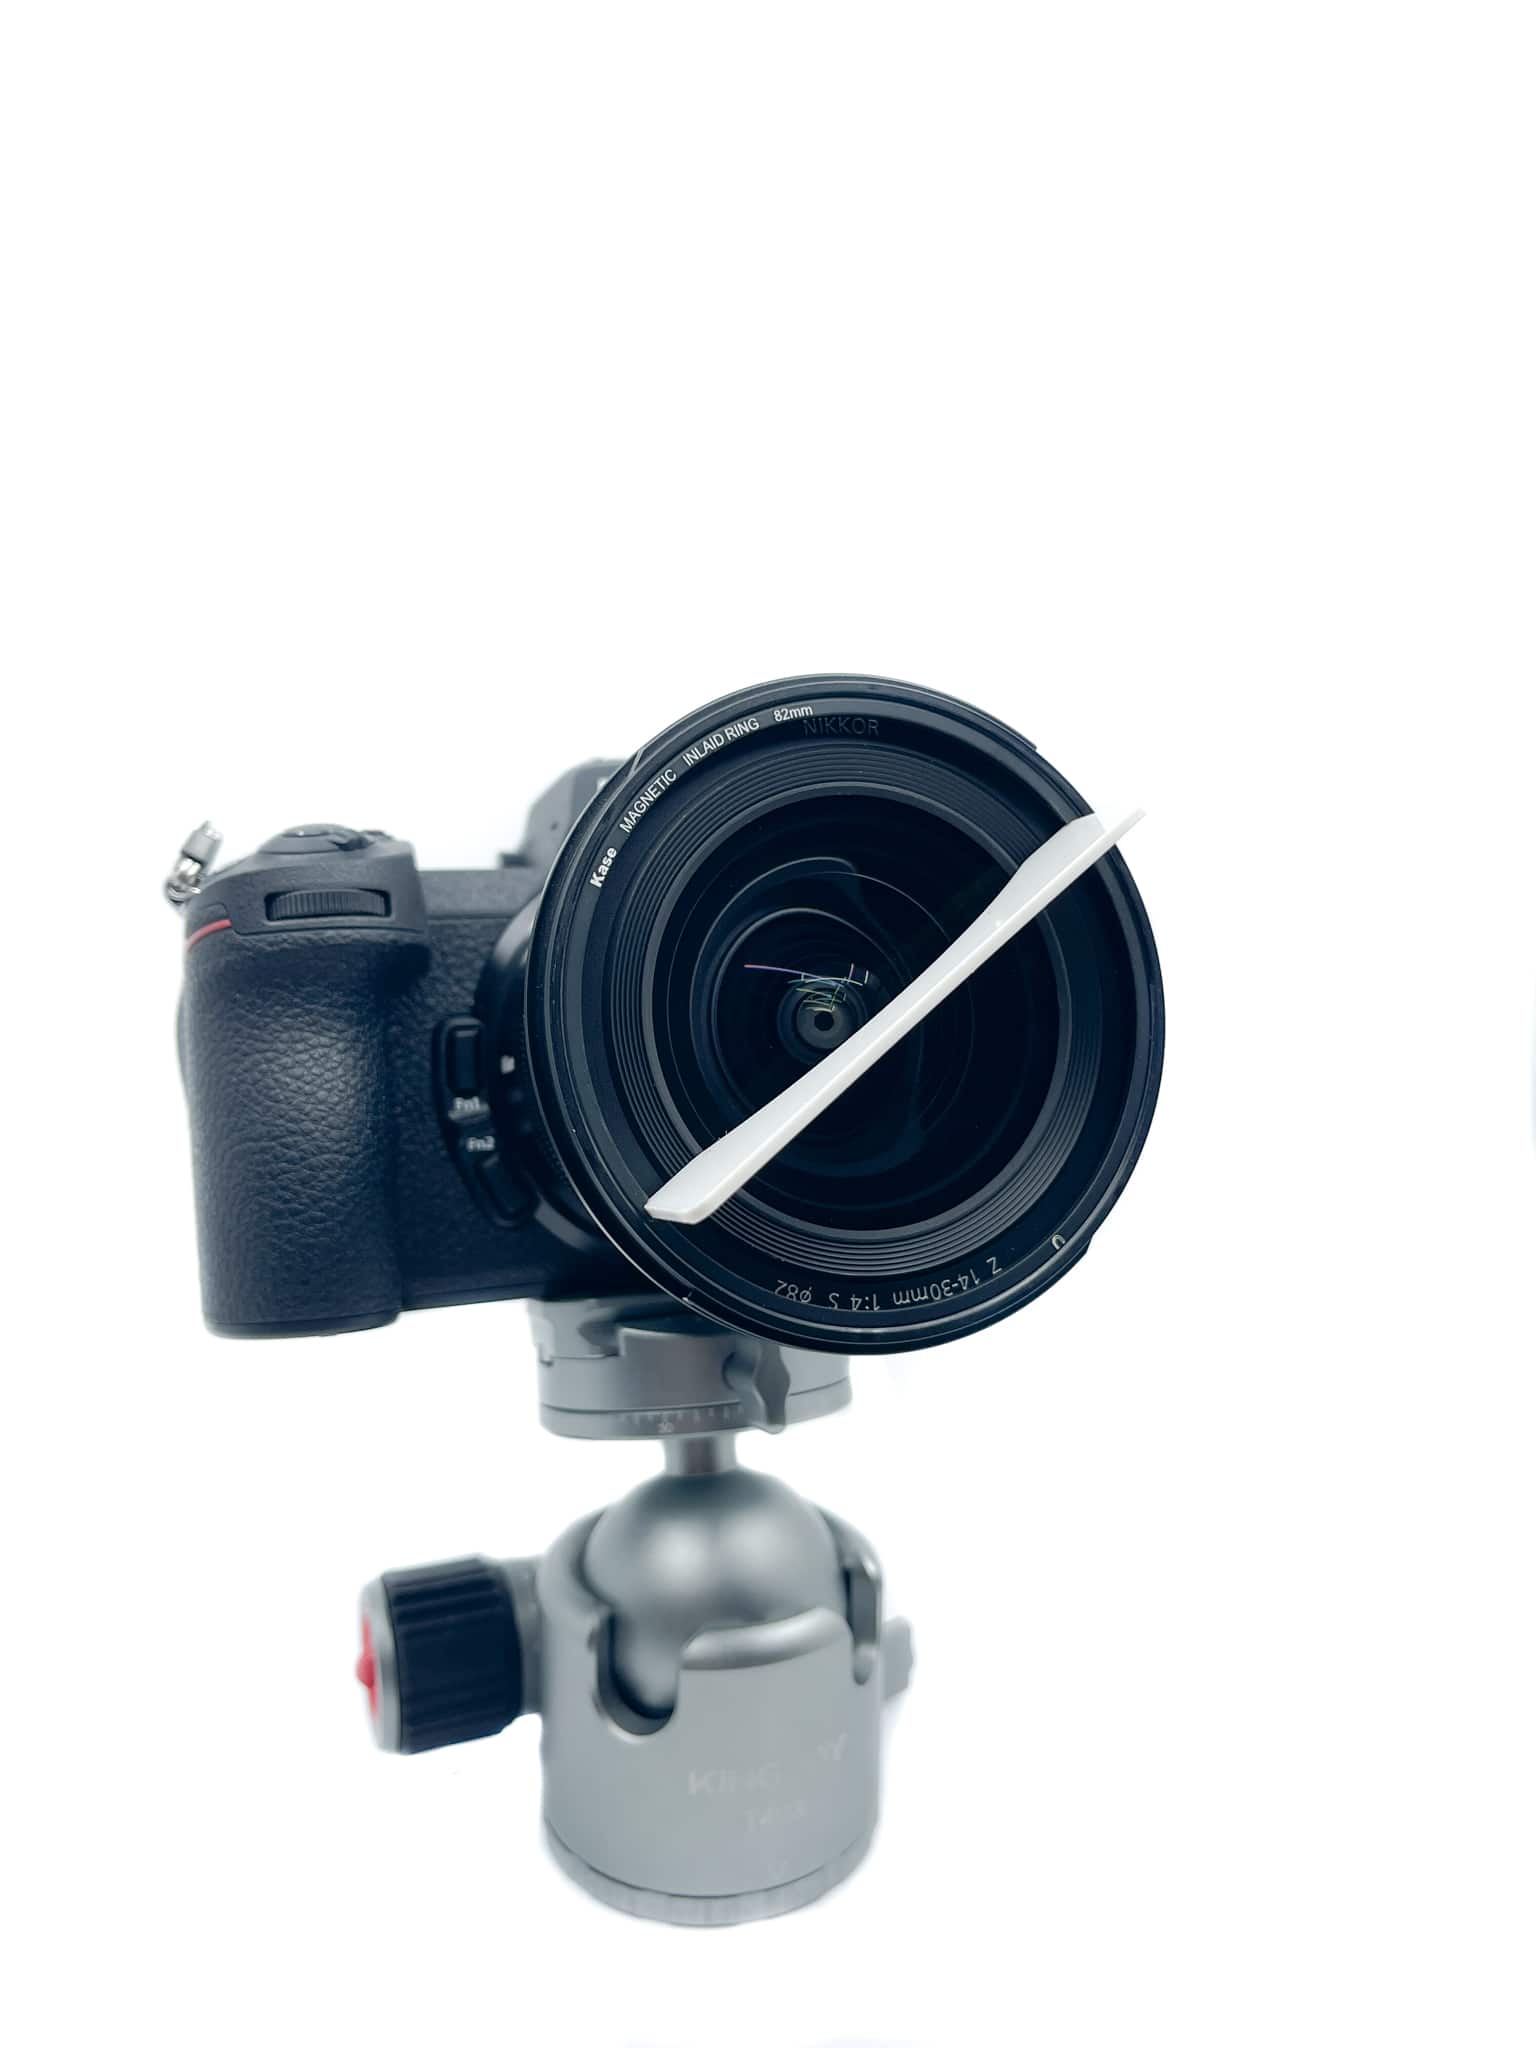
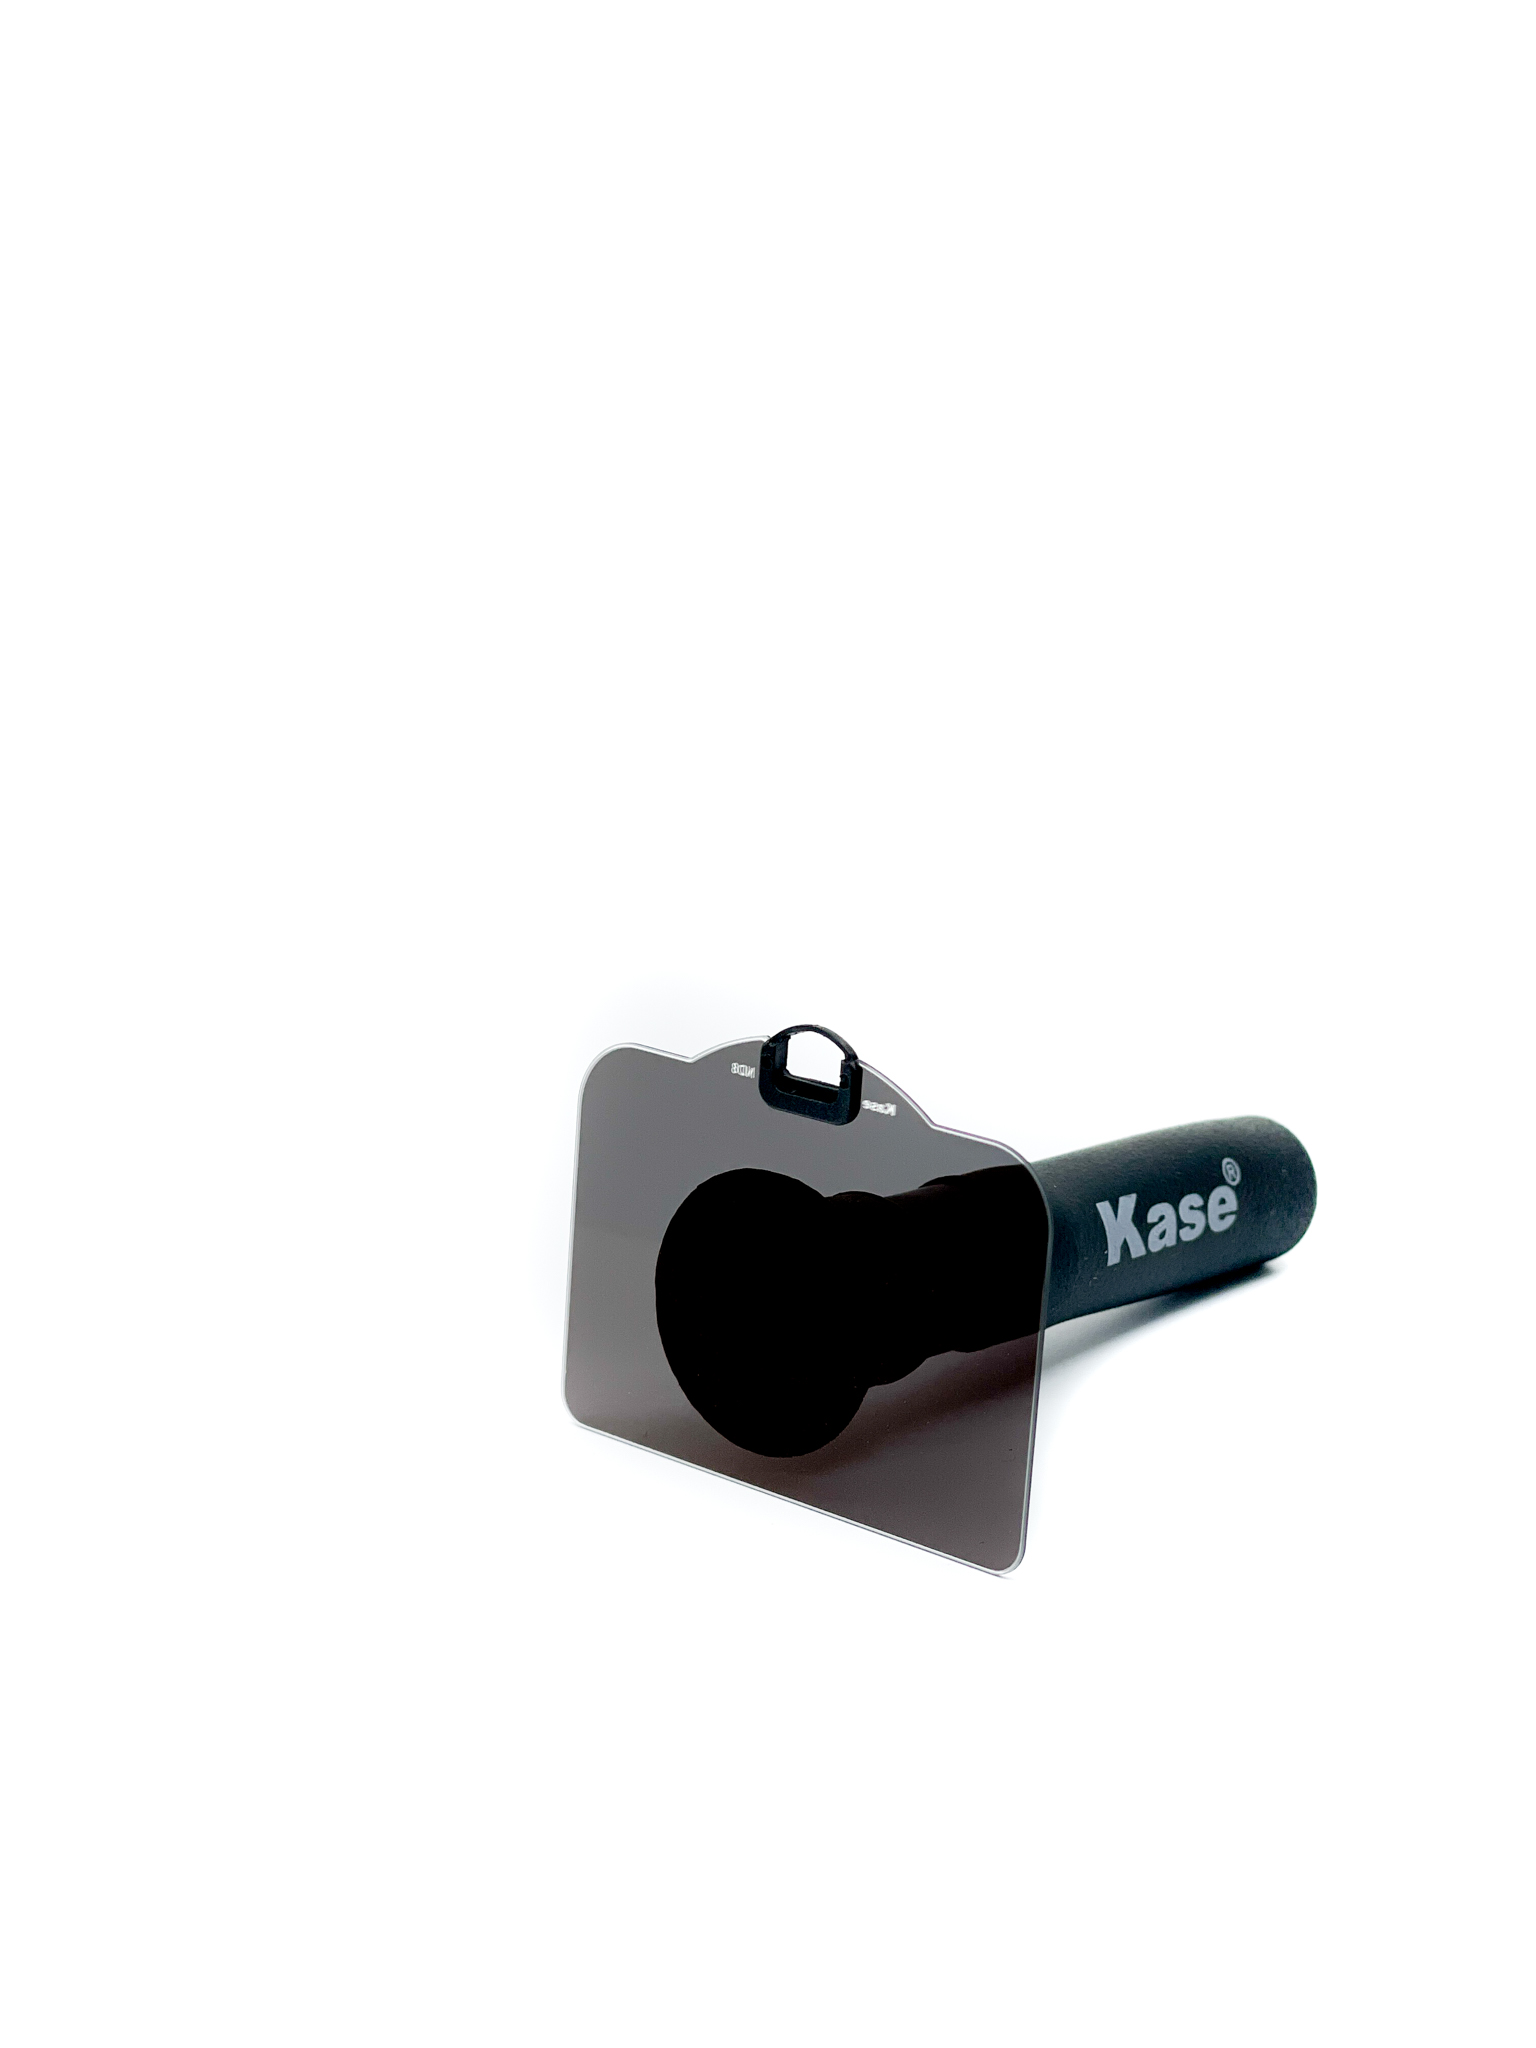
- Attach the ND filter: Carefully attach the ND filter to your lens. Check that the filter is securely mounted to prevent light leaks or movement during the exposure.
- Adjust camera settings:
- Switch your camera to manual mode for full control over exposure settings;
- Set a low ISO (e.g., ISO 100-200) to minimise noise in the final image;
- Choose an aperture between f8-f16. It’s better not to use a smaller aperture to avoid diffractions;
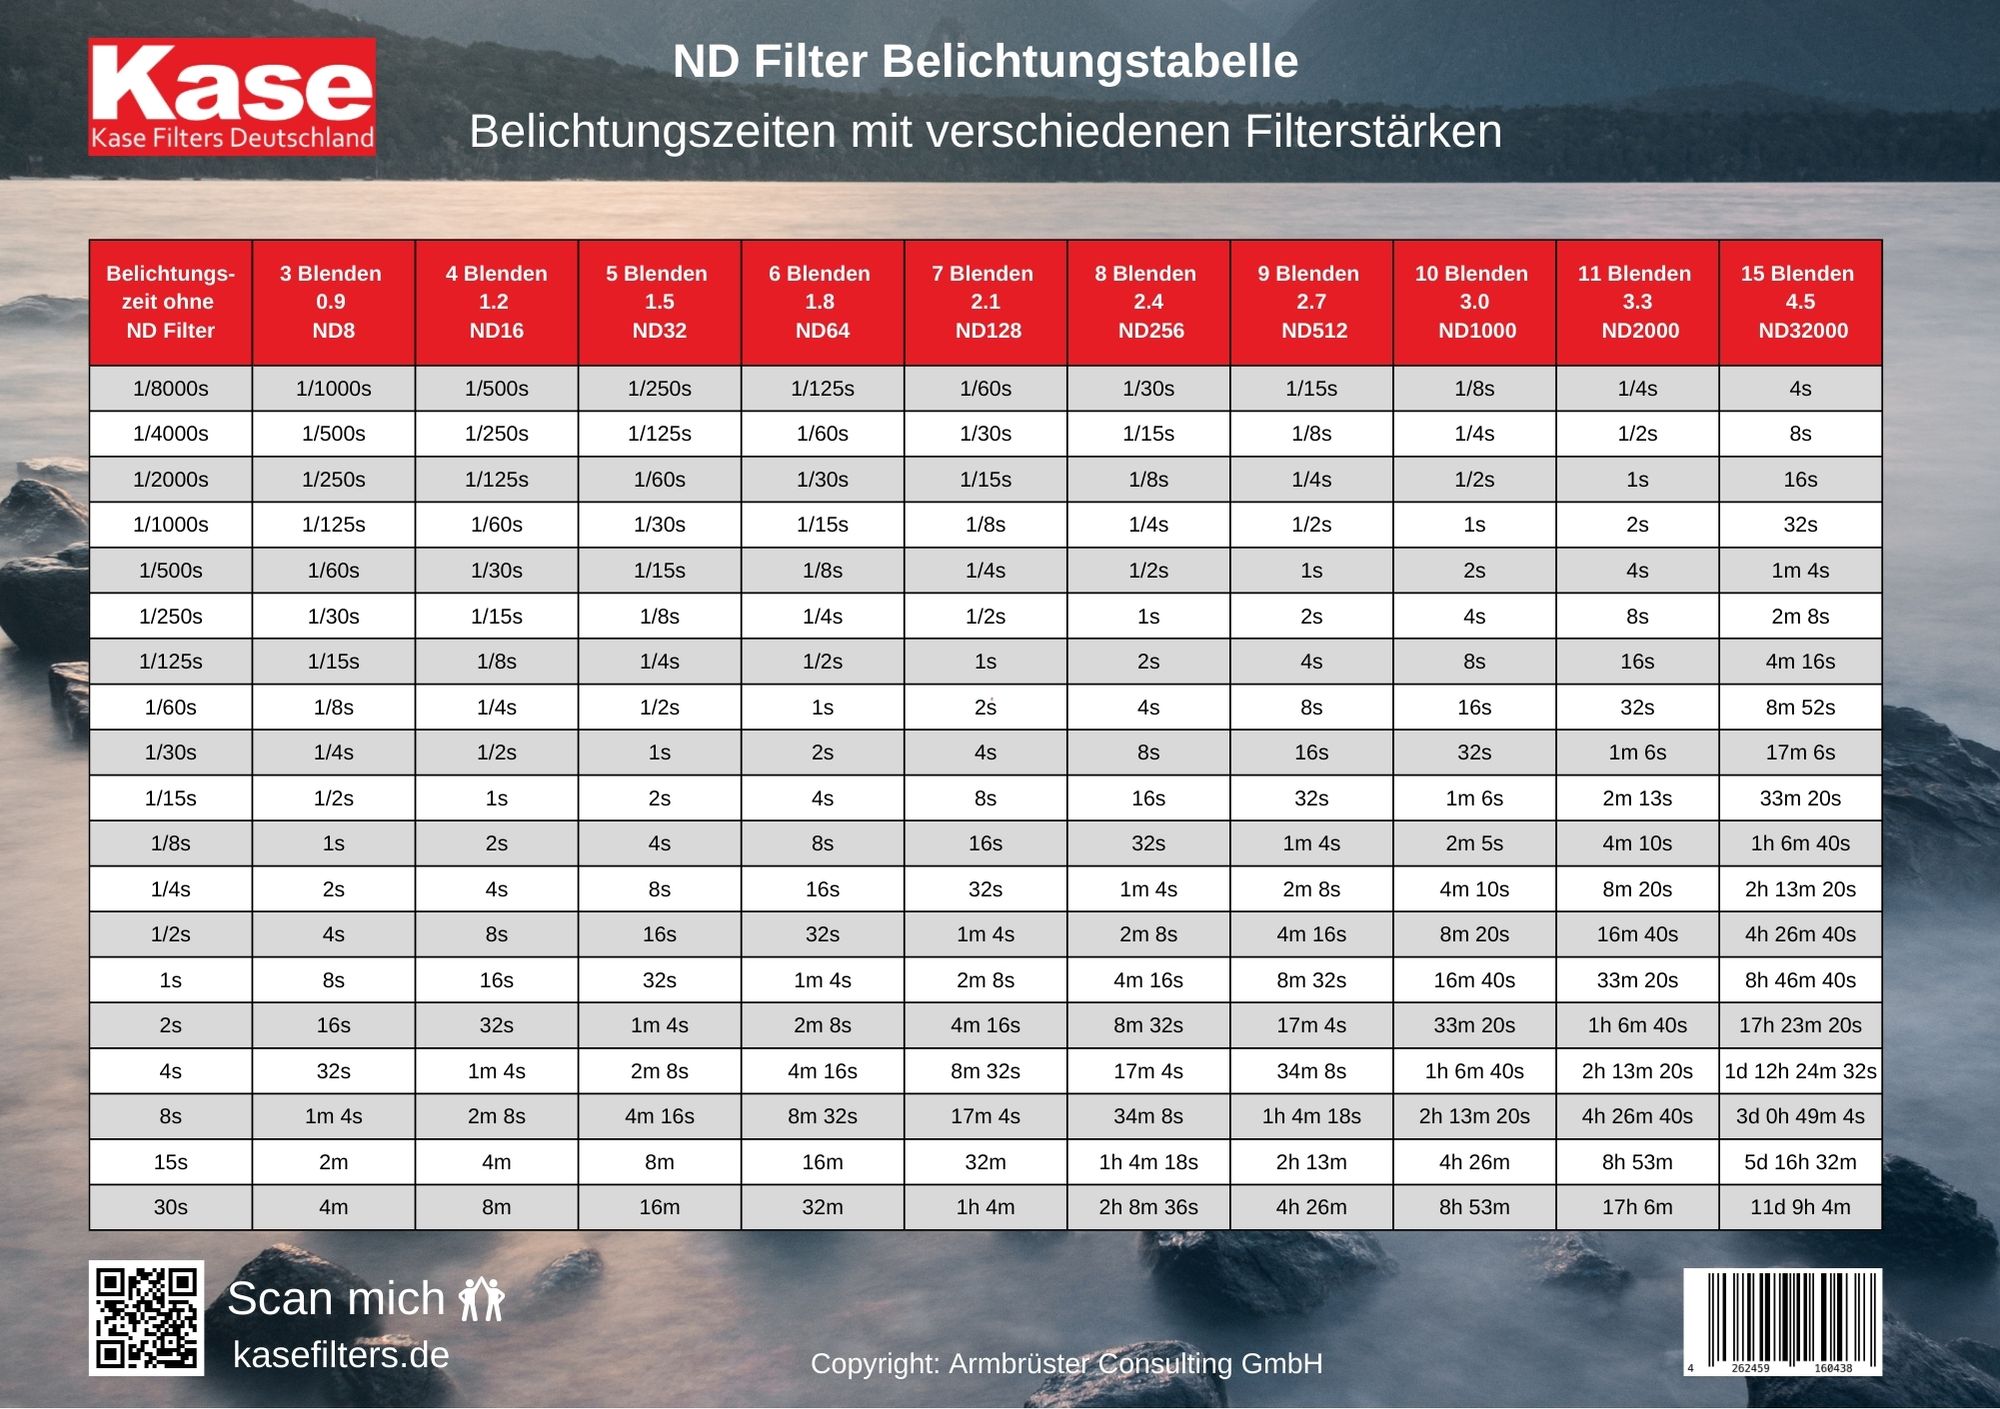
- Calculate the exposure time based on the strength of your ND filter. Use our ND filter exposure chart or this formula:
Adjusted Shutter Speed=Original Shutter Speed×ND Filter Factor
Example: If your original shutter speed without ND filter is 1/60s and you're using a 6-stop ND filter (factor of 64), the adjusted shutter speed would be approximately 1 second (1/60s * 64 = 1s).
- Use remote shutter release or timer: Trigger the camera without touching it to ensure maximum sharpness.
- Capture the shot! Control the time since elements may move faster than what you expected, and you can stop the shooting at the right moment.
PRO tip: If you want to keep some objects sharp on the photo (e.g. you want to blur the sky but keep the grass sharp and it’s moving because of the wind), take two shots. The first shot should be with an ND filter and have all the motion blur needed. Then, take off the filter and take one more shot with short exposure. You can blend these two shots in post-processing to achieve the desired effect and only have the blurred objects you want.
Which ND filter to use for long-exposure photography?
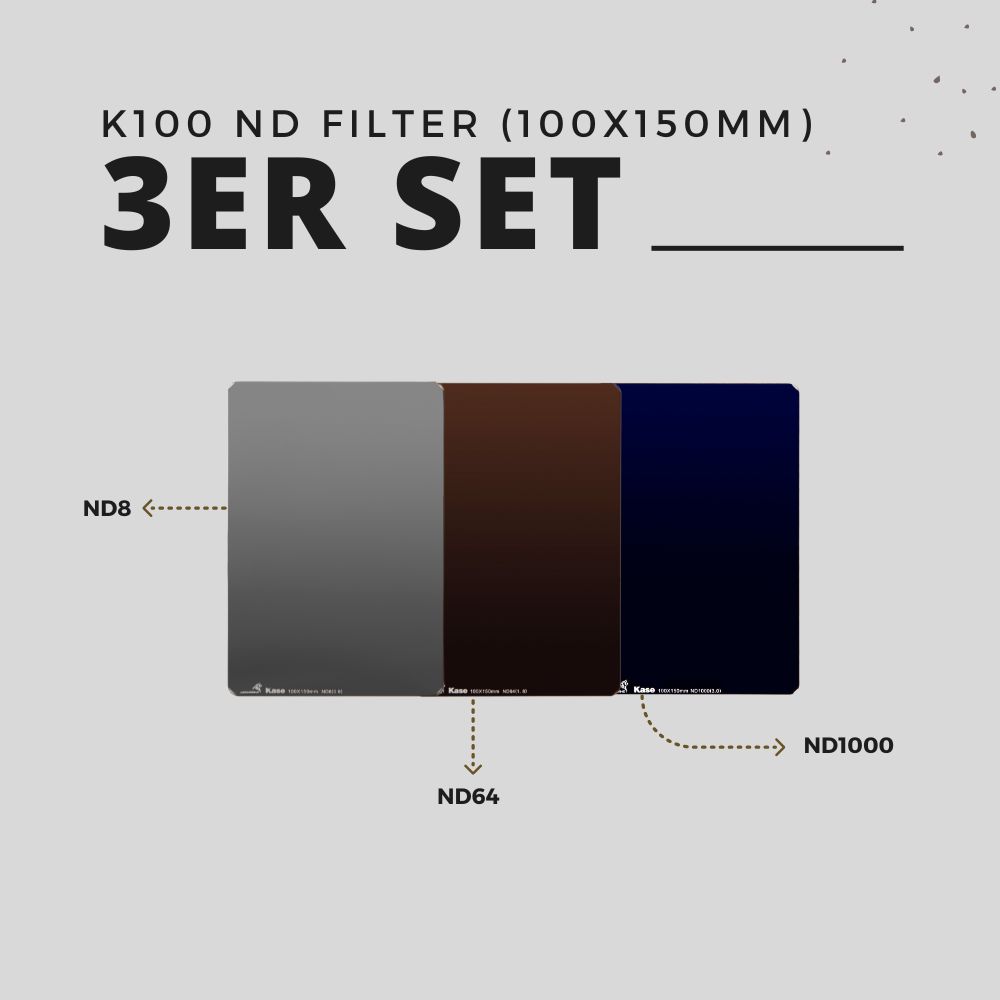
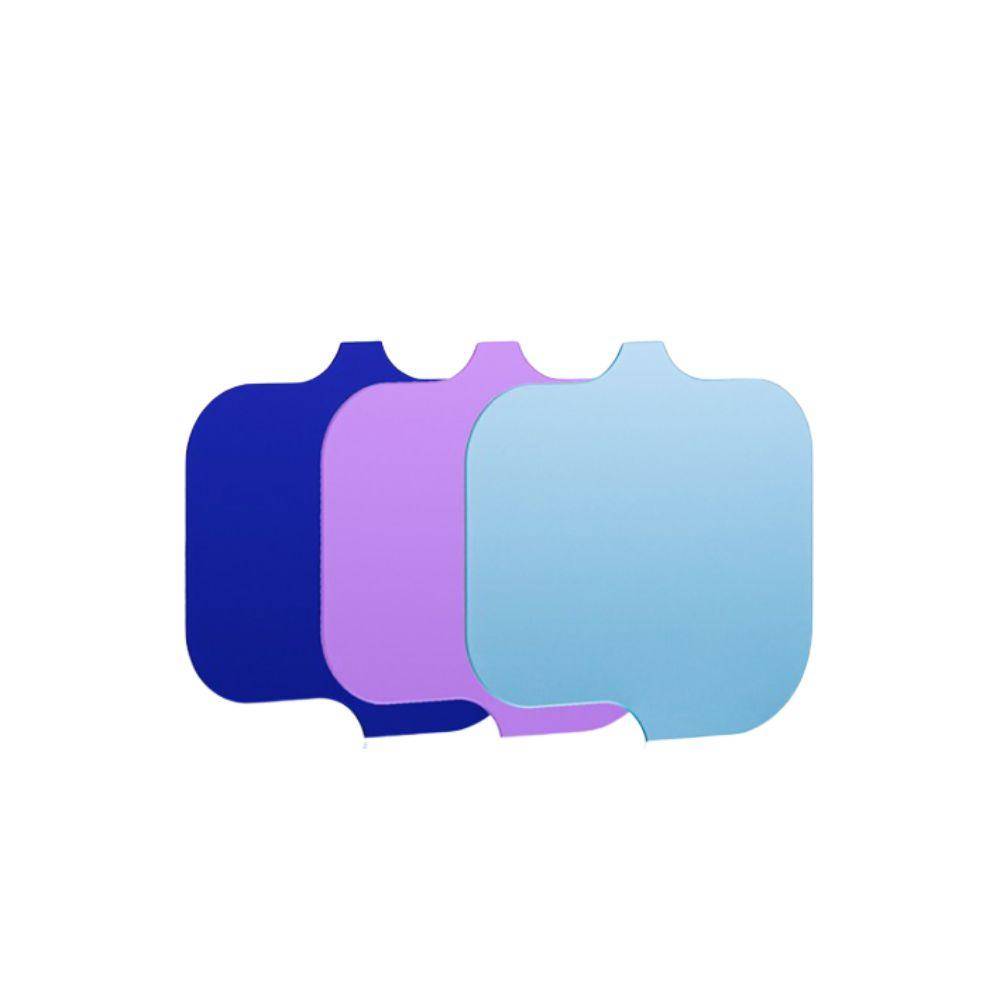
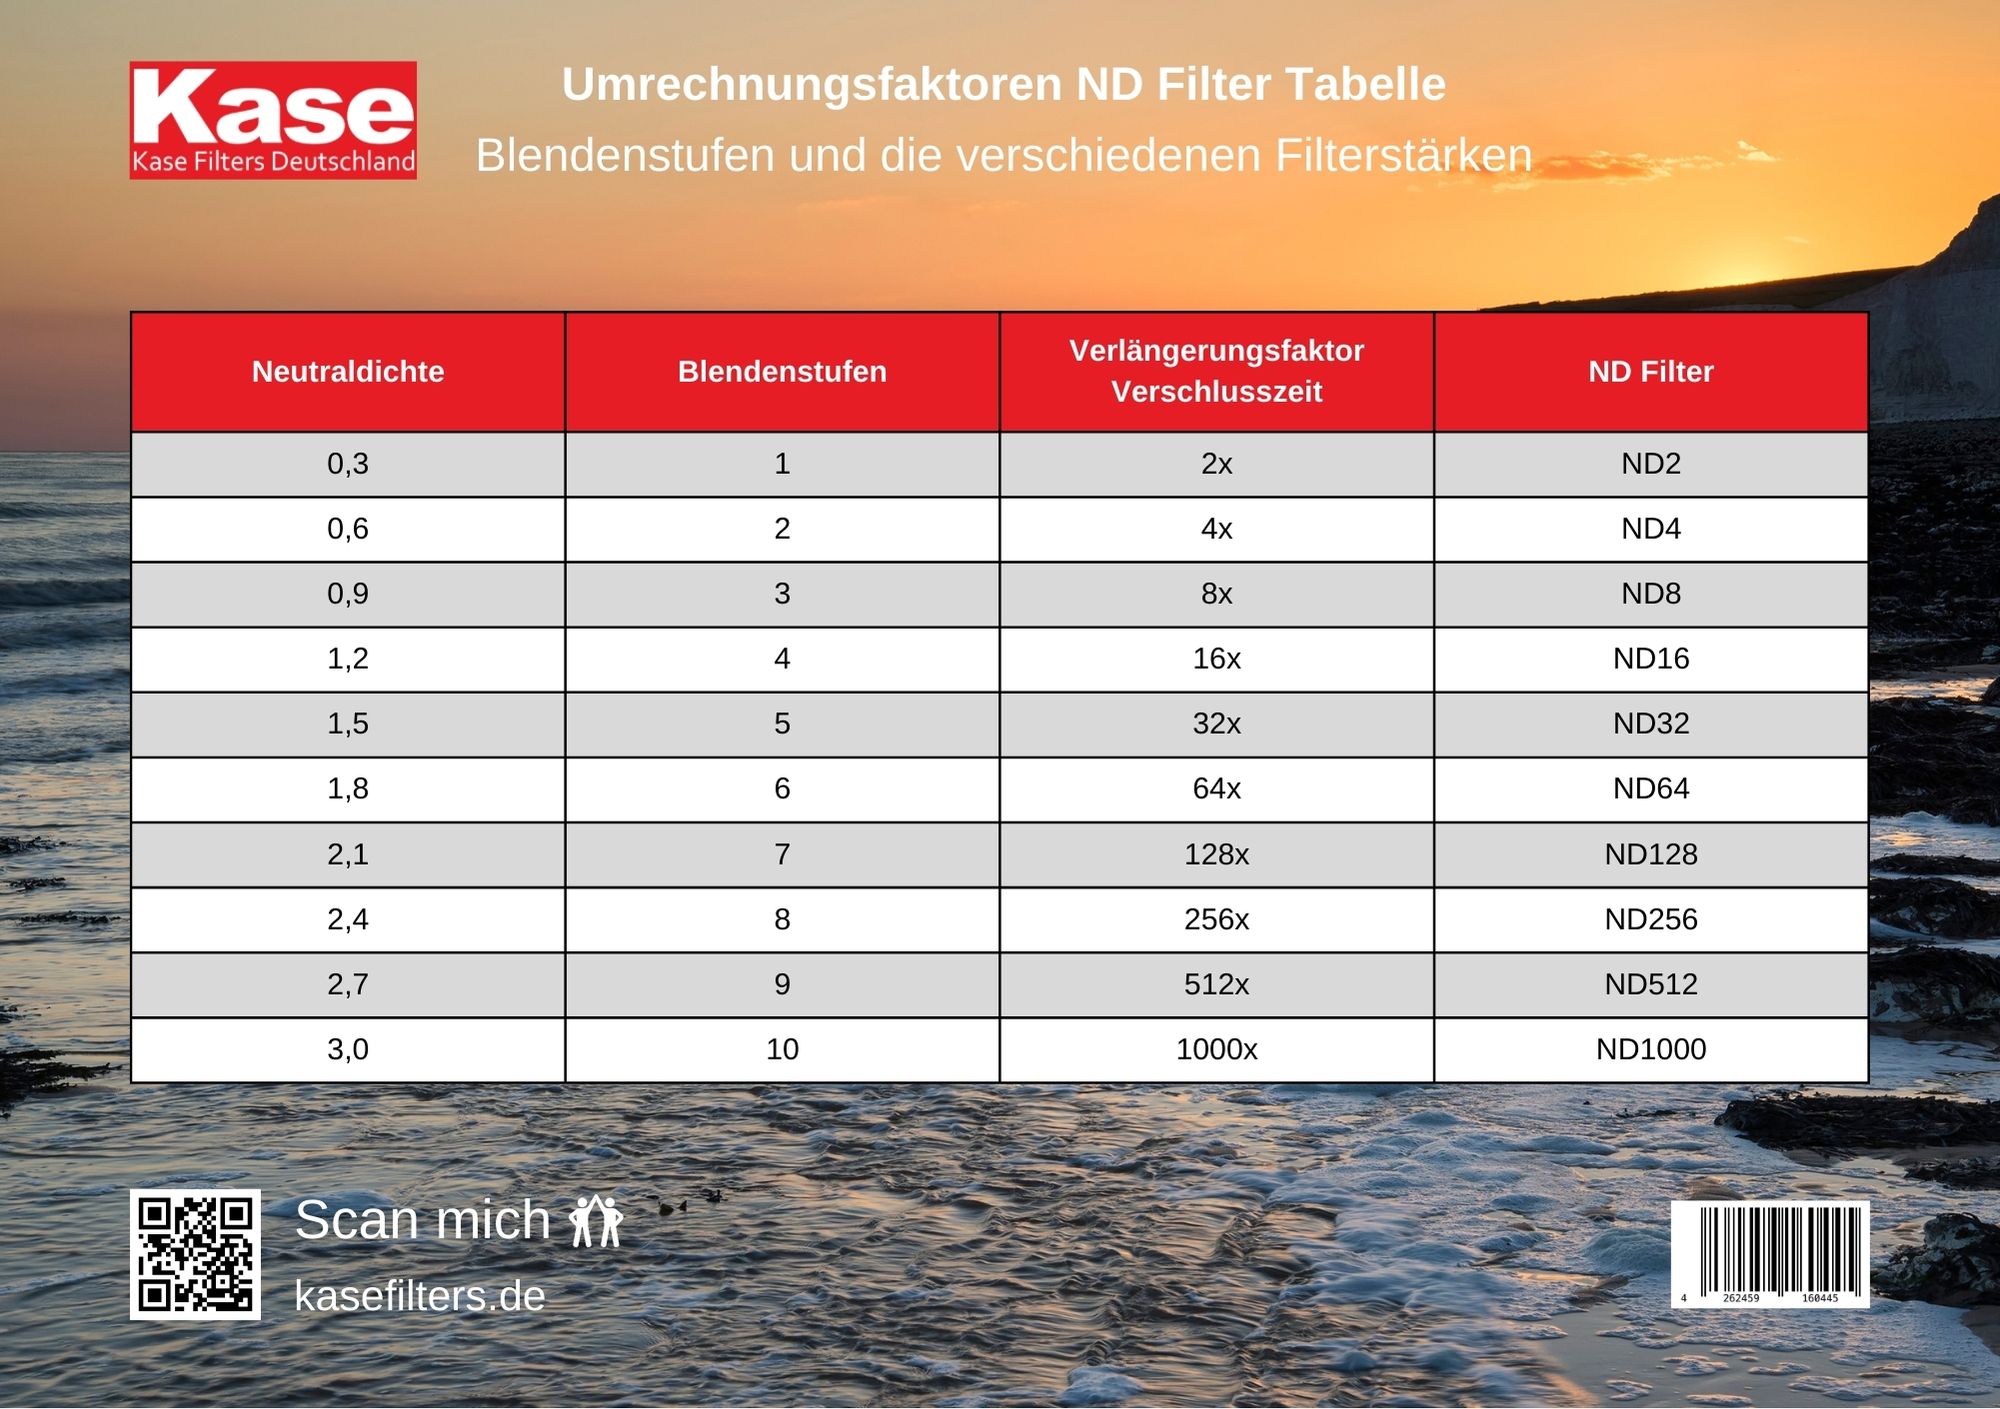
ND filters come in various strengths, measured in stops, which determine the amount of light they block. Which stop to use depends on the lighting conditions and desired effect, therefore there is no one best ND filter for all scenarios. But we prepared a list of the most used ND filters for long exposure:
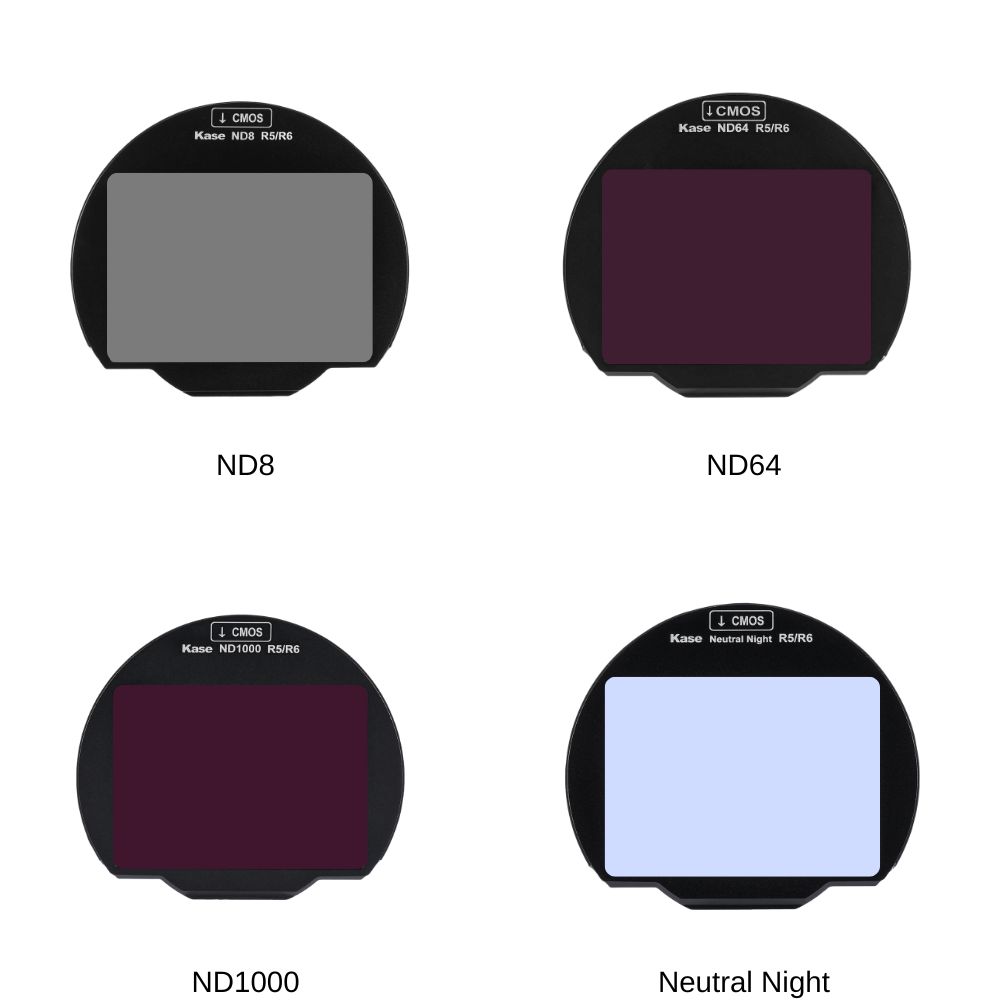
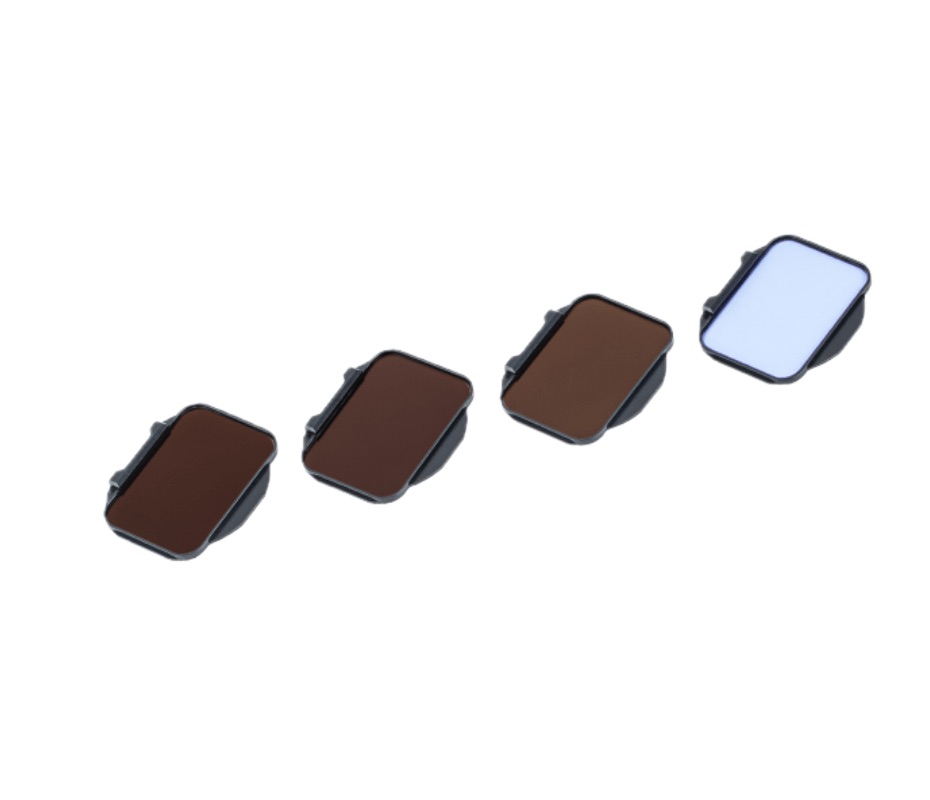
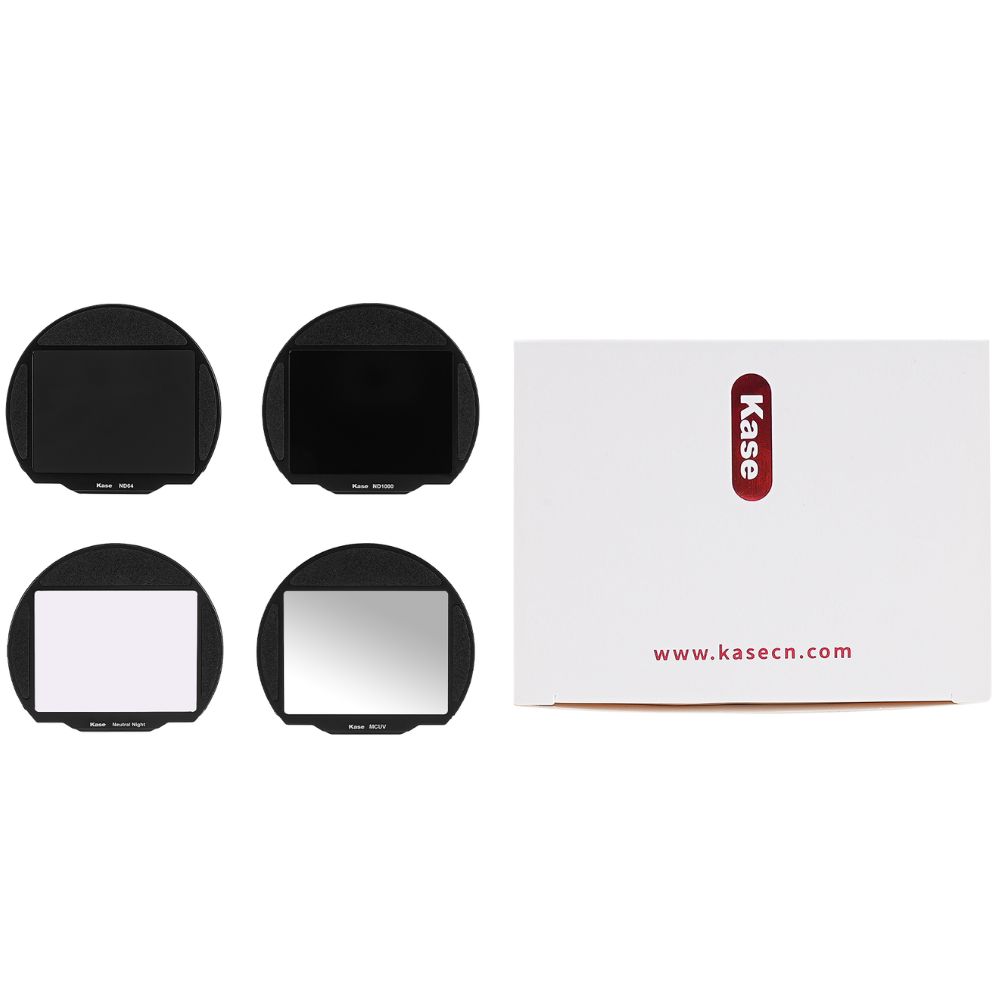
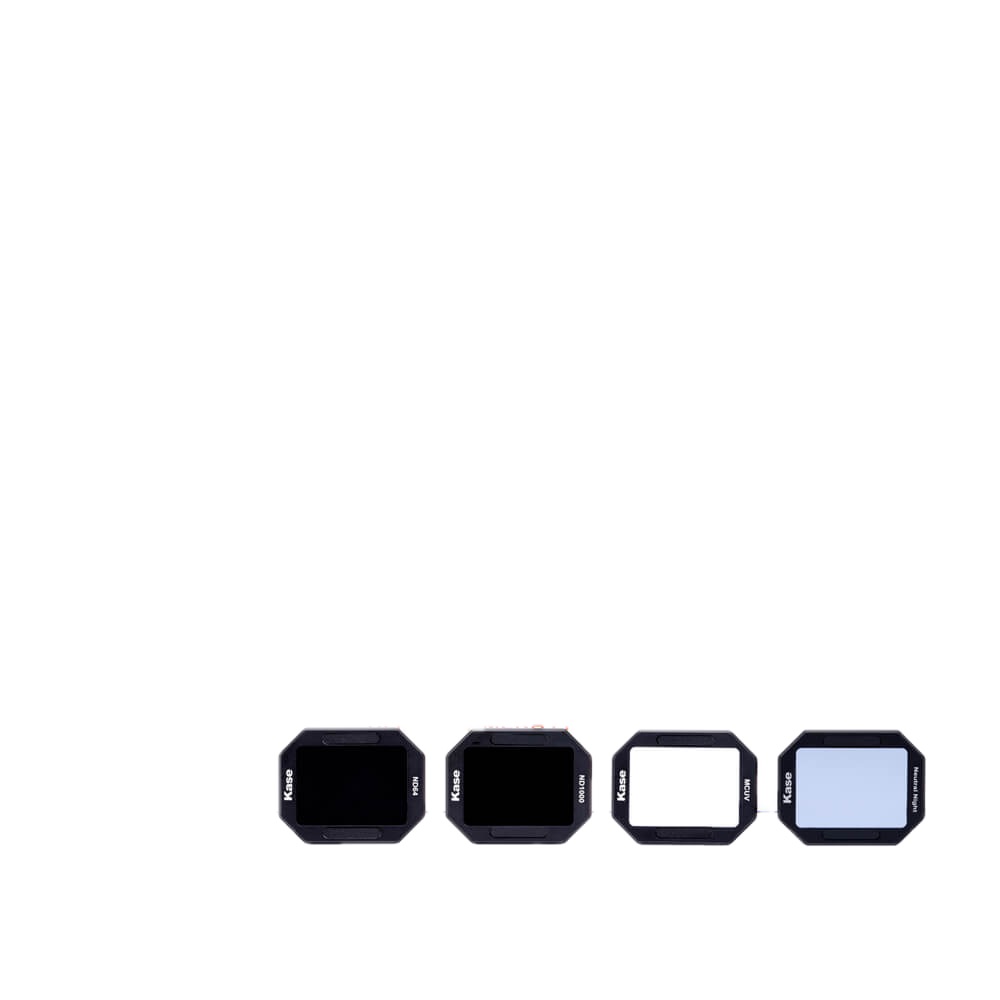
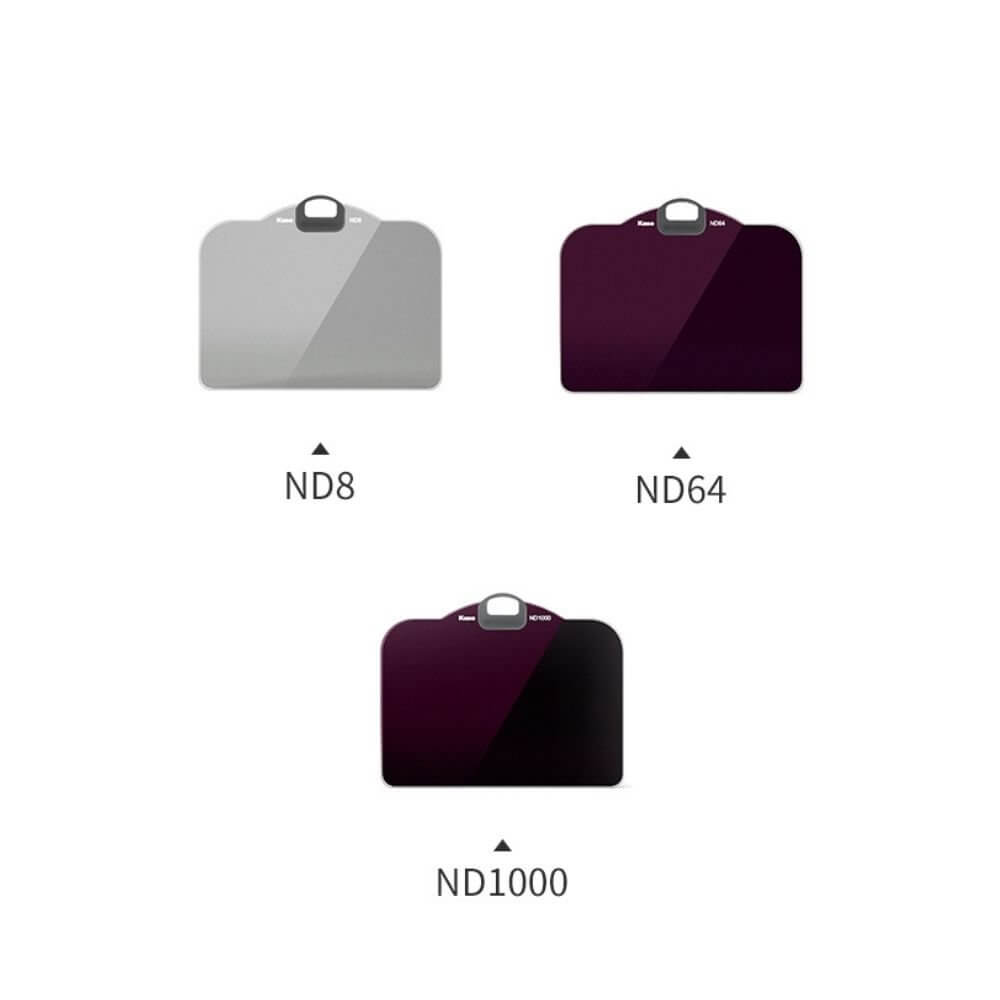
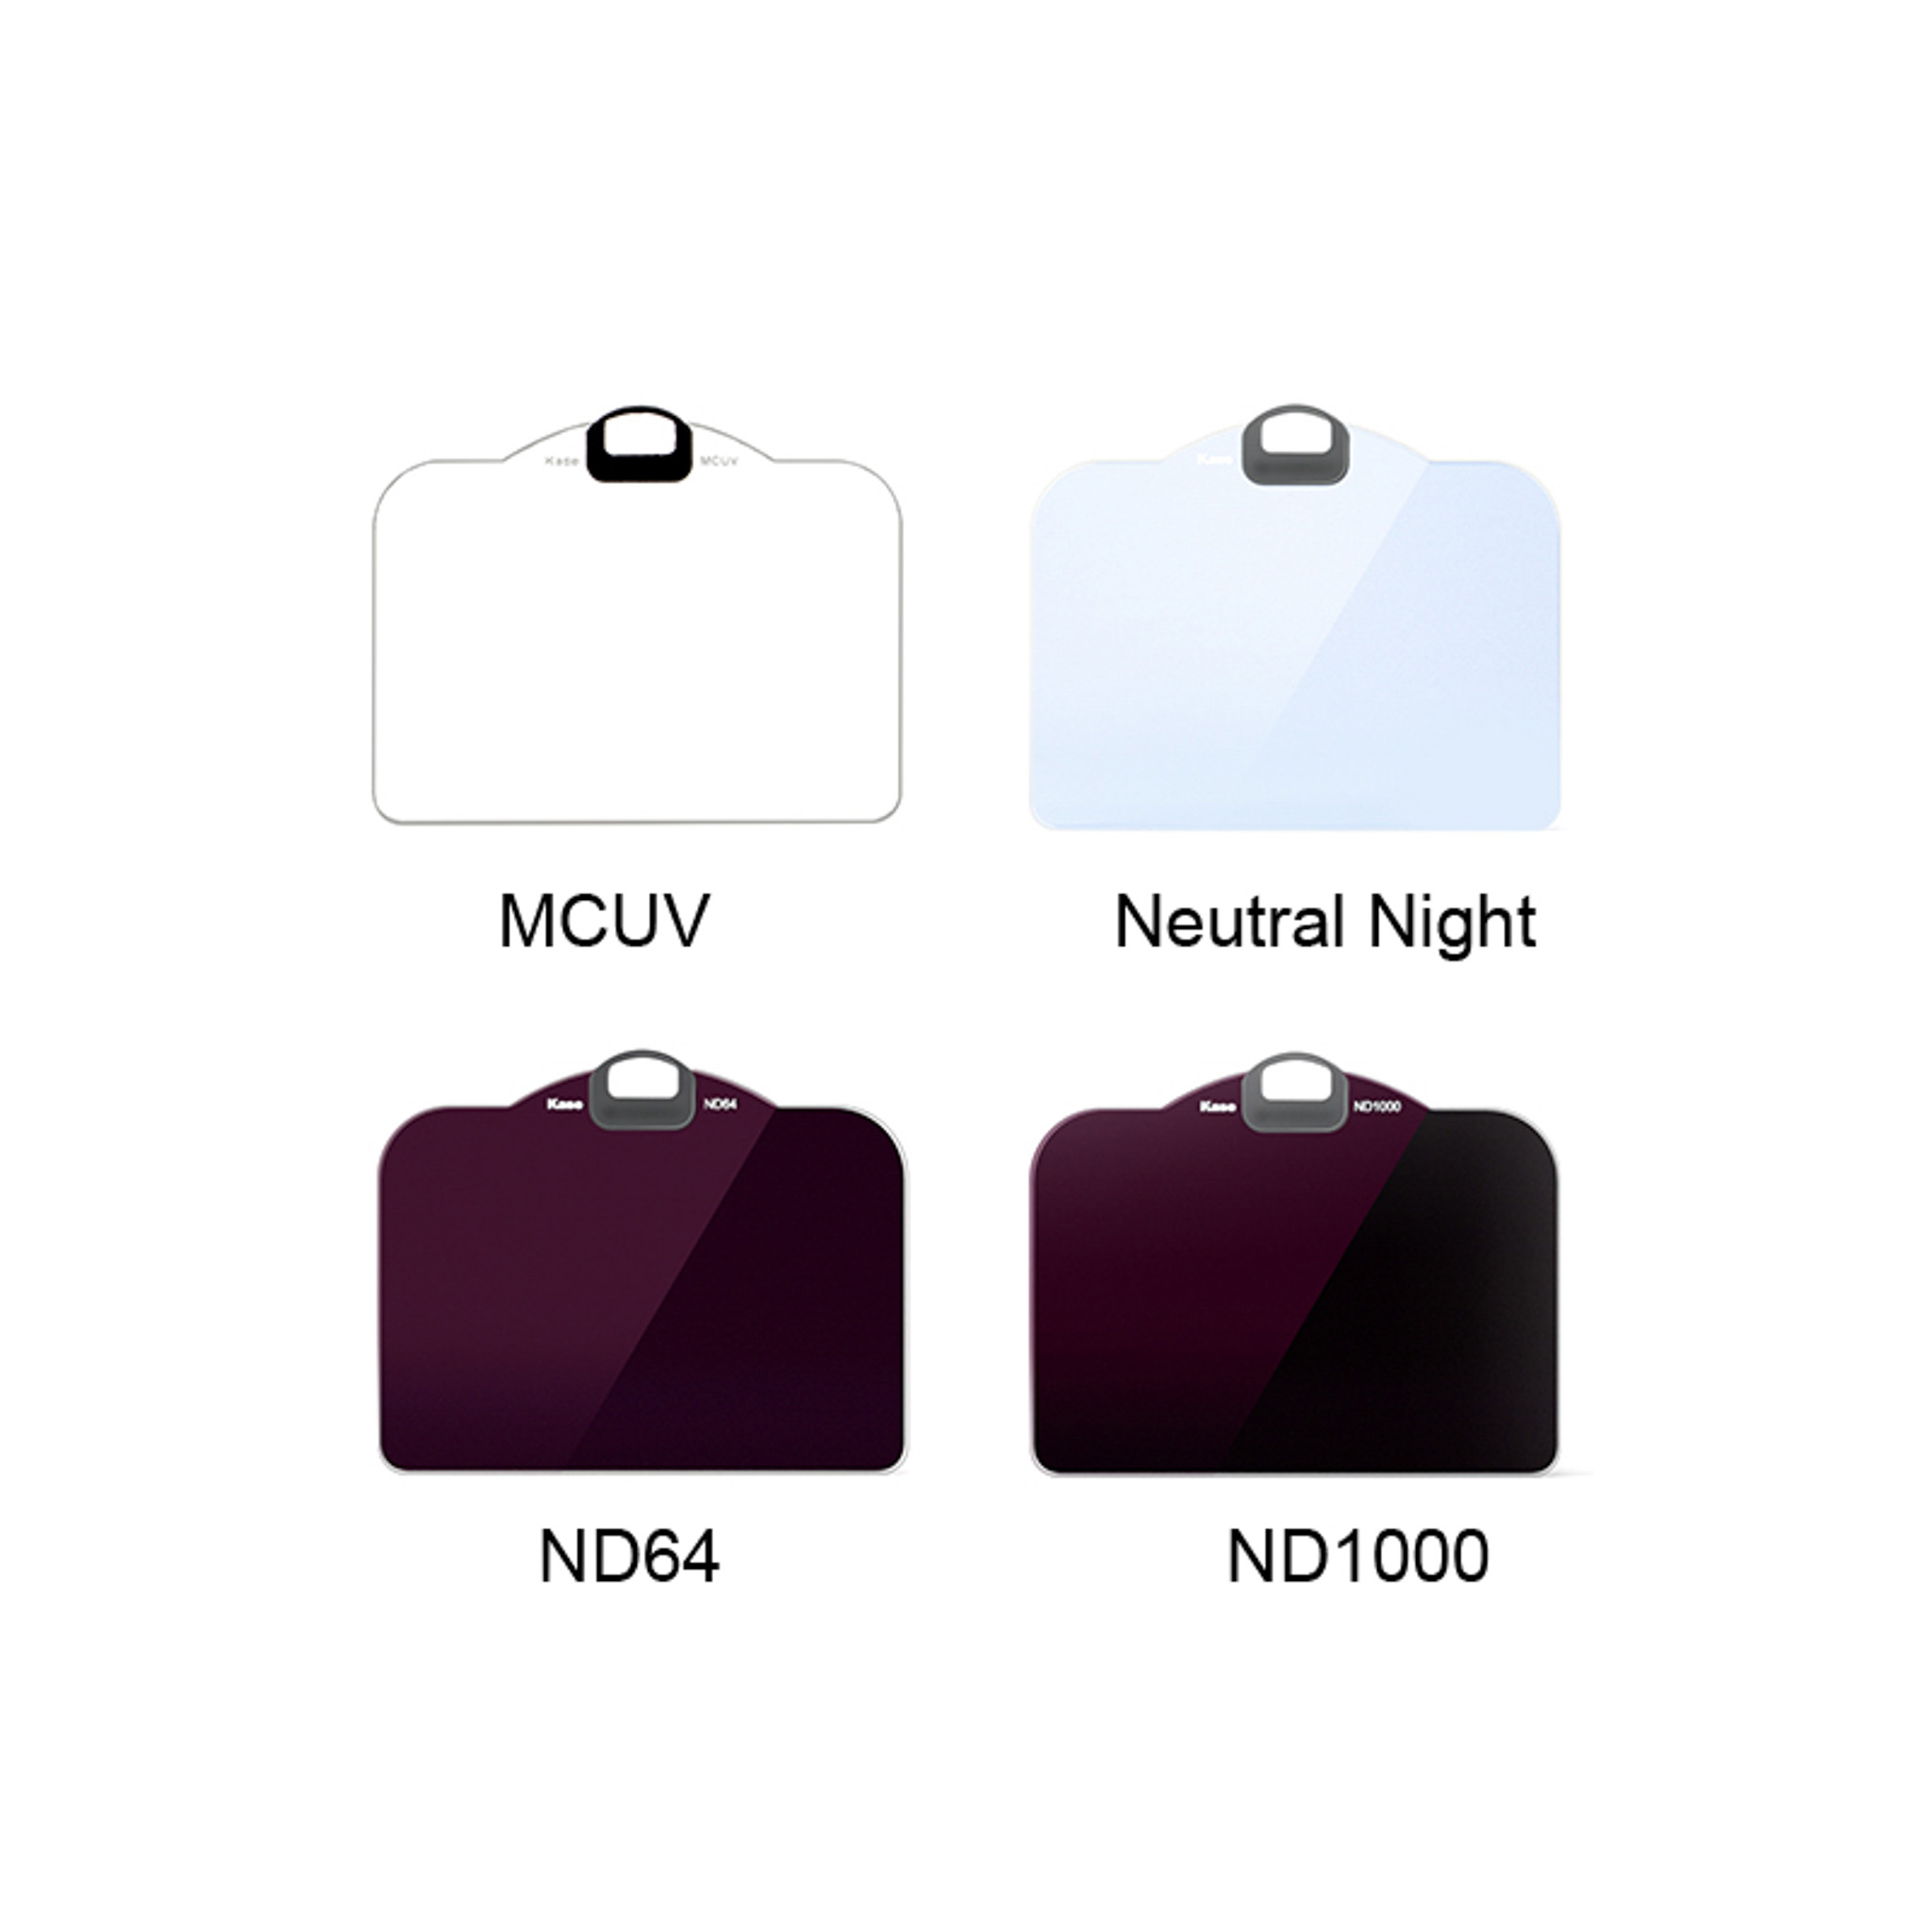
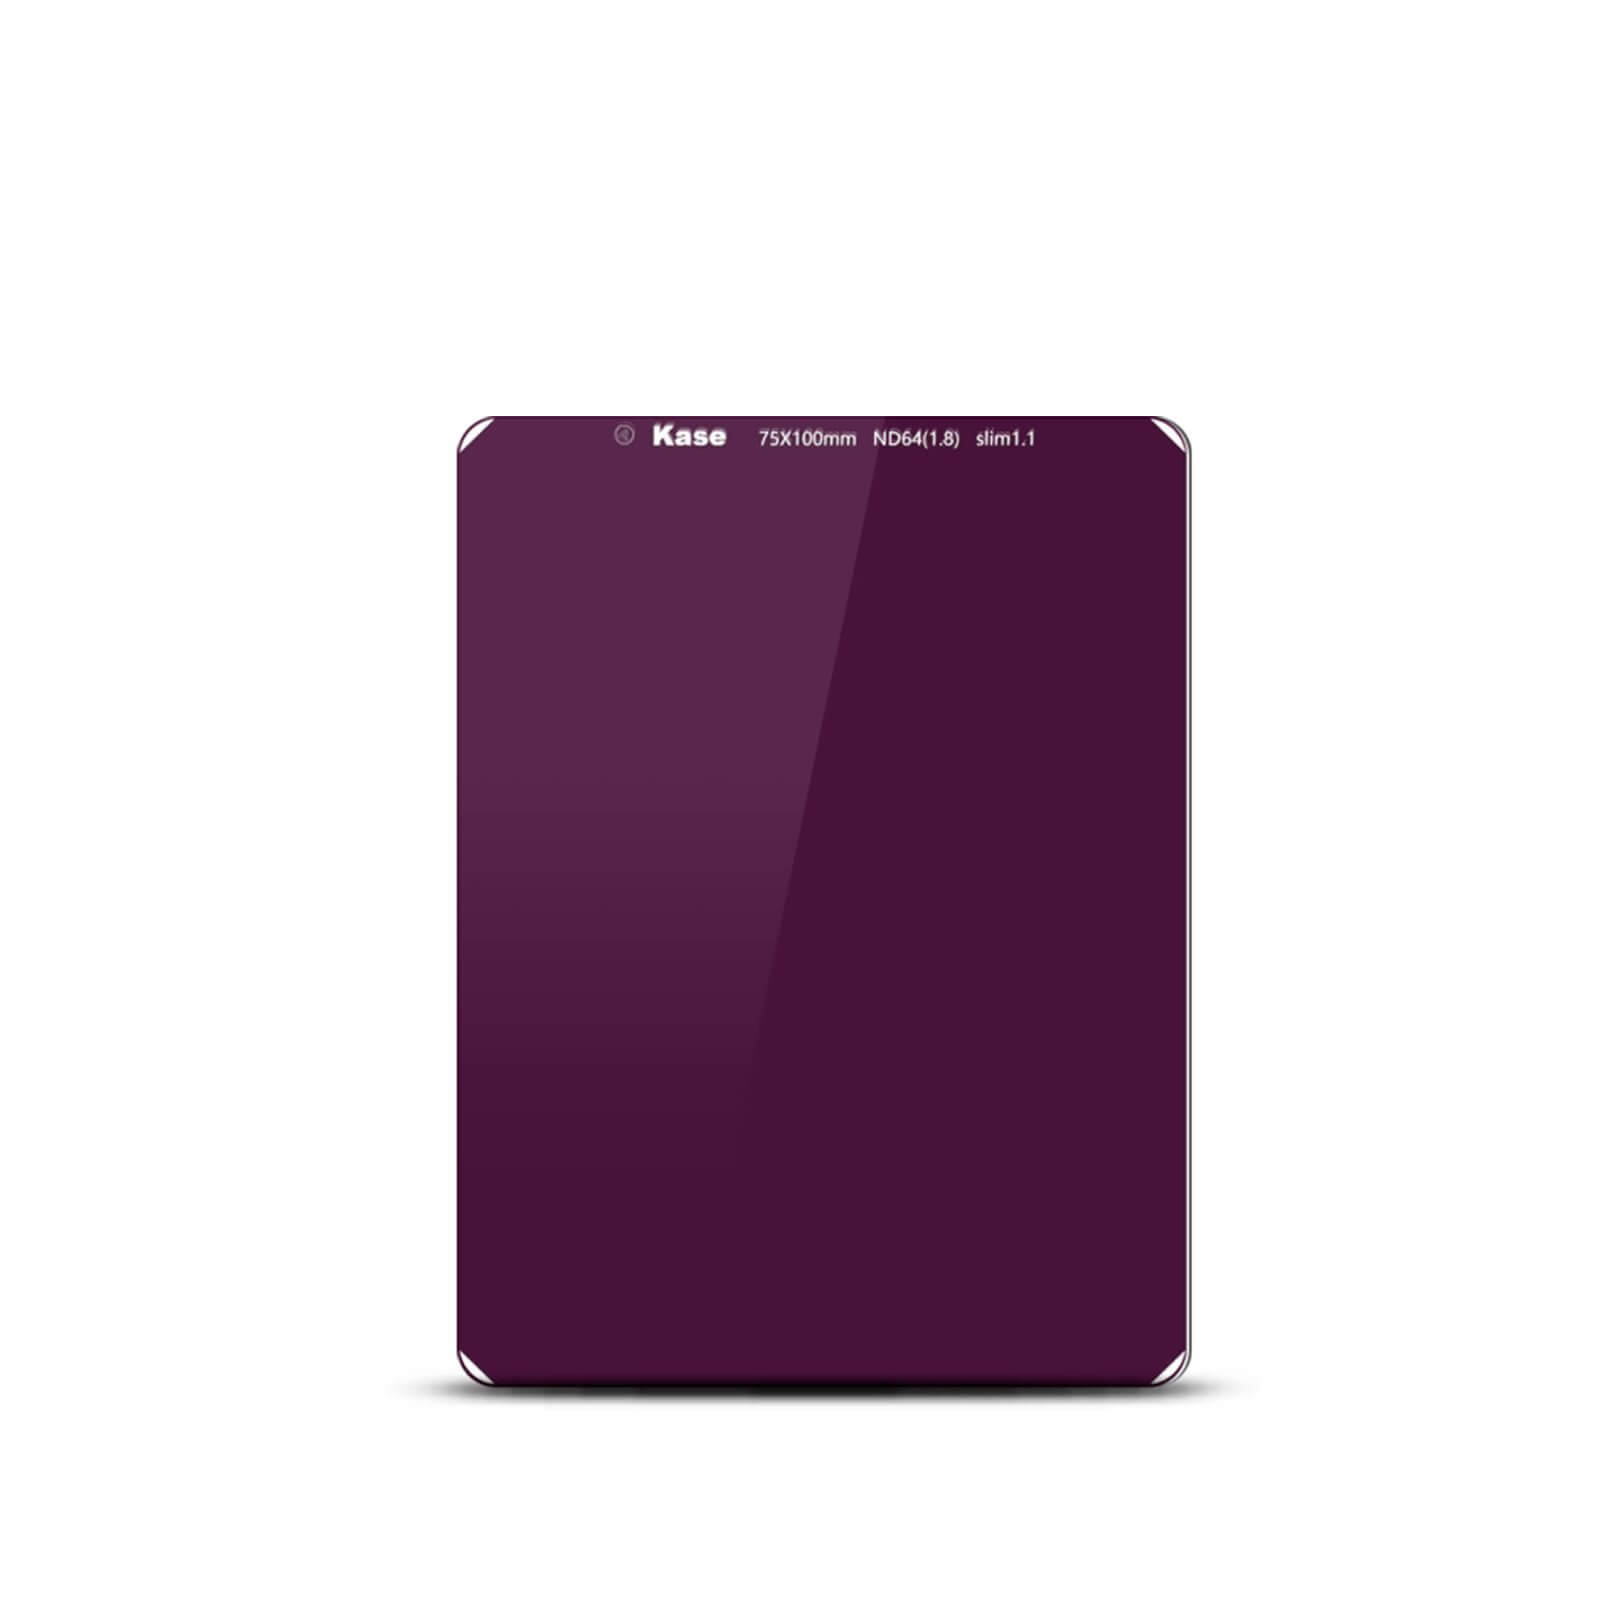
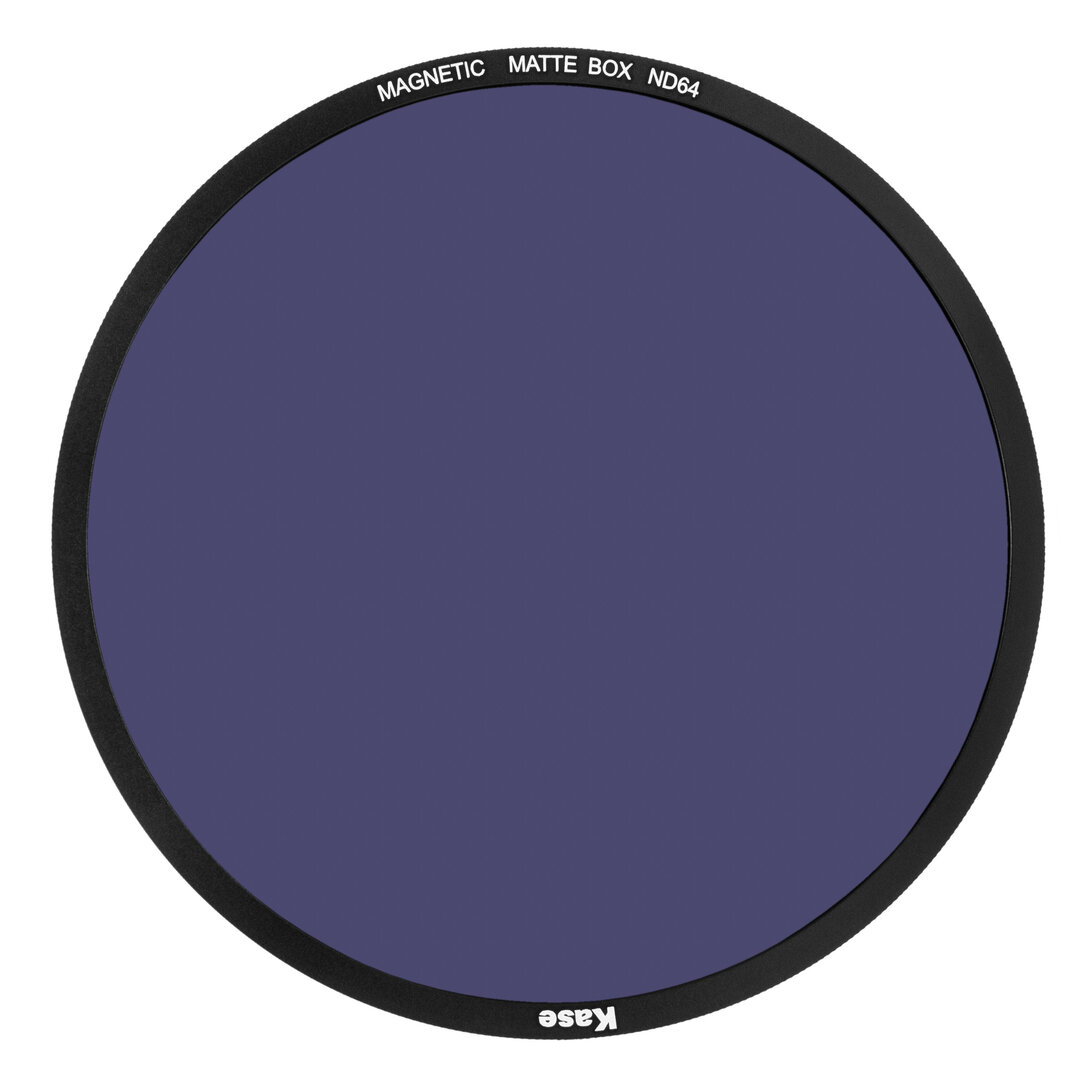
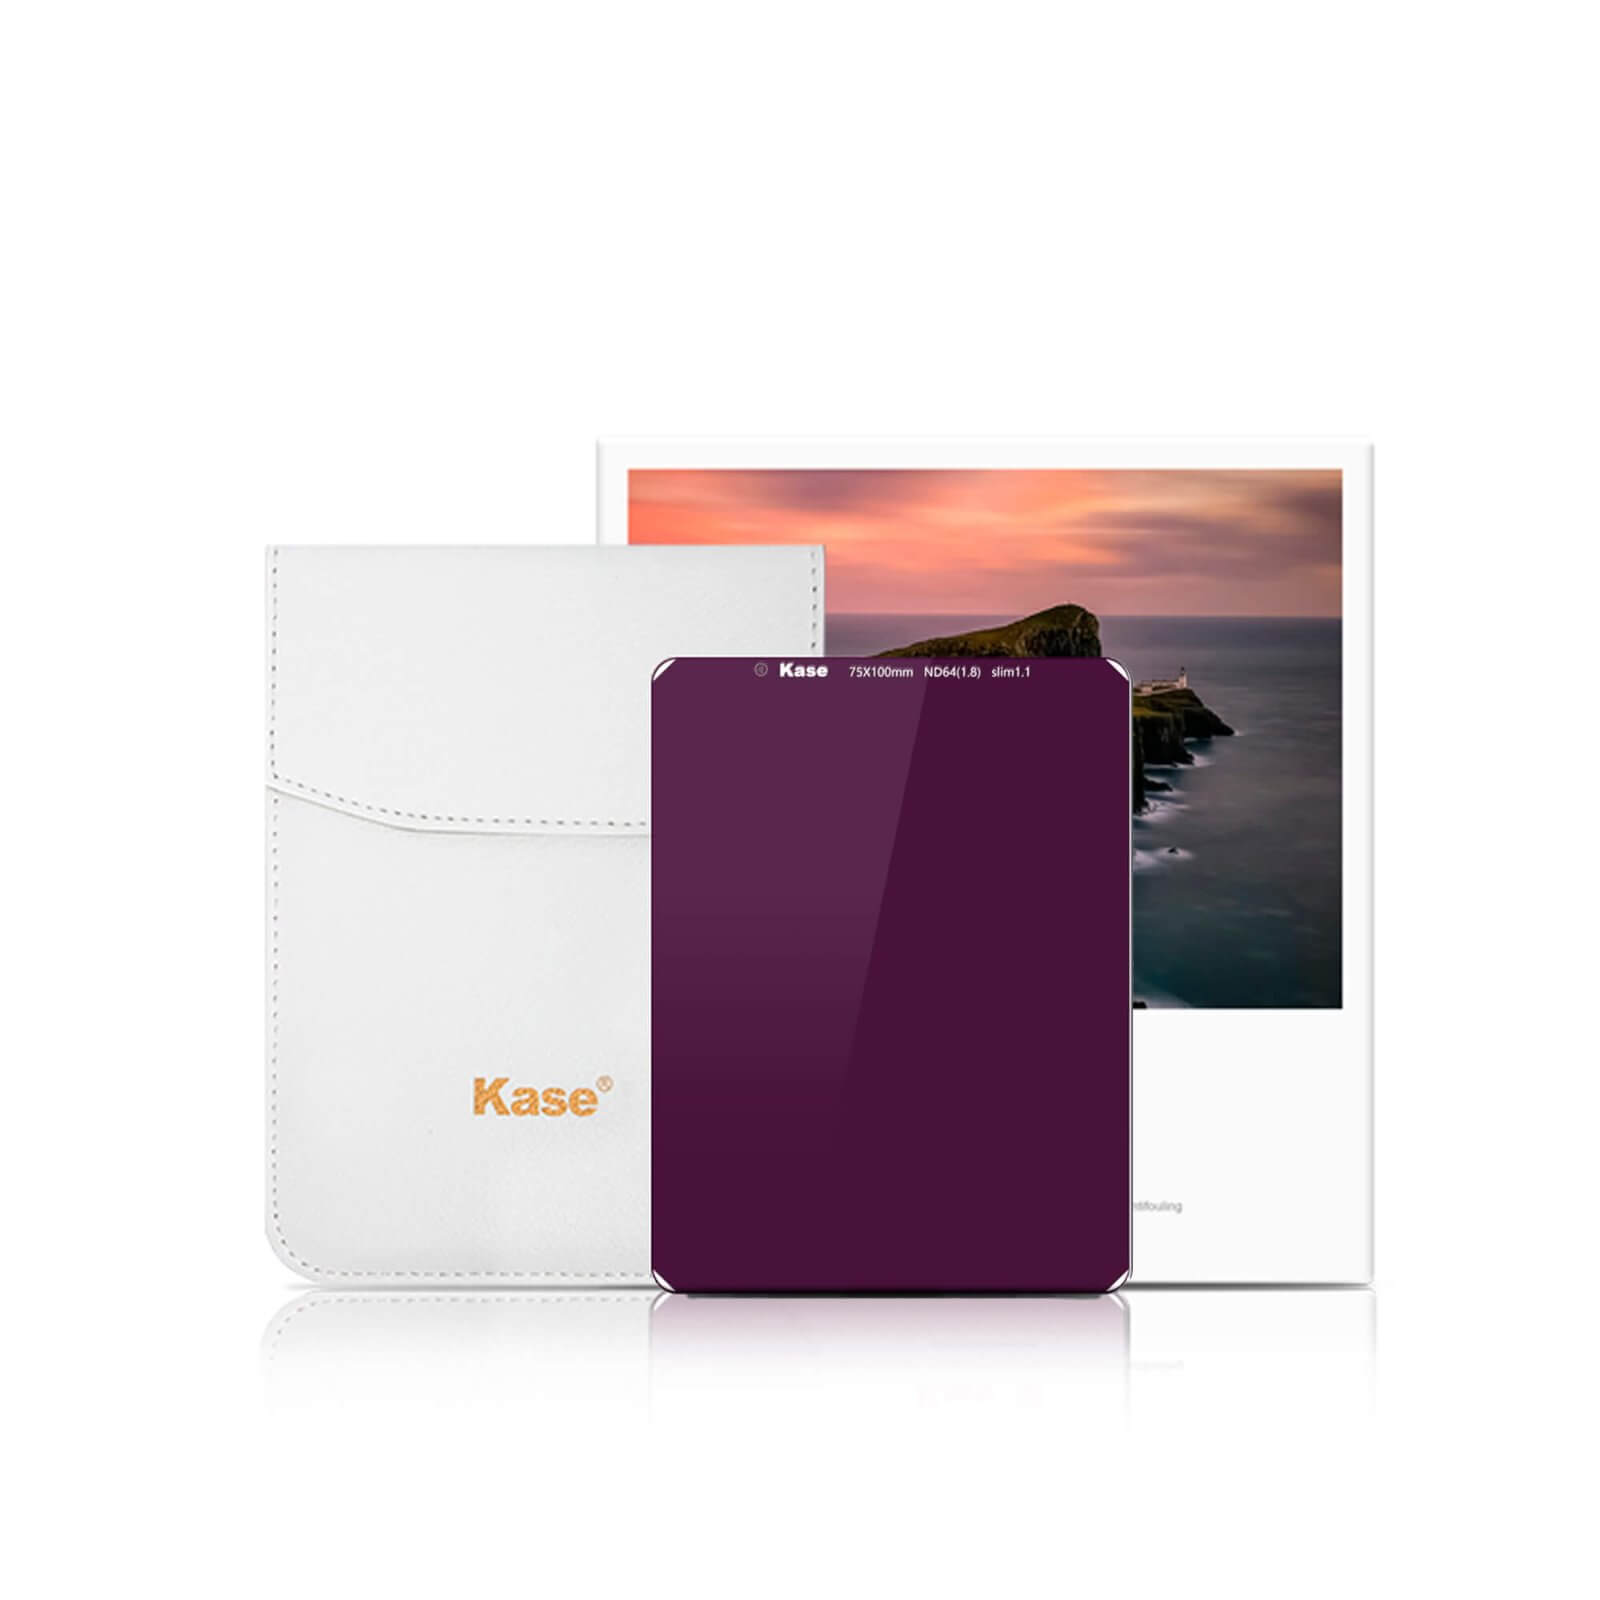
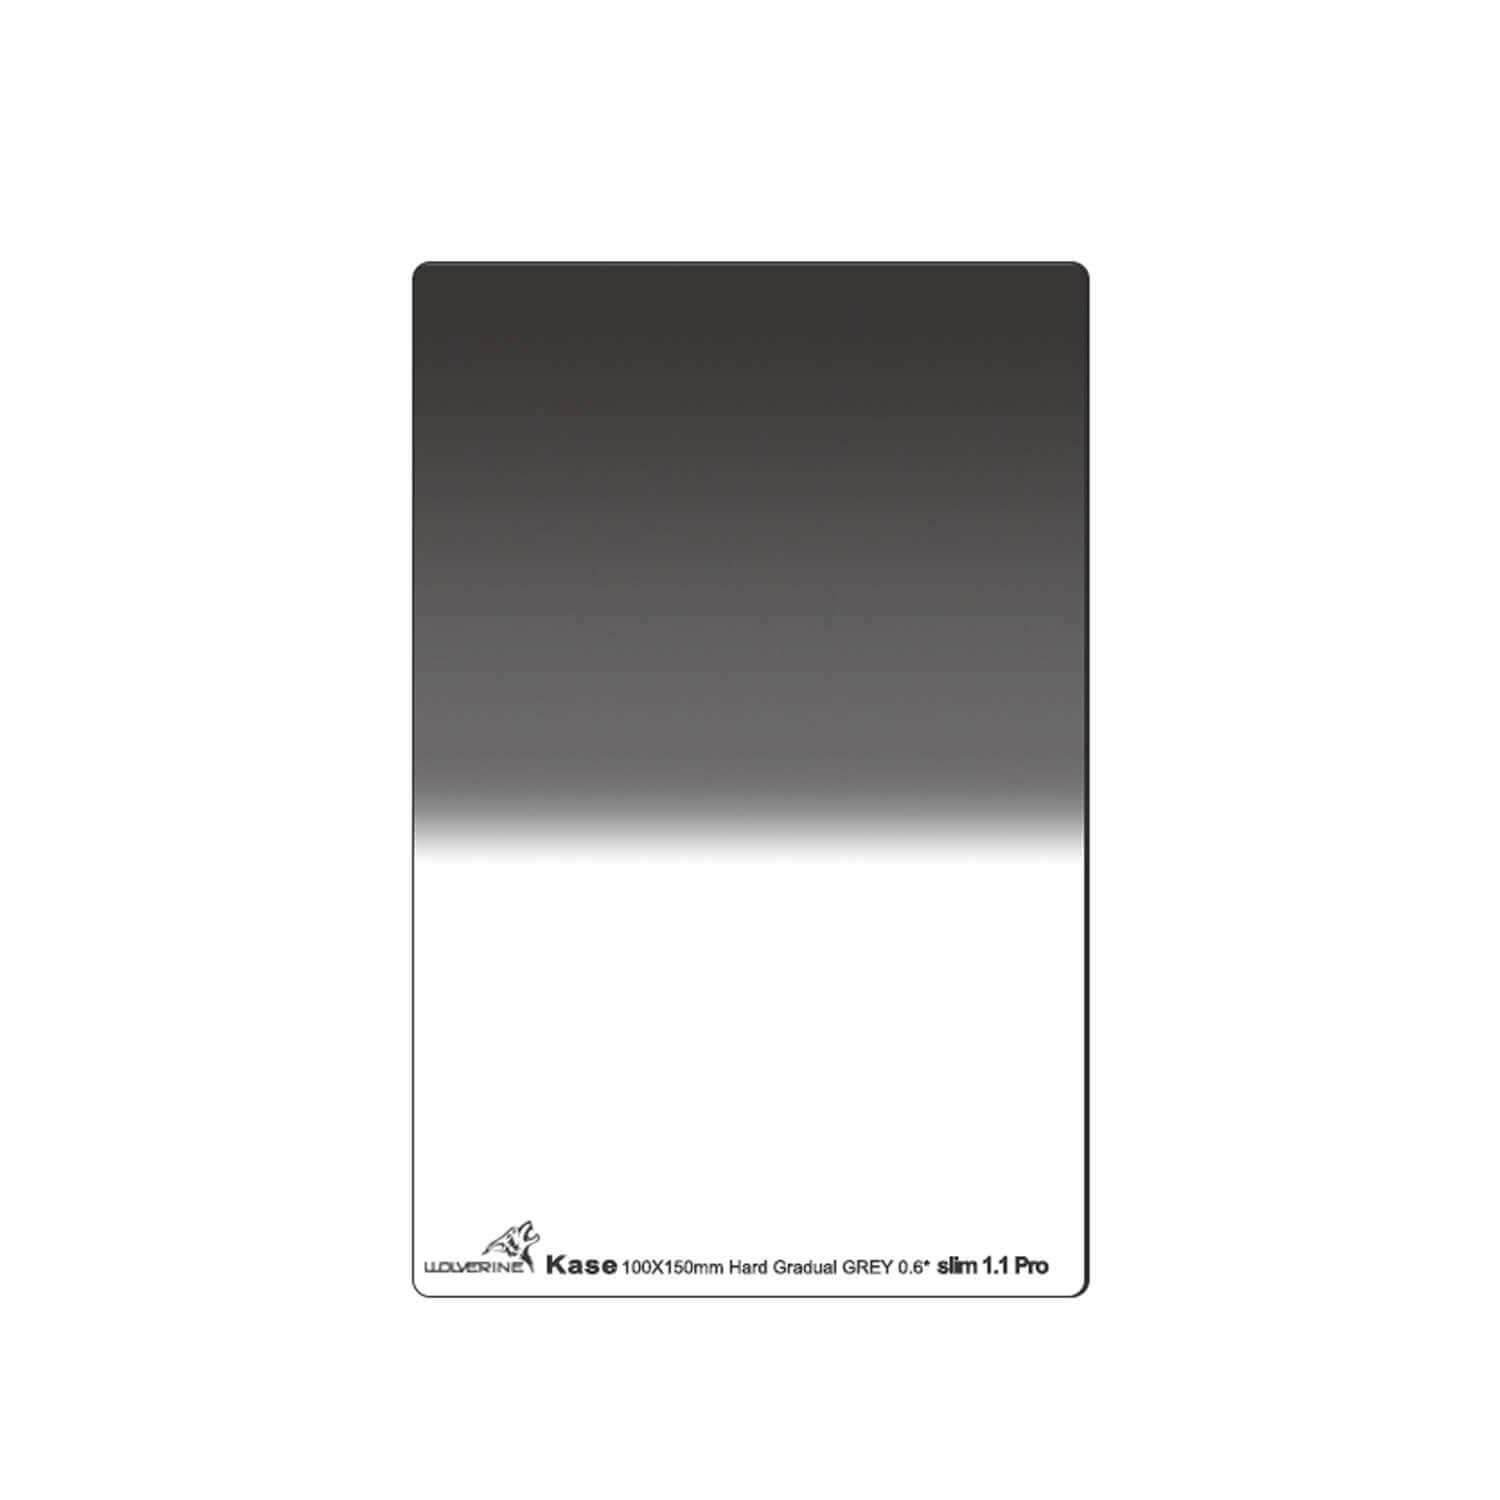
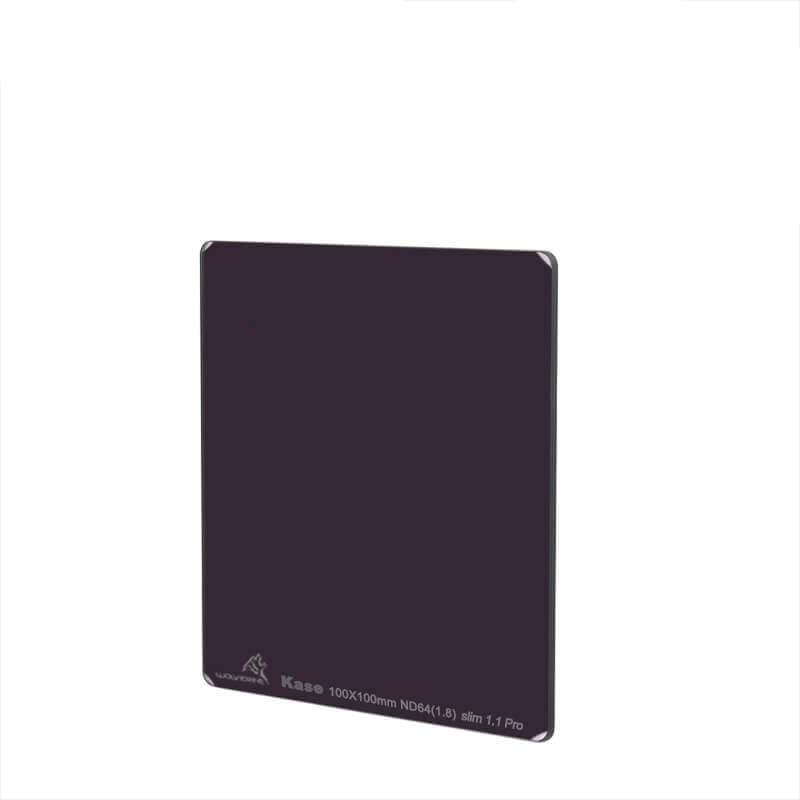
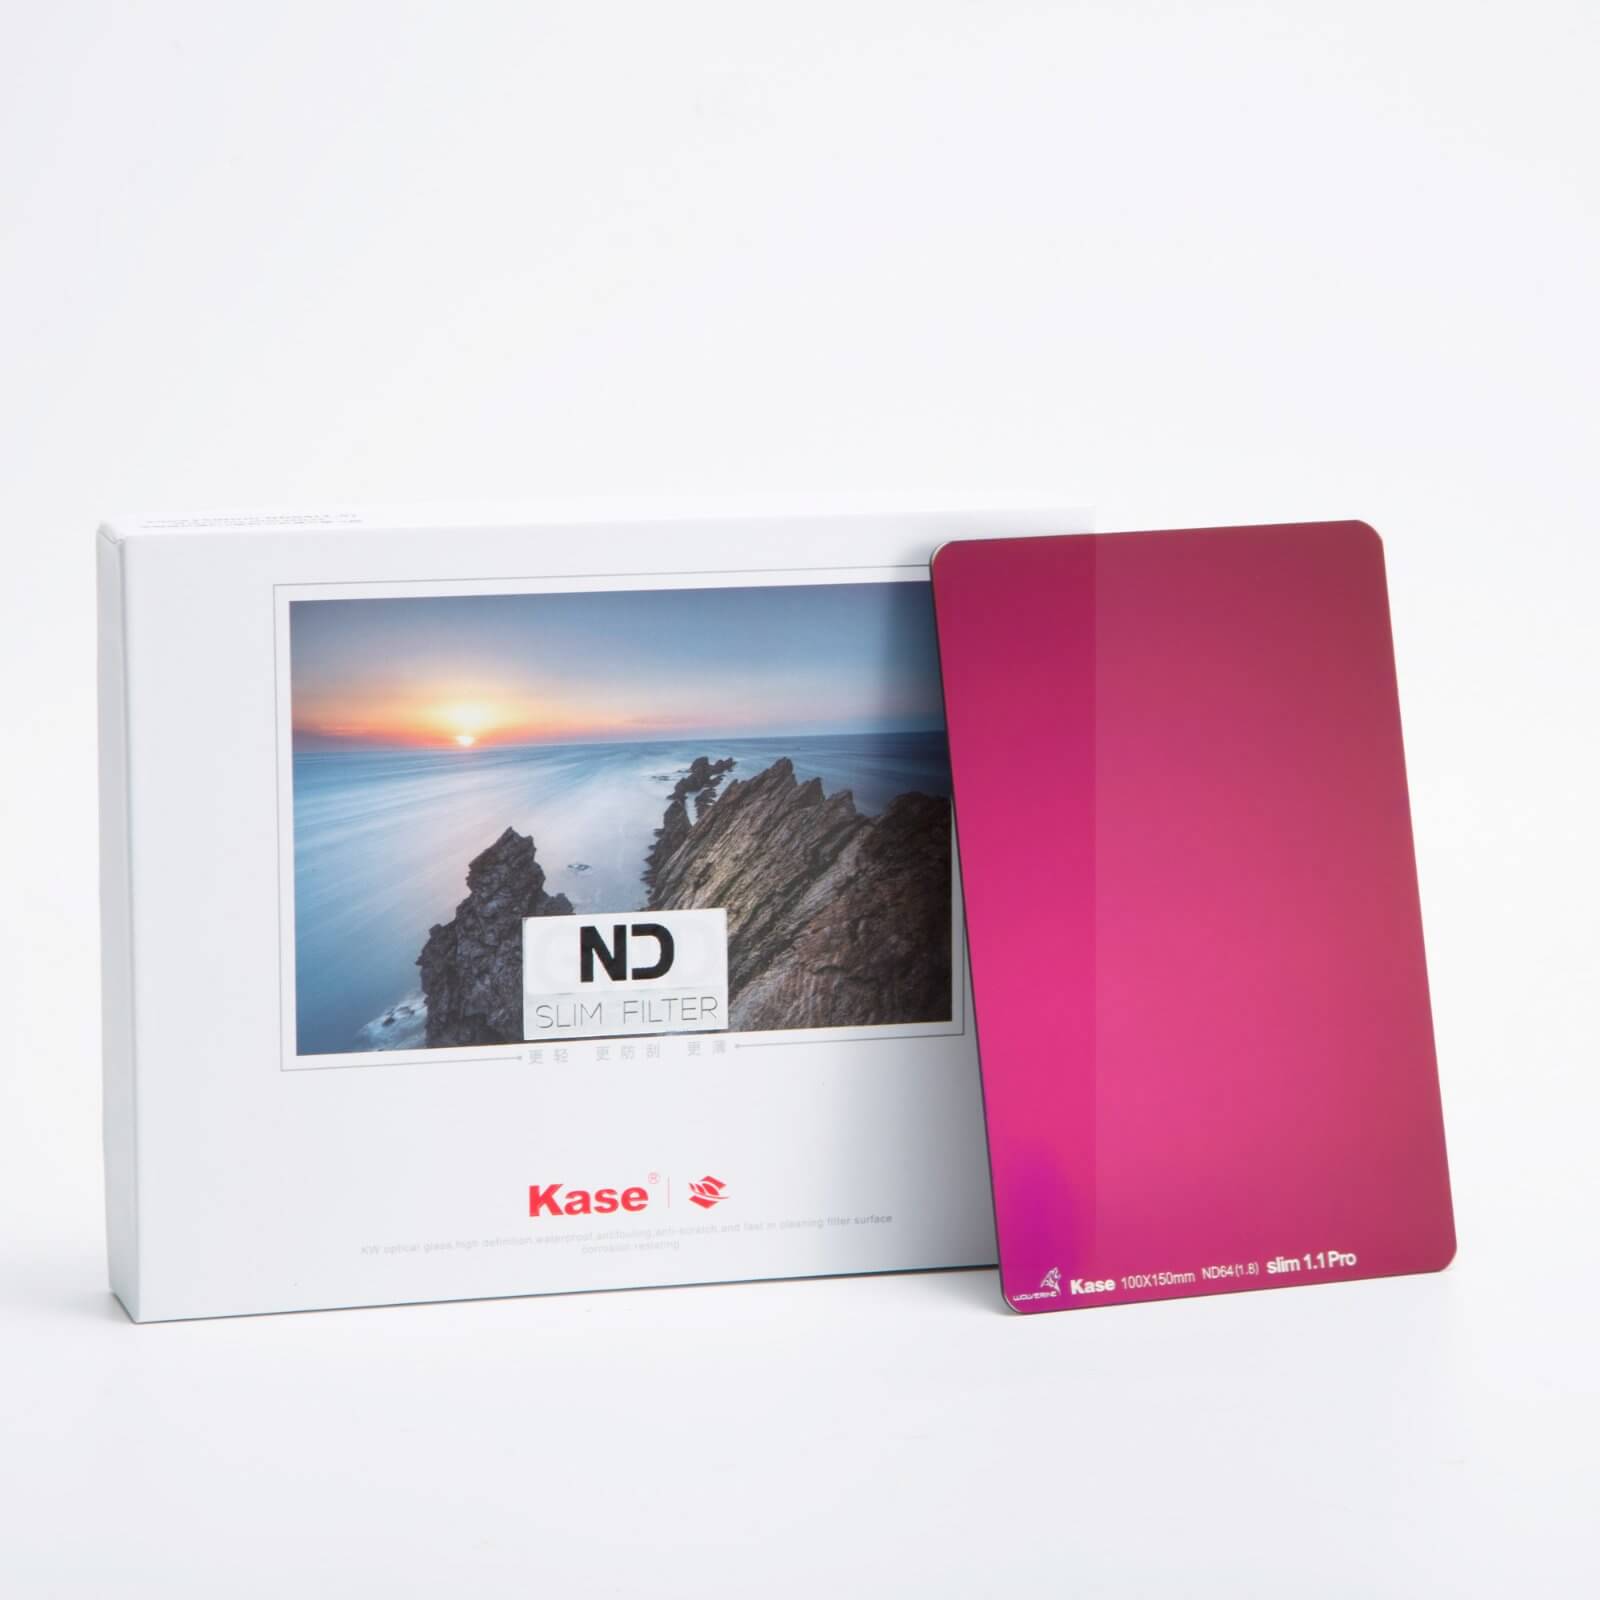
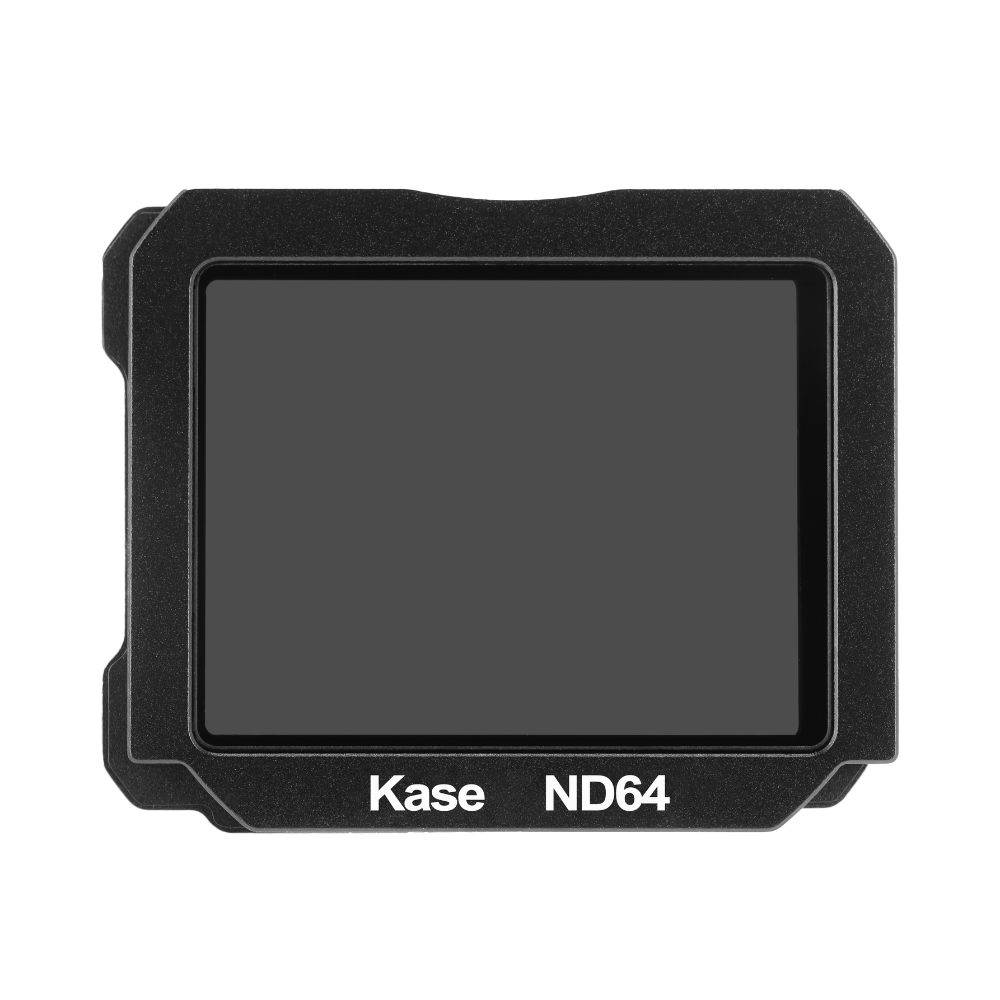
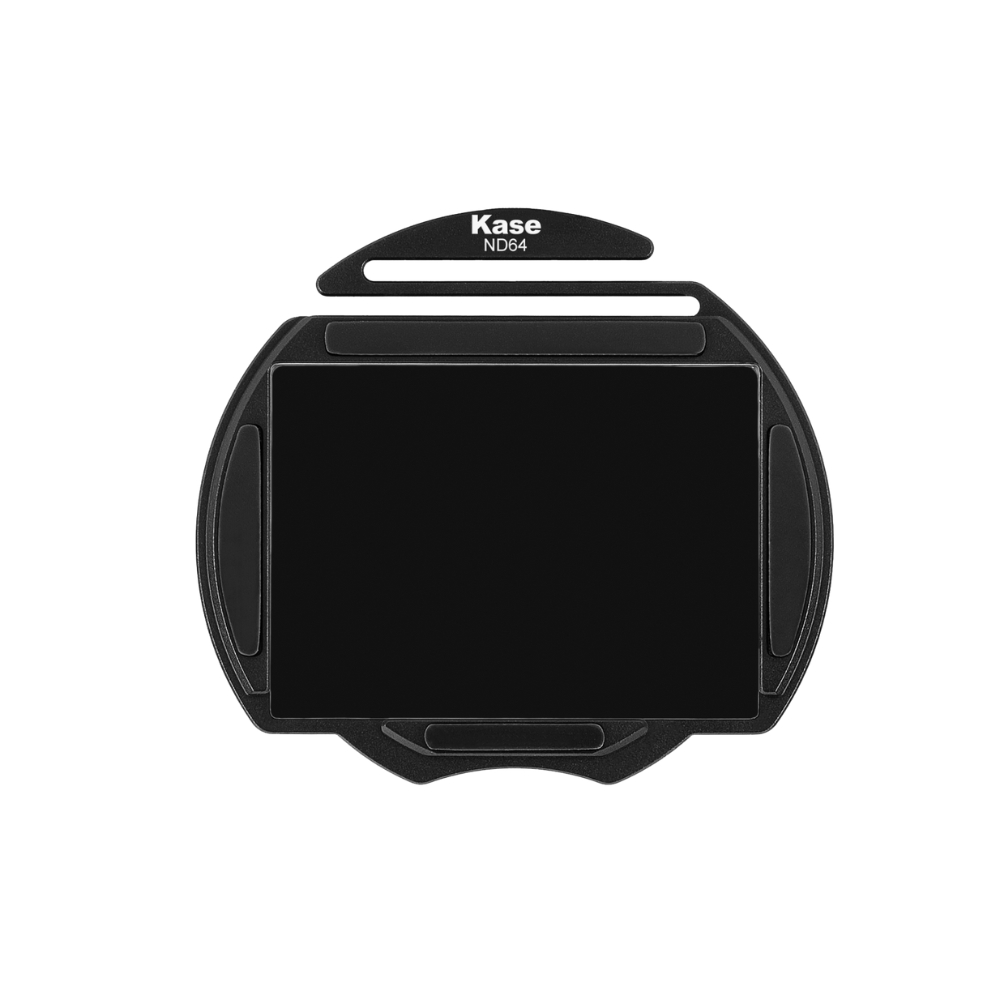
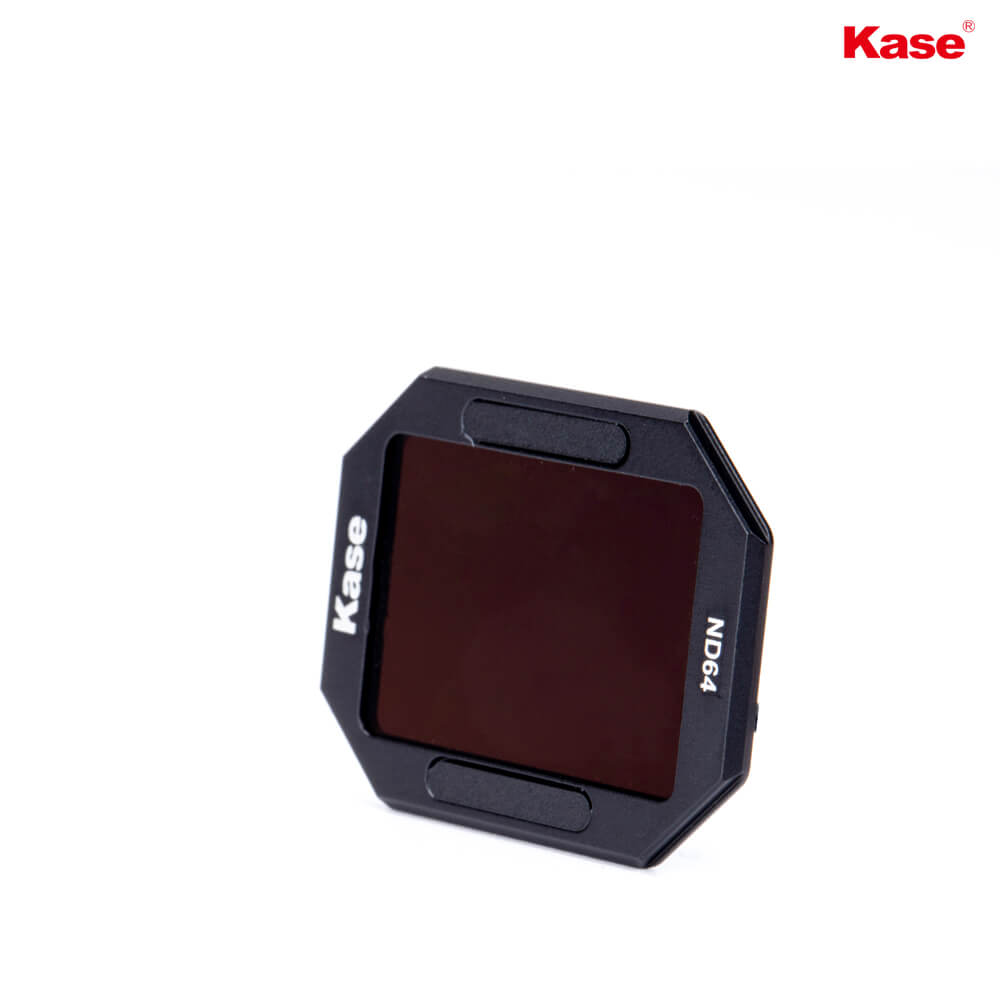
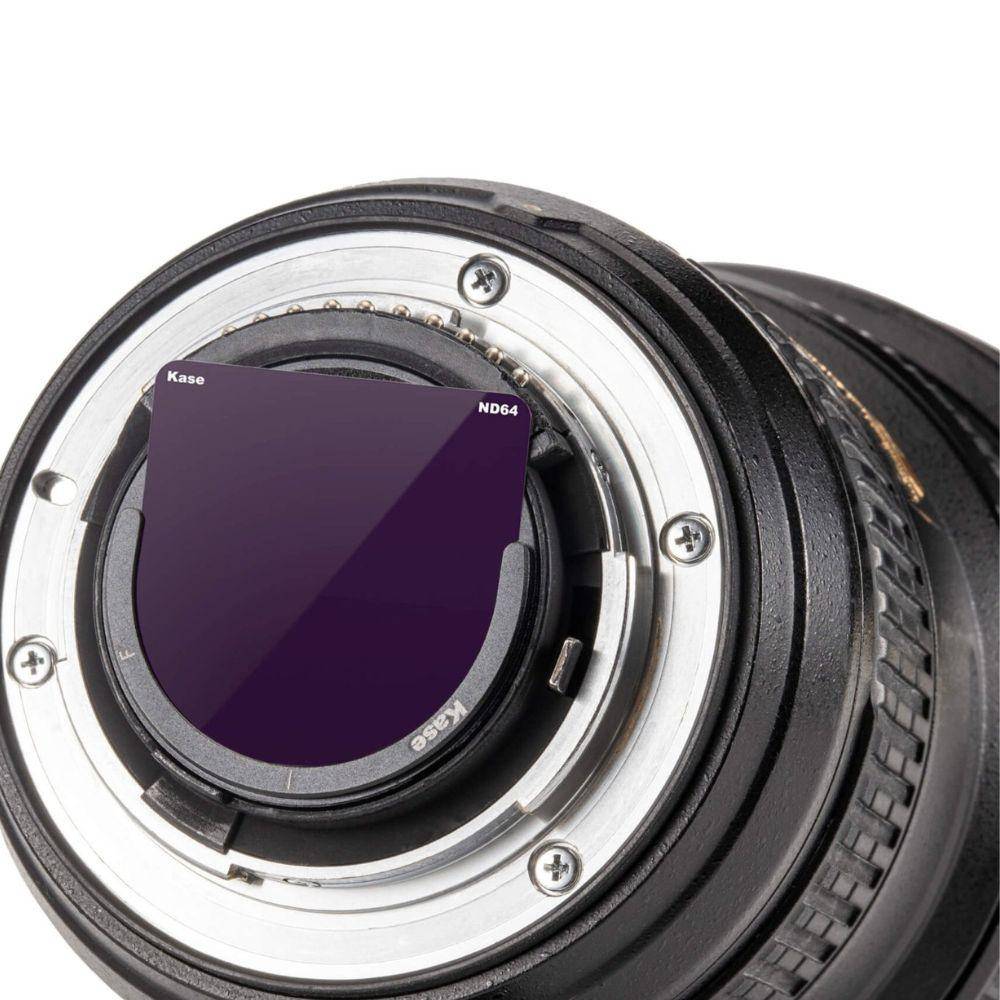
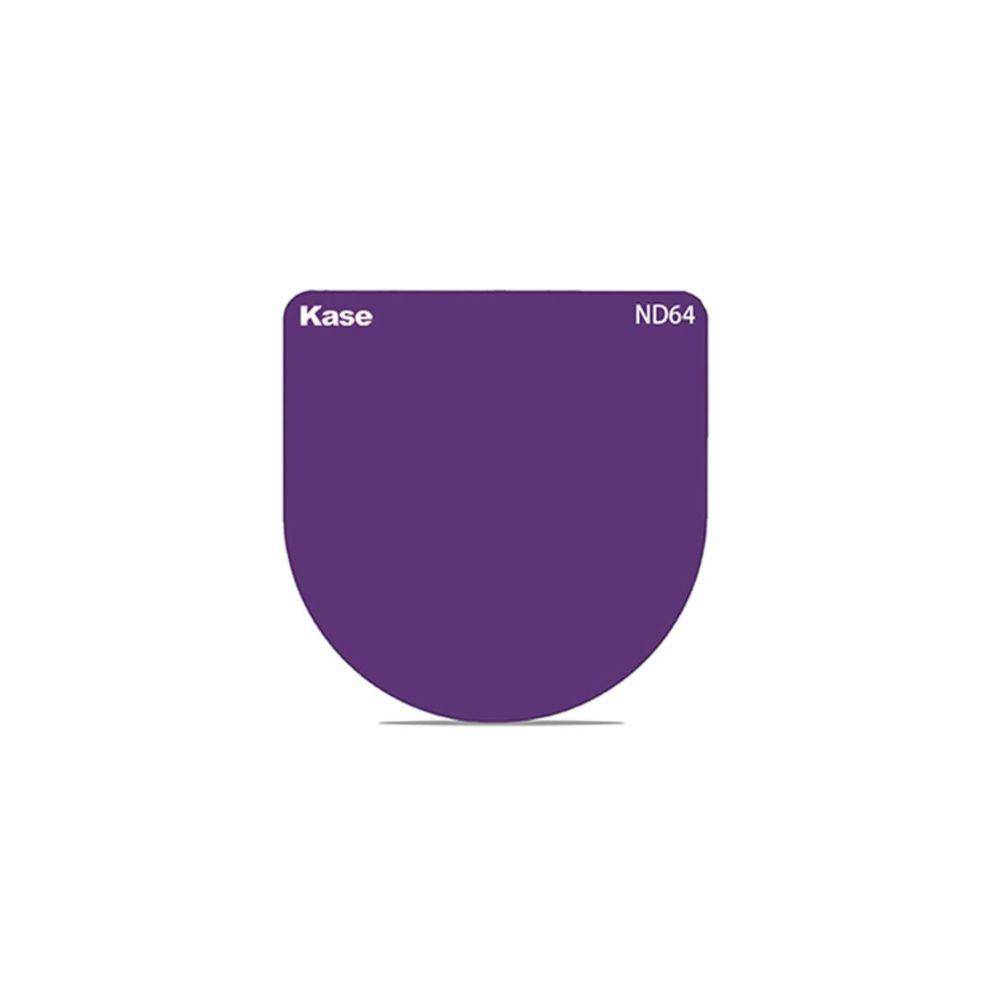
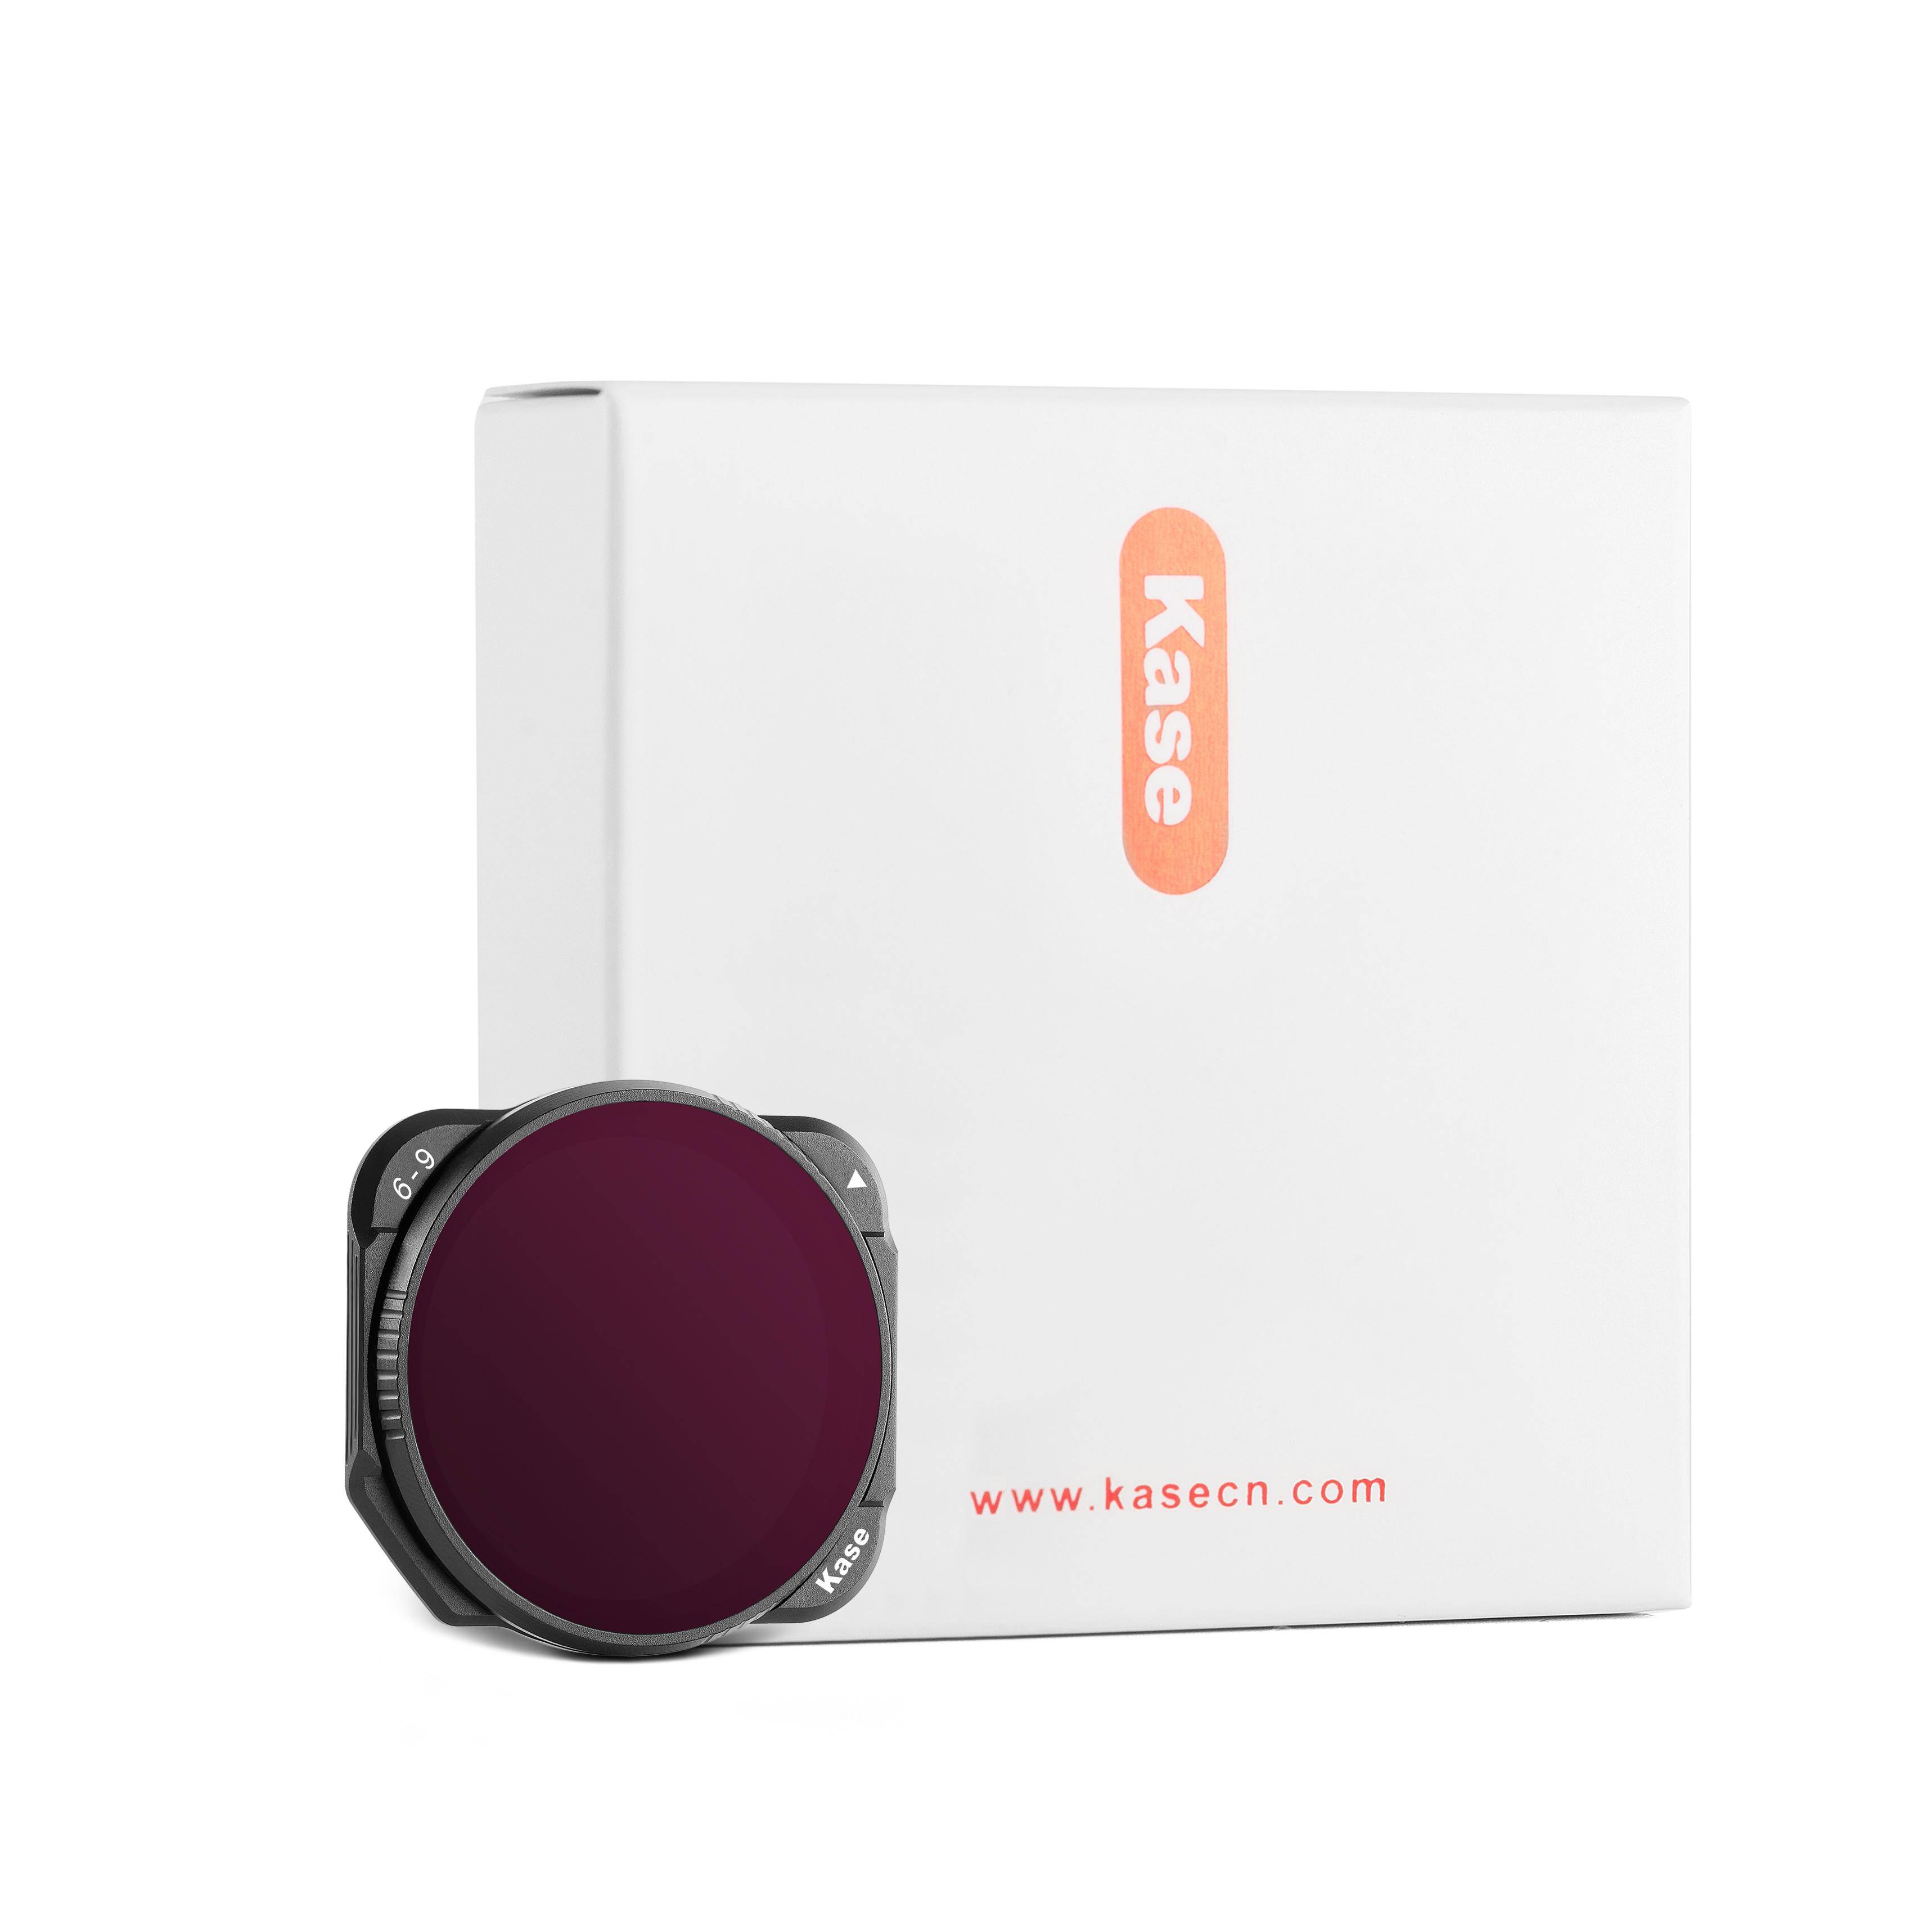
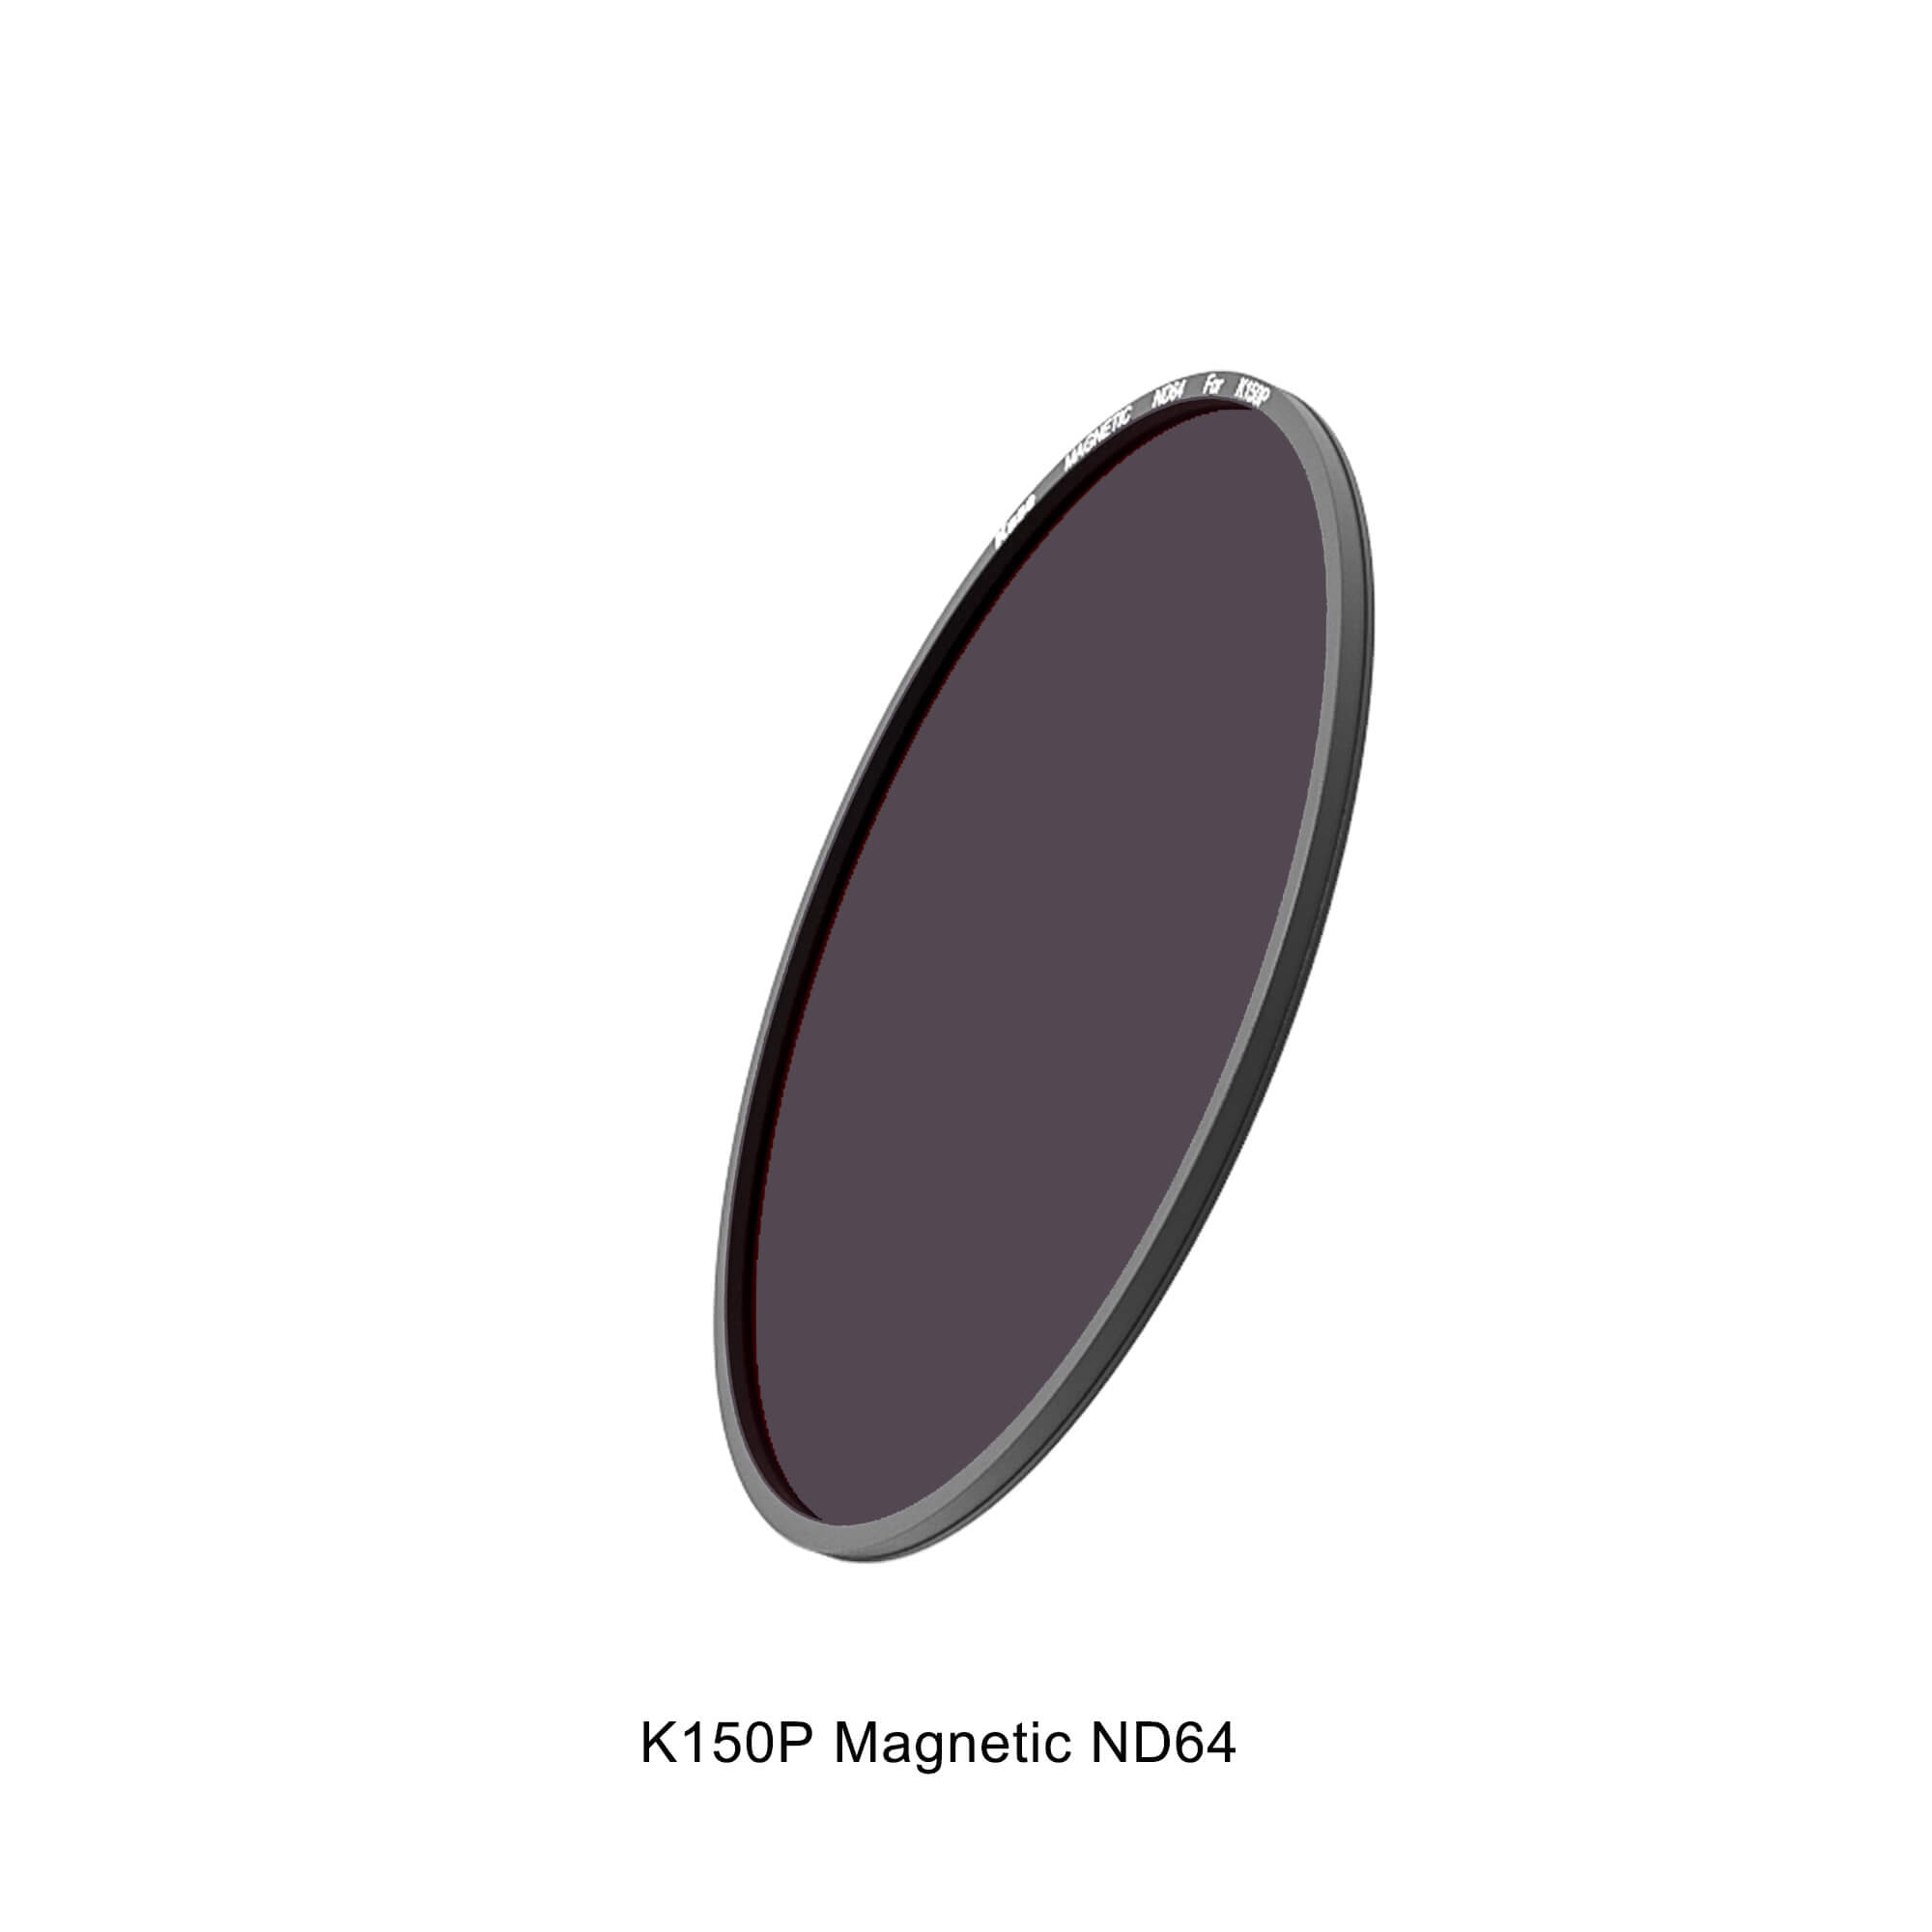
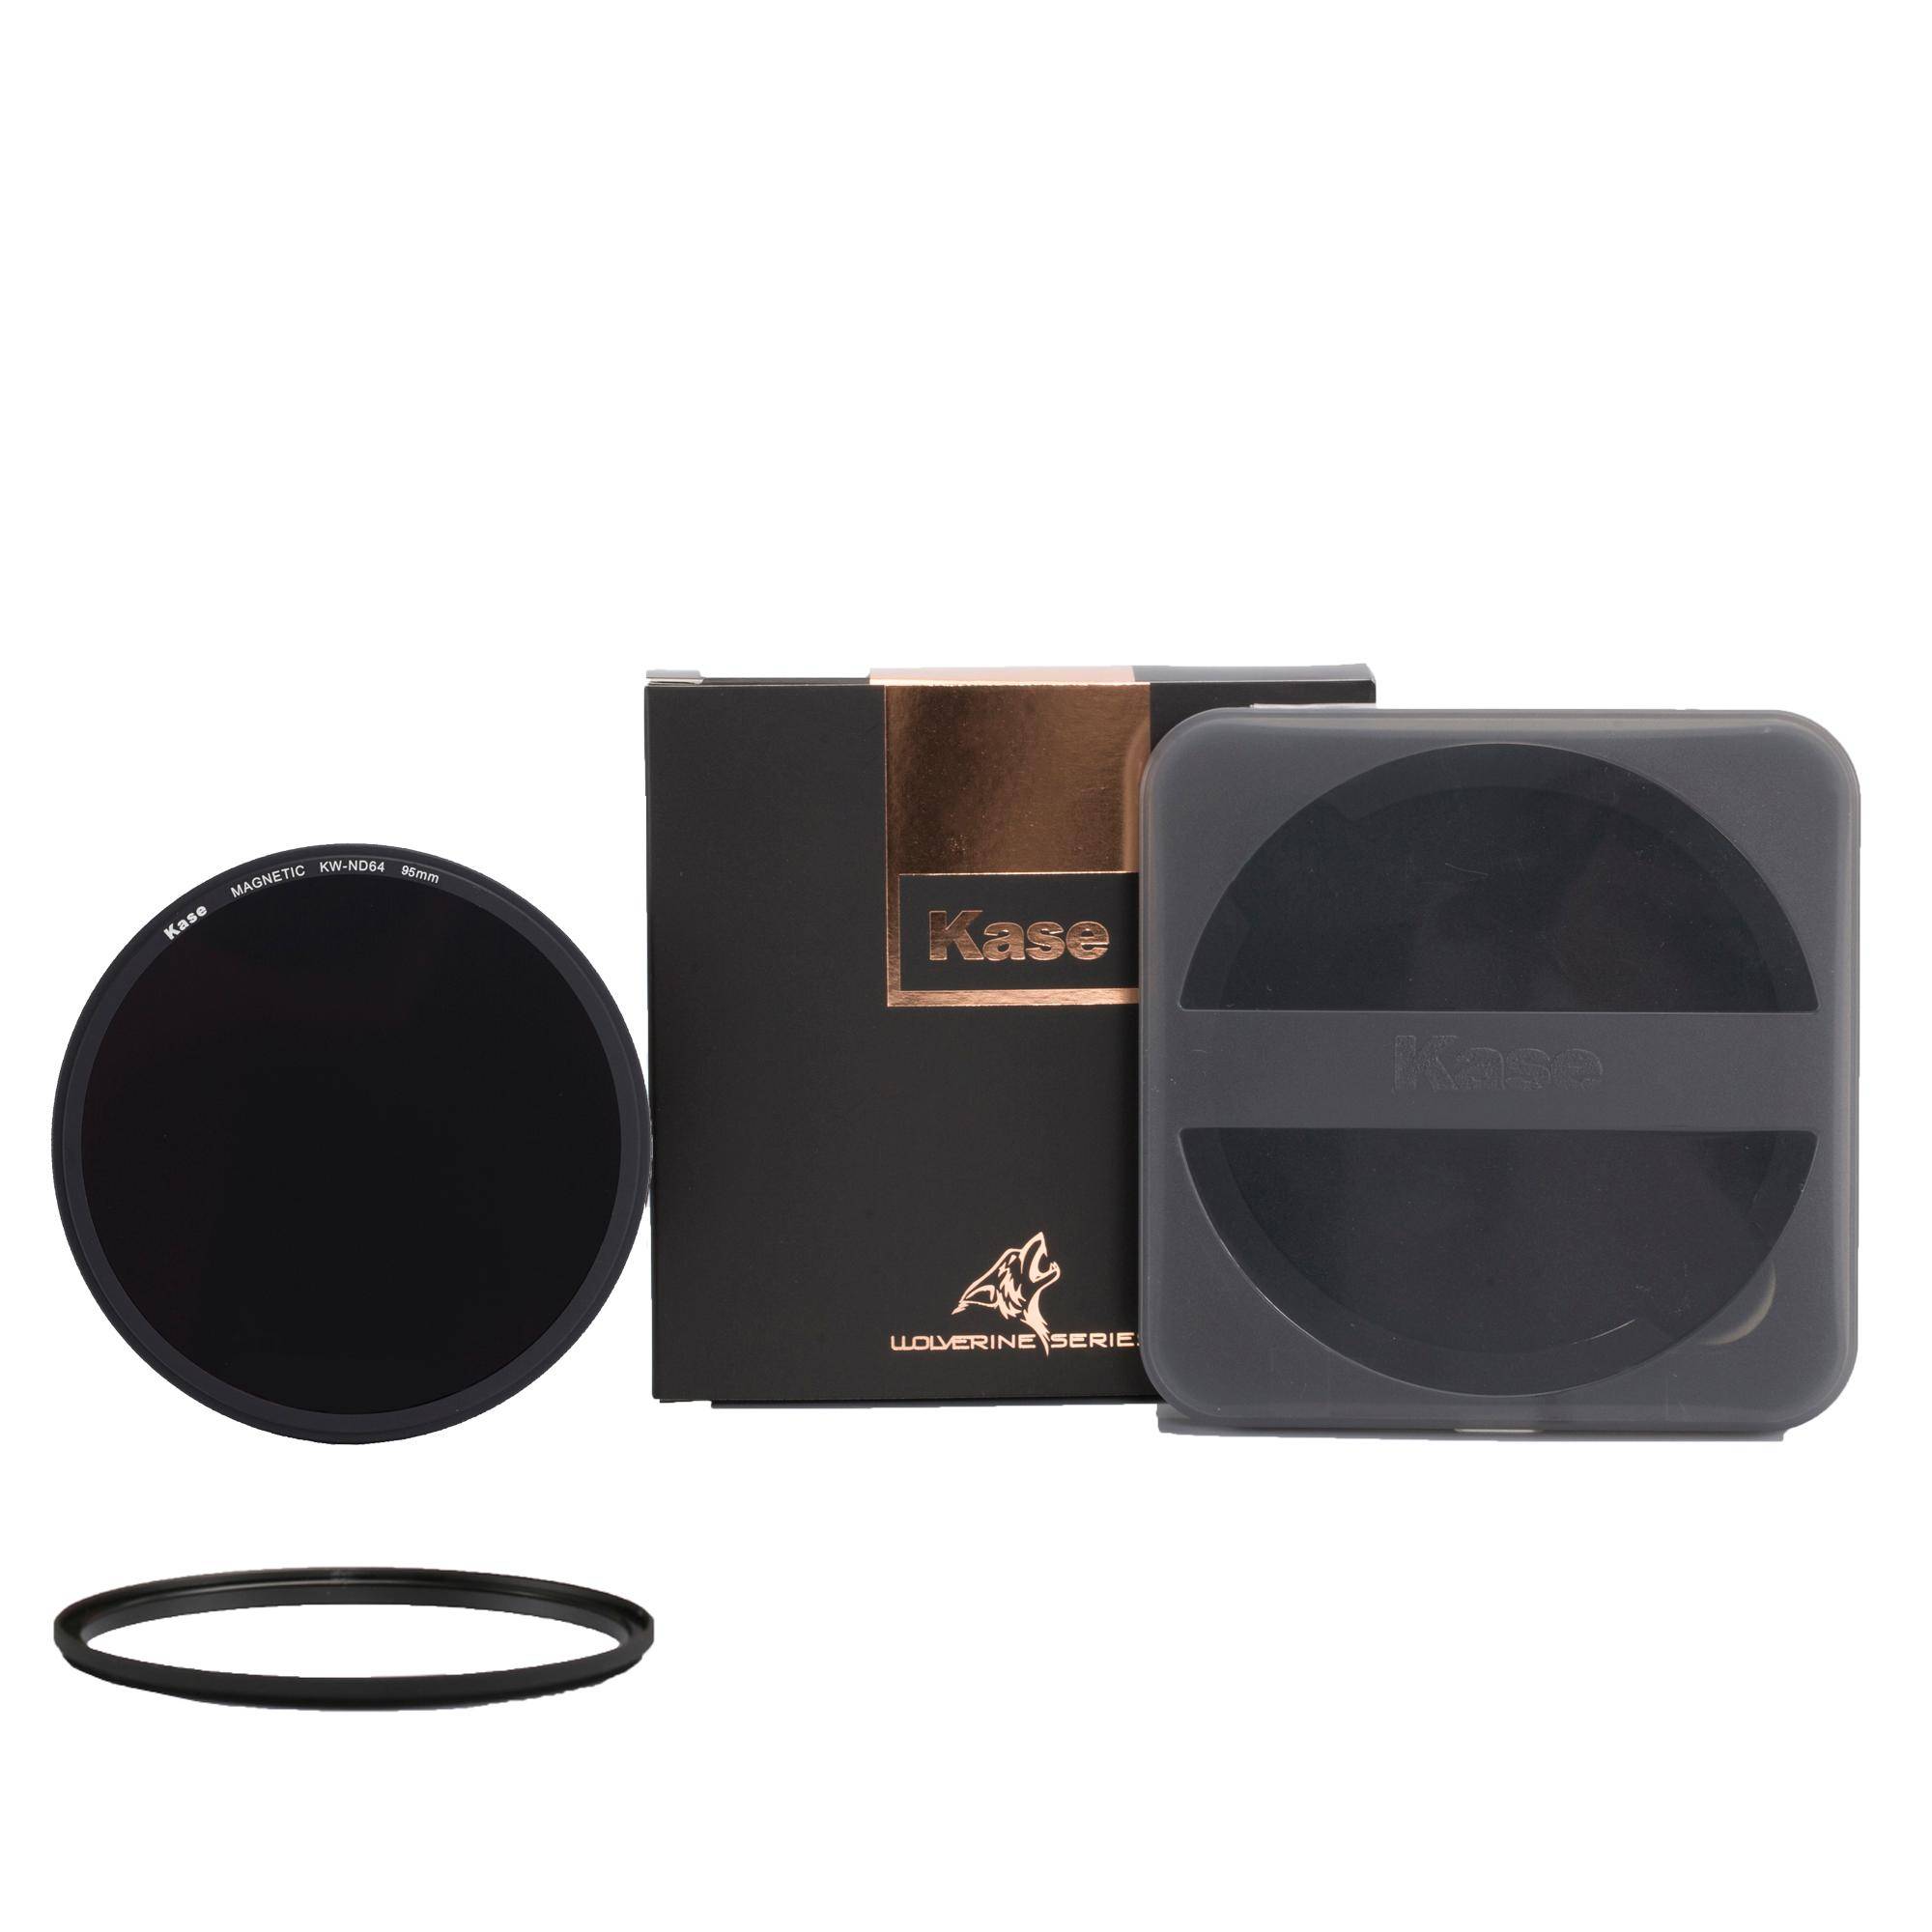
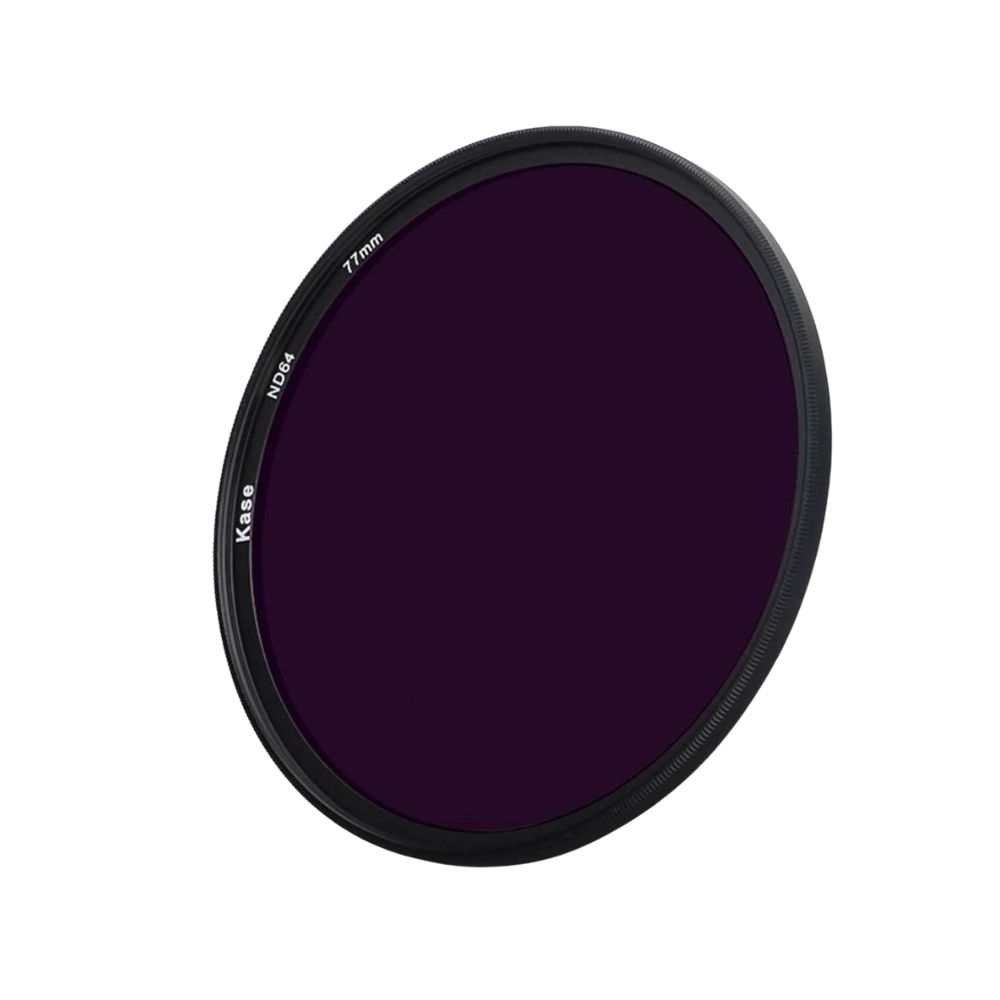
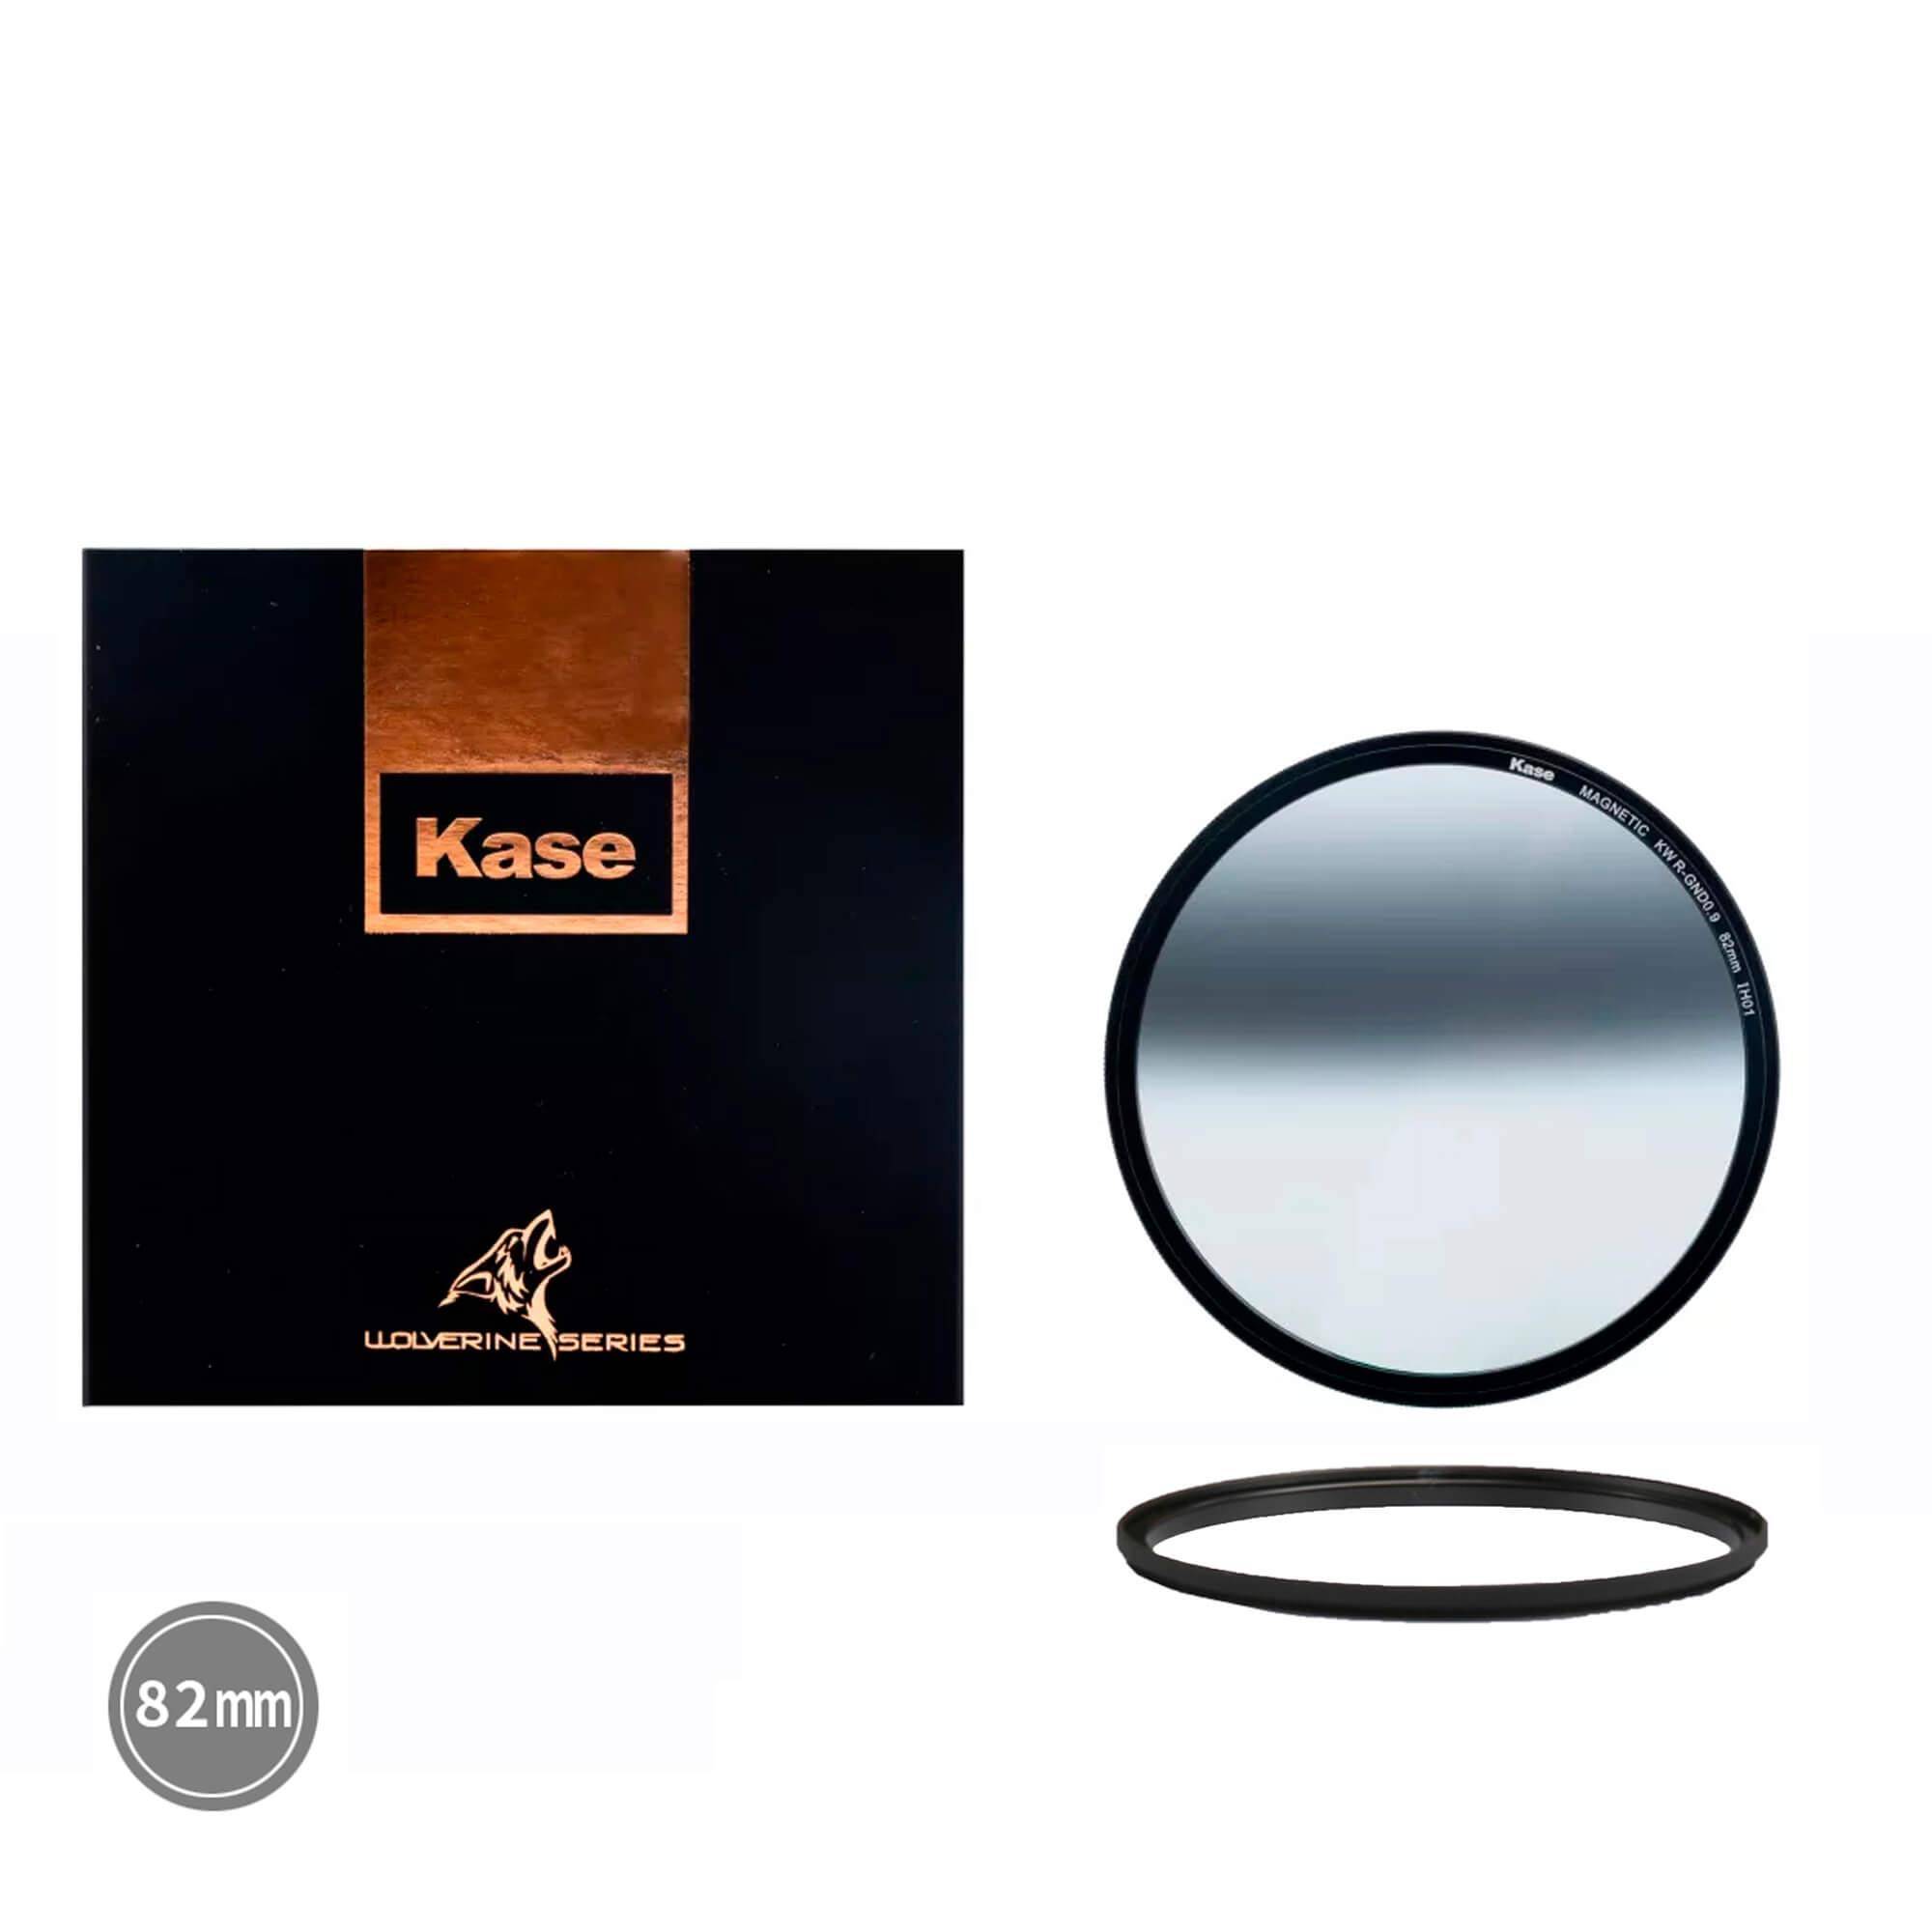
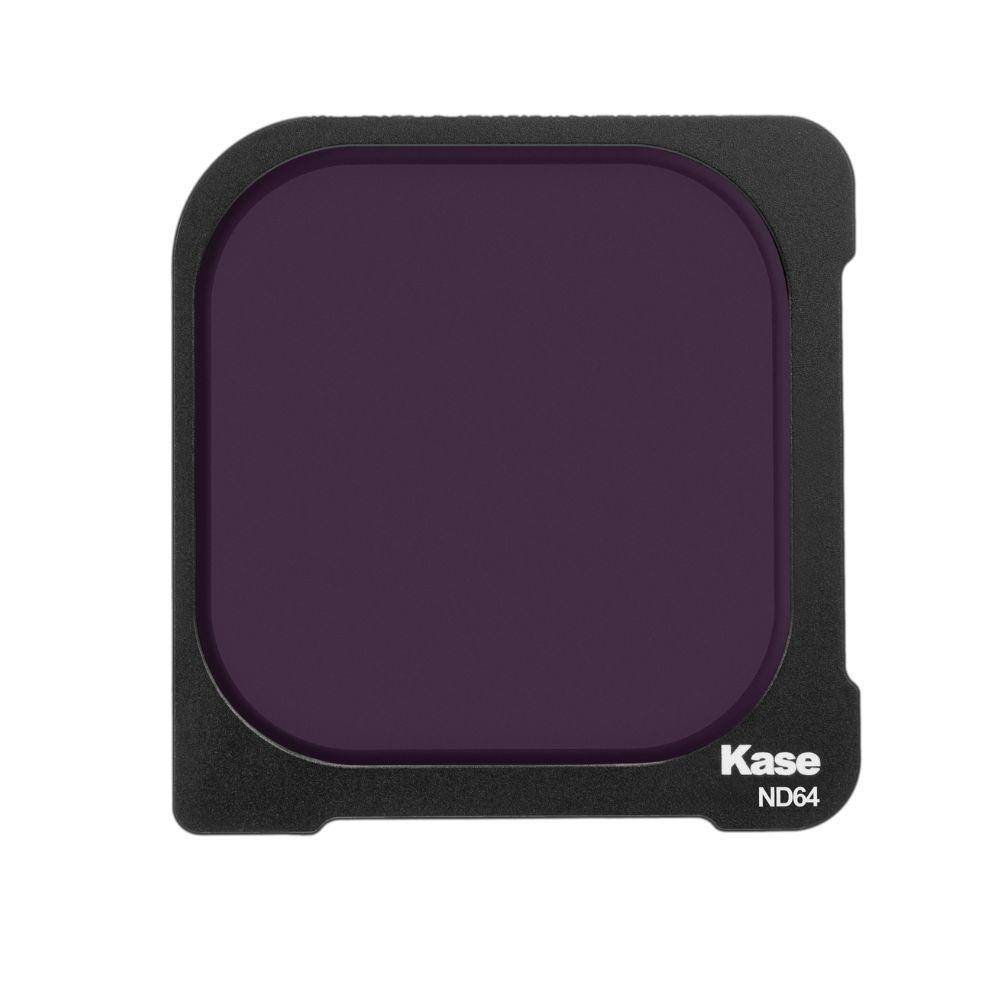
6-stop ND filter (ND64)
A 6-stop ND filter is ideal for when you need to reduce light entering the lens during daylight. This filter is versatile and can be used in various lighting conditions to achieve motion blur in water or clouds.
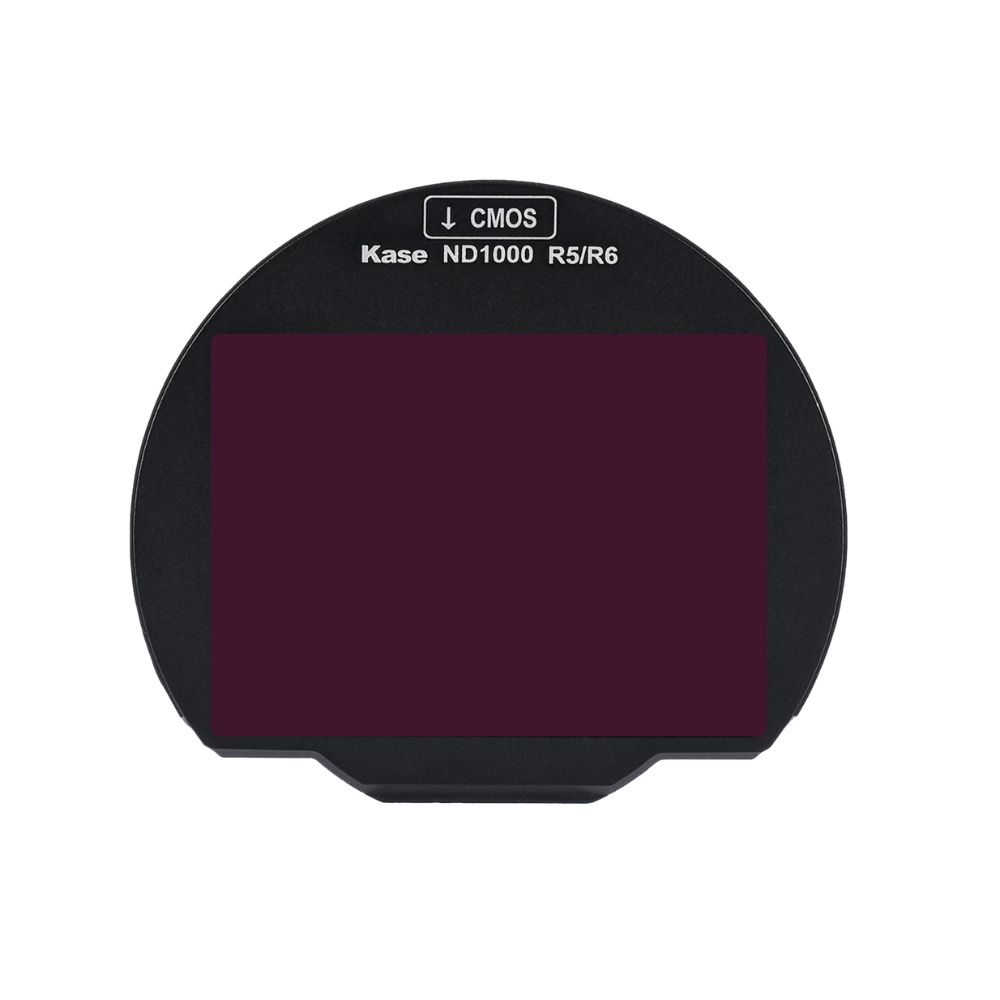
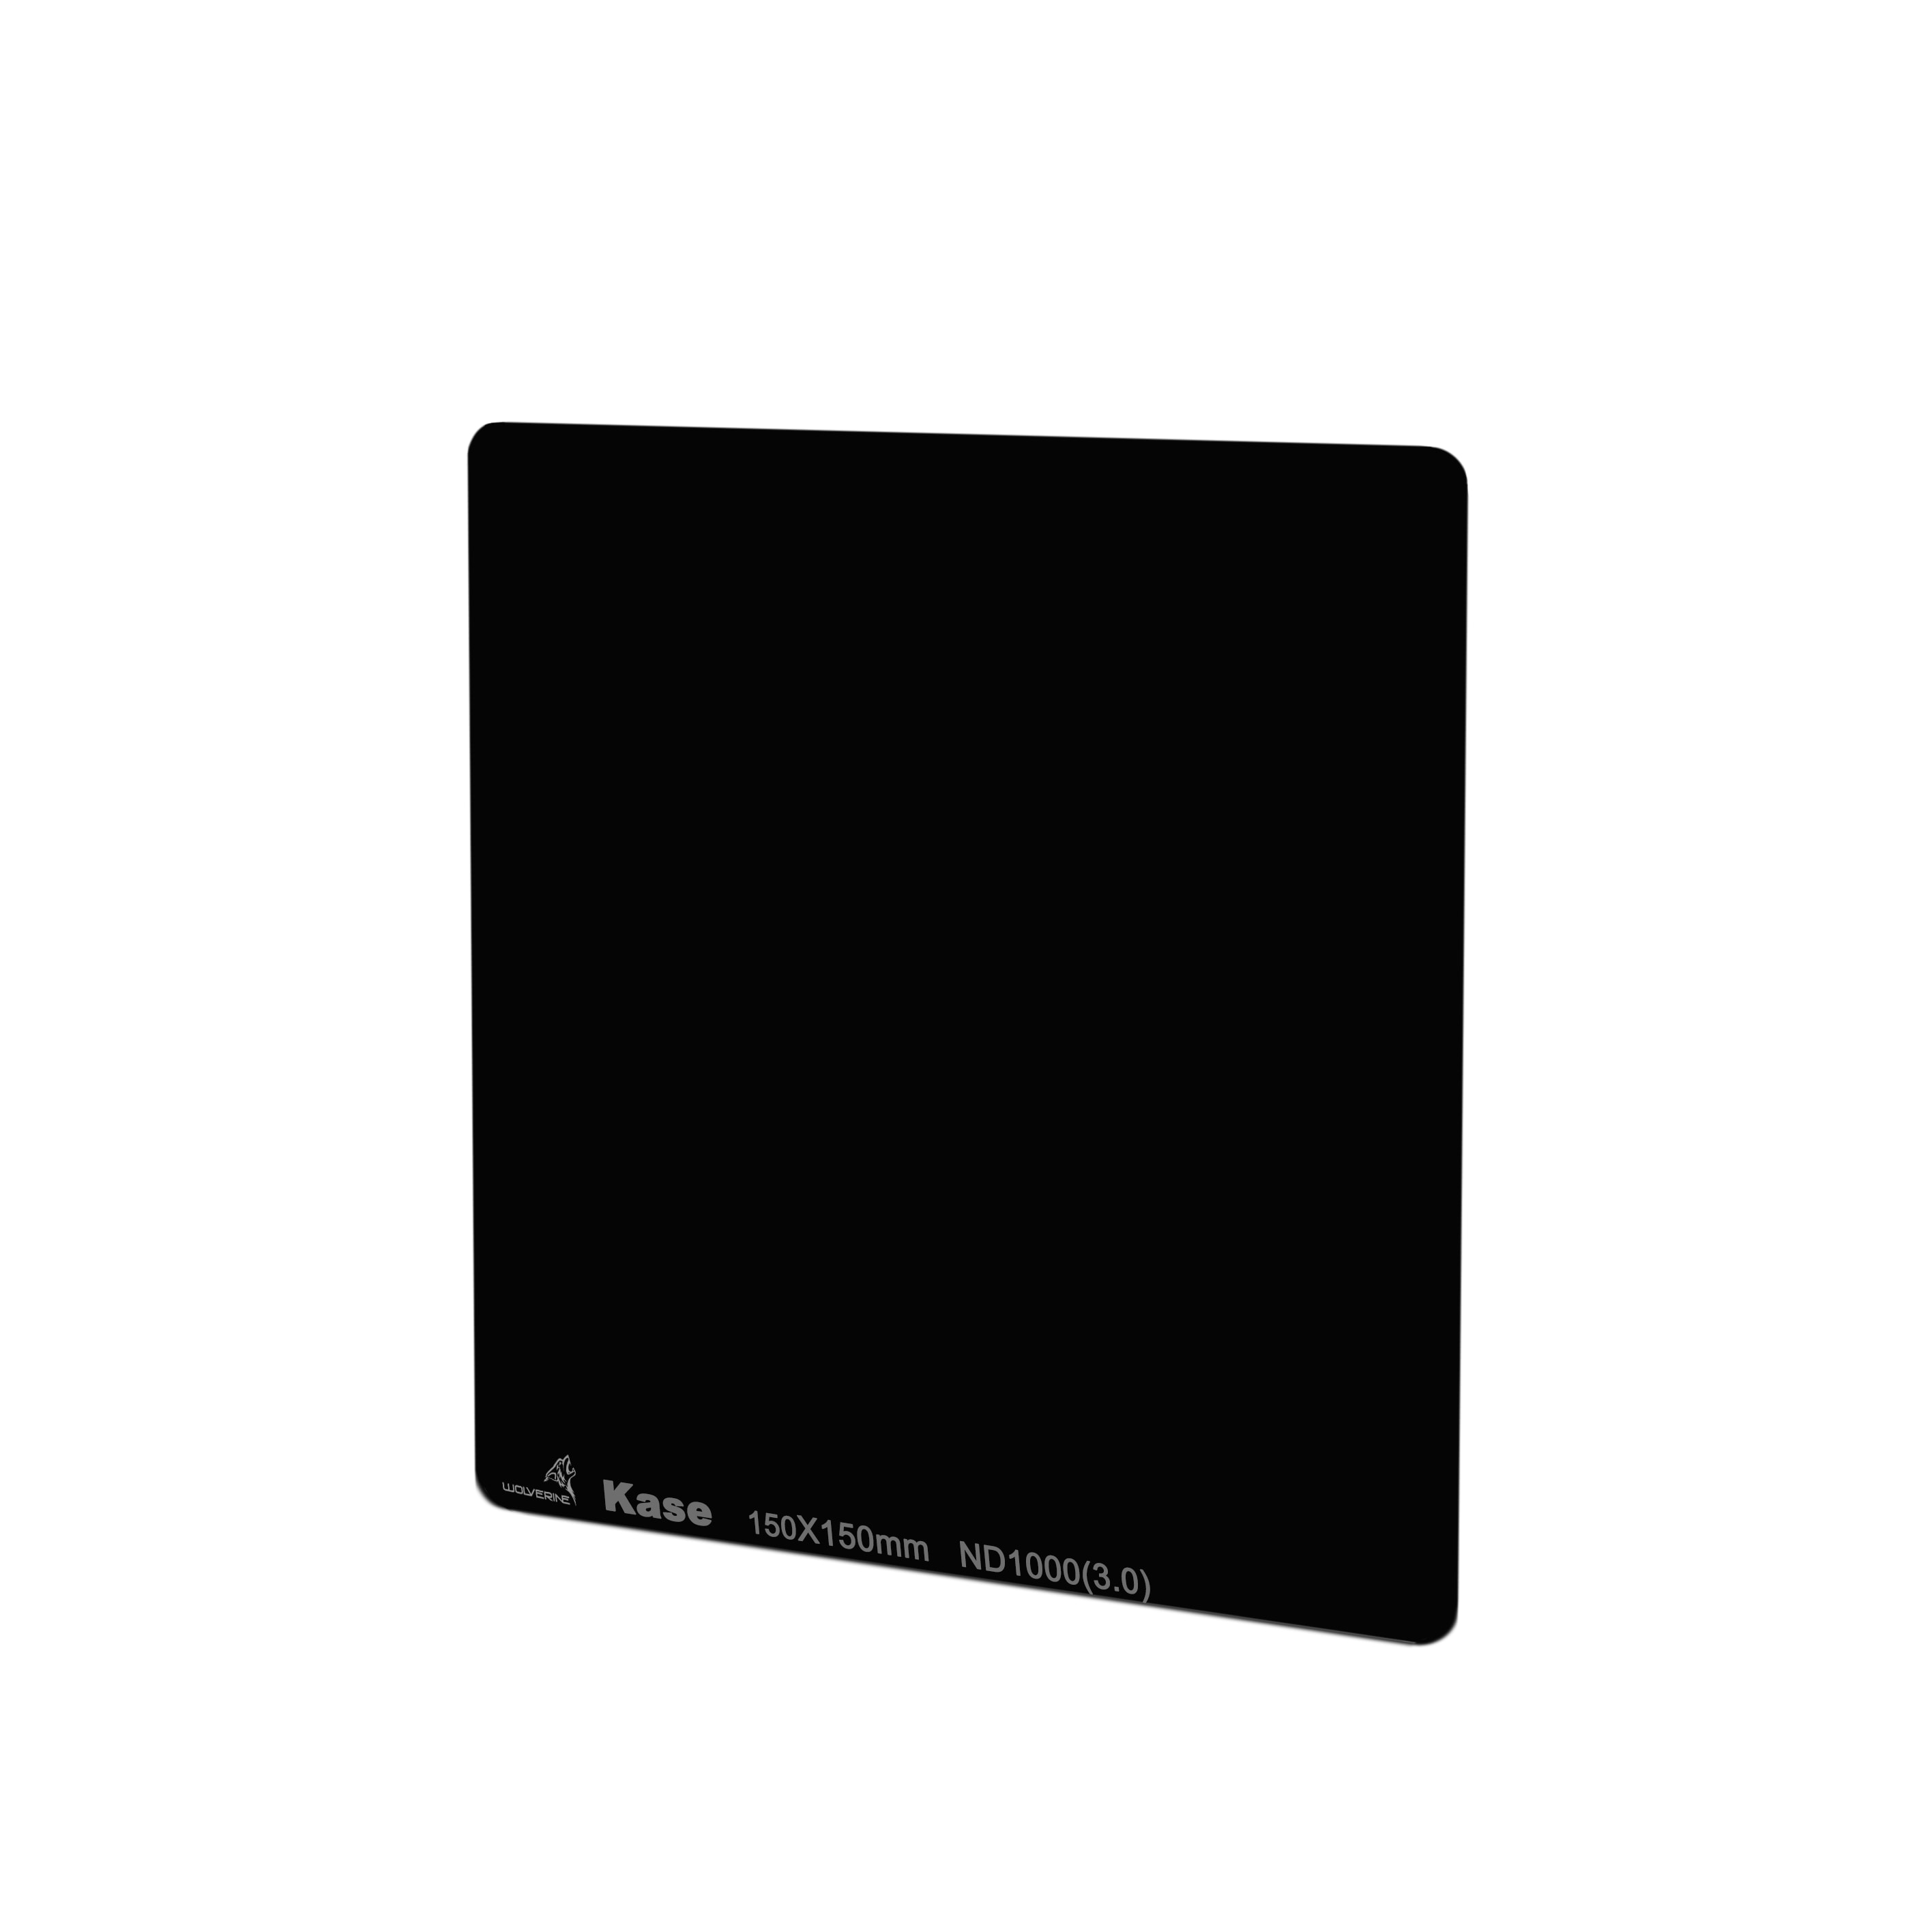
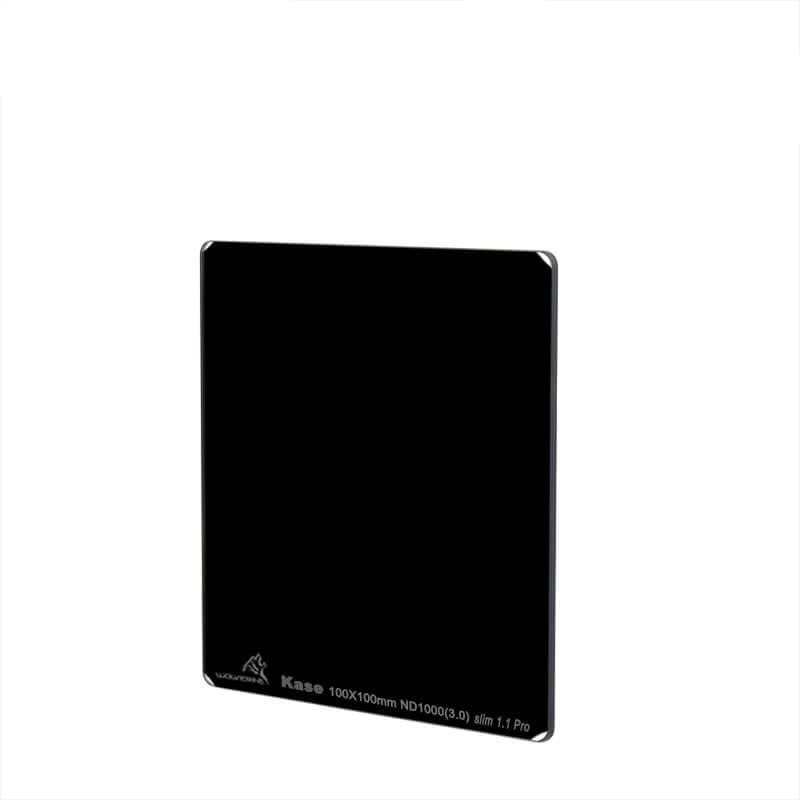
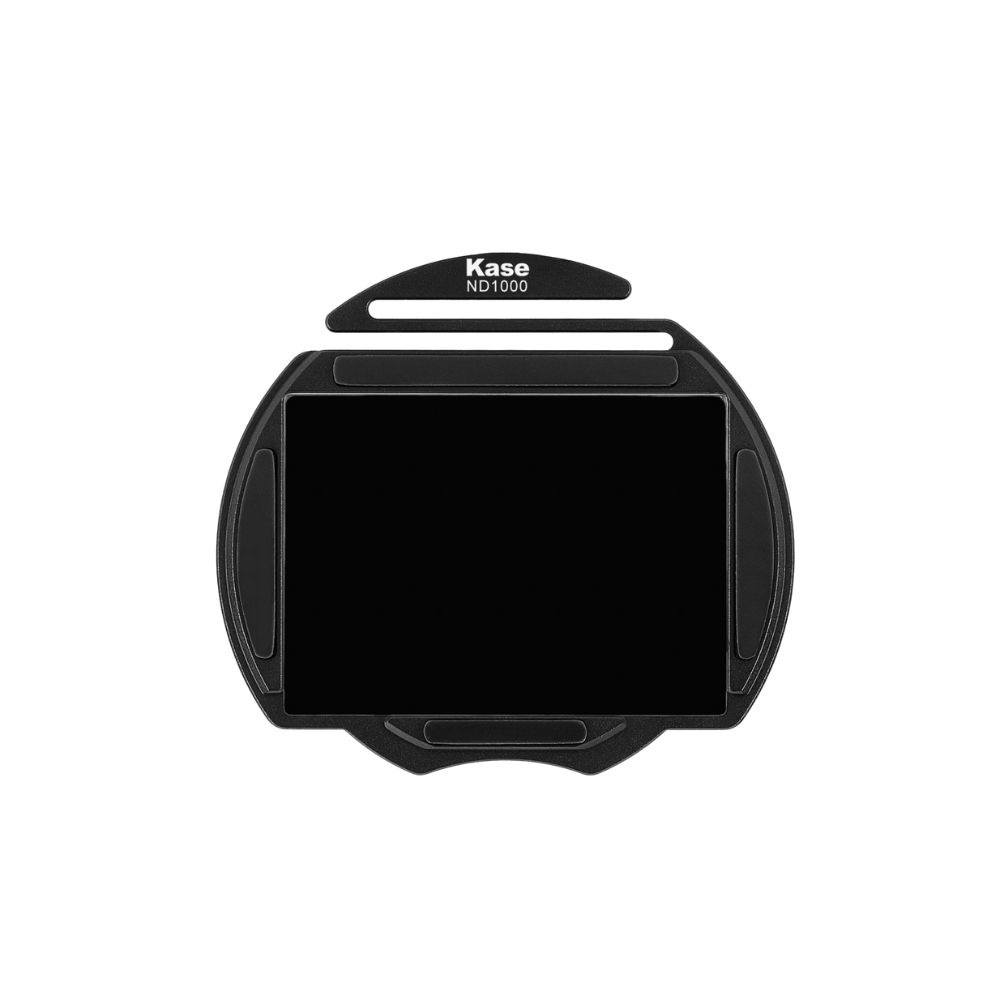
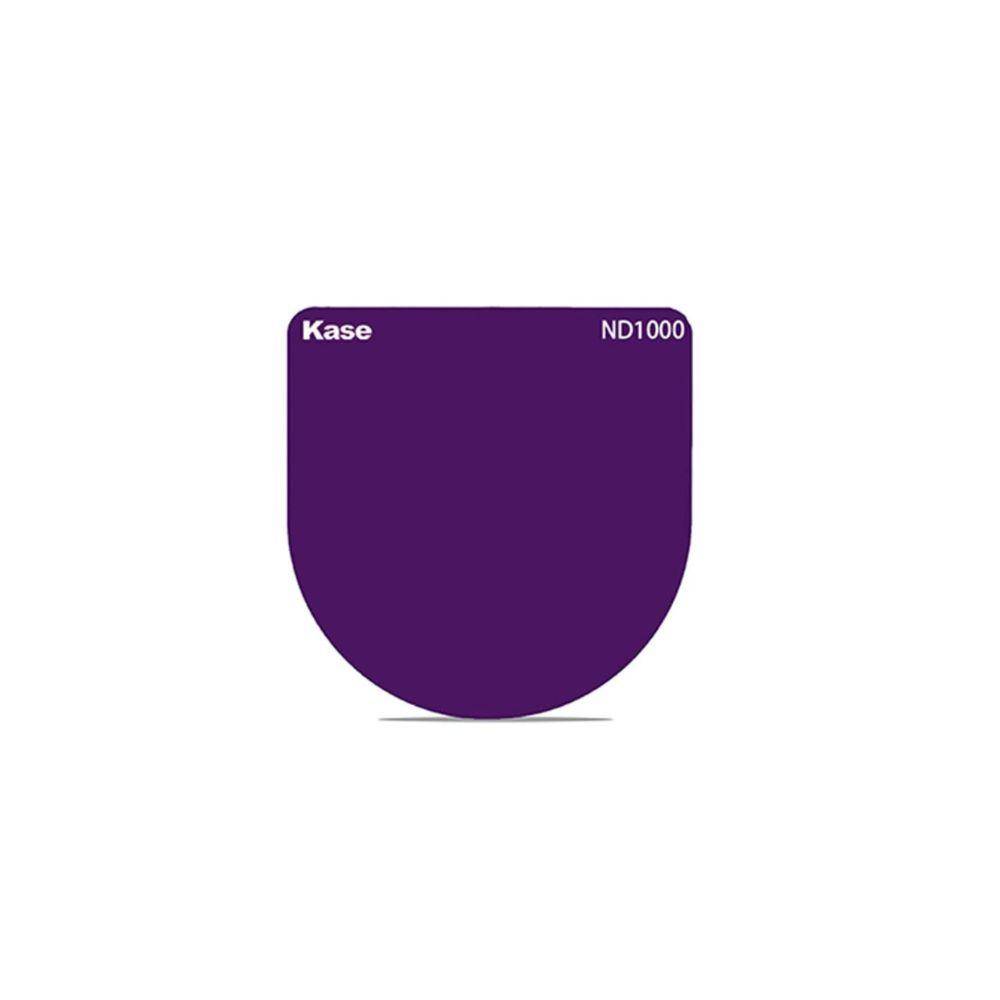
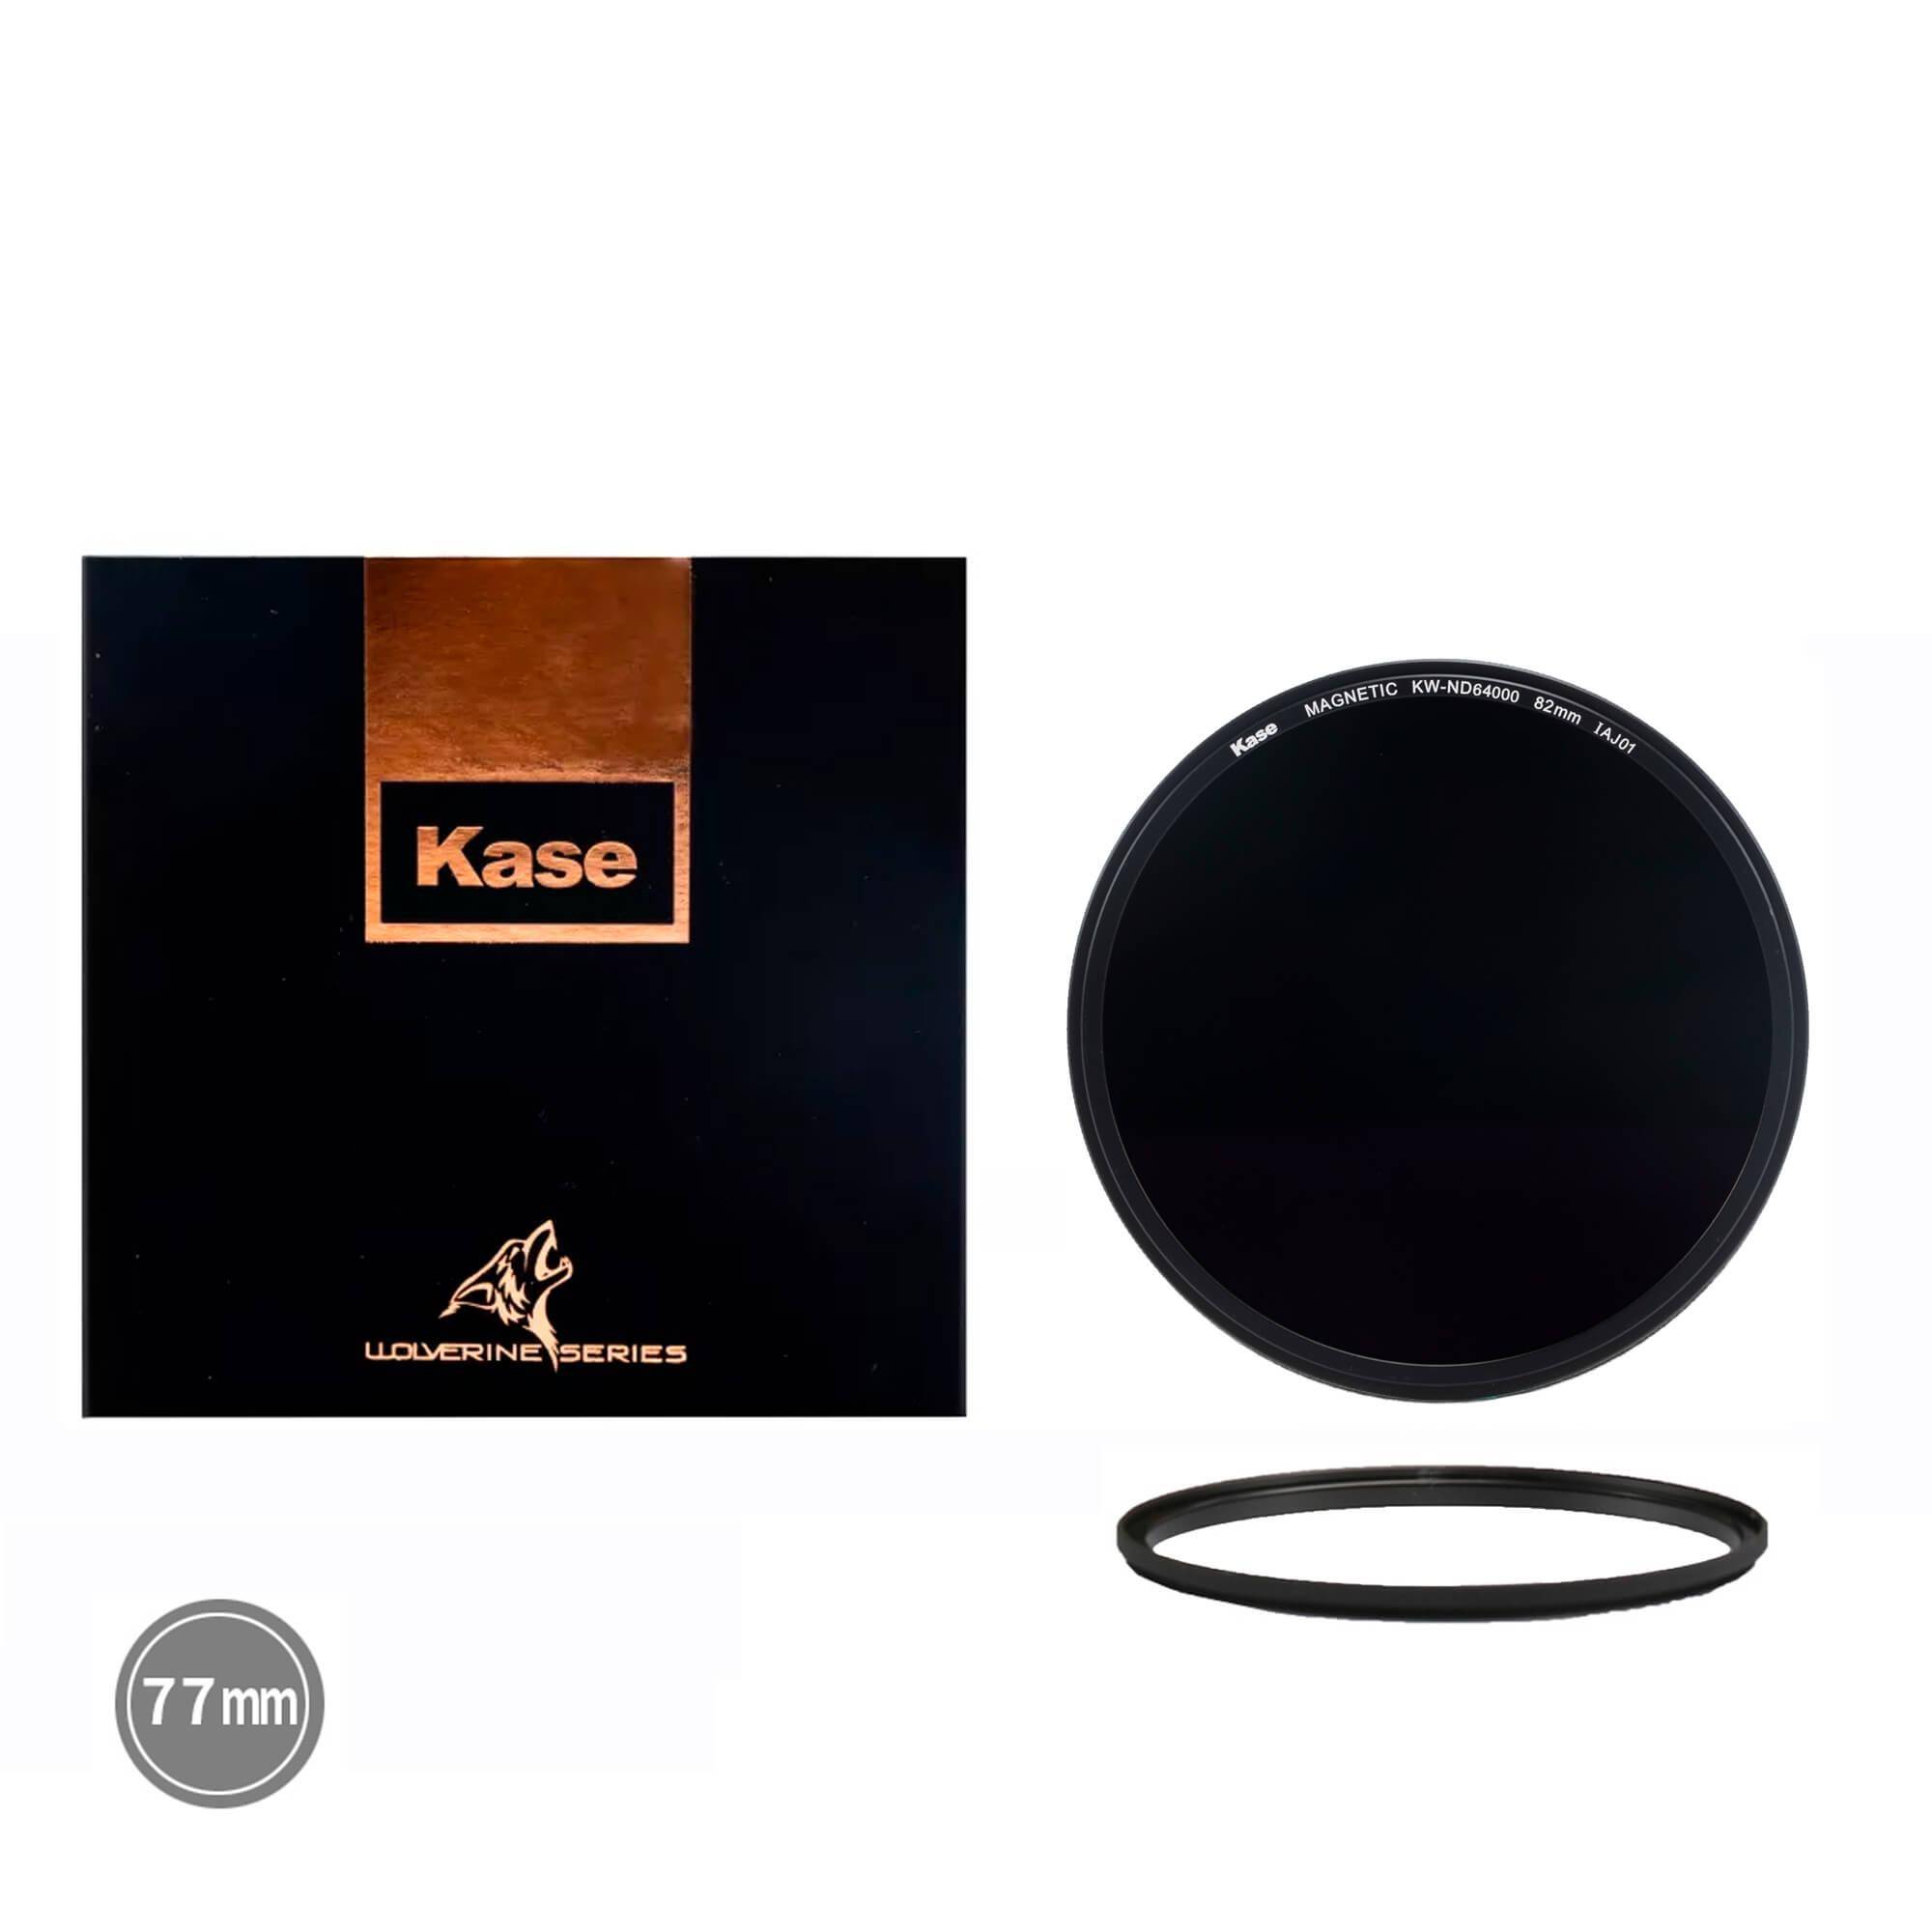
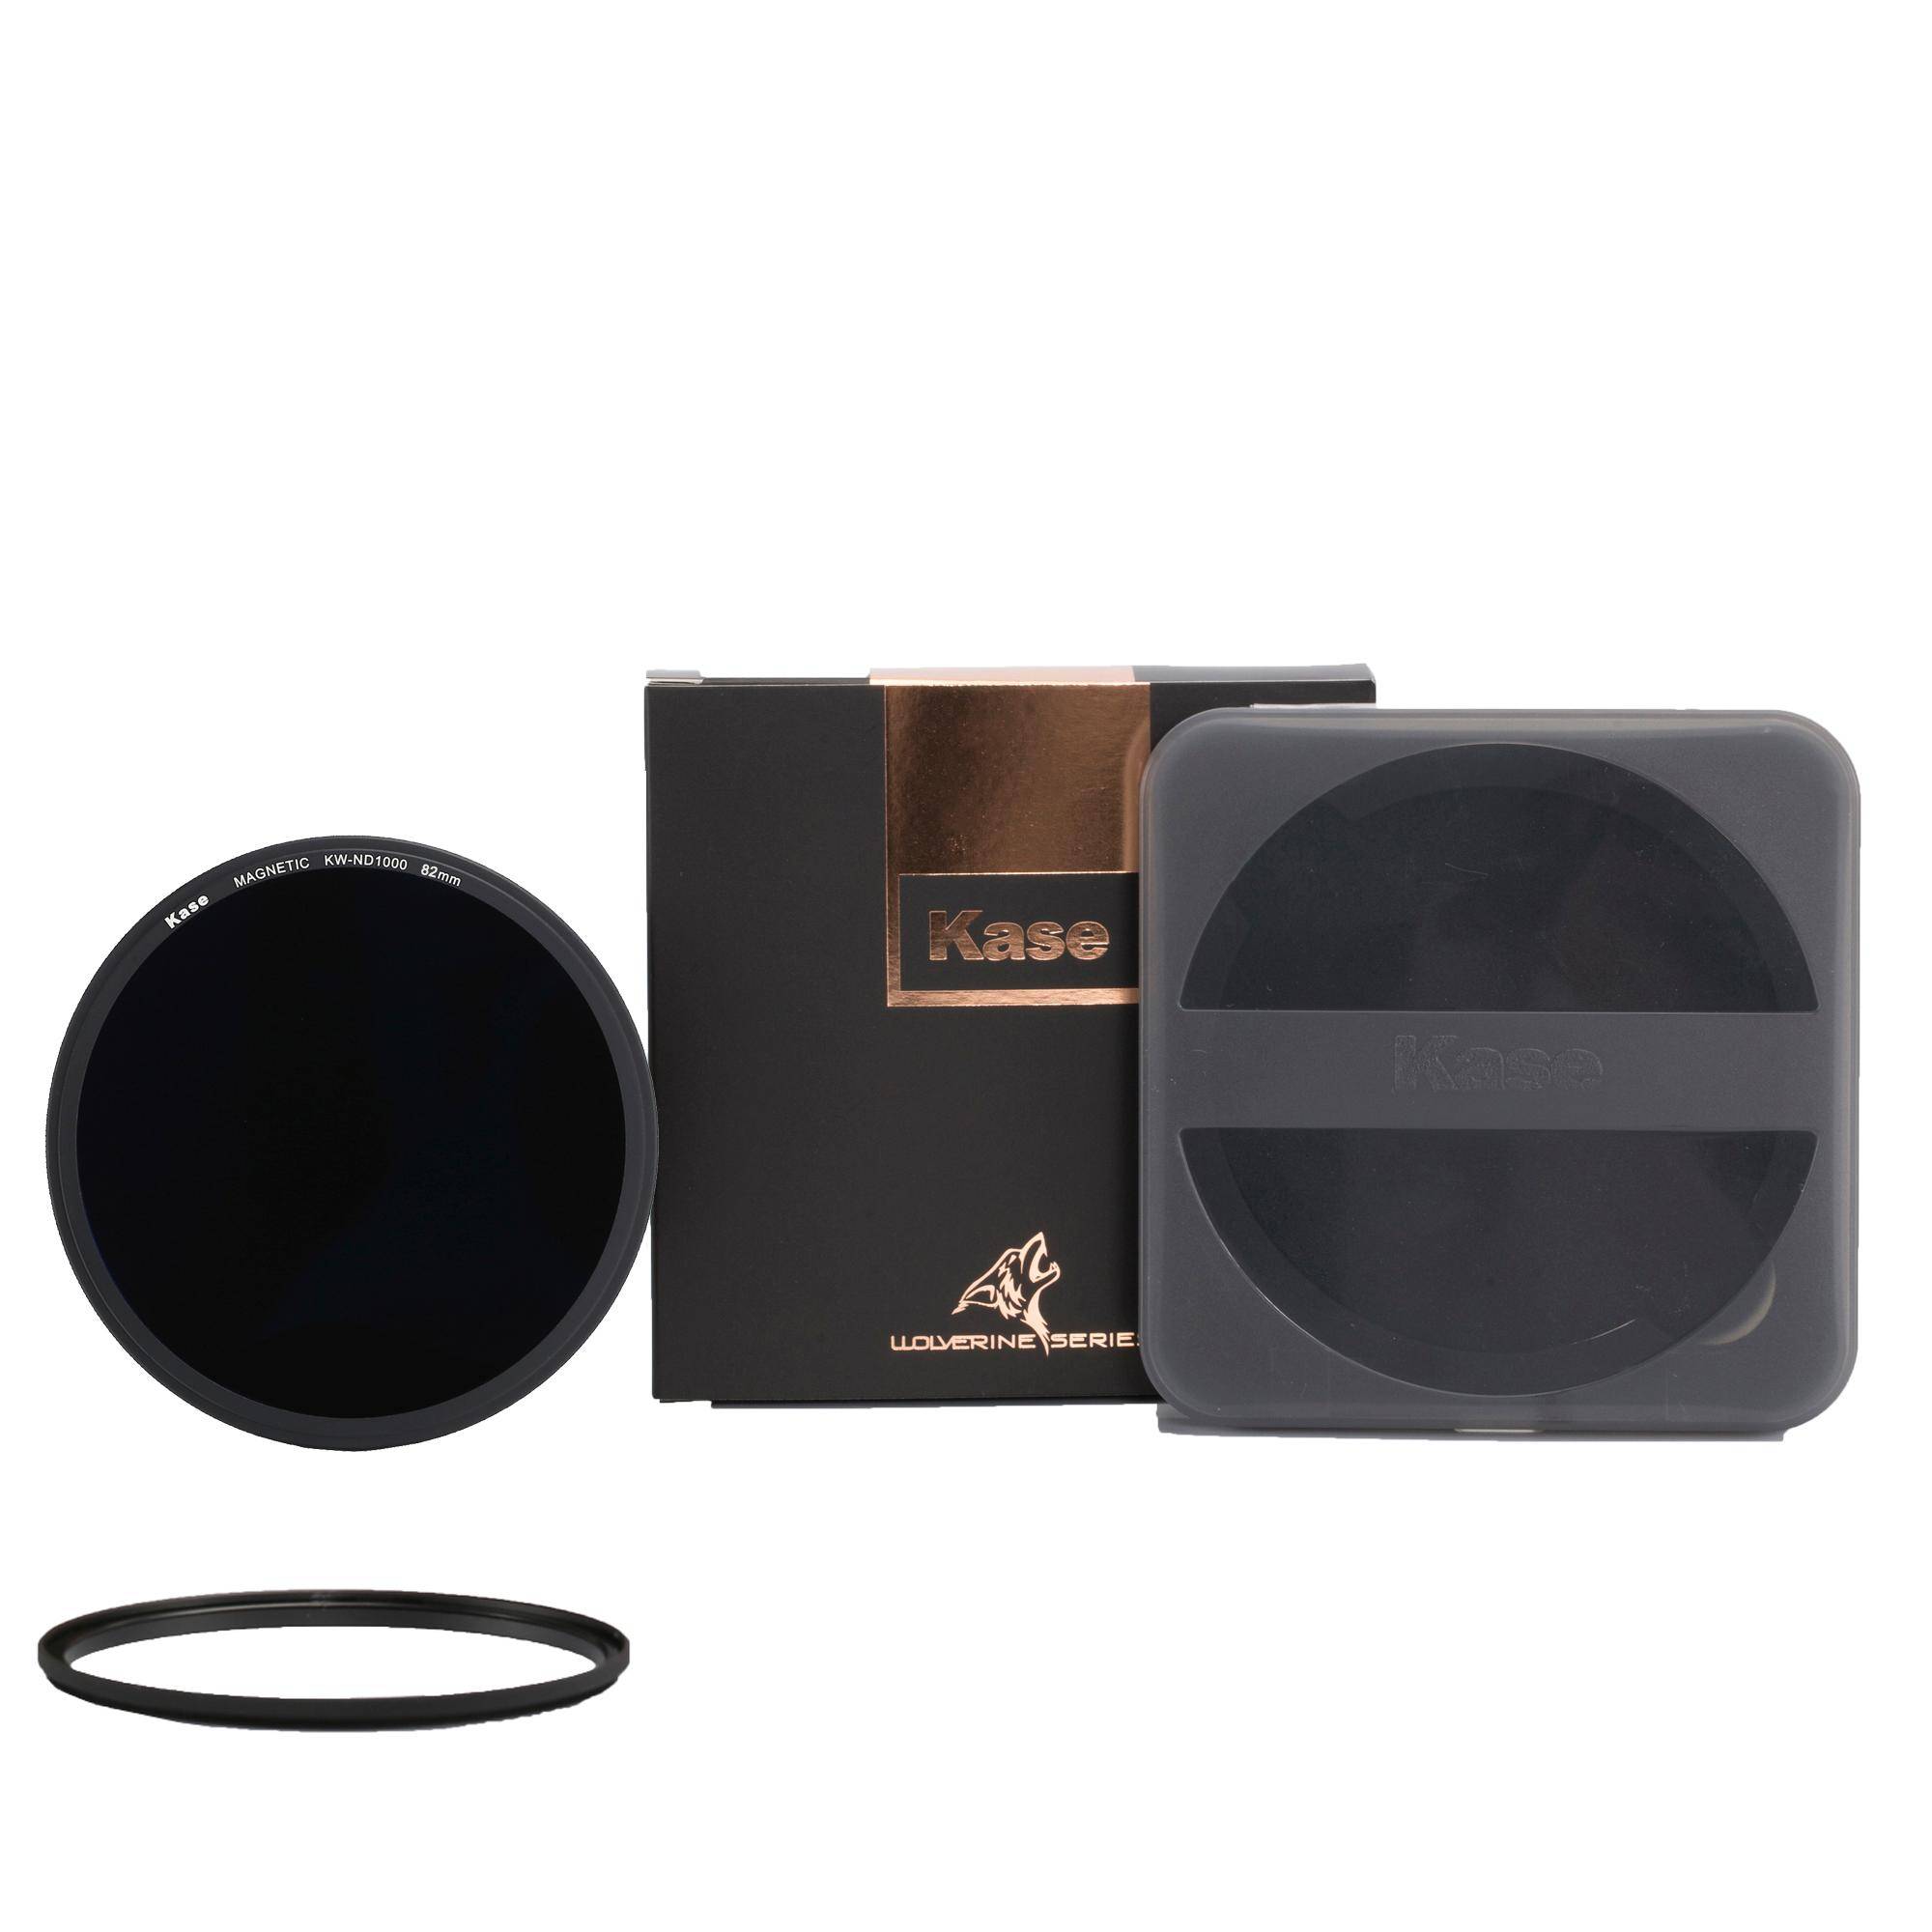
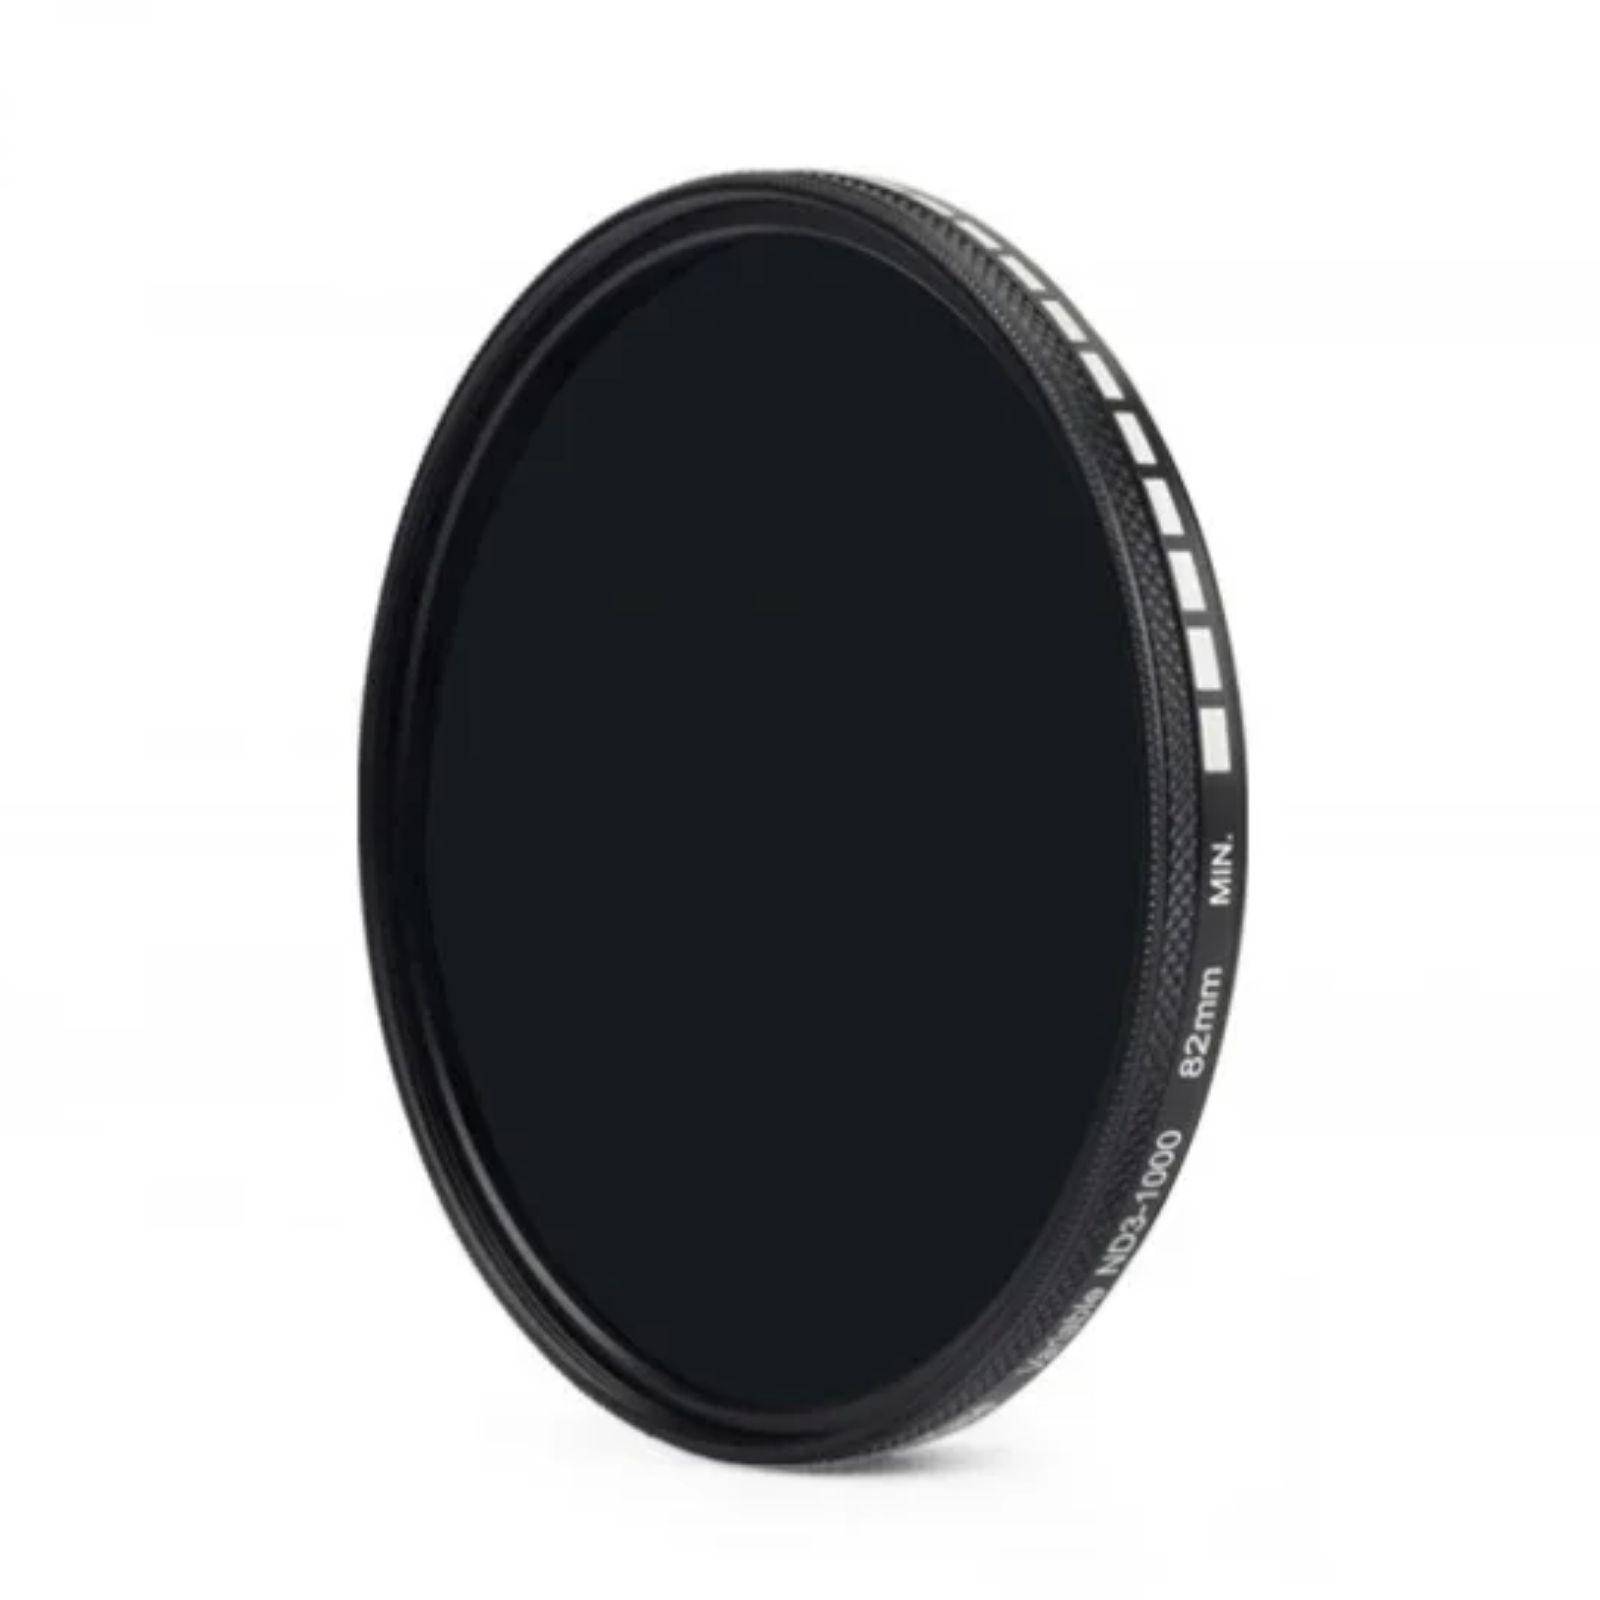
10-stop ND filter (ND1000)
The 10-stop ND filter is a powerful tool for long-exposure photography in bright daylight. It allows for ultra-long exposure, creating dramatic effects such as smoothing out turbulent water or painting beautiful streaks in moving clouds.
Explore our 10-stop ND filters
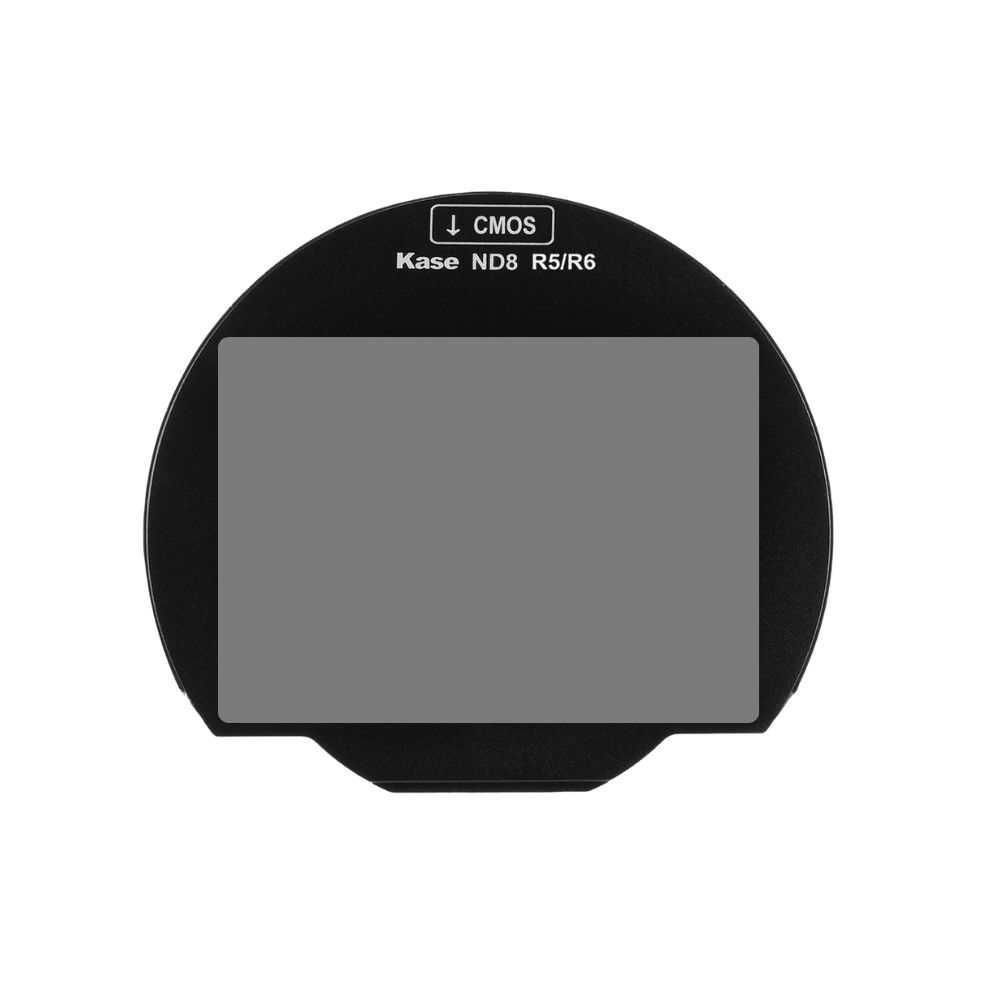
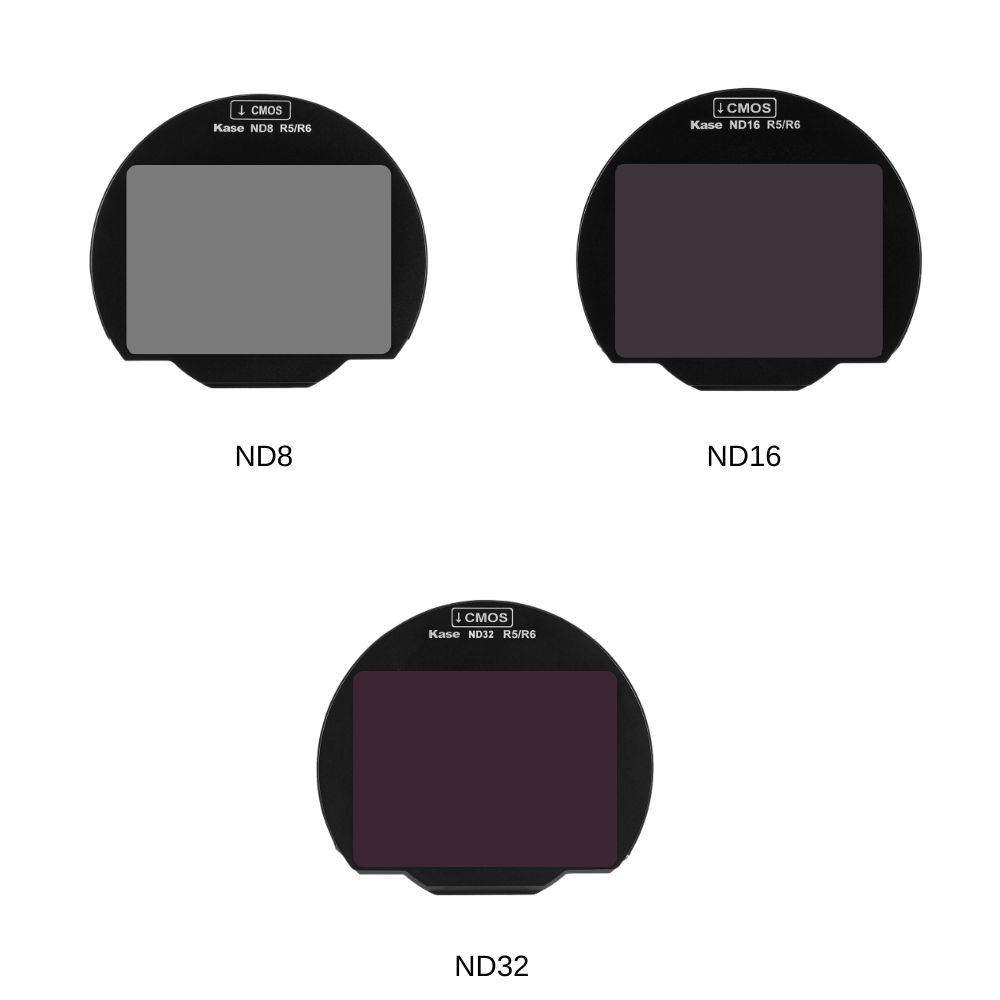
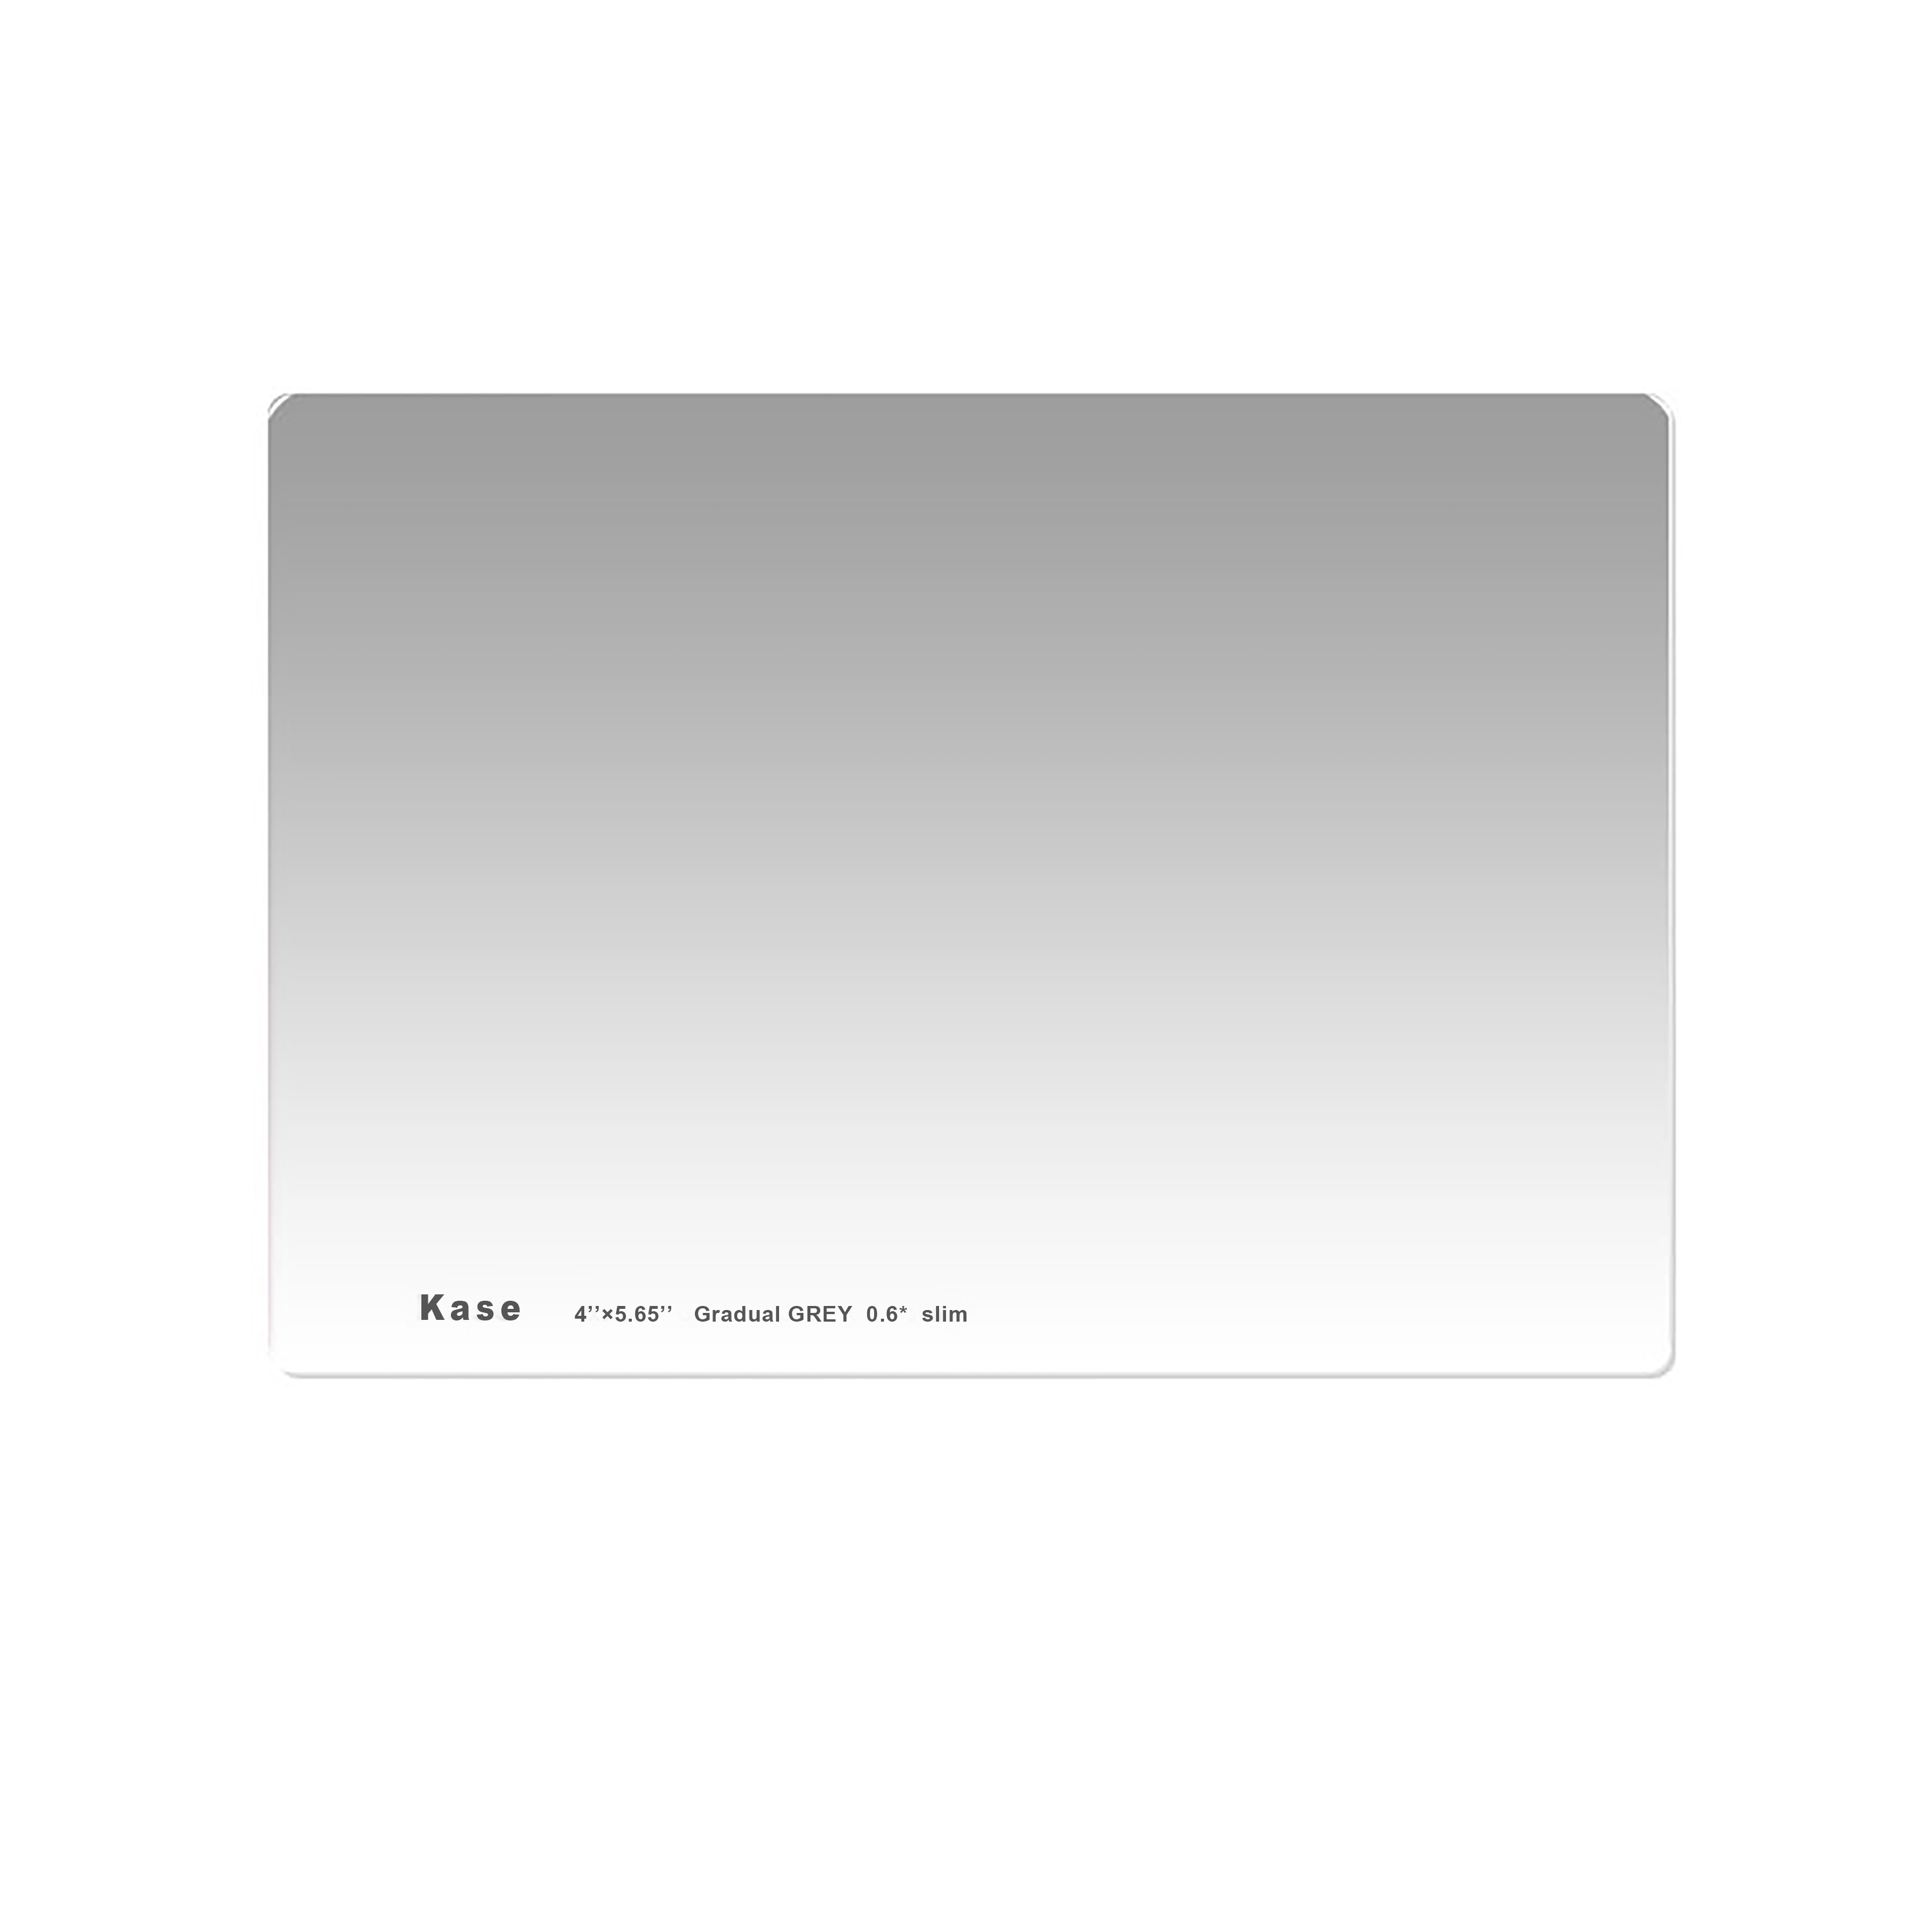
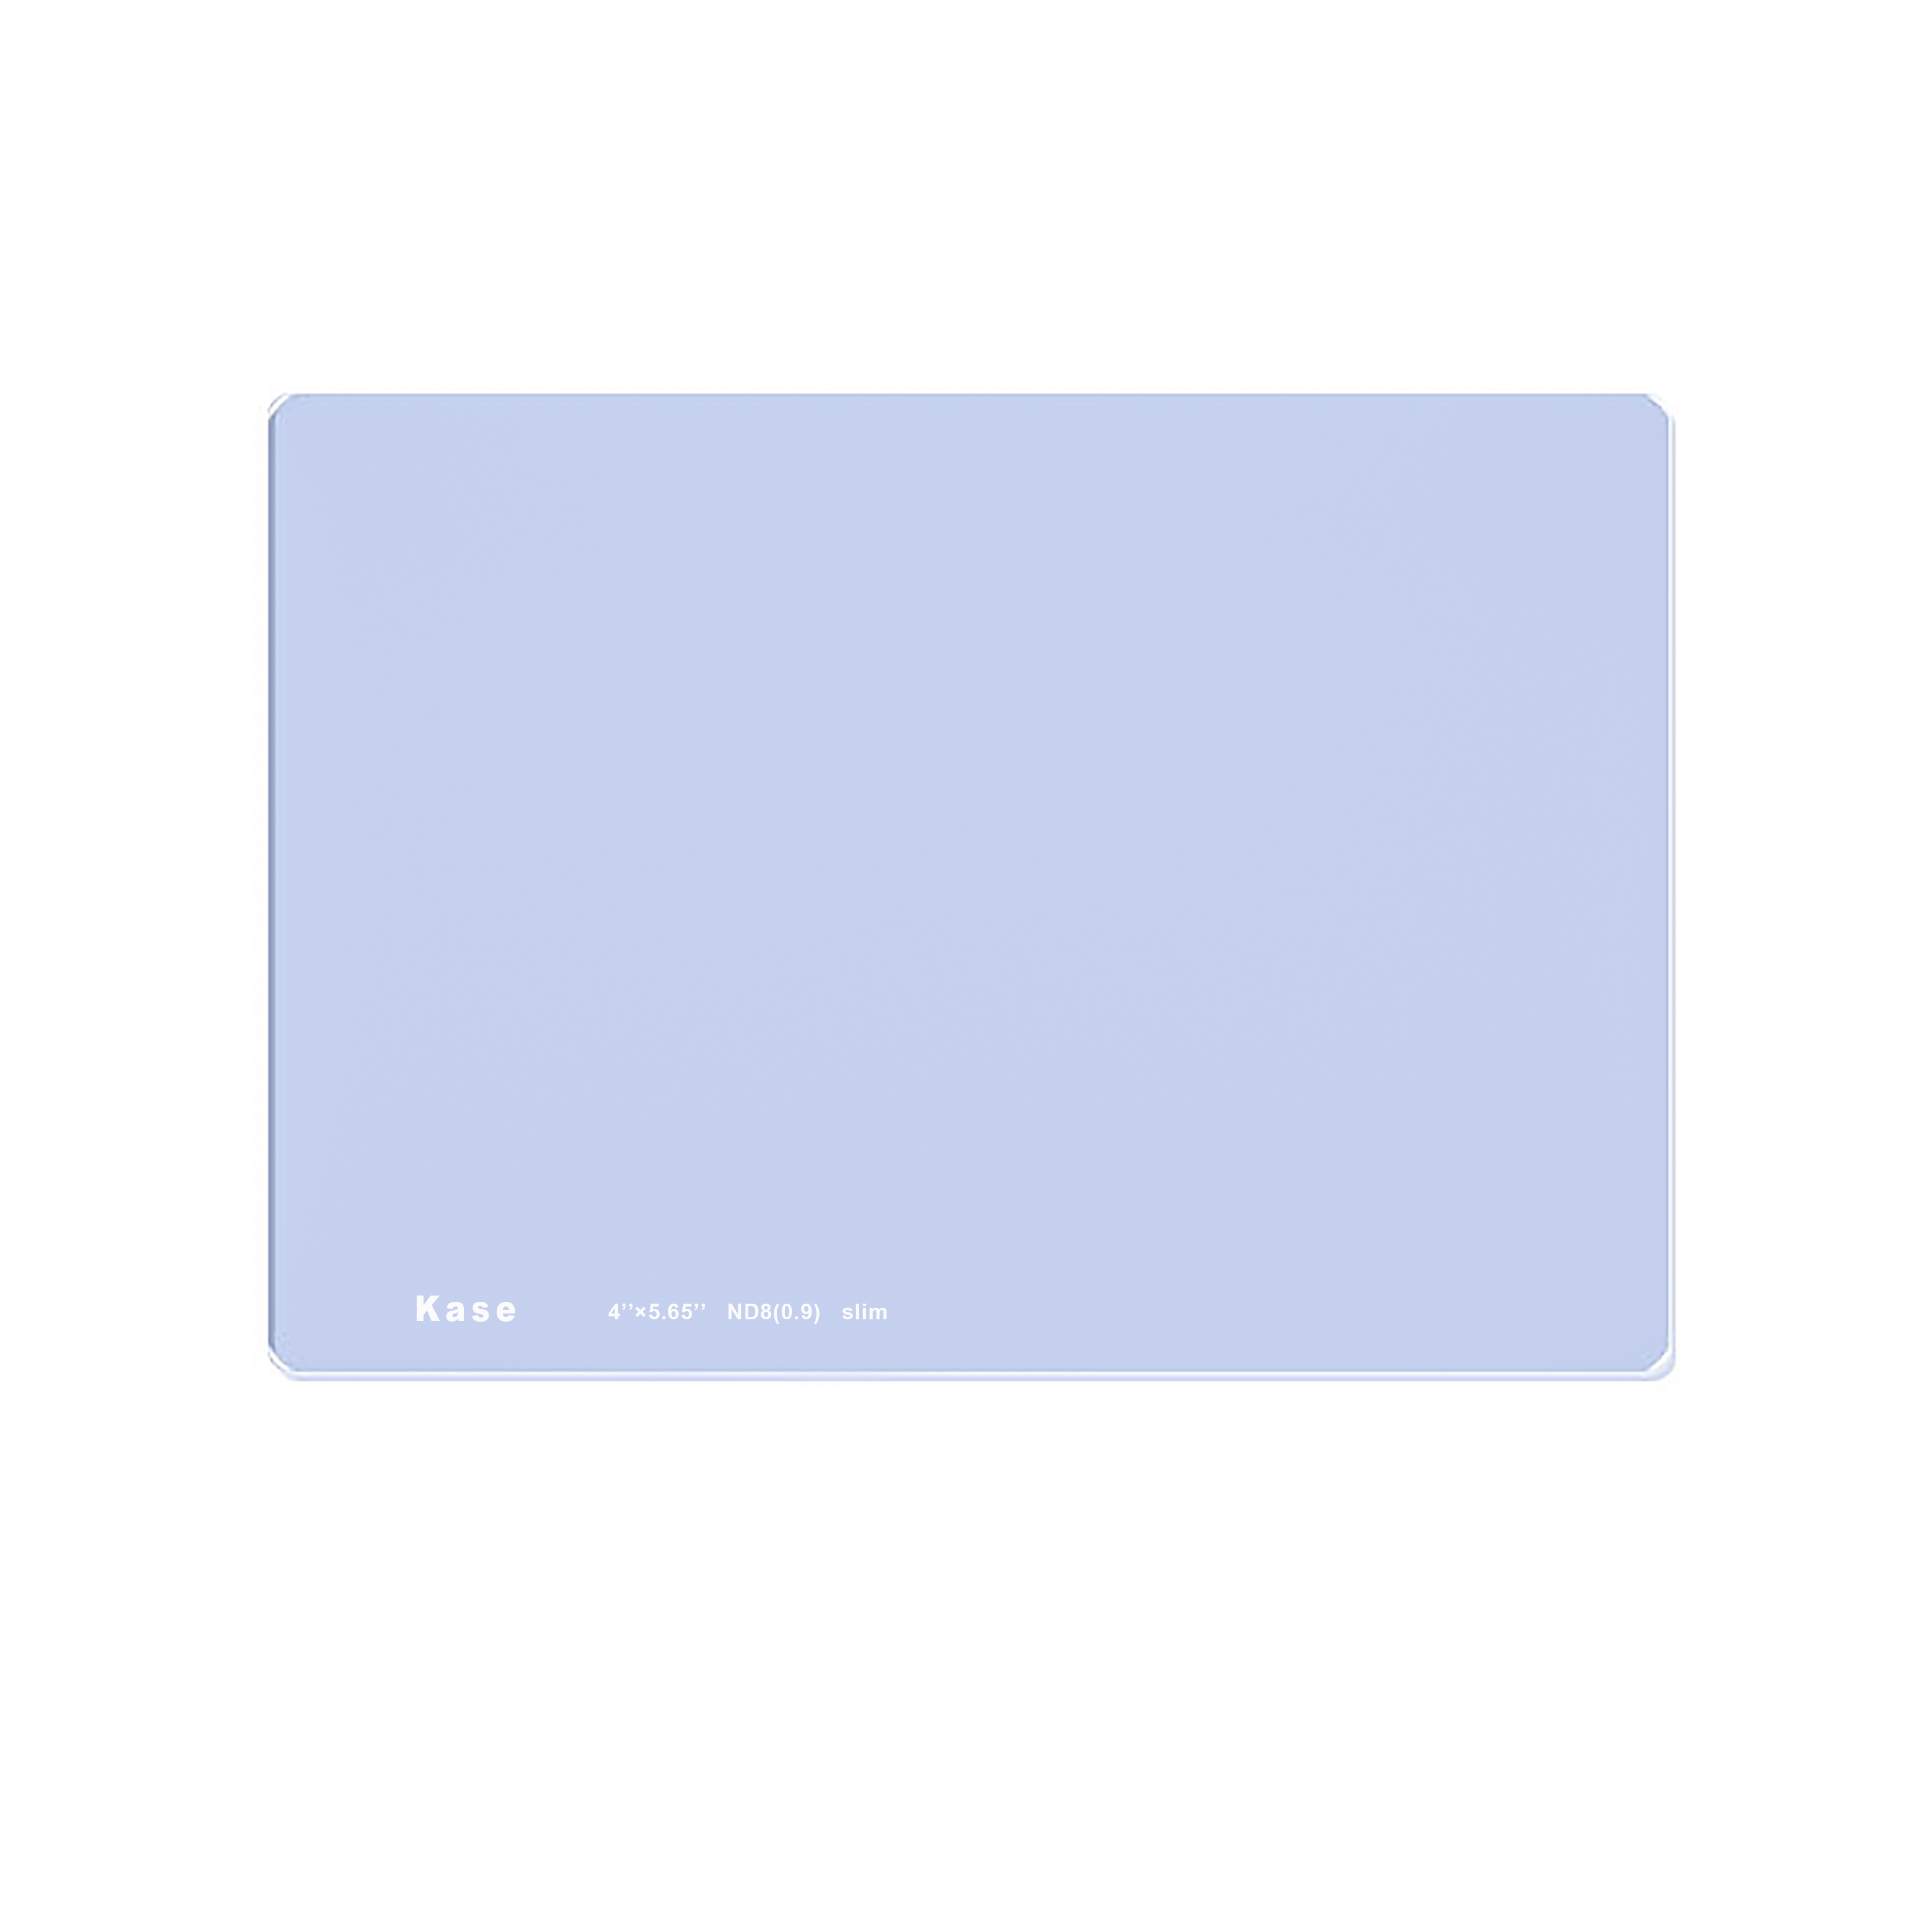
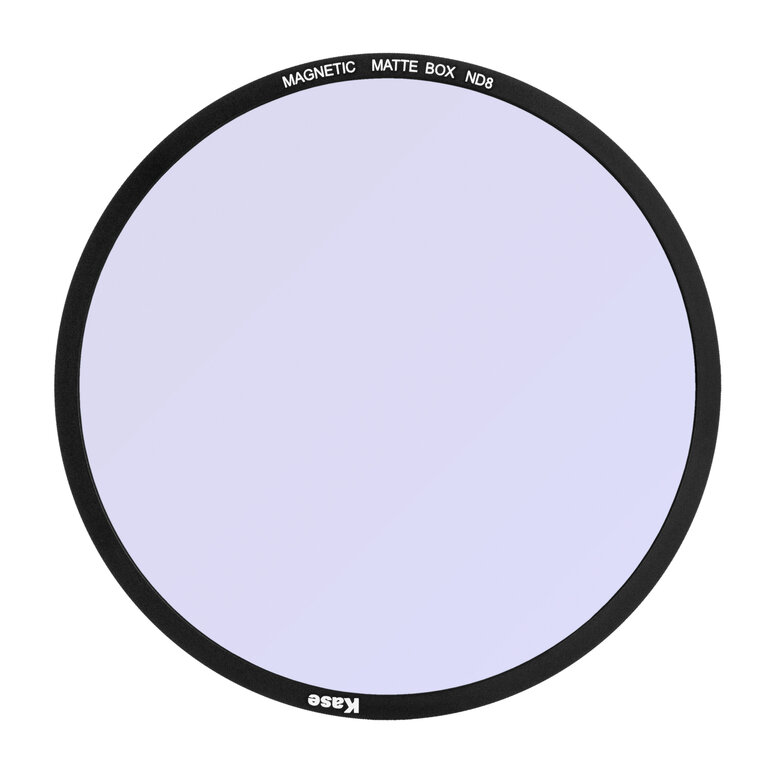
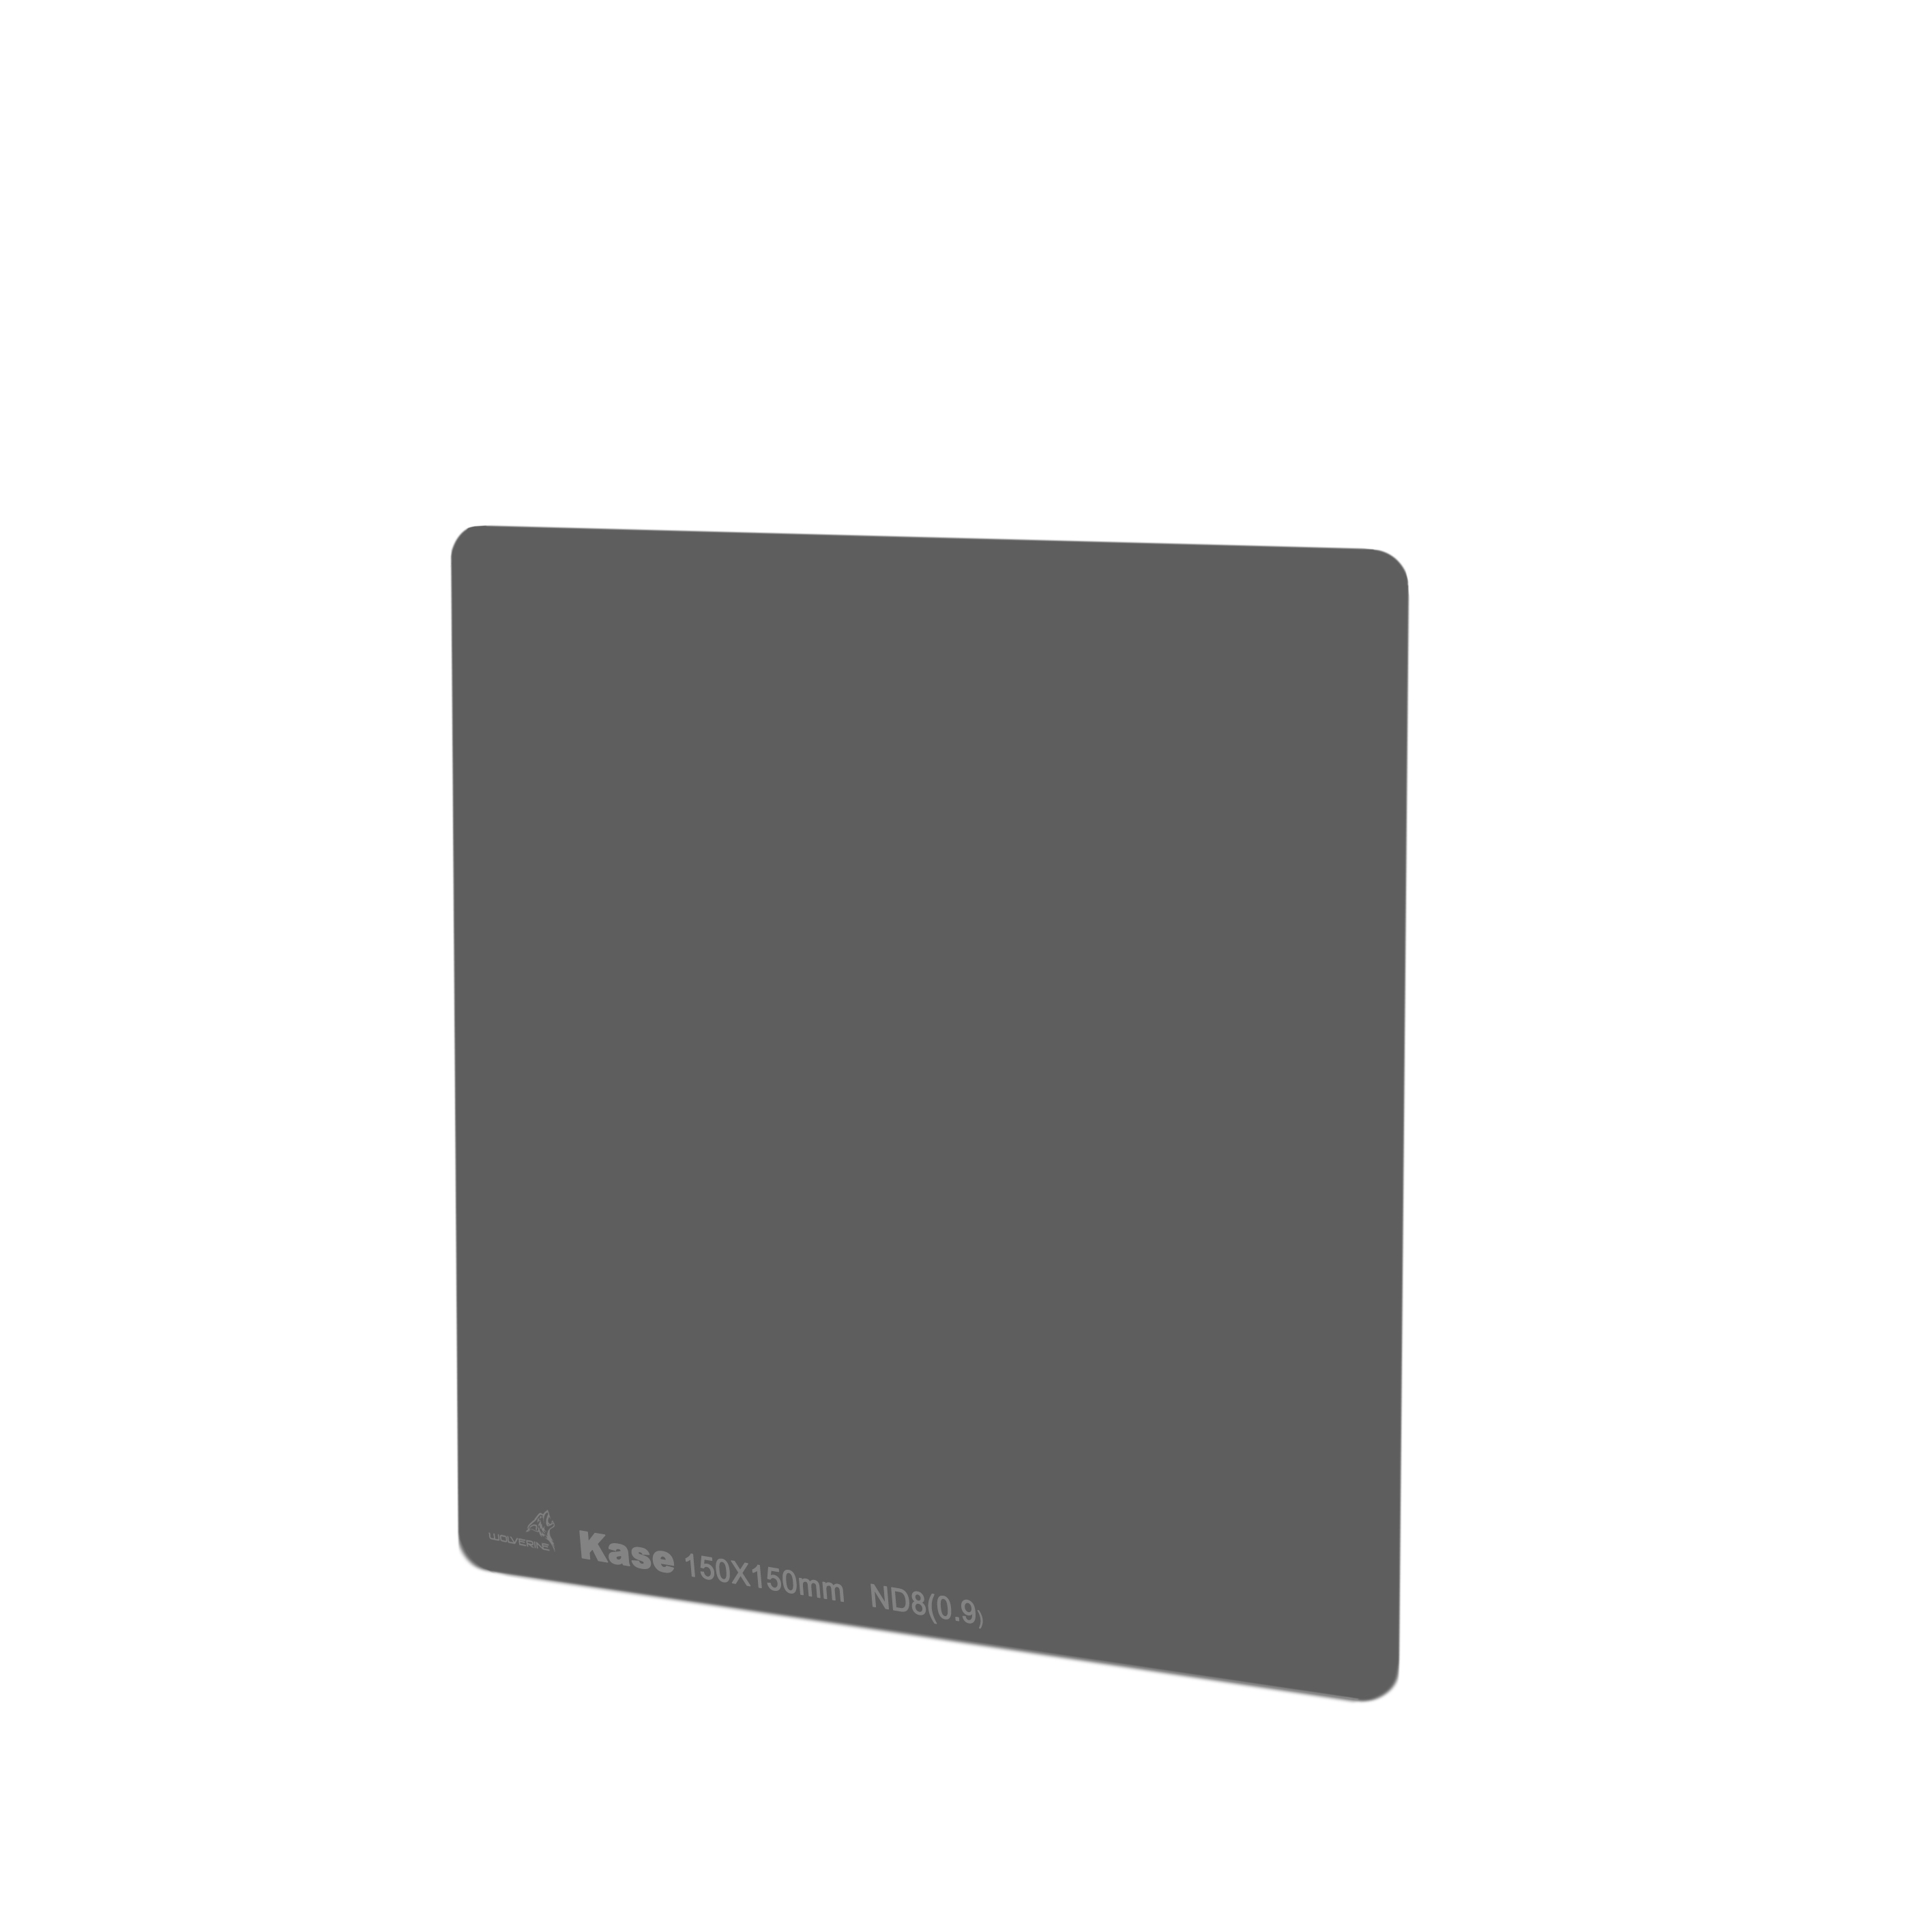
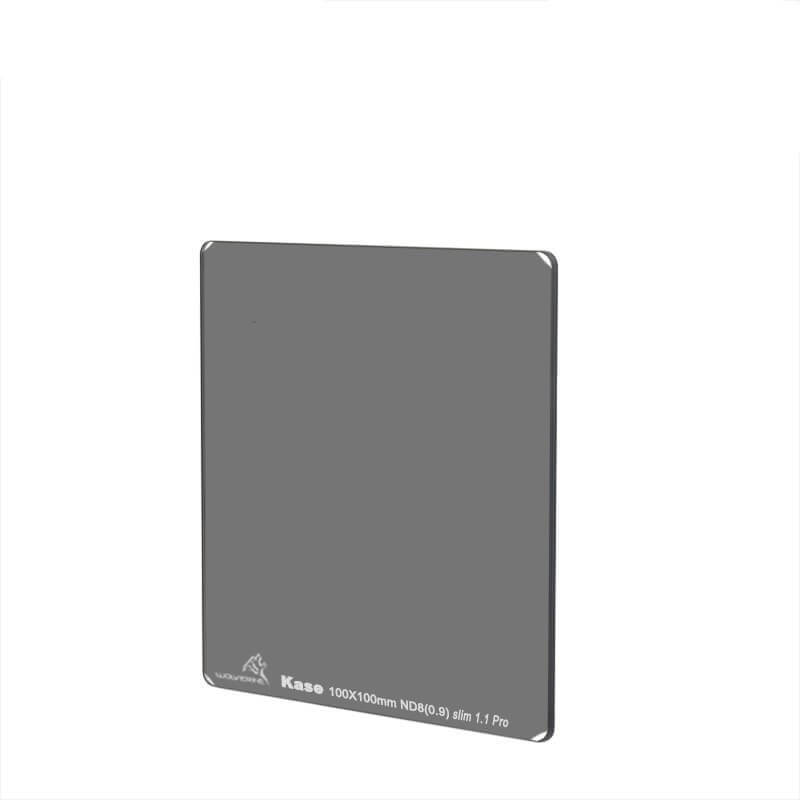
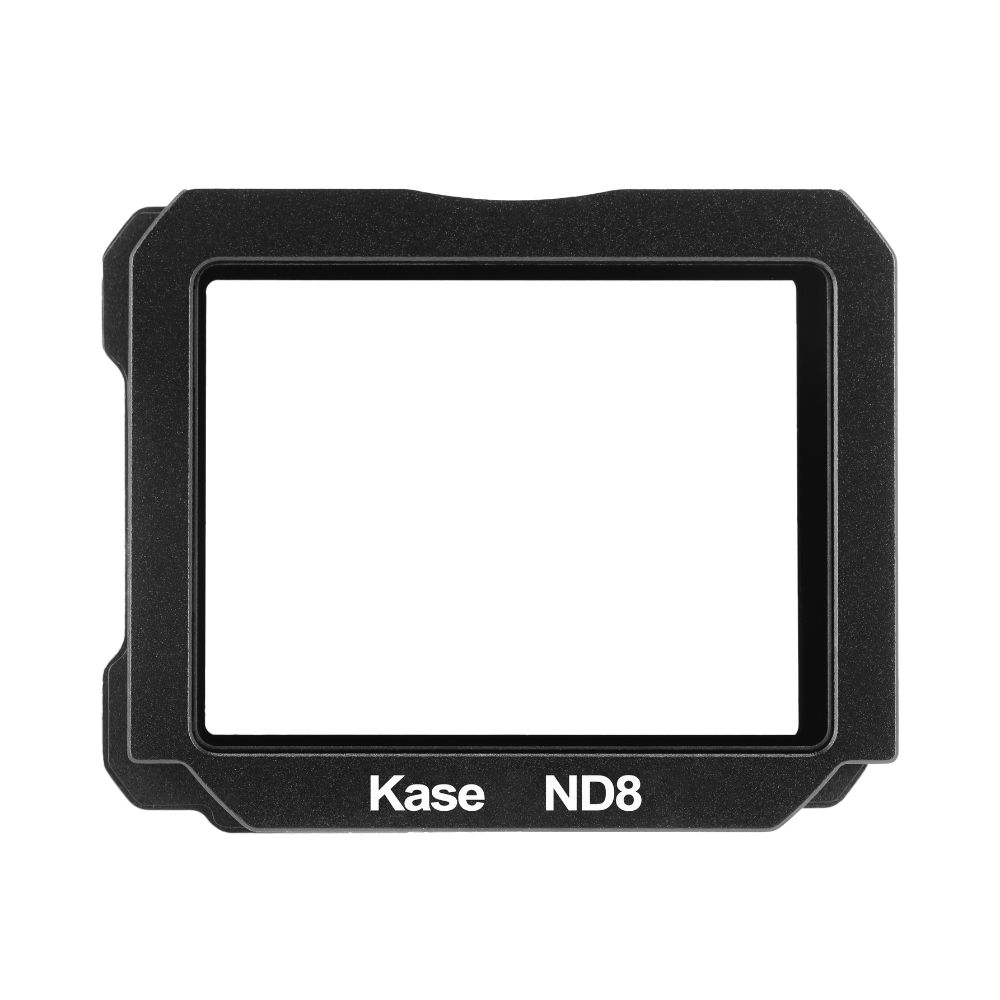
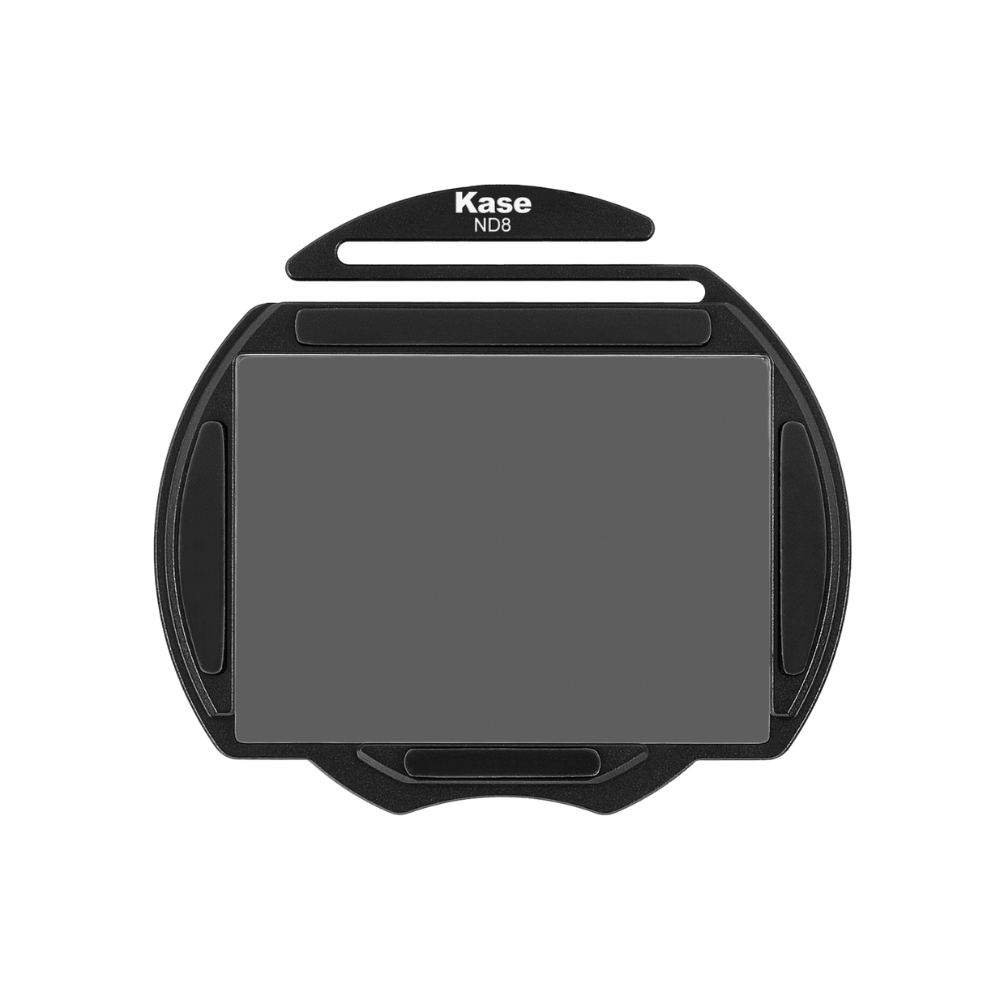
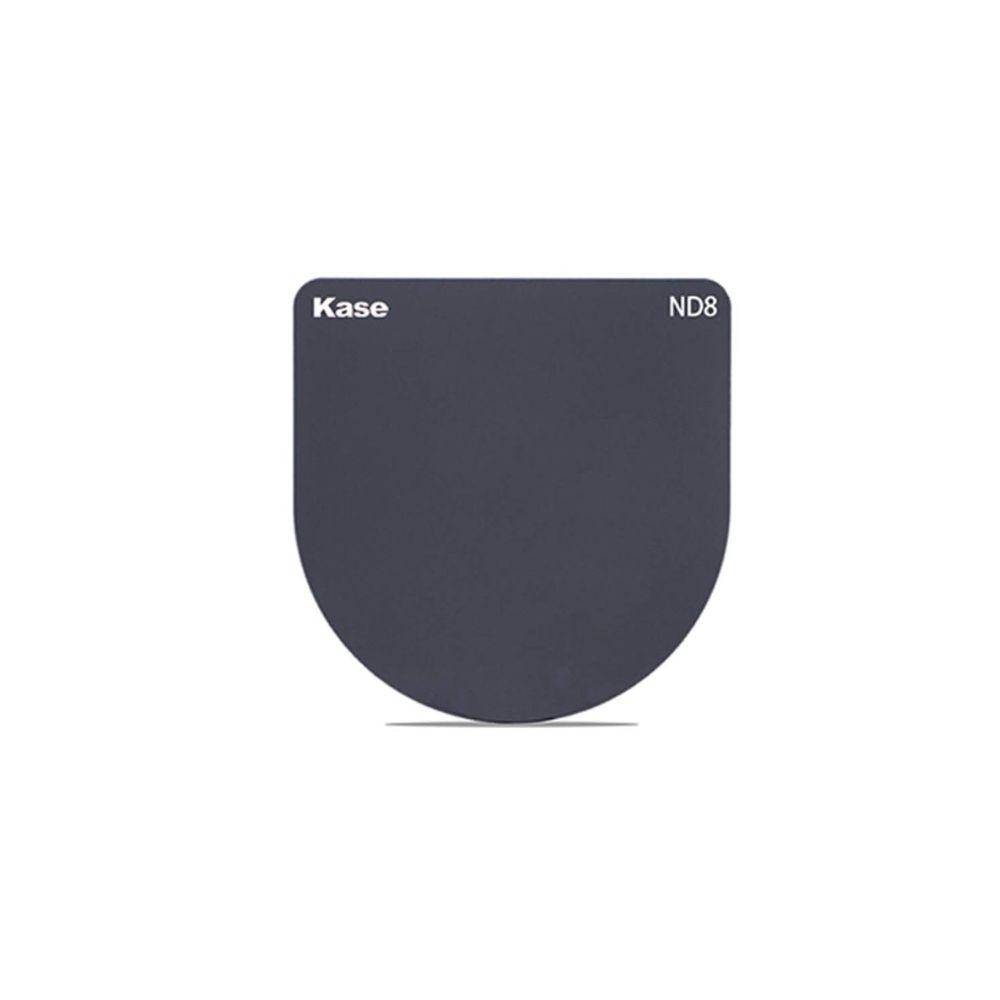
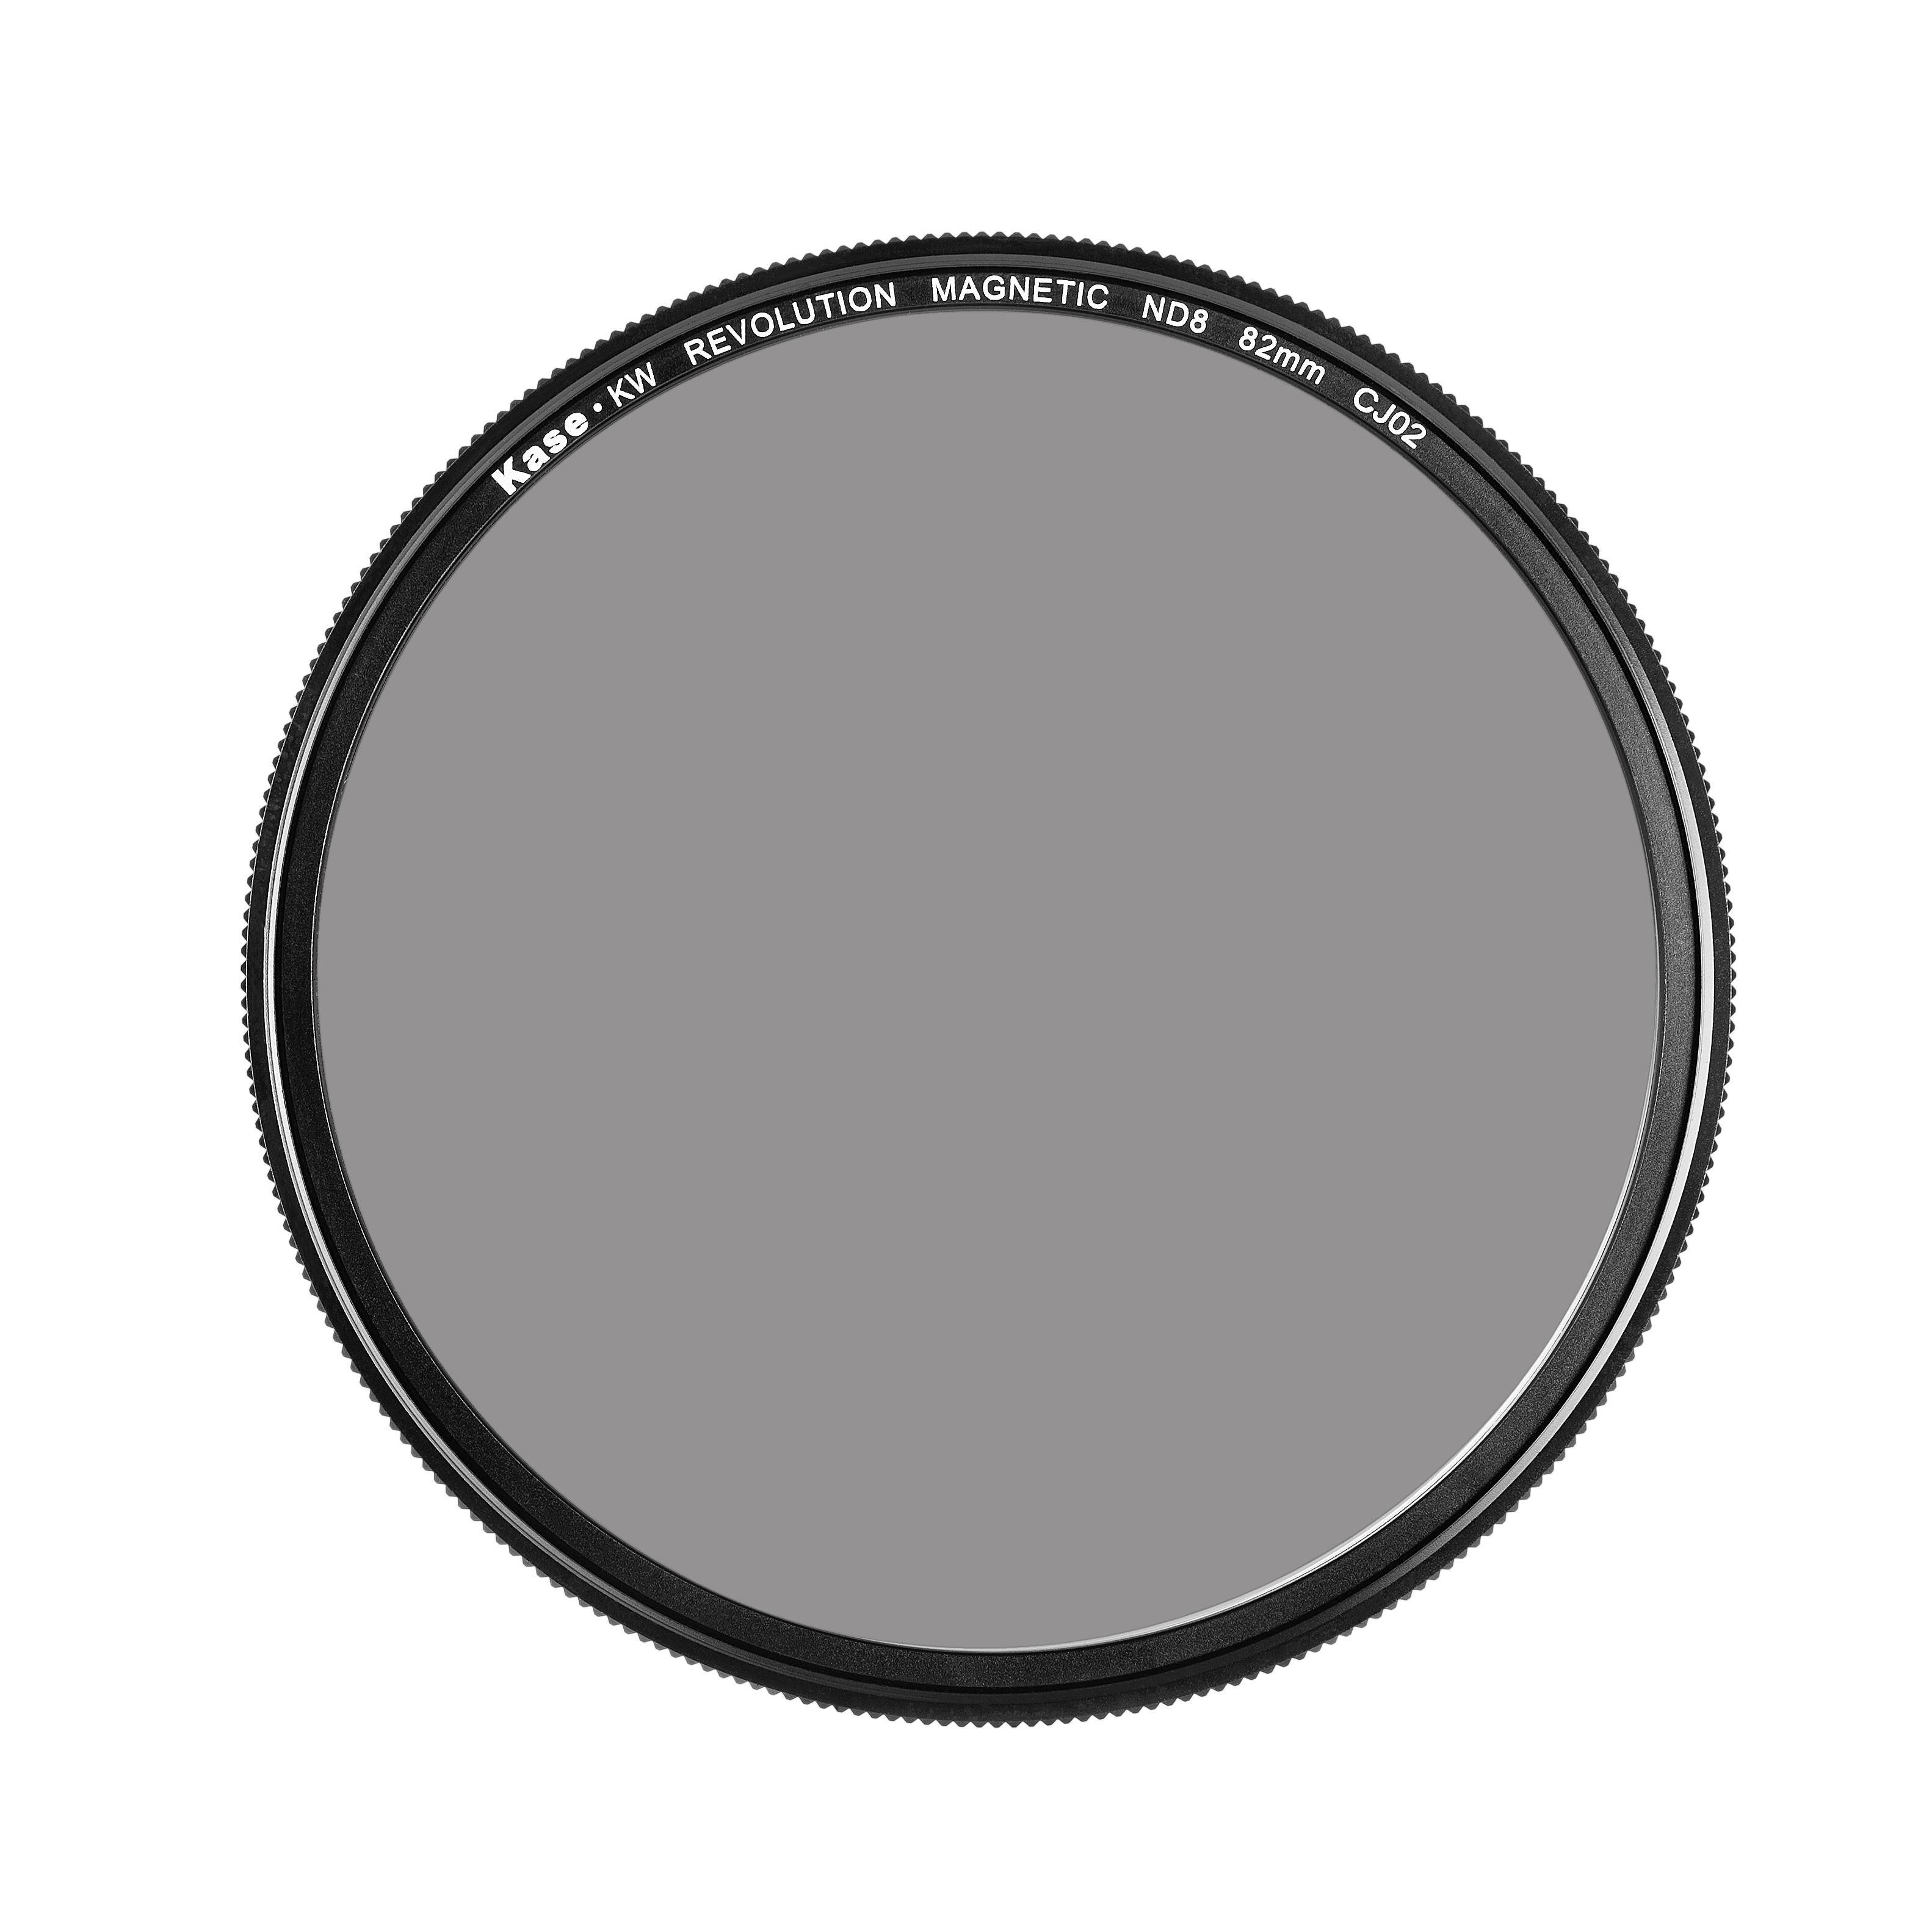
3-stop ND Filter (ND8)
A 3-stop ND filter can be used in moderately bright conditions or when you want to slightly extend your exposure time. This filter is suitable for capturing subtle motion blur in waterfalls or rivers during daylight. It will still retain some texture and details.
Creative effects you can achieve with ND filters
ND filters open up a world of creative possibilities in long-exposure photography. Here are some of the effects you can create using ND filters:
Silky water
Blur the motion of water, transforming crashing waves into silky-smooth textures or turning flowing rivers into serene ribbons of light. Experiment with different filter strengths to control the level of motion blur and achieve desired effects.
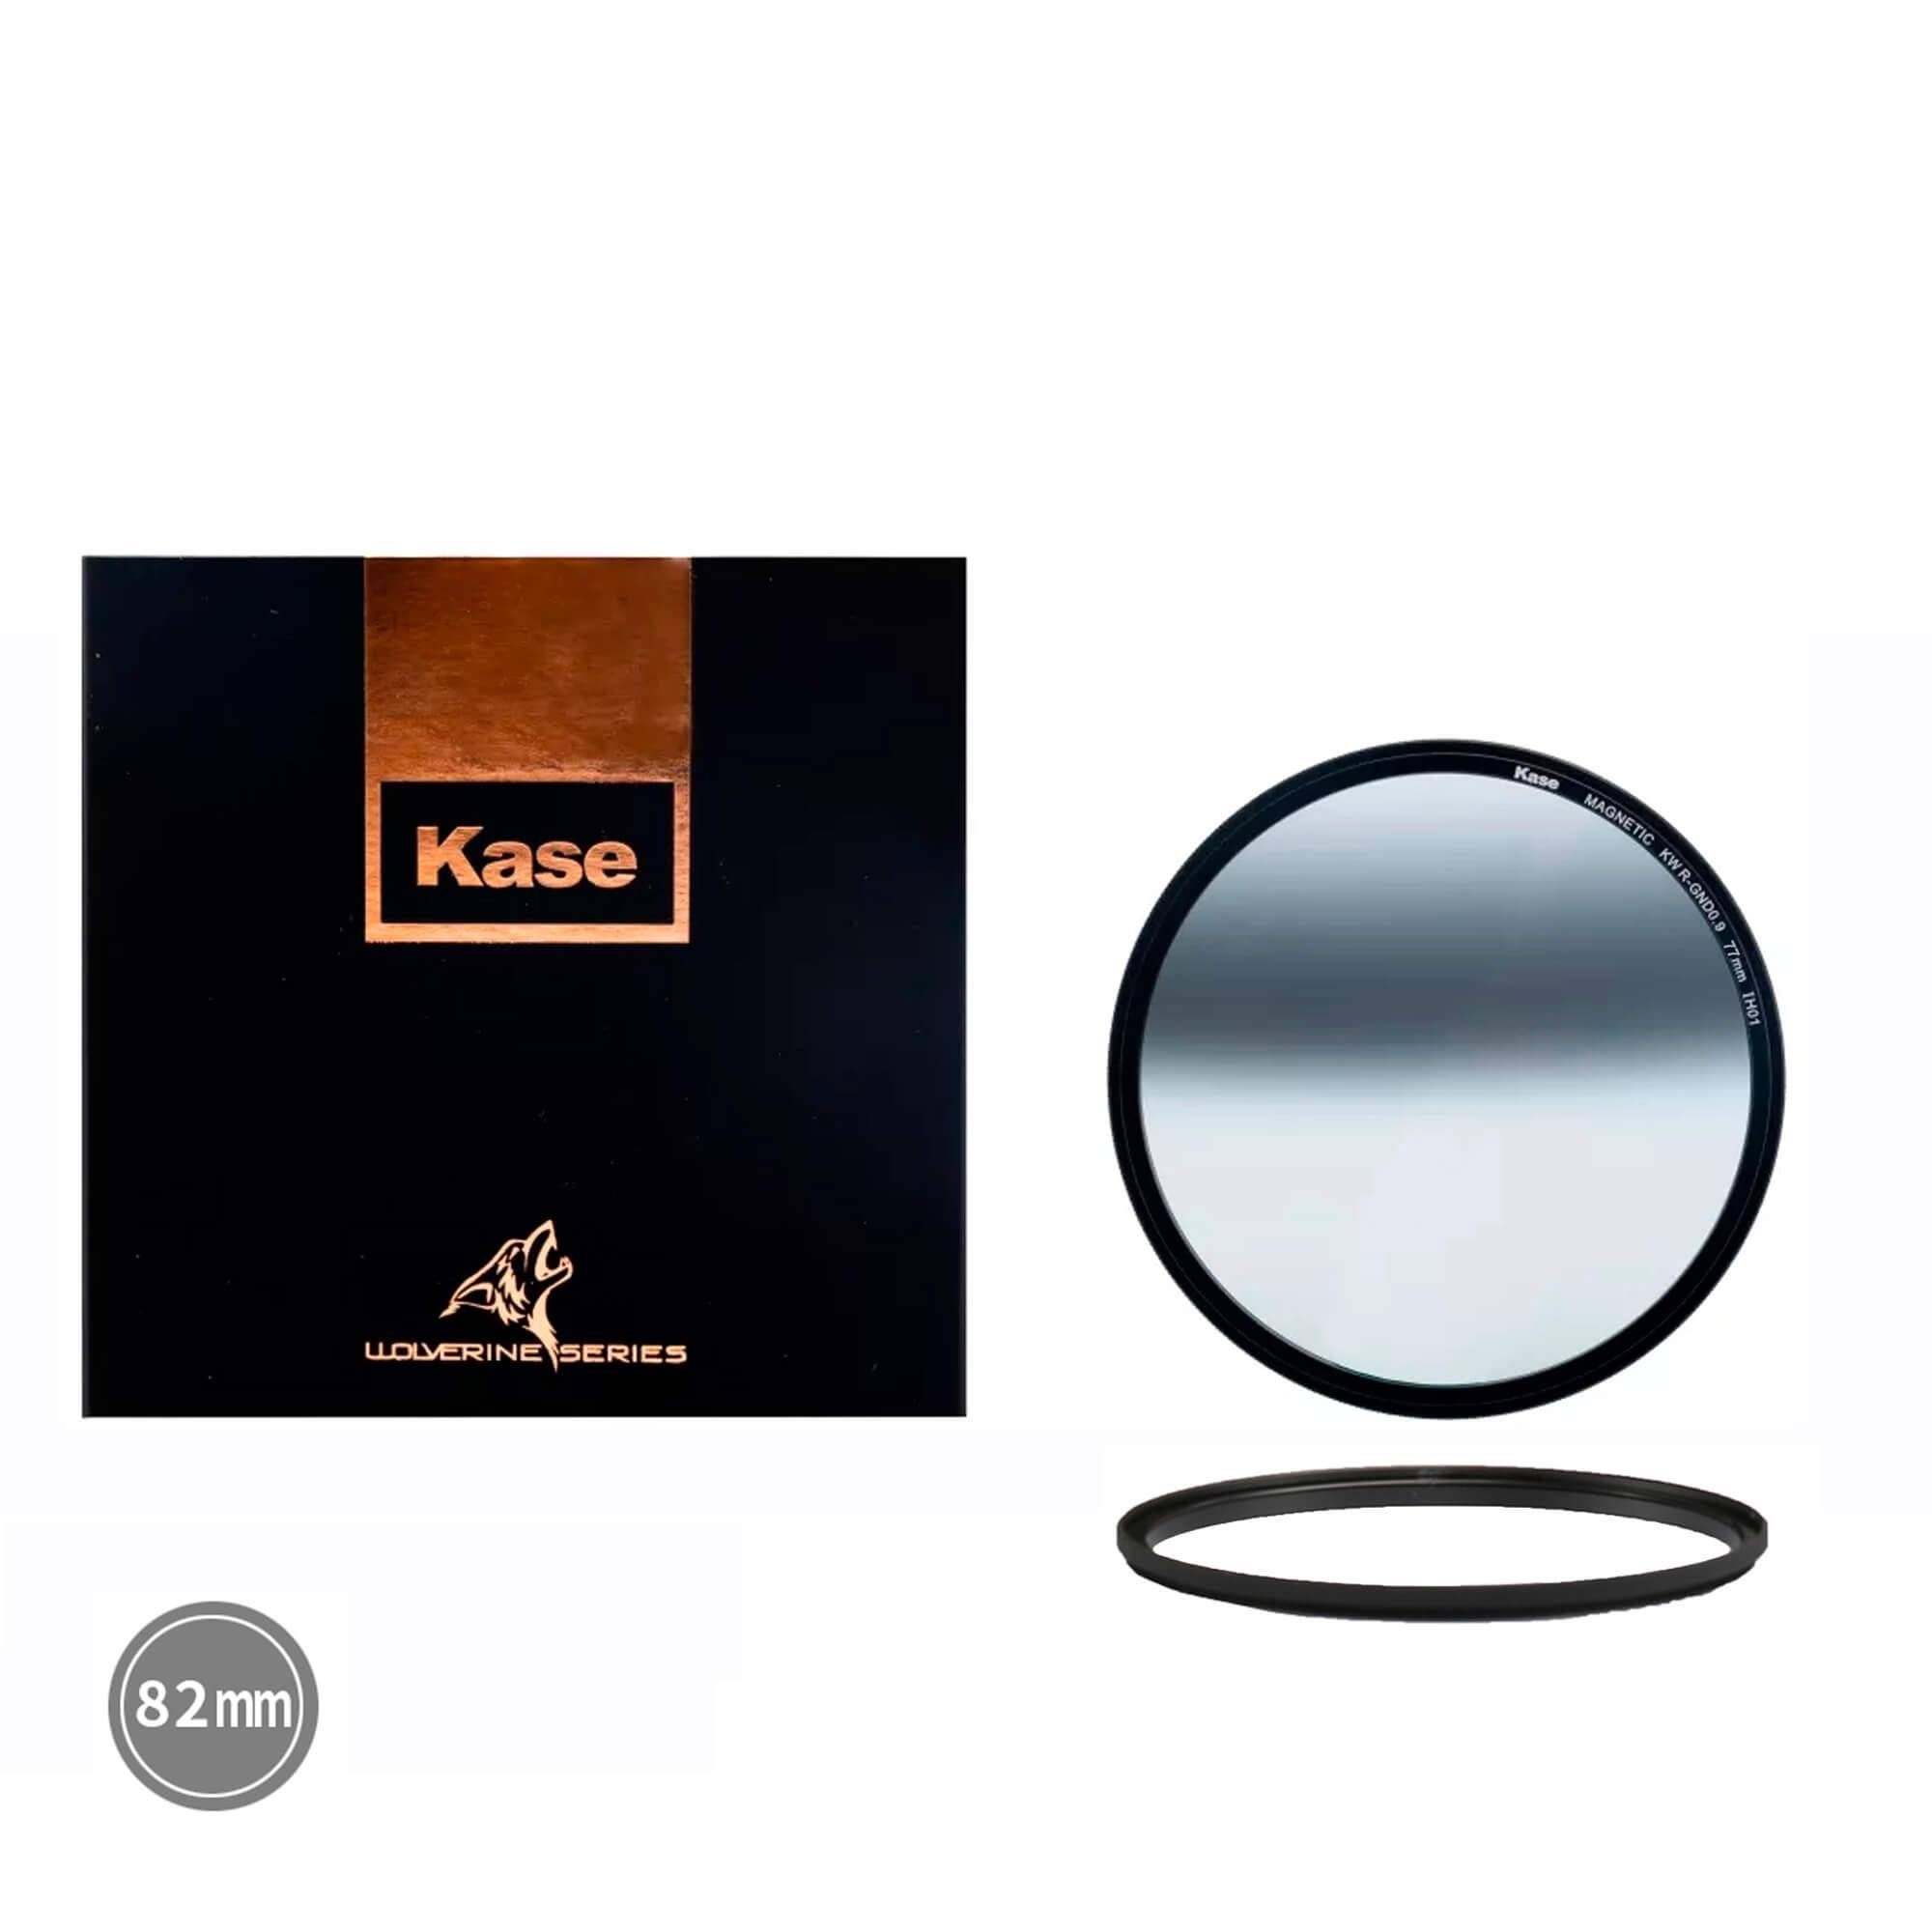
Dramatic sky
With a long exposure, moving clouds streak across the sky, adding drama and depth to landscape photographs. A 6-stop or 10-stop ND filter can capture cloud movement and create captivating visual dynamics.

Eliminating moving objects
In crowded urban scenes or tourist spots, use a long exposure with an ND filter to remove moving people or vehicles from the scene.
Tips for long-exposure photography with ND filters
Here are some tips from professional photographers that will help you to achieve even better results in long-exposure photography.
- Use manual focus: Set focus manually before attaching the ND filter to ensure sharpness in your long-exposure images, especially in low-light conditions.
- Check for light leaks: Light leaks can impact the image quality and sharpness of your image. Check if the filter is attached well, and cover the viewfinder with the cloth if needed.
- Watch for colour casts: Some ND filters may introduce colour shifts. Correct colour casts during post-processing by adjusting the white balance.
- Consider cloud movement: Shooting on days when clouds are low and moving dynamically can add drama to your photos.
- Avoid touching the camera: Even a small movement can influence the image quality. Use a remote shutter release or timer to capture shots without touching the camera.
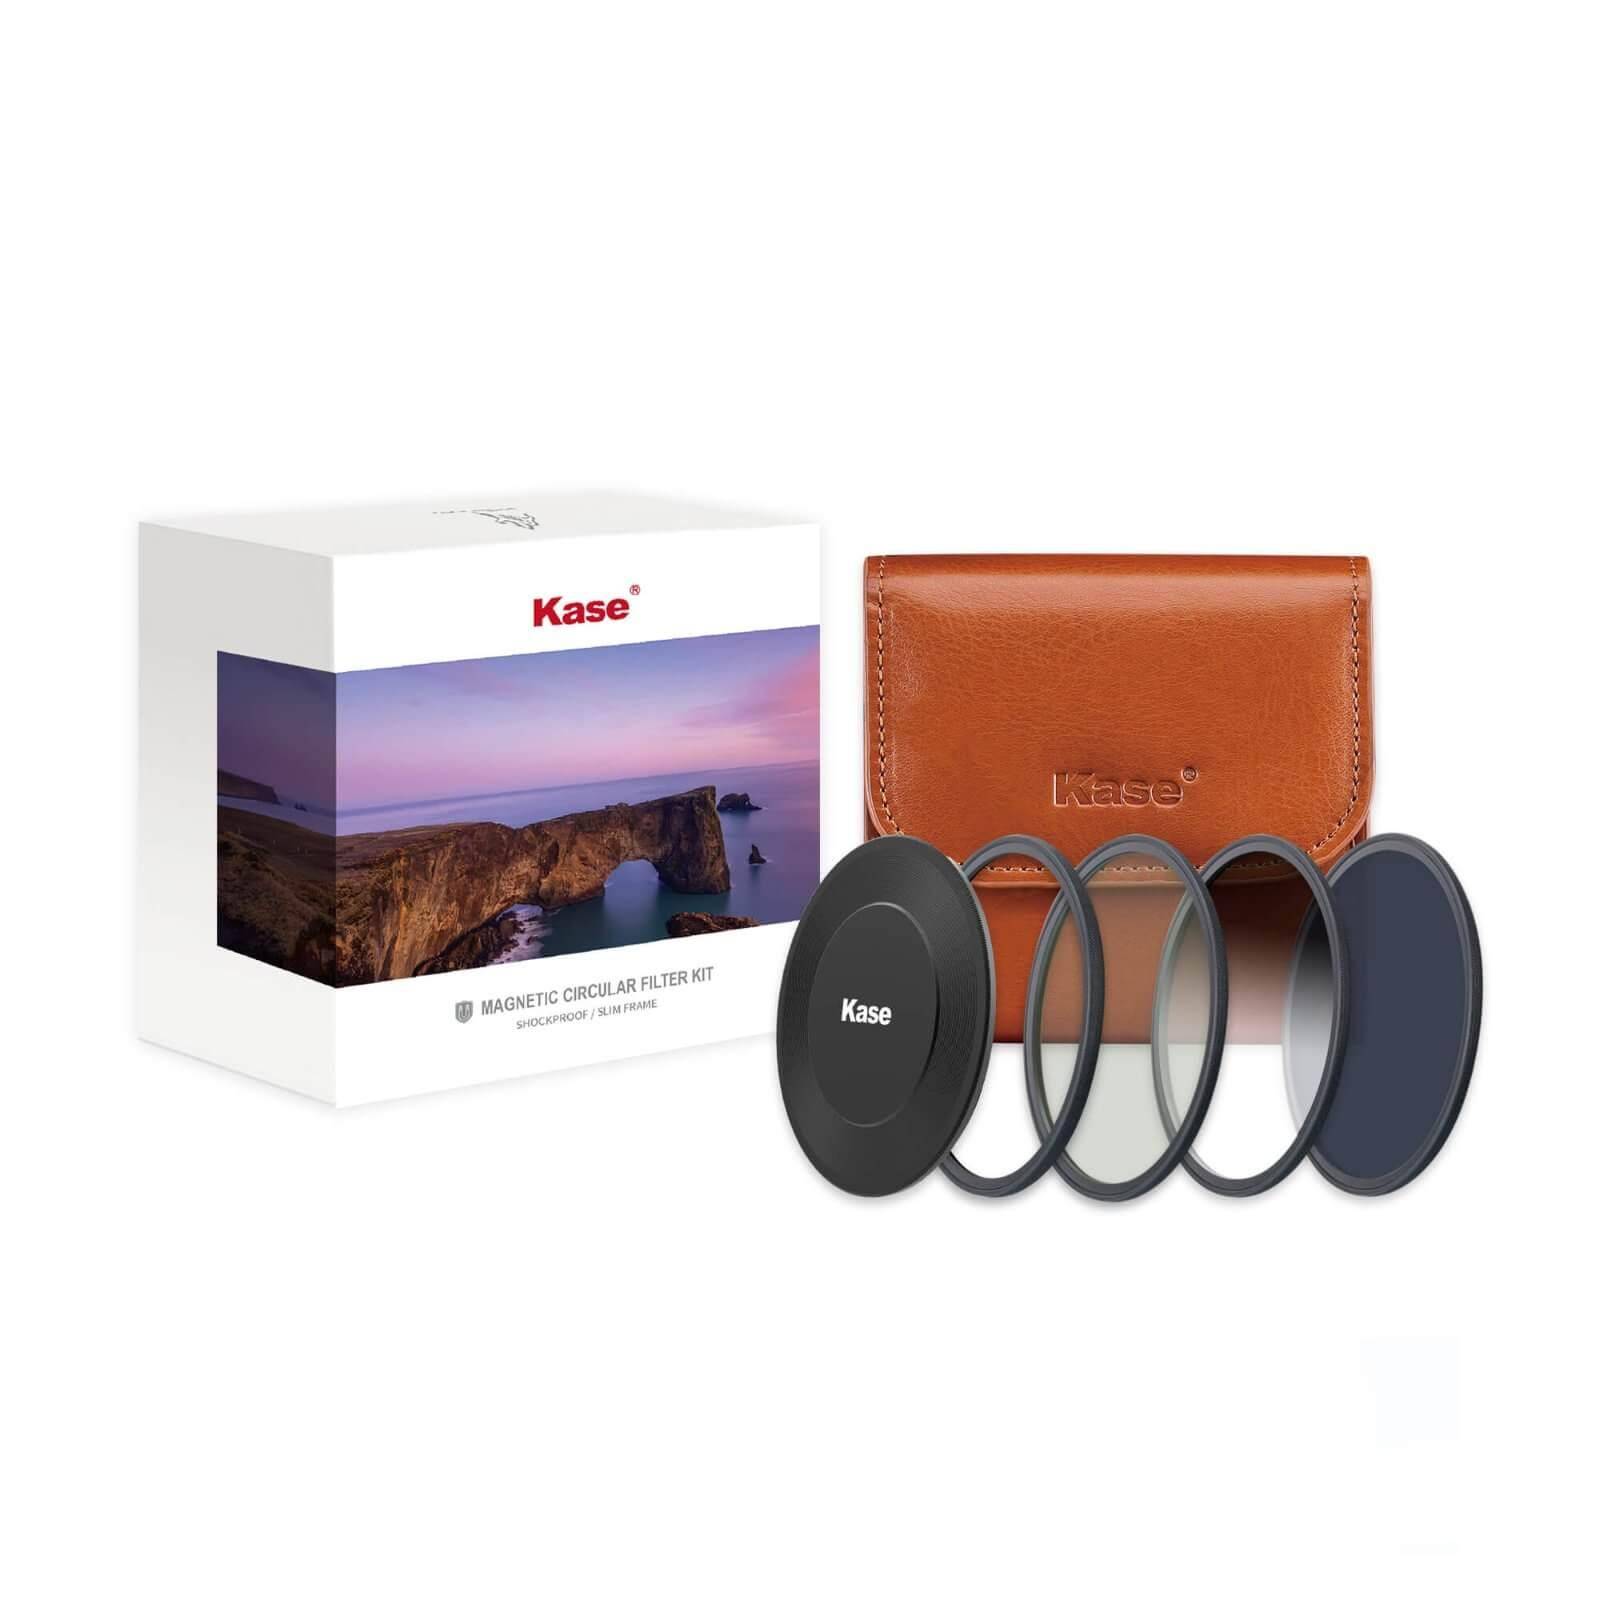
- Stacking filters: In extremely bright conditions, you can stack two ND filters to achieve a greater light reduction if needed for a desired effect.
Did you like our guide? Here are some more articles about ND filters for you:
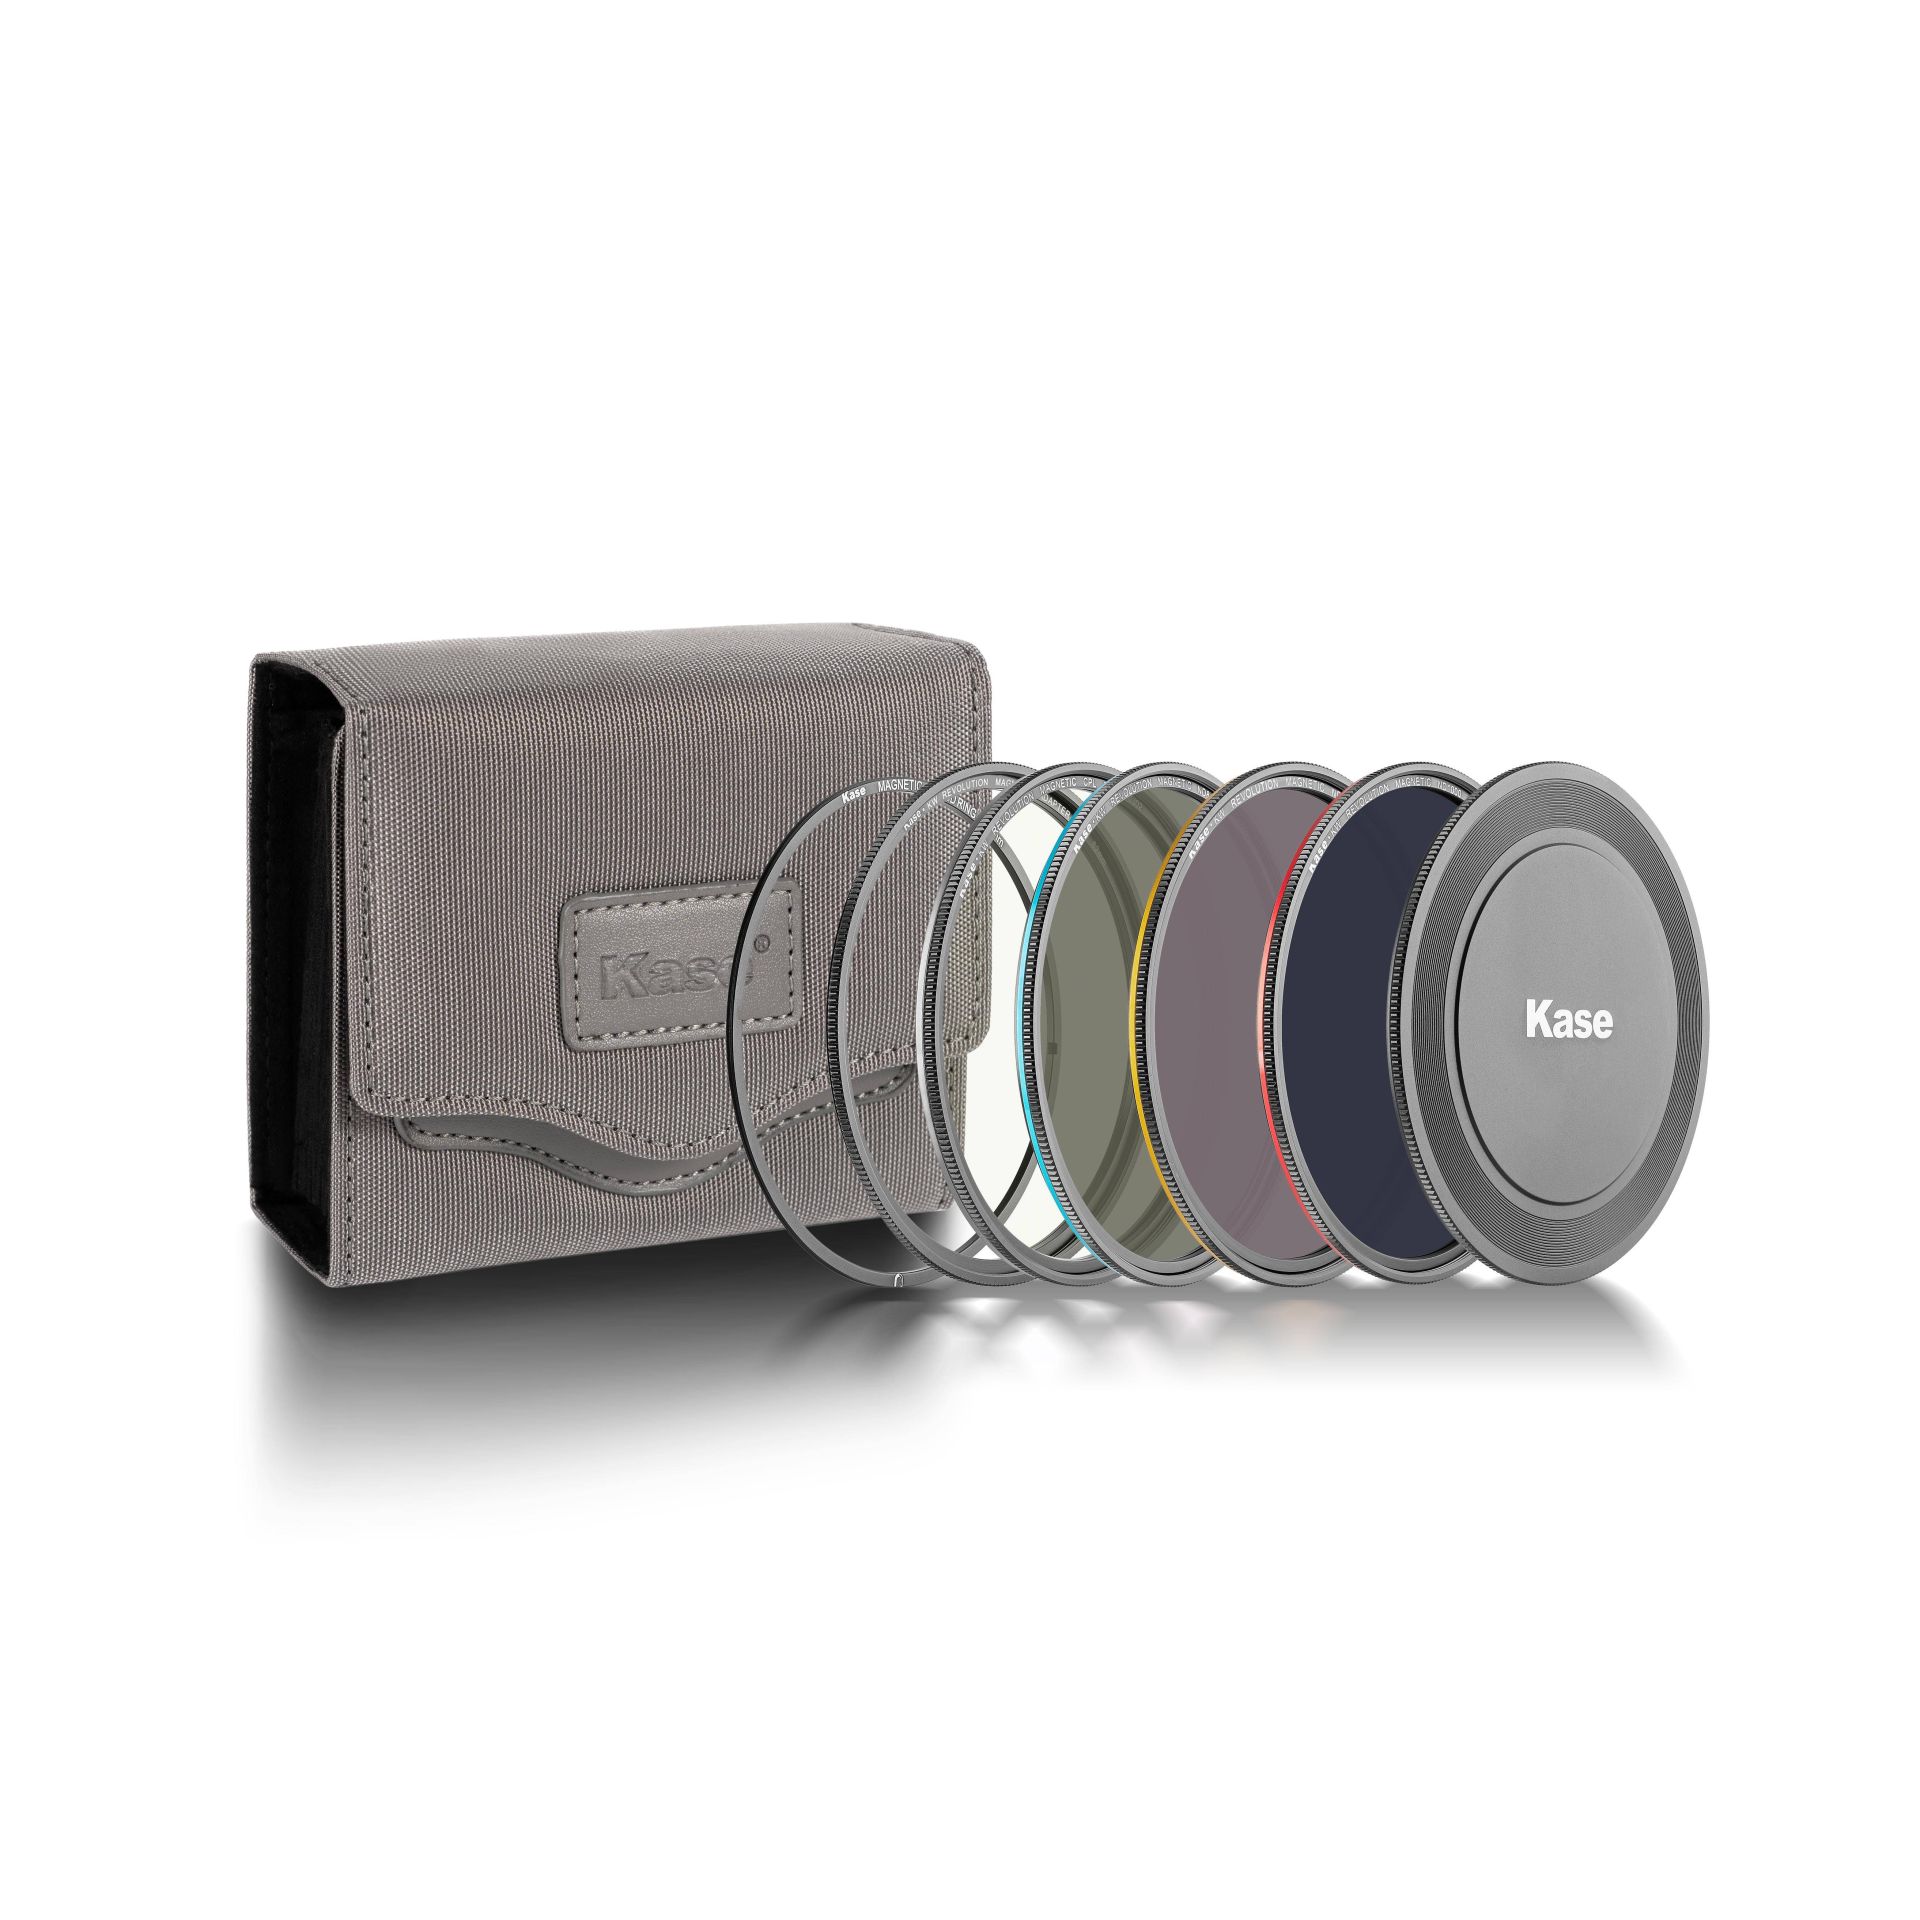
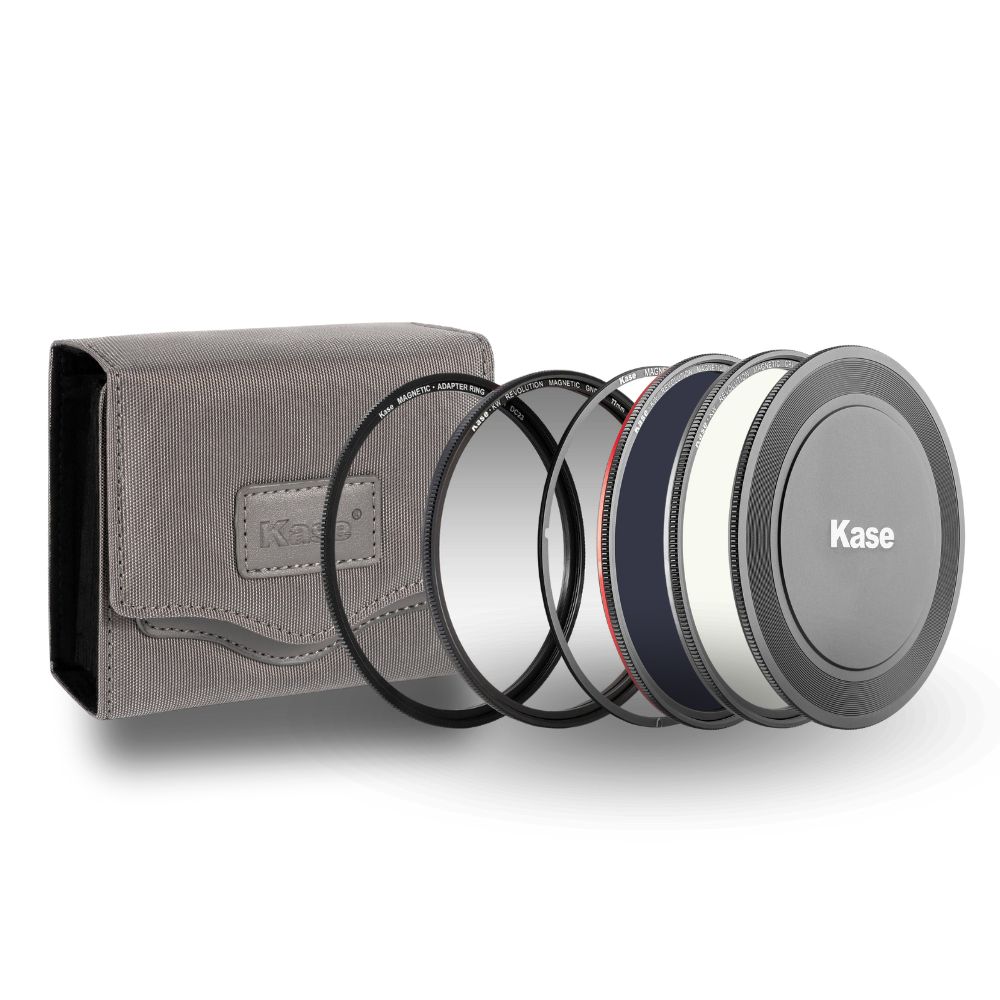
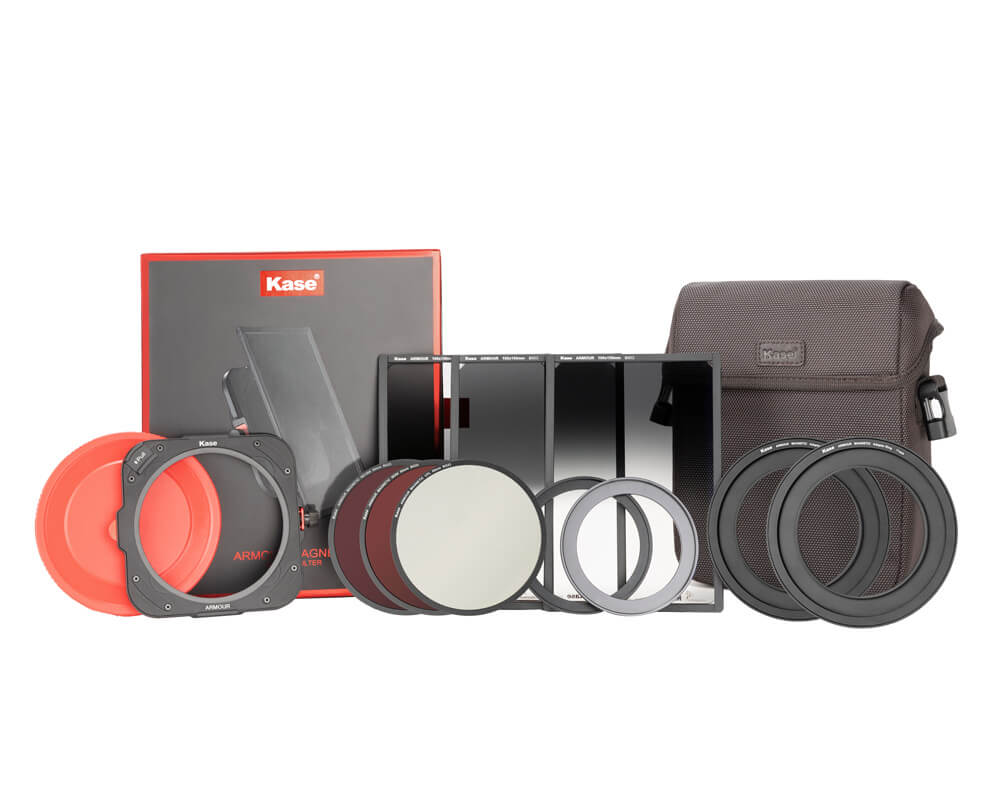
Best ND filters from Kase for long-exposure photography

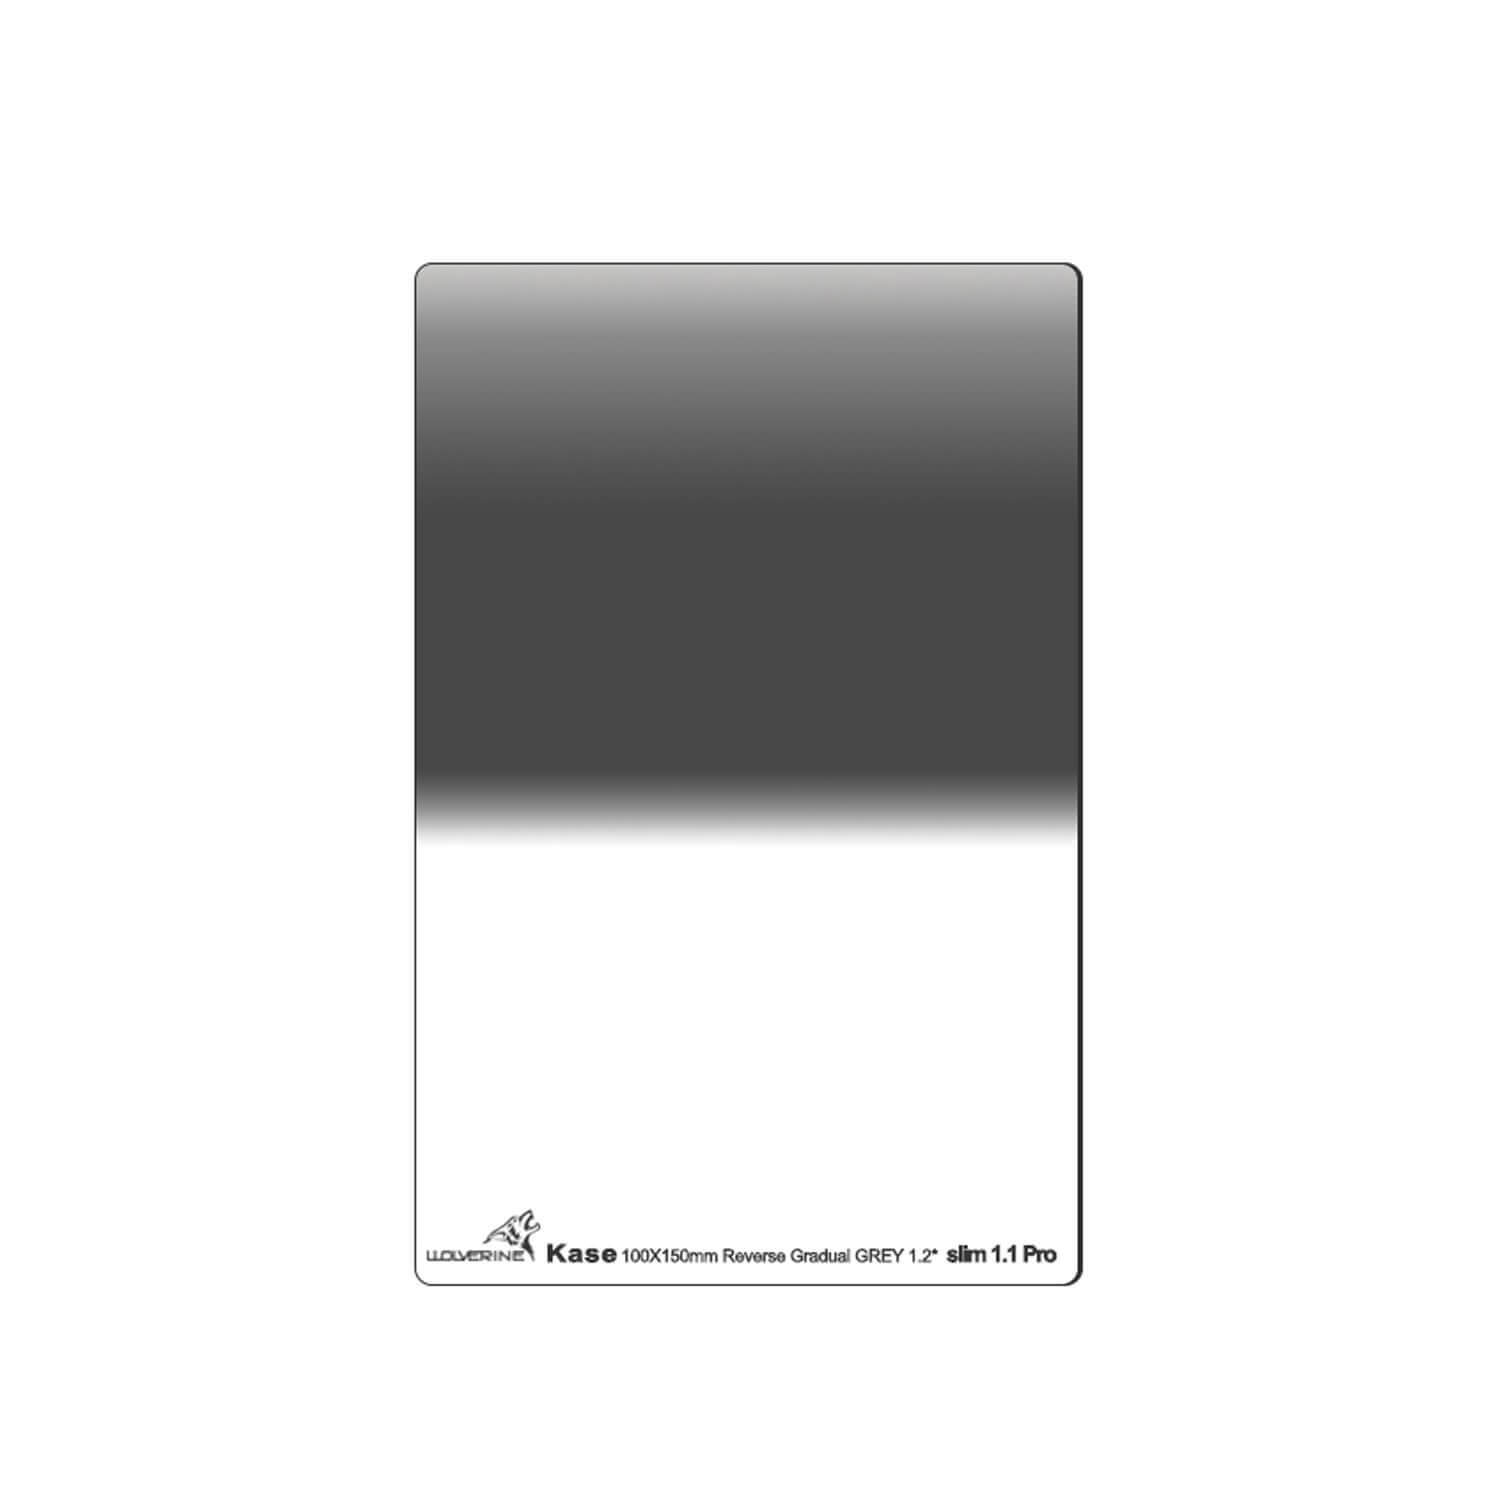
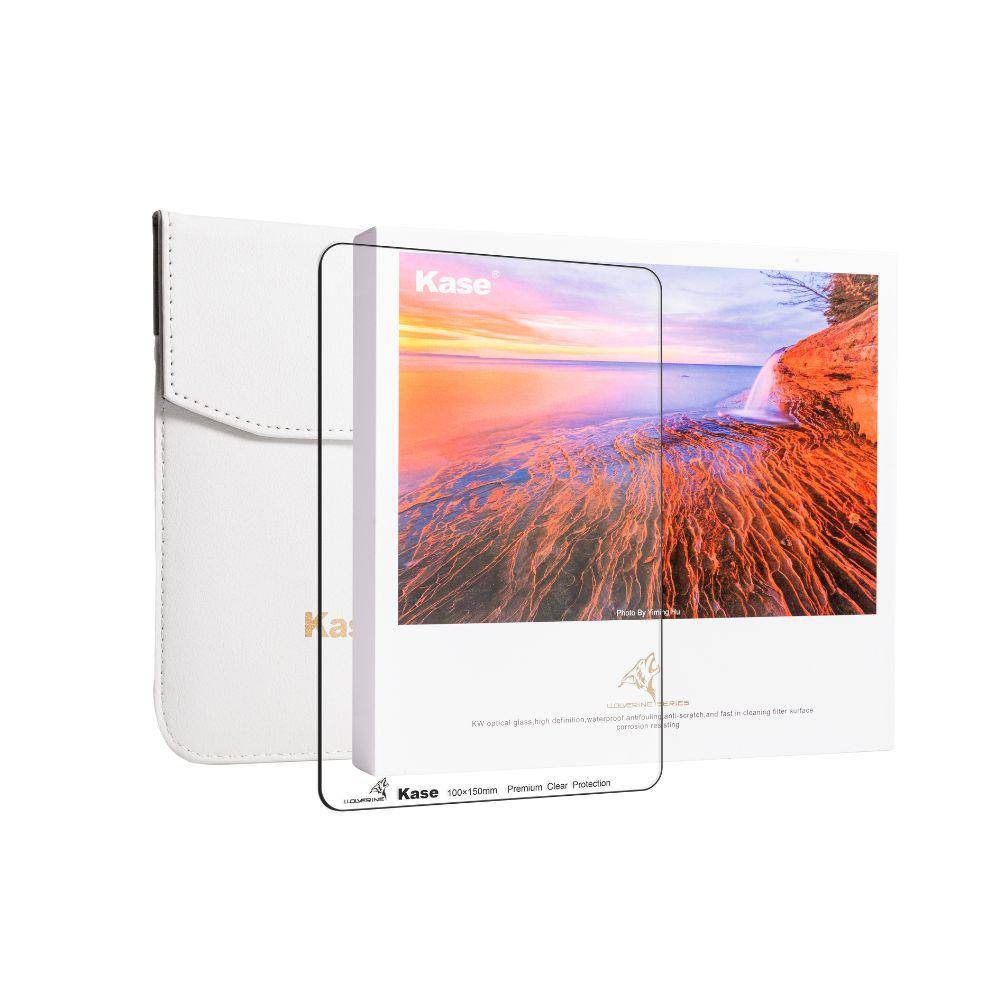
O filtro Kase Wolverine K100 100x150mm ND 1000 ND 3.0 (10 pontos/10 pontos) é perfeito para controlar a quantidade de luz que atinge o sensor da câmera. Os tempos de exposição mais longos podem, por exemplo, capturar o movimento das nuvens ou desenhar água com uma suavidade sedosa. A série Kase Wolverine é particularmente caracterizada pela sua excelente neutralidade de cores. O vidro óptico de alta precisão utilizado é à prova de choque. O revestimento repelente de óleo e água torna os filtros muito fáceis de limpar. Escopo de entrega: 1x filtro ND1000 (10 pontos) 100x150mm
Em stock

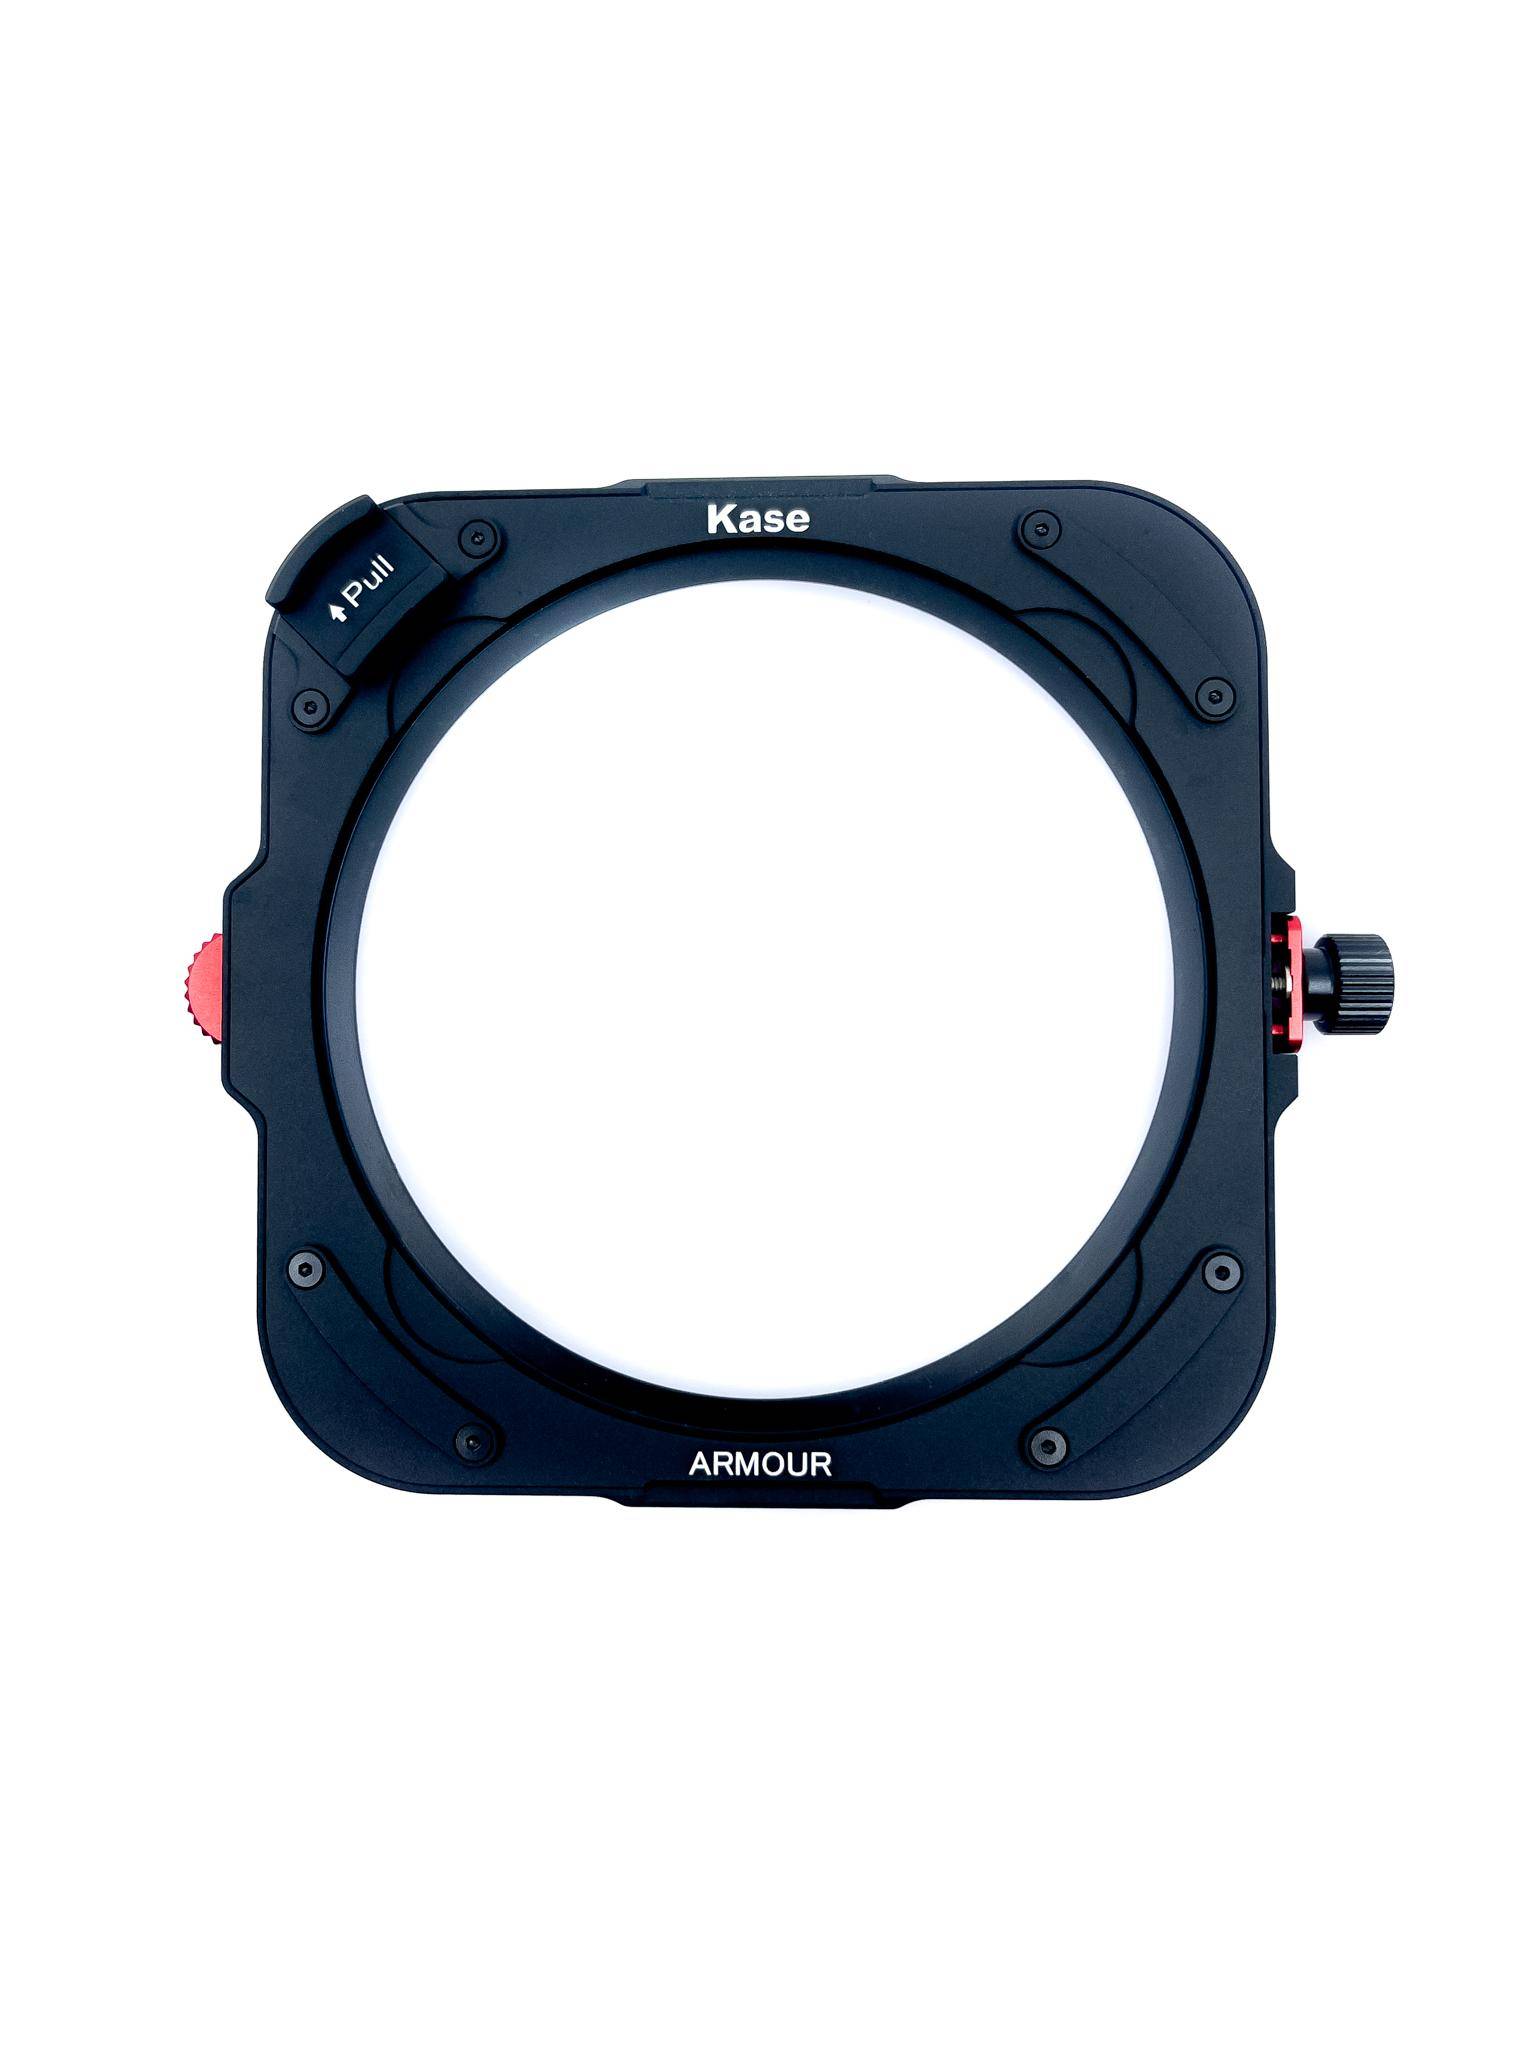
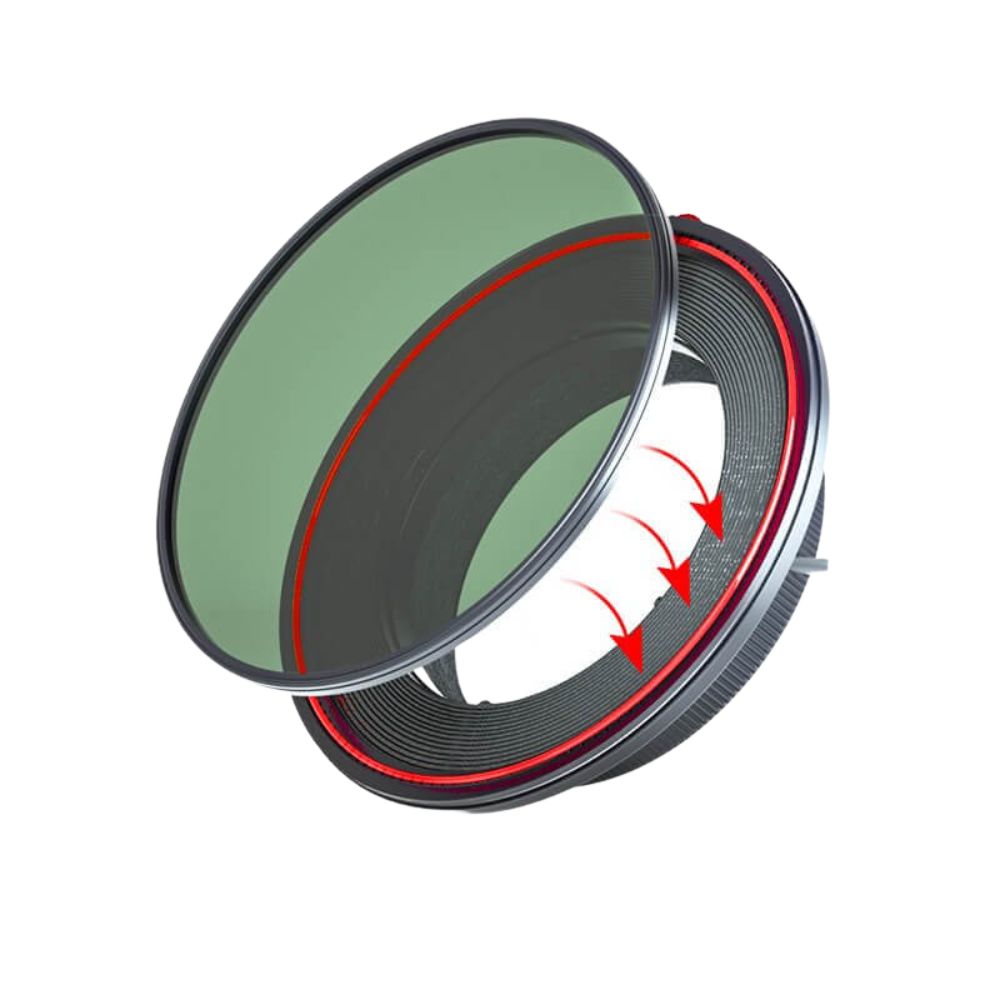
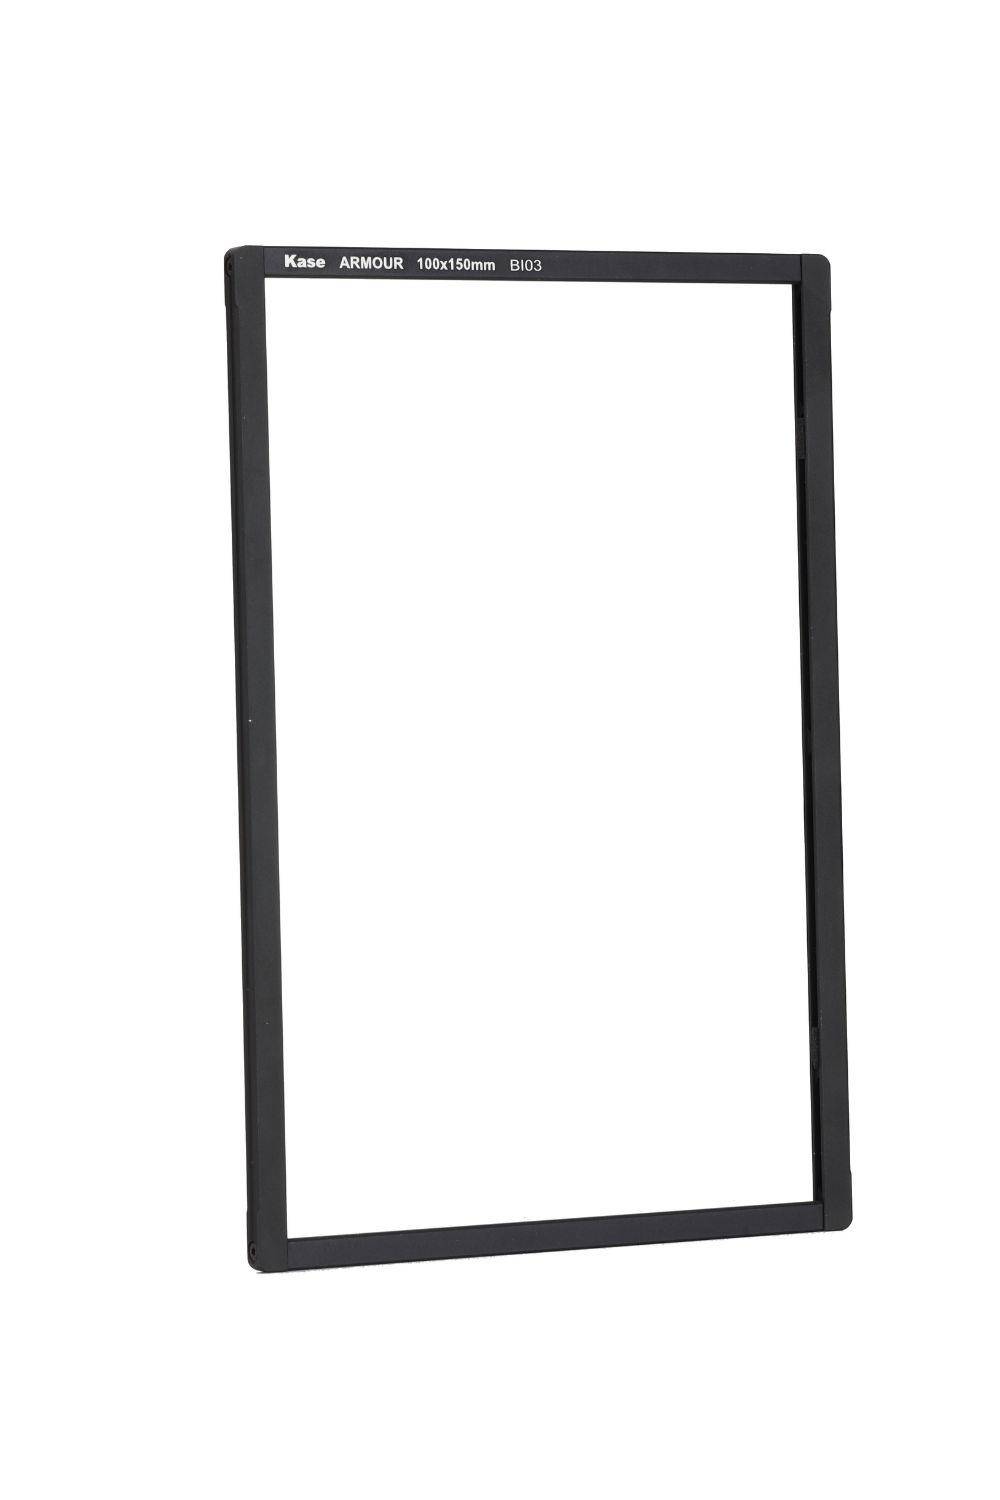
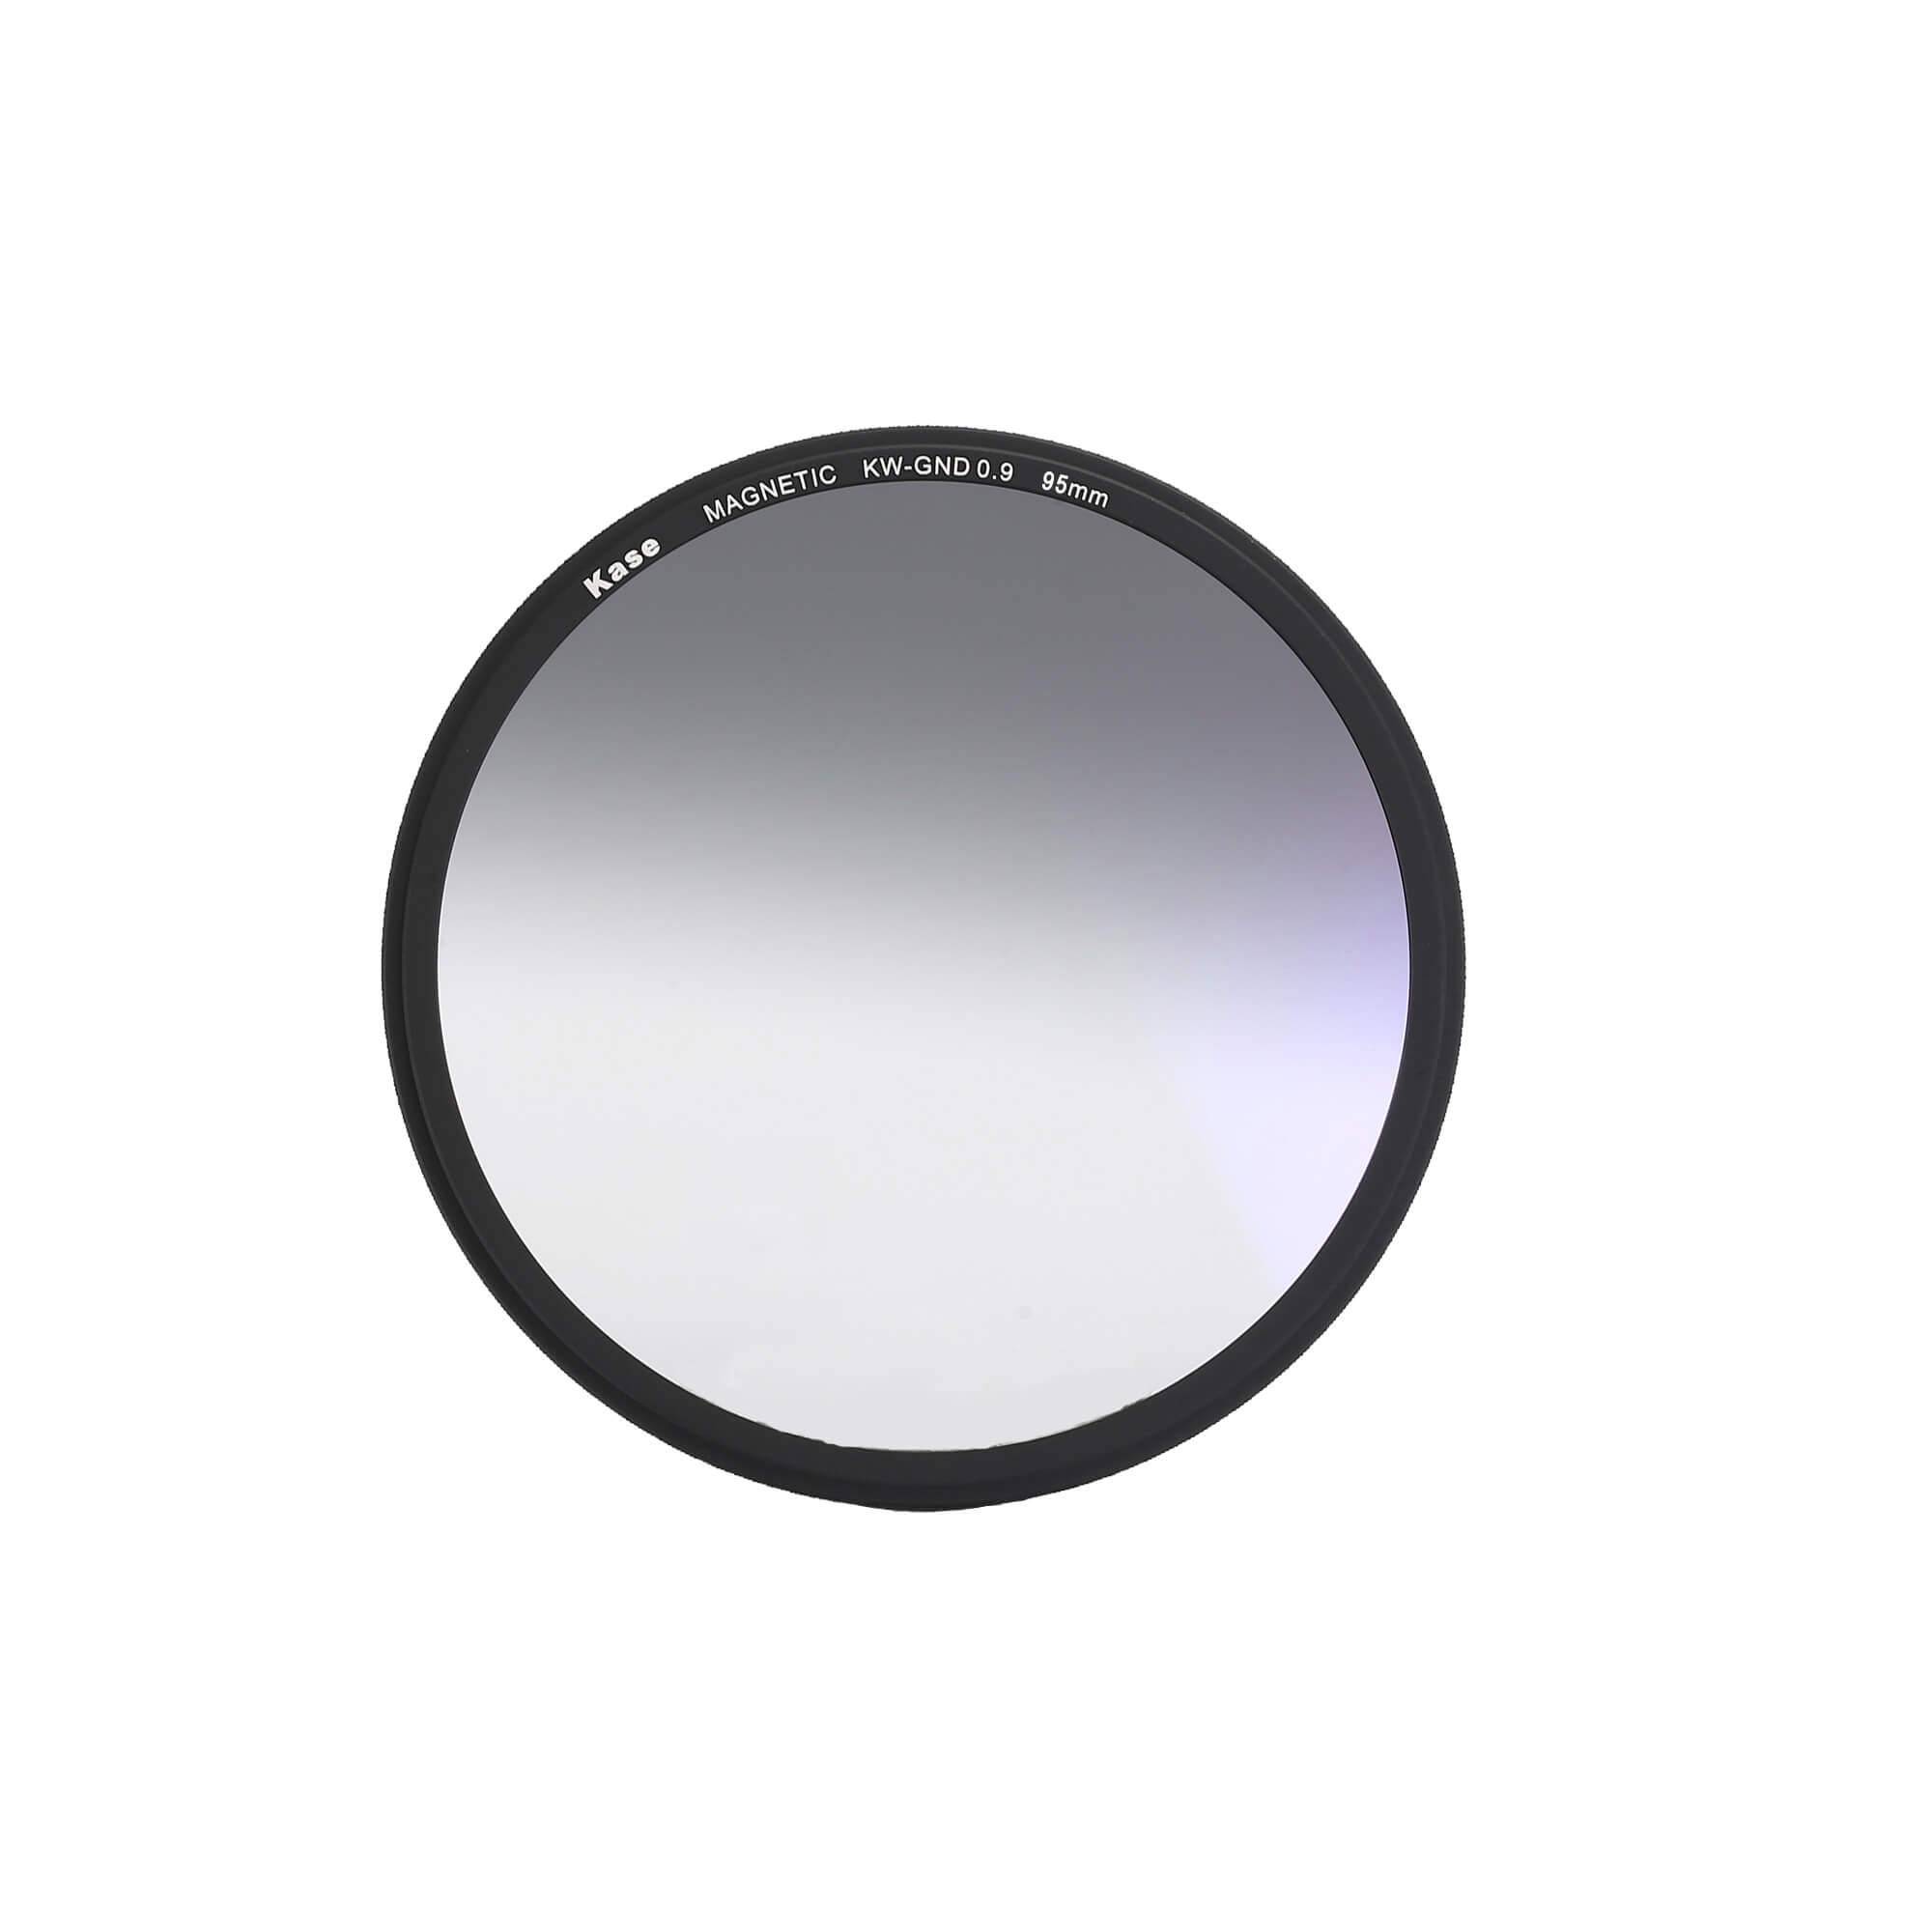
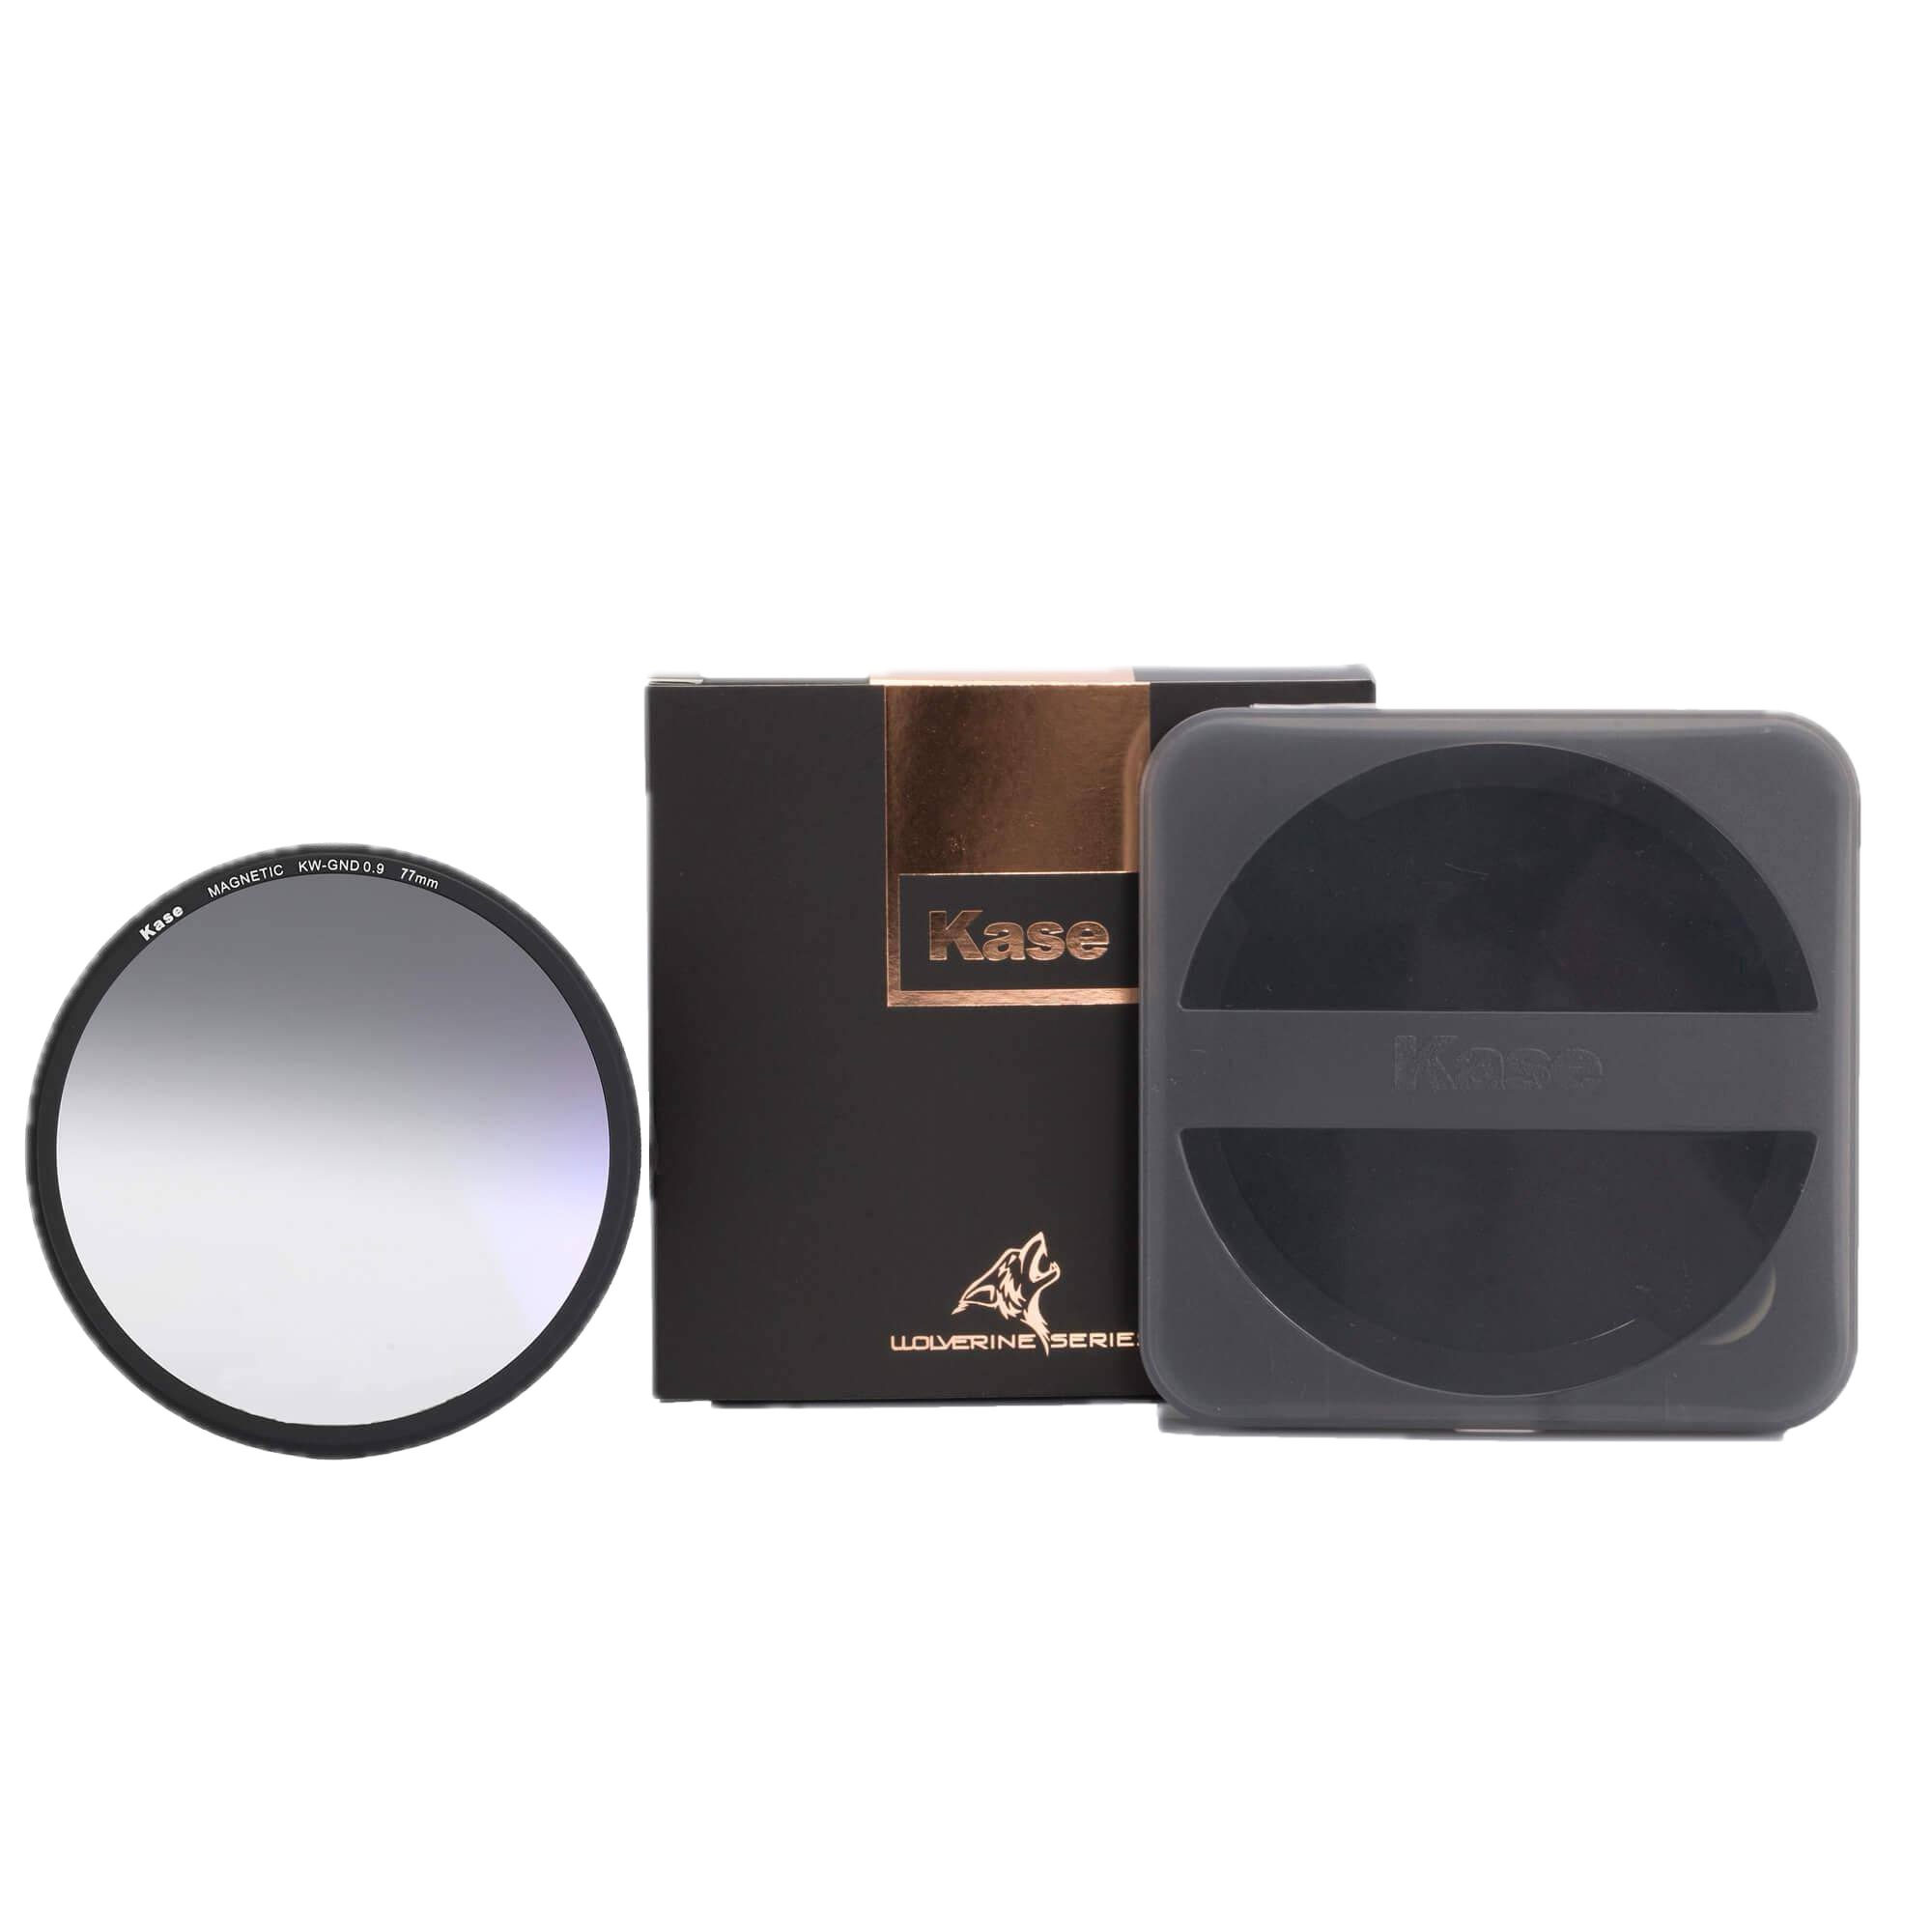
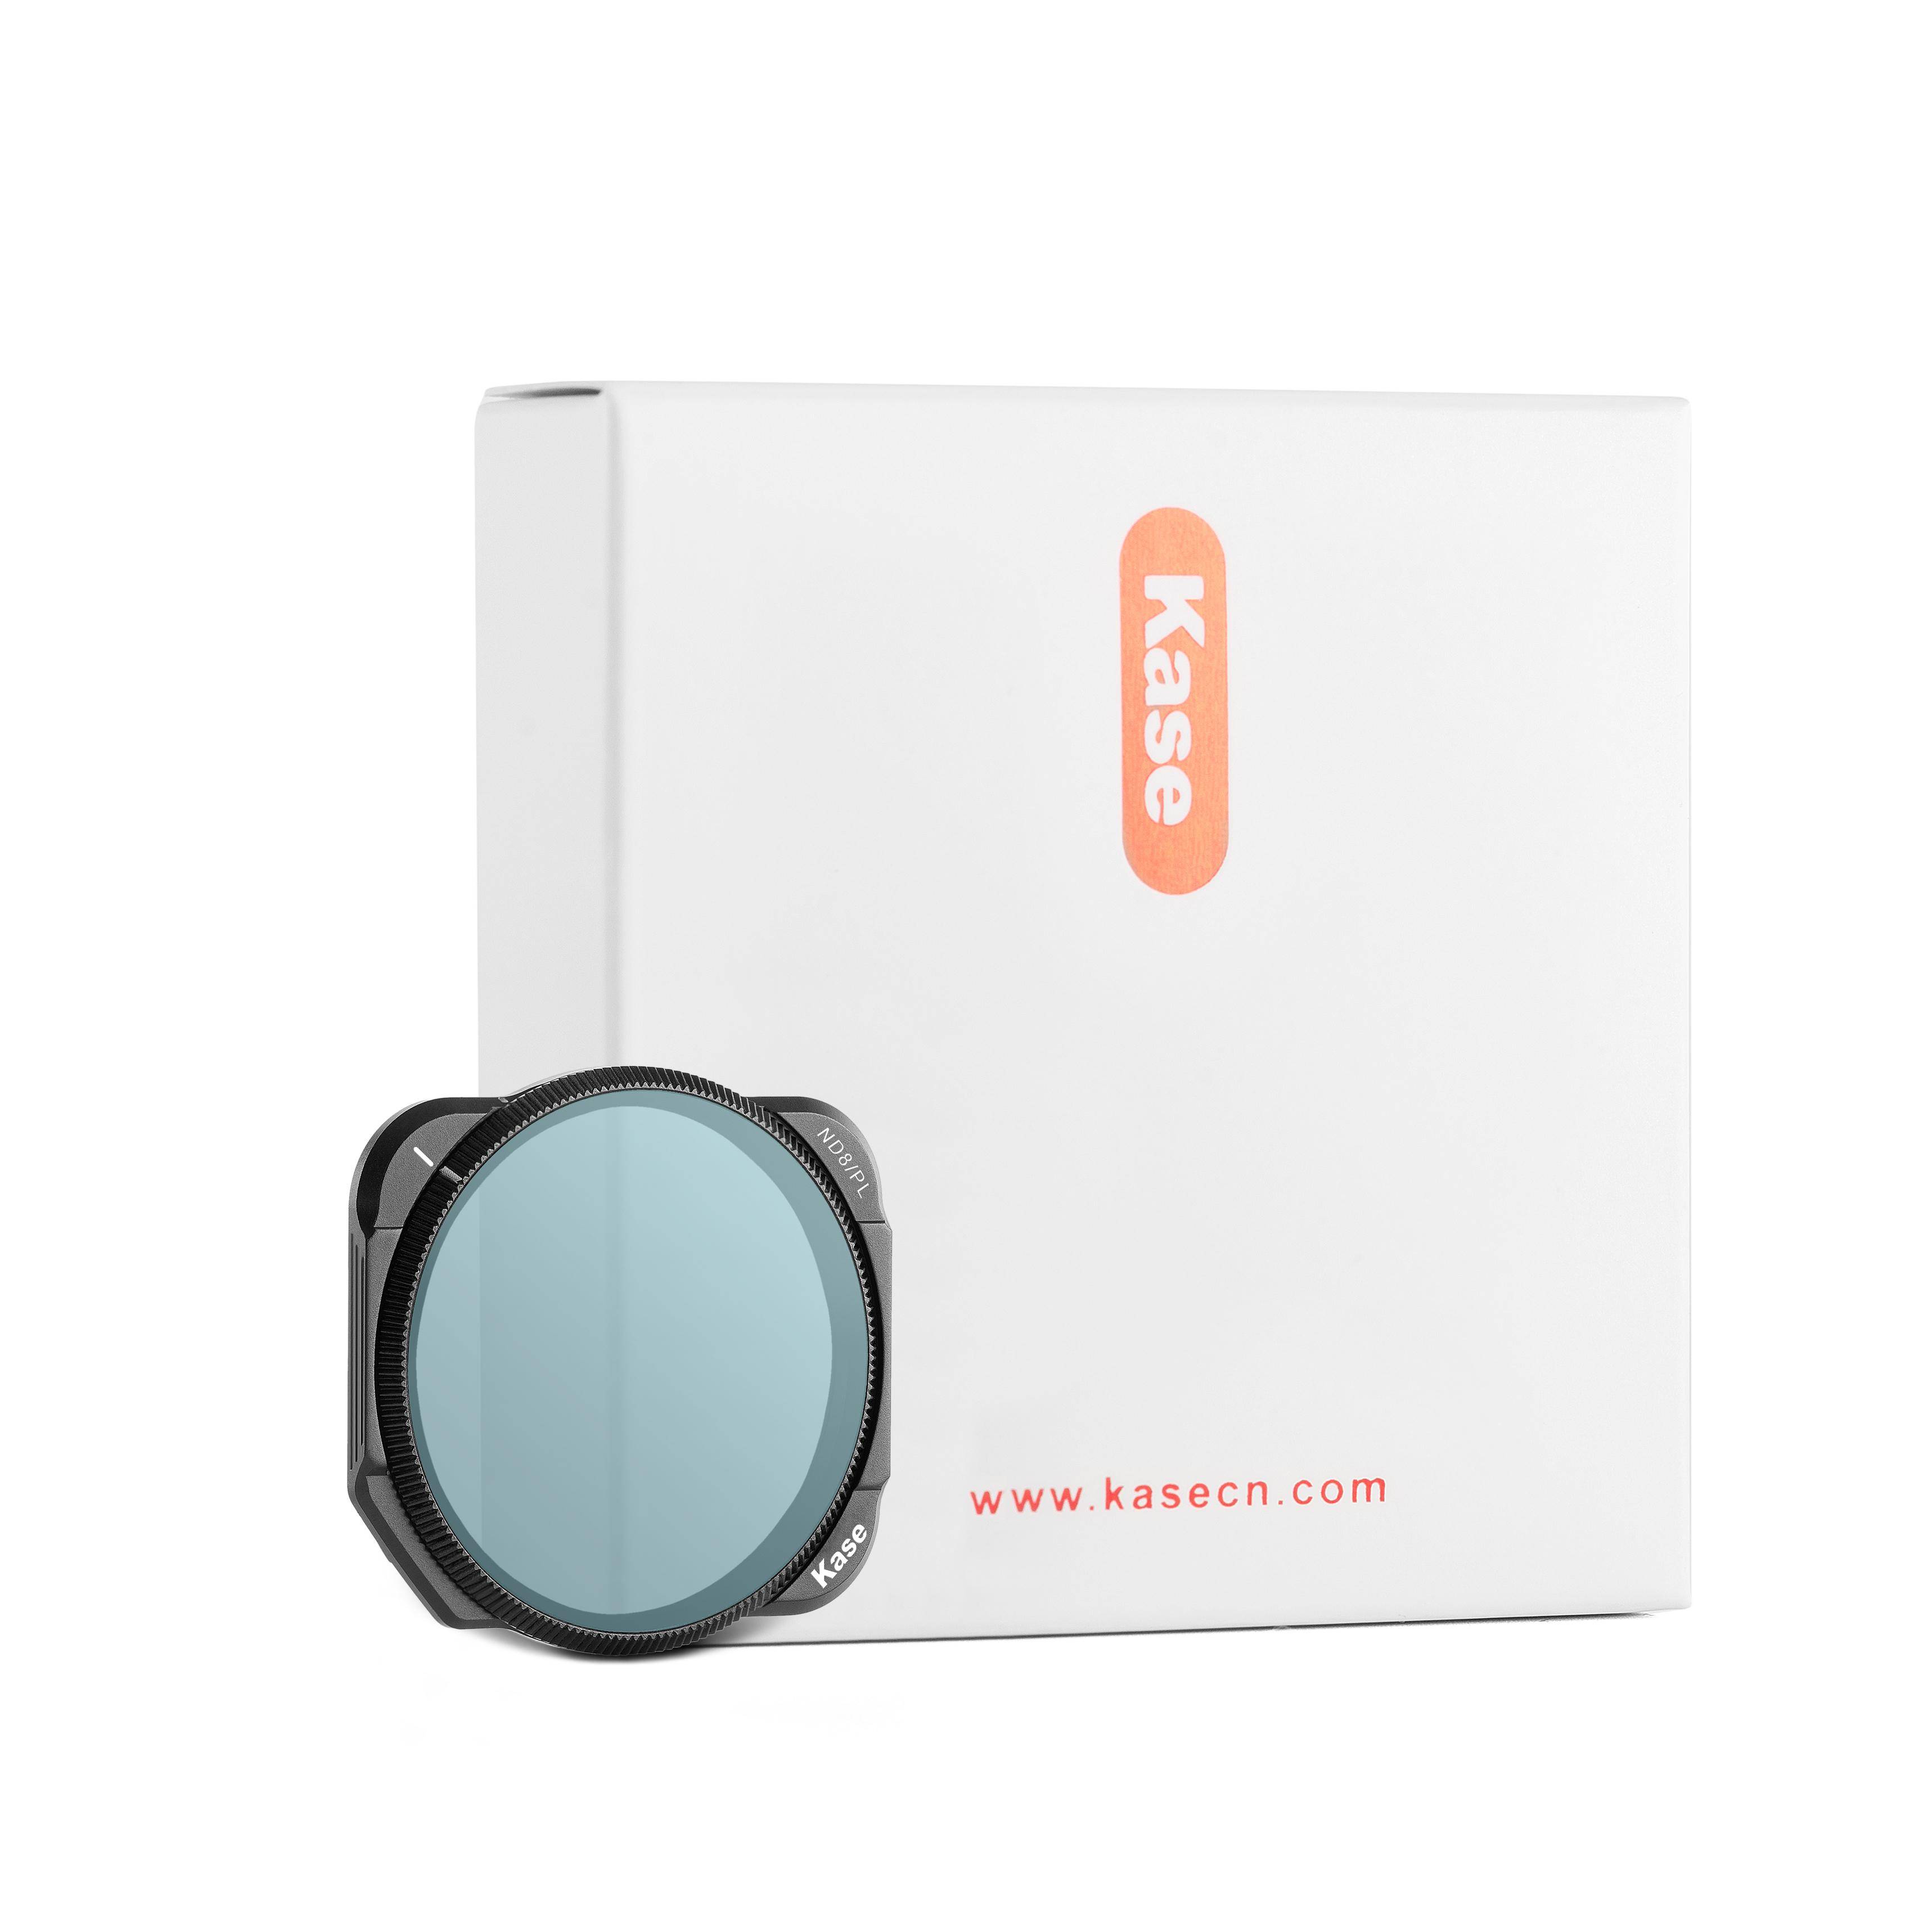
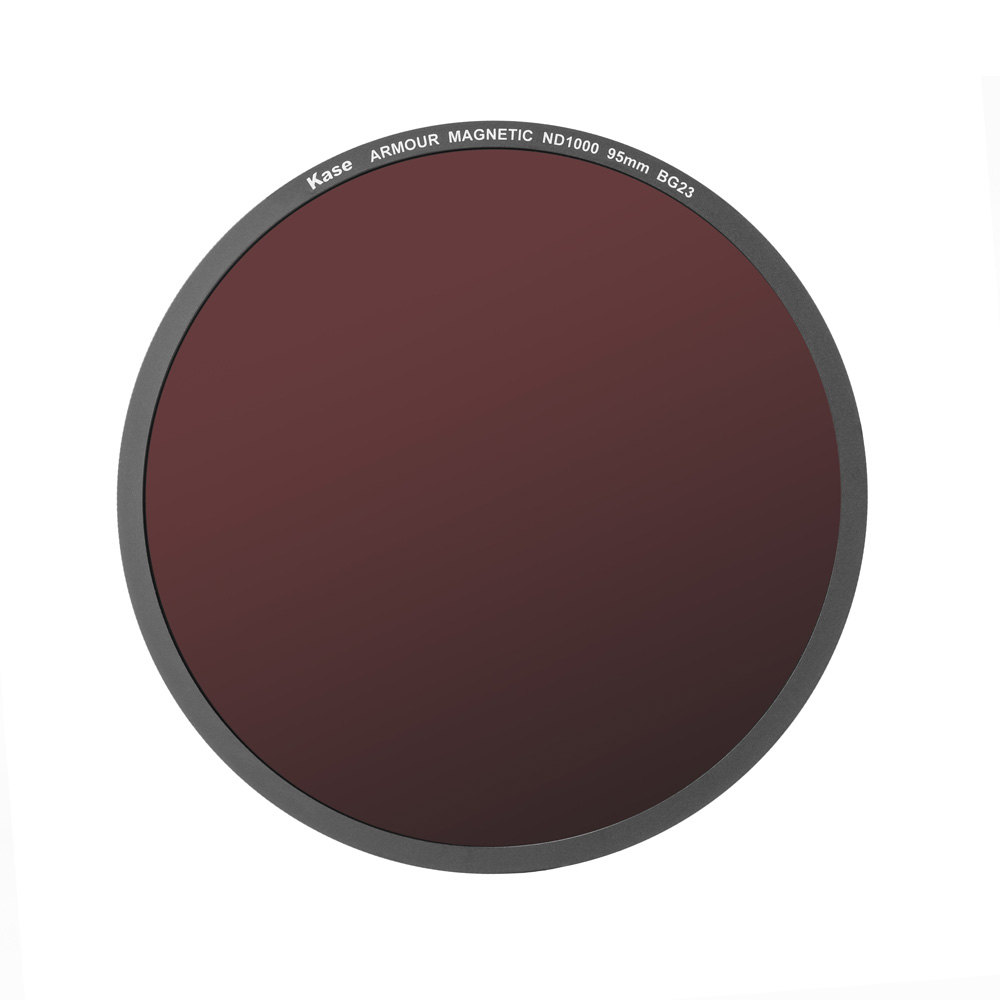
Filtro magnético ND8 ARMOUR - 3 stops O filtro ARMOUR ND8 reduz a luz incidente em 3 f-stops e é, portanto, ideal para longas exposições finamente controladas, gravações de vídeo à luz do dia ou a abertura direcionada da abertura em ambientes brilhantes. Com um diâmetro de 95 mm, o filtro encaixa perfeitamente no suporte de filtro ARMOUR de 100 mm e é fixado magneticamente a ele. Para uma flexibilidade ainda mais criativa, o filtro ND8 pode ser facilmente combinado com outros filtros ND ou com um filtro polarizador ARMOUR. Caraterísticas 3 f-stops de redução de luz - ideal para longas exposições controladas Fixação magnética no sistema de suporte de filtro ARMOUR Diâmetro: 95 mm - compatível com objectivas através de anéis adaptadores adequados Pode ser combinado com o filtro polarizador ARMOUR ND64, ND1000 ou CPL Vidro ótico revestido - para resultados nítidos e com cores neutras 🛡️ Construção robusta e à prova de intempéries - ideal para utilização no exterior Exemplos de aplicações Exposições longas com luz: por exemplo, superfícies de água corrente com um efeito suave 📽️ Filmagem de vídeo à luz do dia: velocidades de obturação constantes sem sobre-exposição Recorte com uma abertura aberta: Reduzir a quantidade de luz para retratos à luz do sol 🏞️ Realçar as estruturas das nuvens: efeitos subtis de movimento no céu Empilhamento de filtros: pode ser combinado com ND64 ou ND1000 para tempos de exposição ainda mais longos Âmbito de fornecimento 1x filtro ARMOUR ND8 (3 stops, 95 mm) 1x estojo de armazenamento
Em stock